
This document explains the revamped bulk “Mark Complete” flow for orders. It covers how to select multiple orders, review their eligibility, resolve inventory allocations, skip specific orders, and handle completion outcomes, including failures.
Step 1: Open the Bulk Mark Complete Flow
Select multiple orders that you want to process together for completion. This new flow allows you to perform the same “Mark Complete” actions that were previously only available for individual orders, but now in bulk.
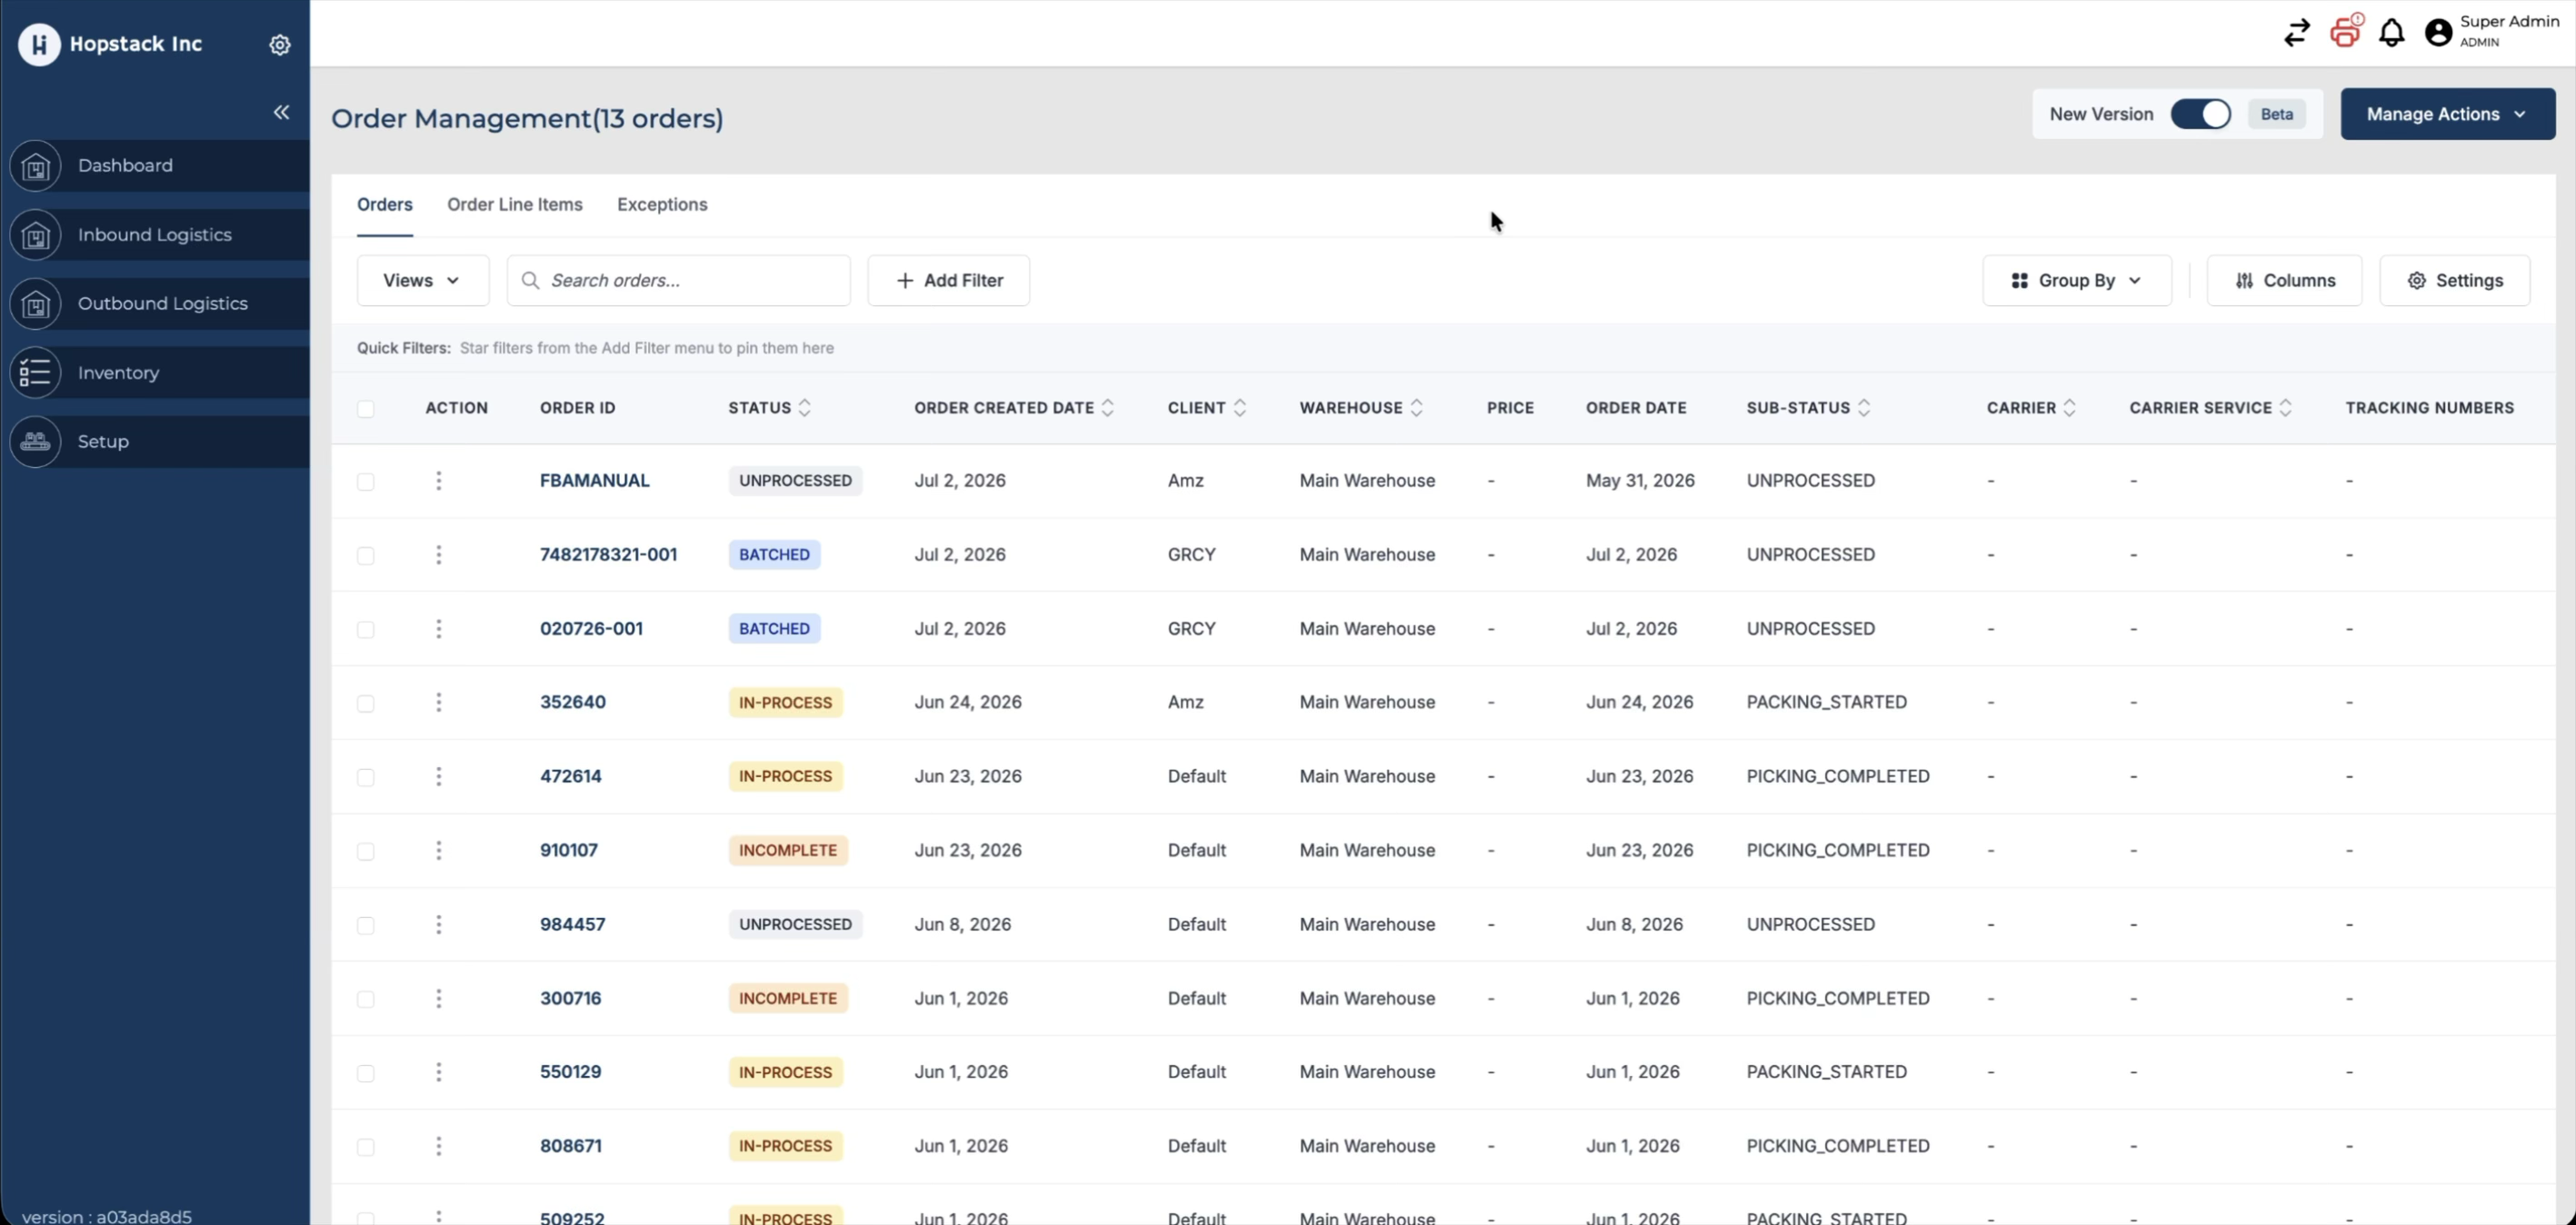
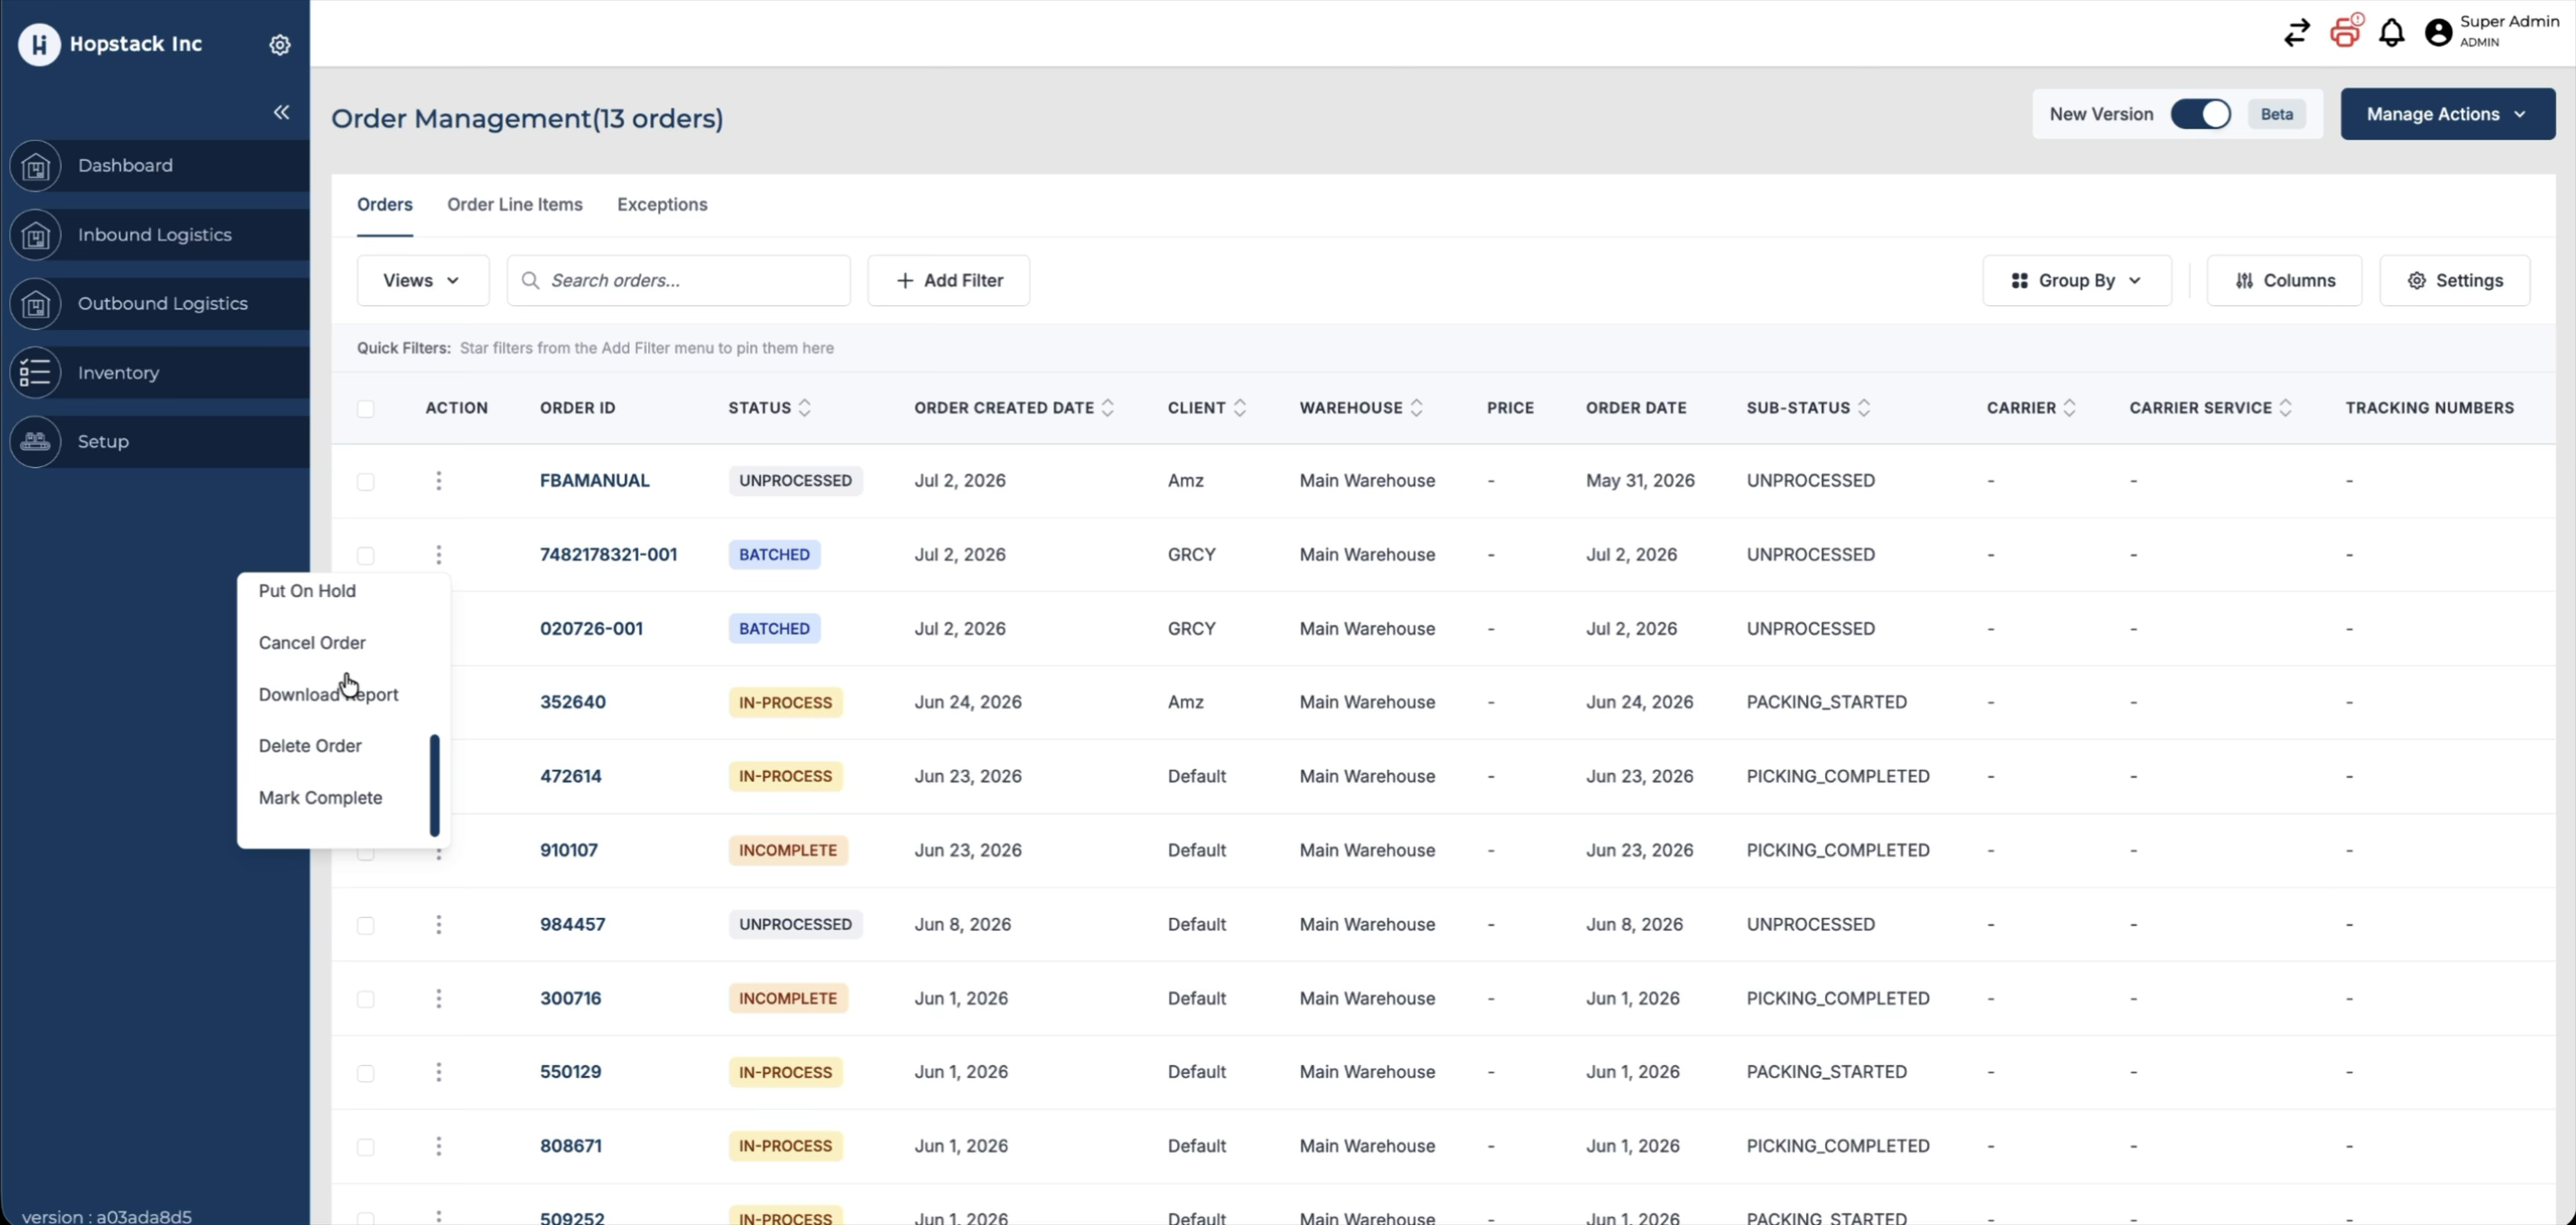
Step 2: Select Orders Across Different Statuses
Choose a set of orders, including those in different statuses (for example, batched, in-progress, and already completed), so you can see how the system handles each scenario in bulk.
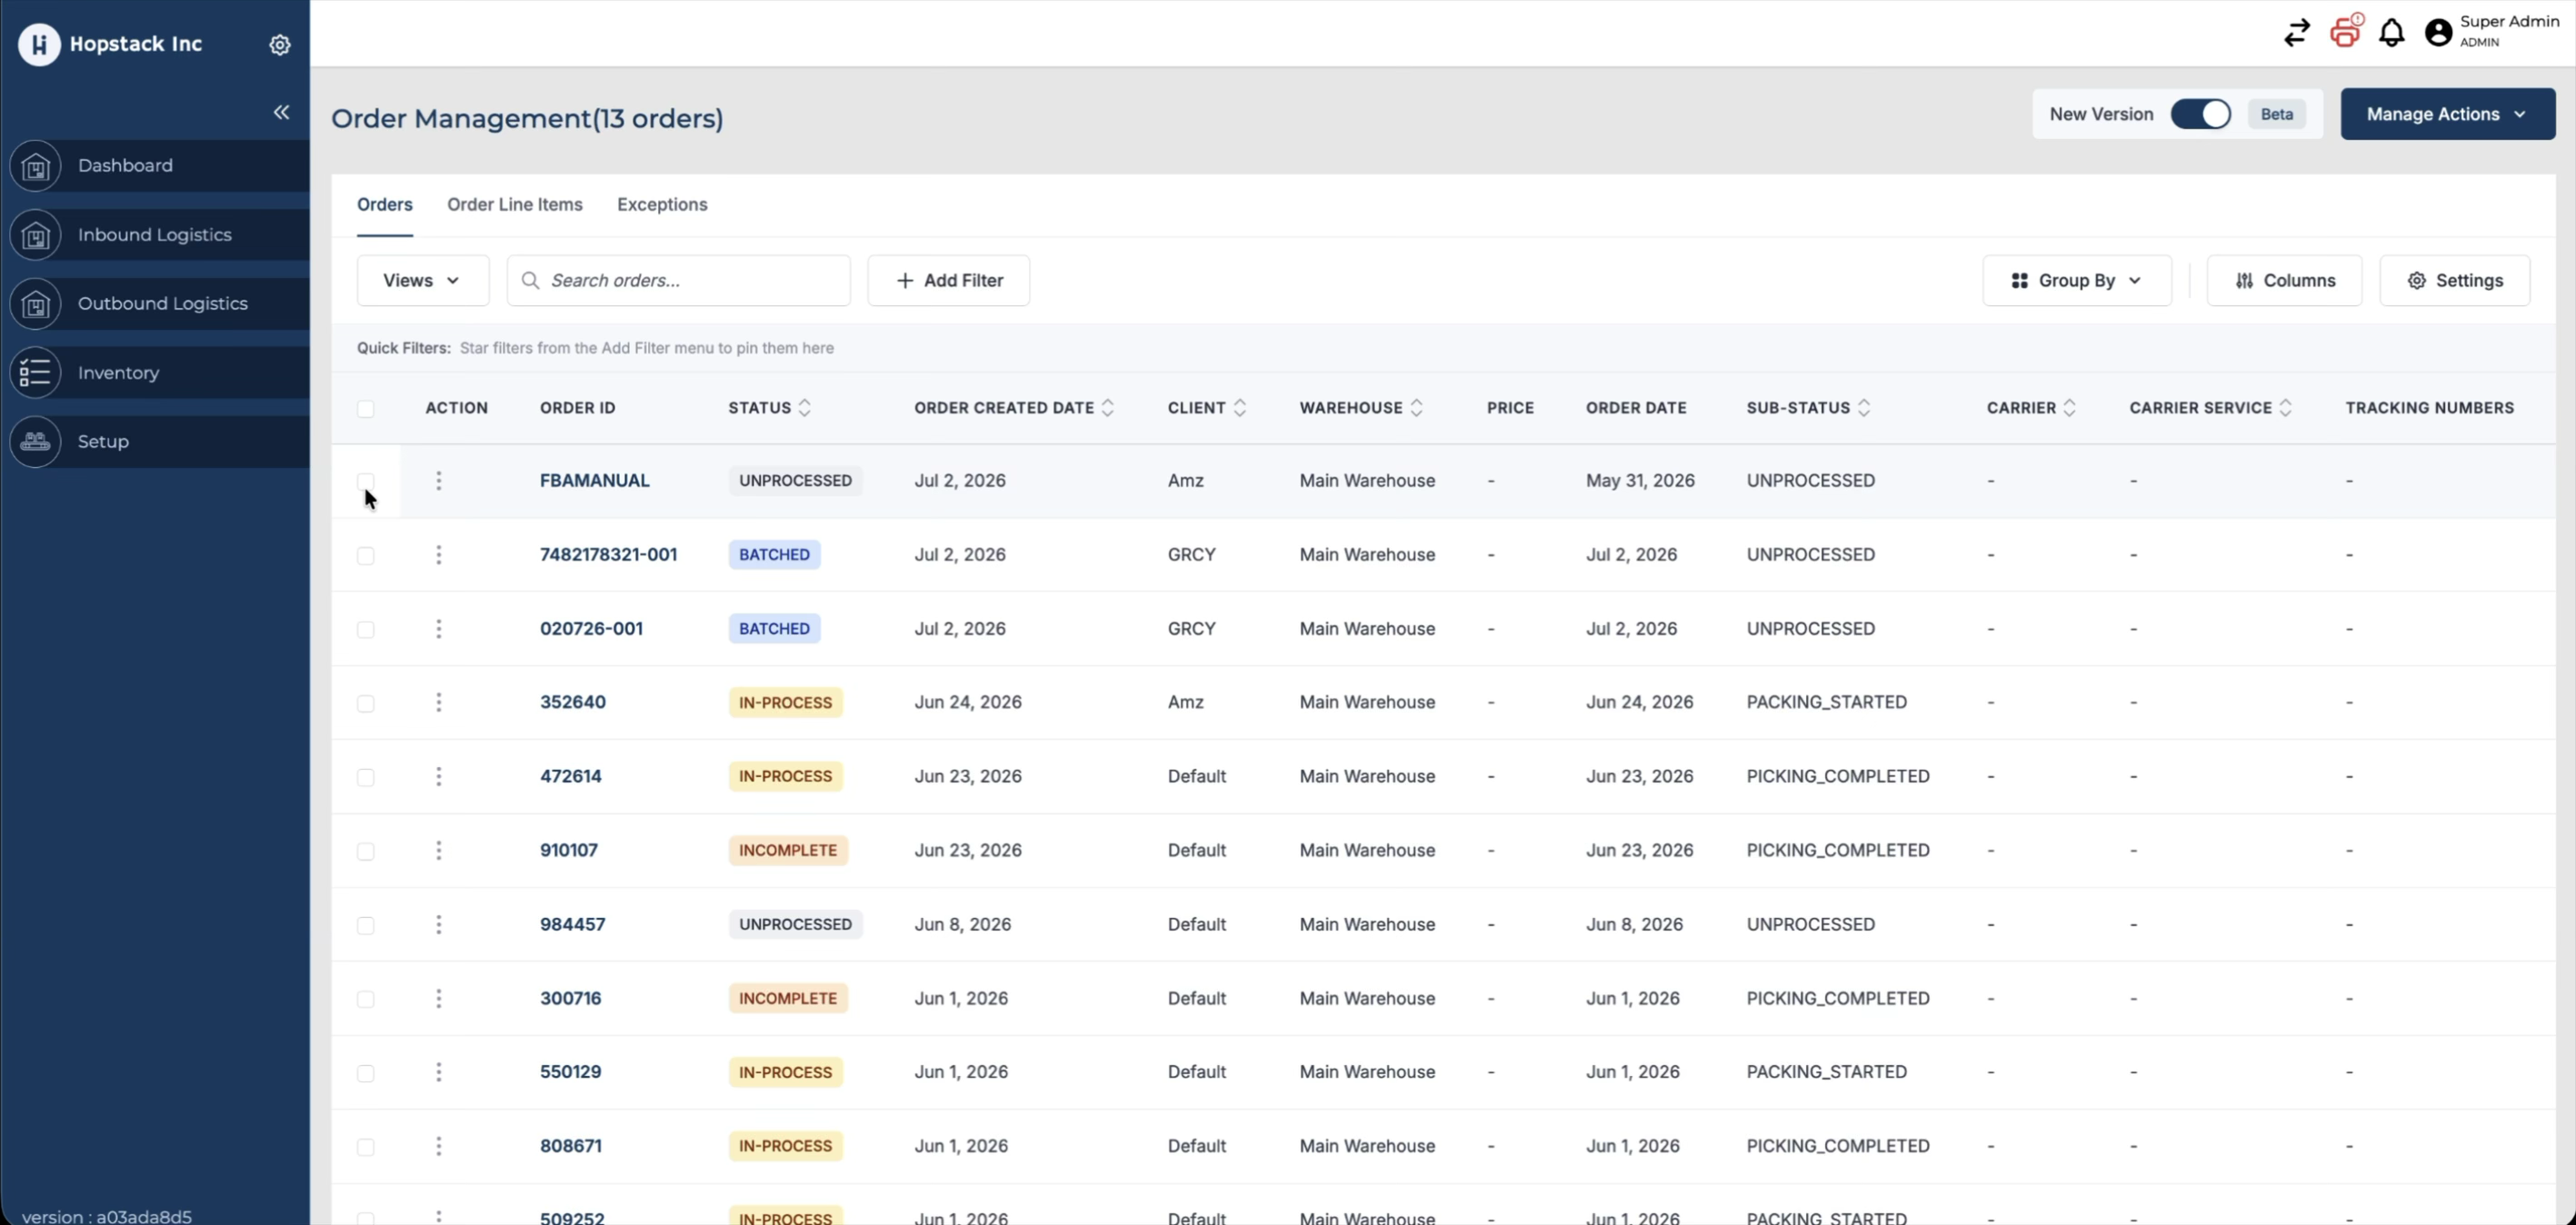
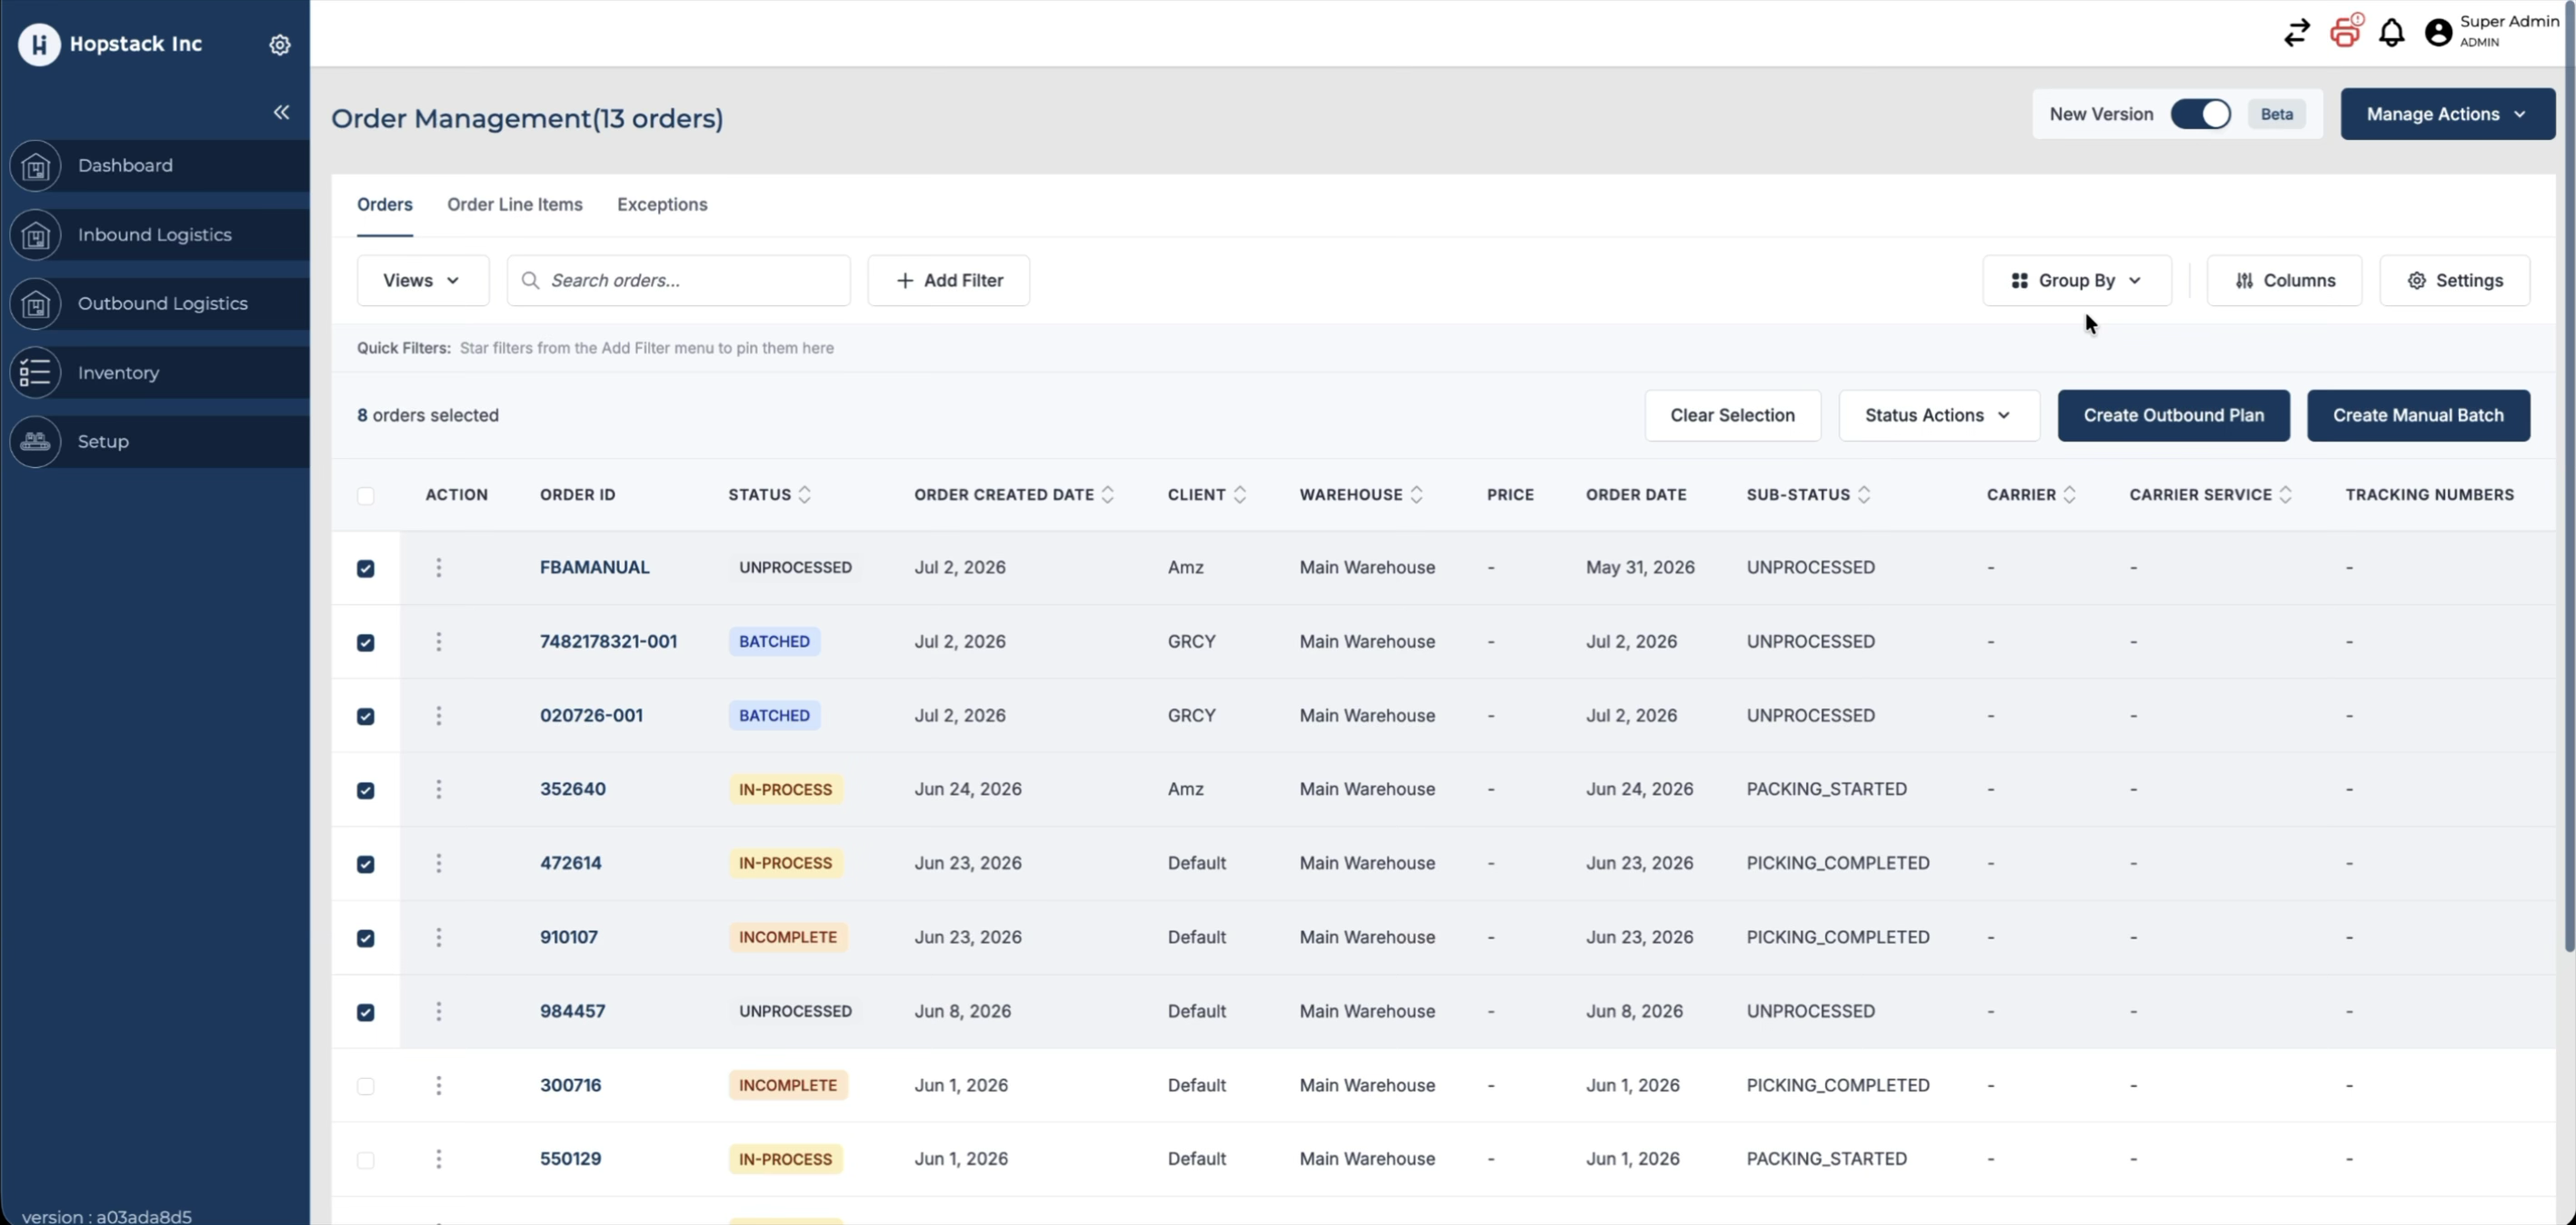
Step 3: Launch Bulk Mark Complete
With the desired orders selected, use the “Mark Completed” action to start the bulk flow.
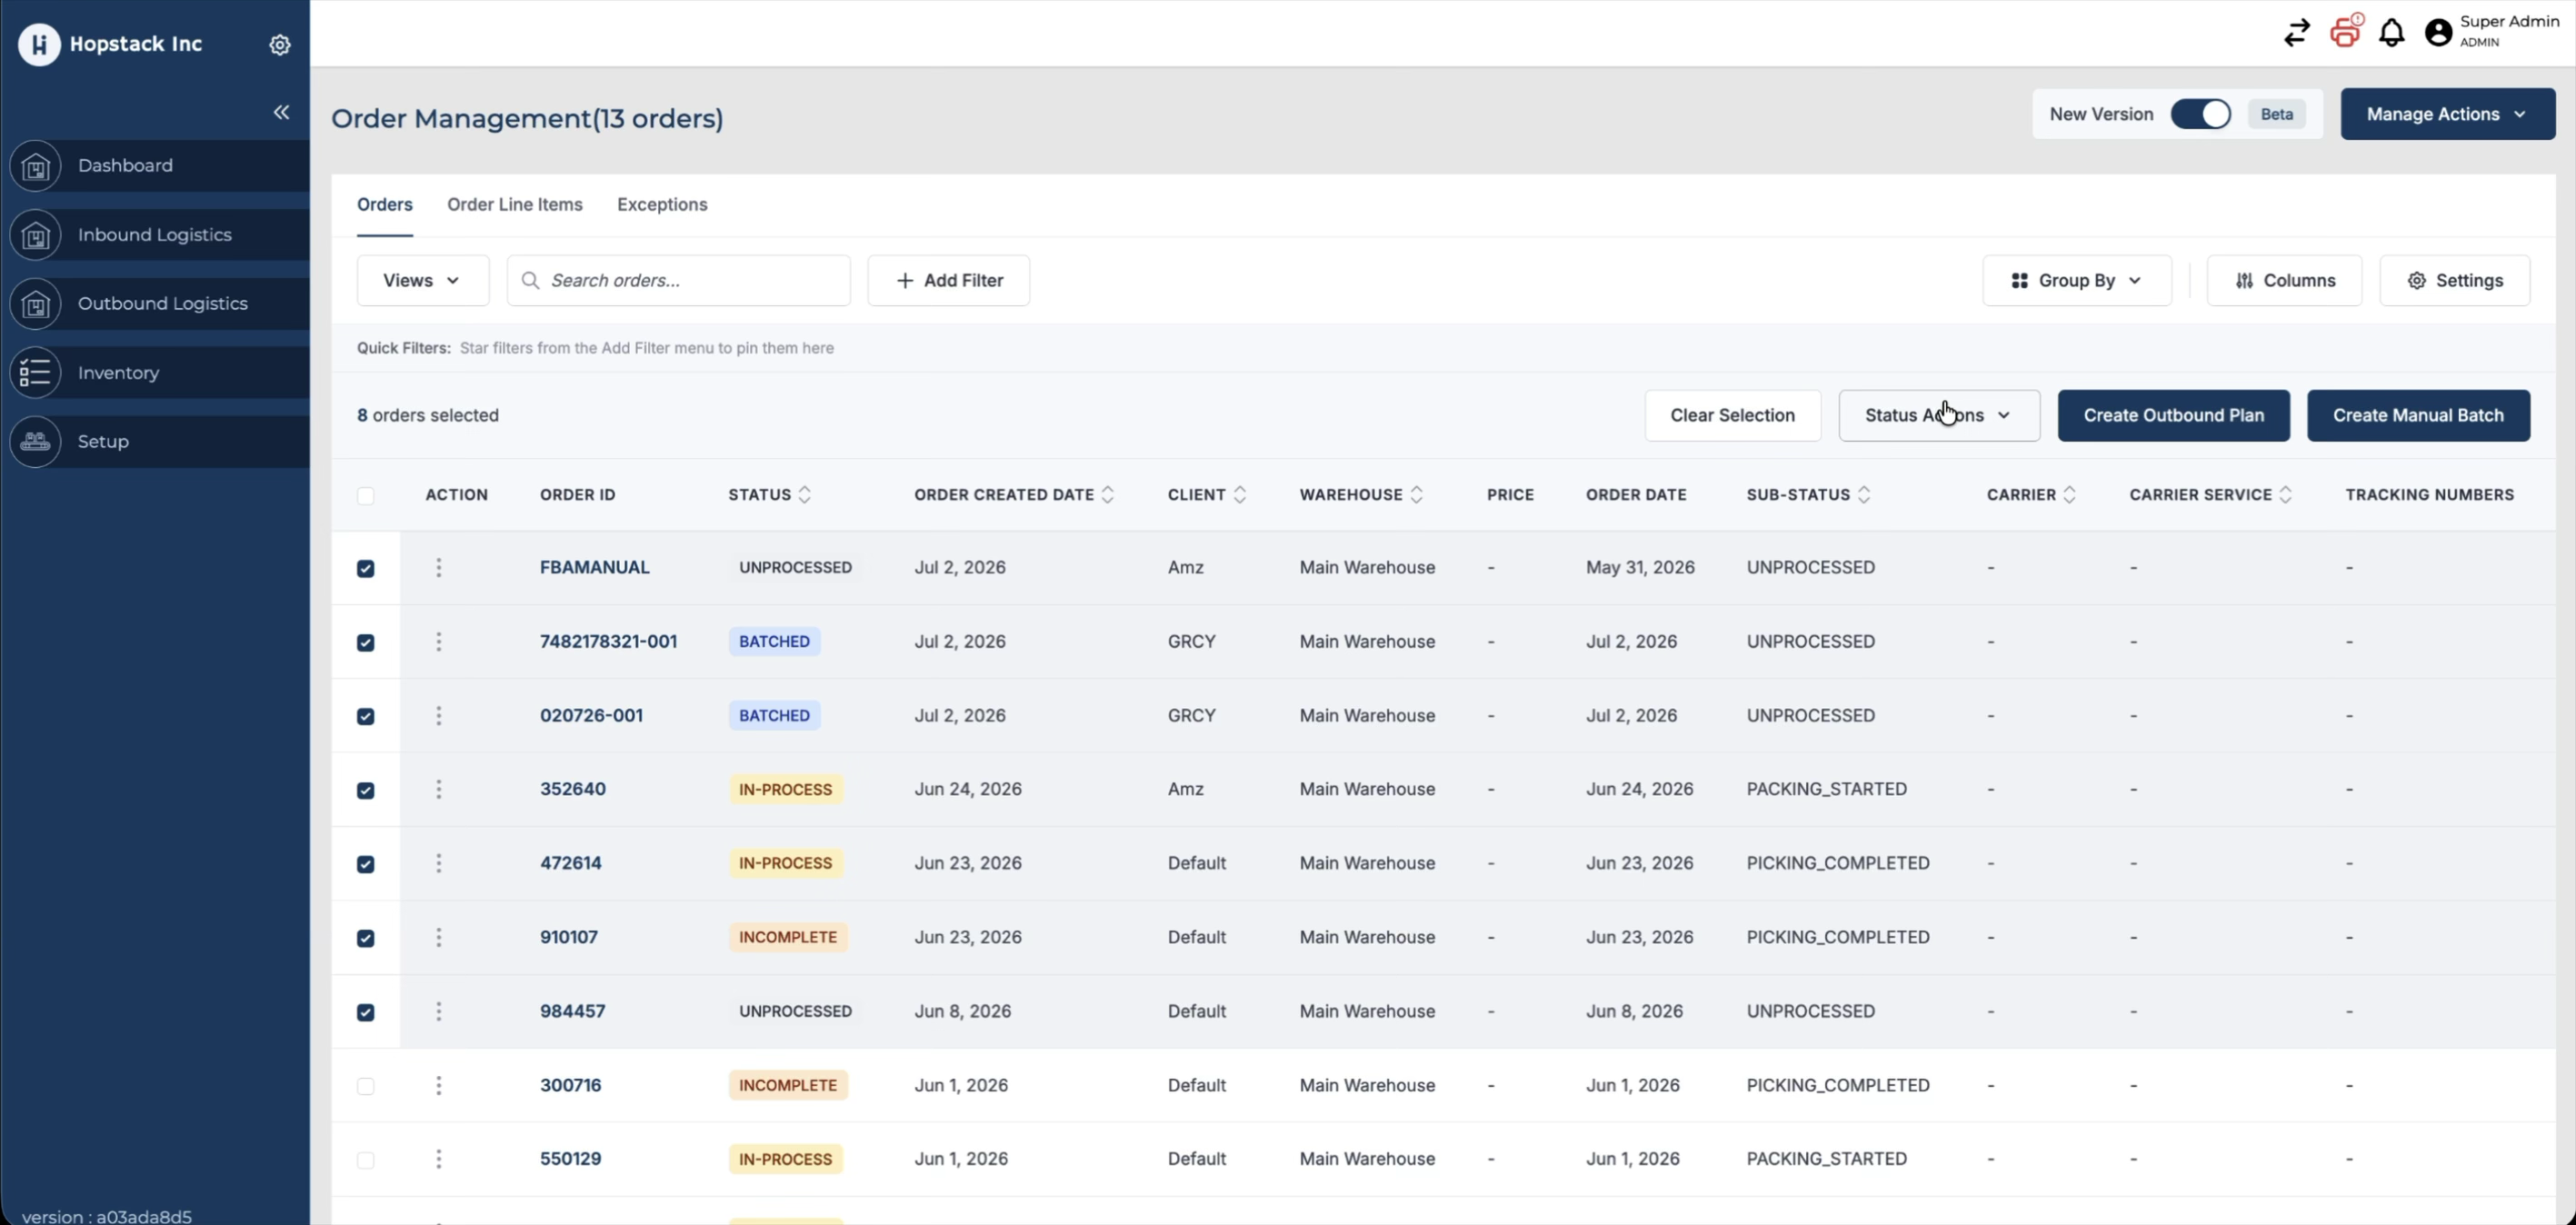
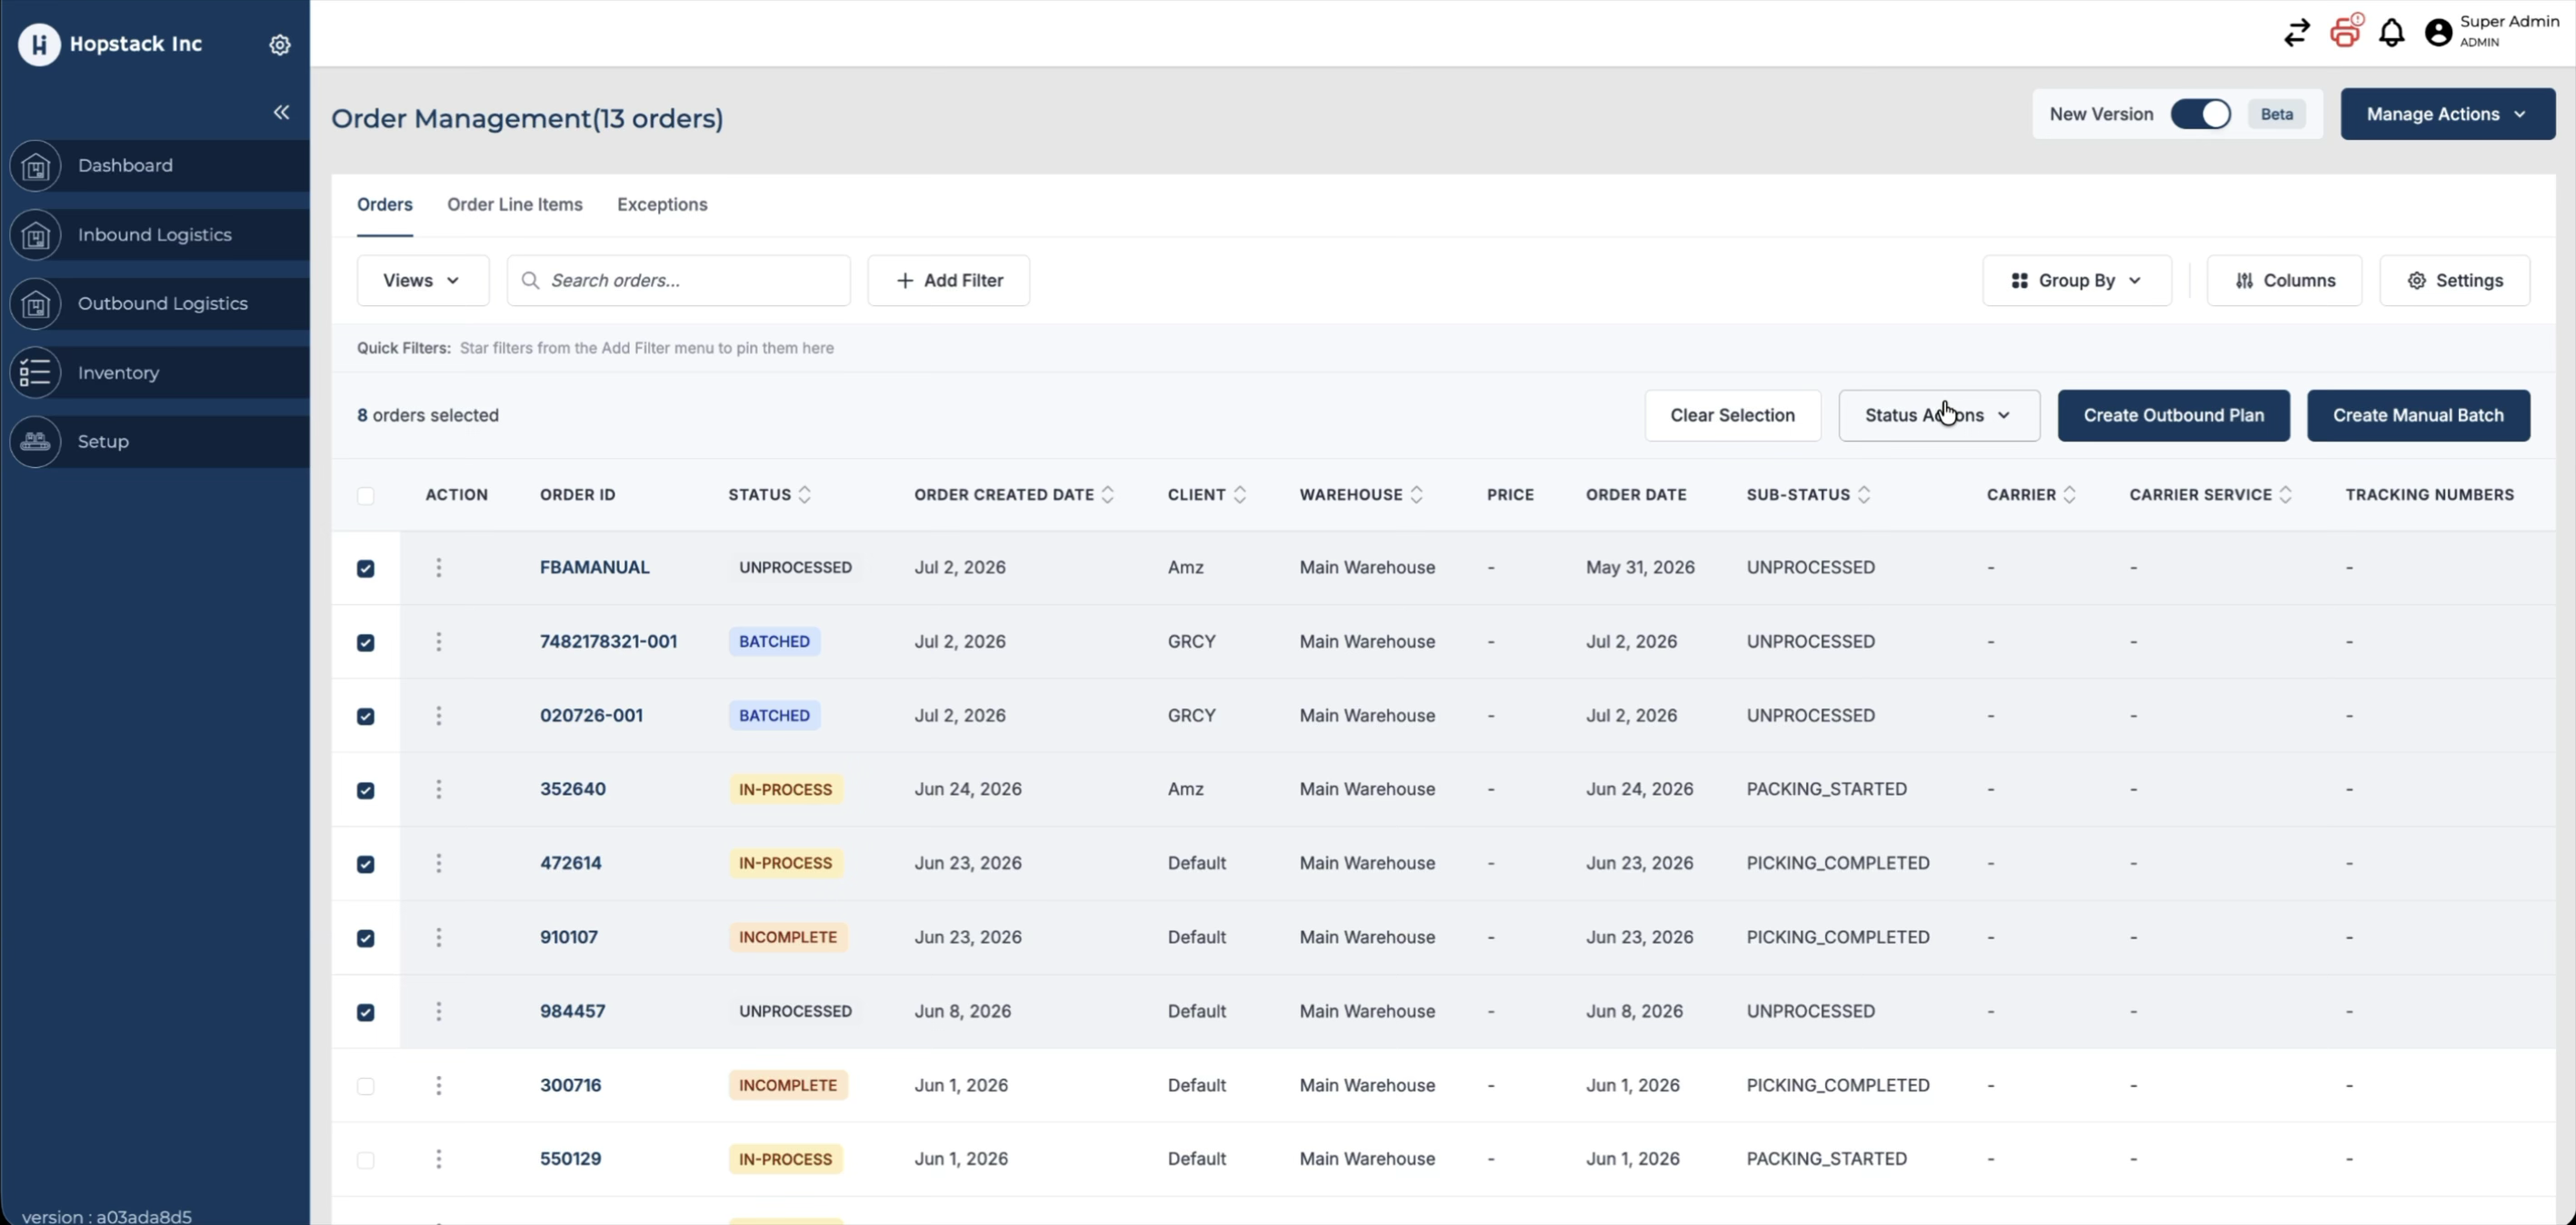
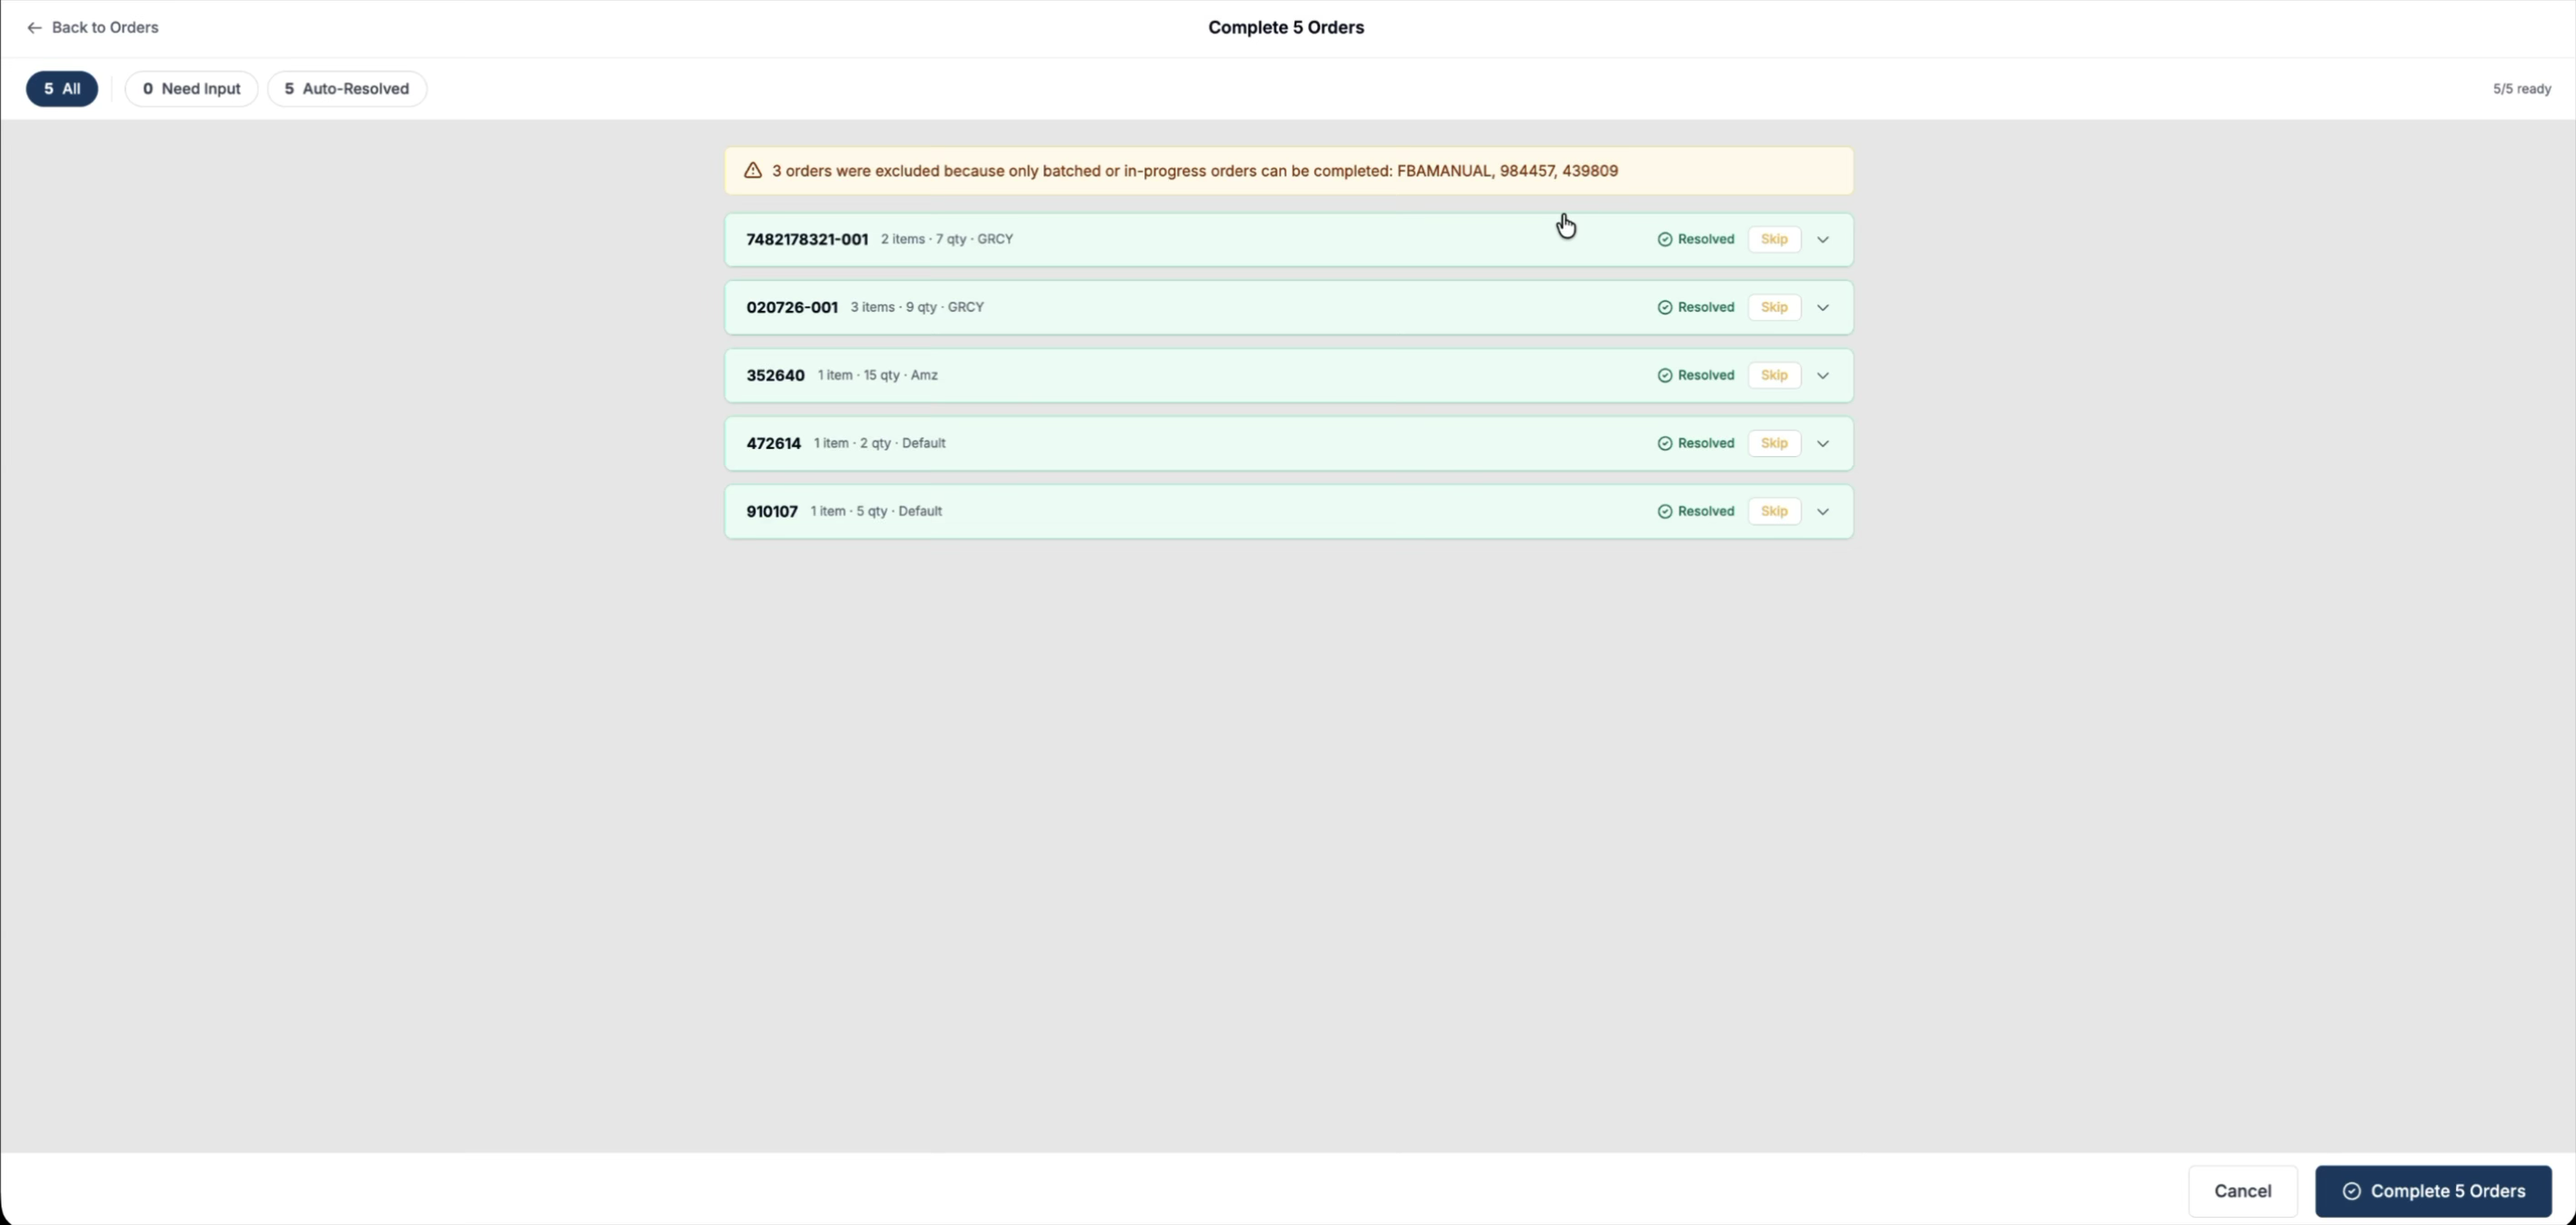
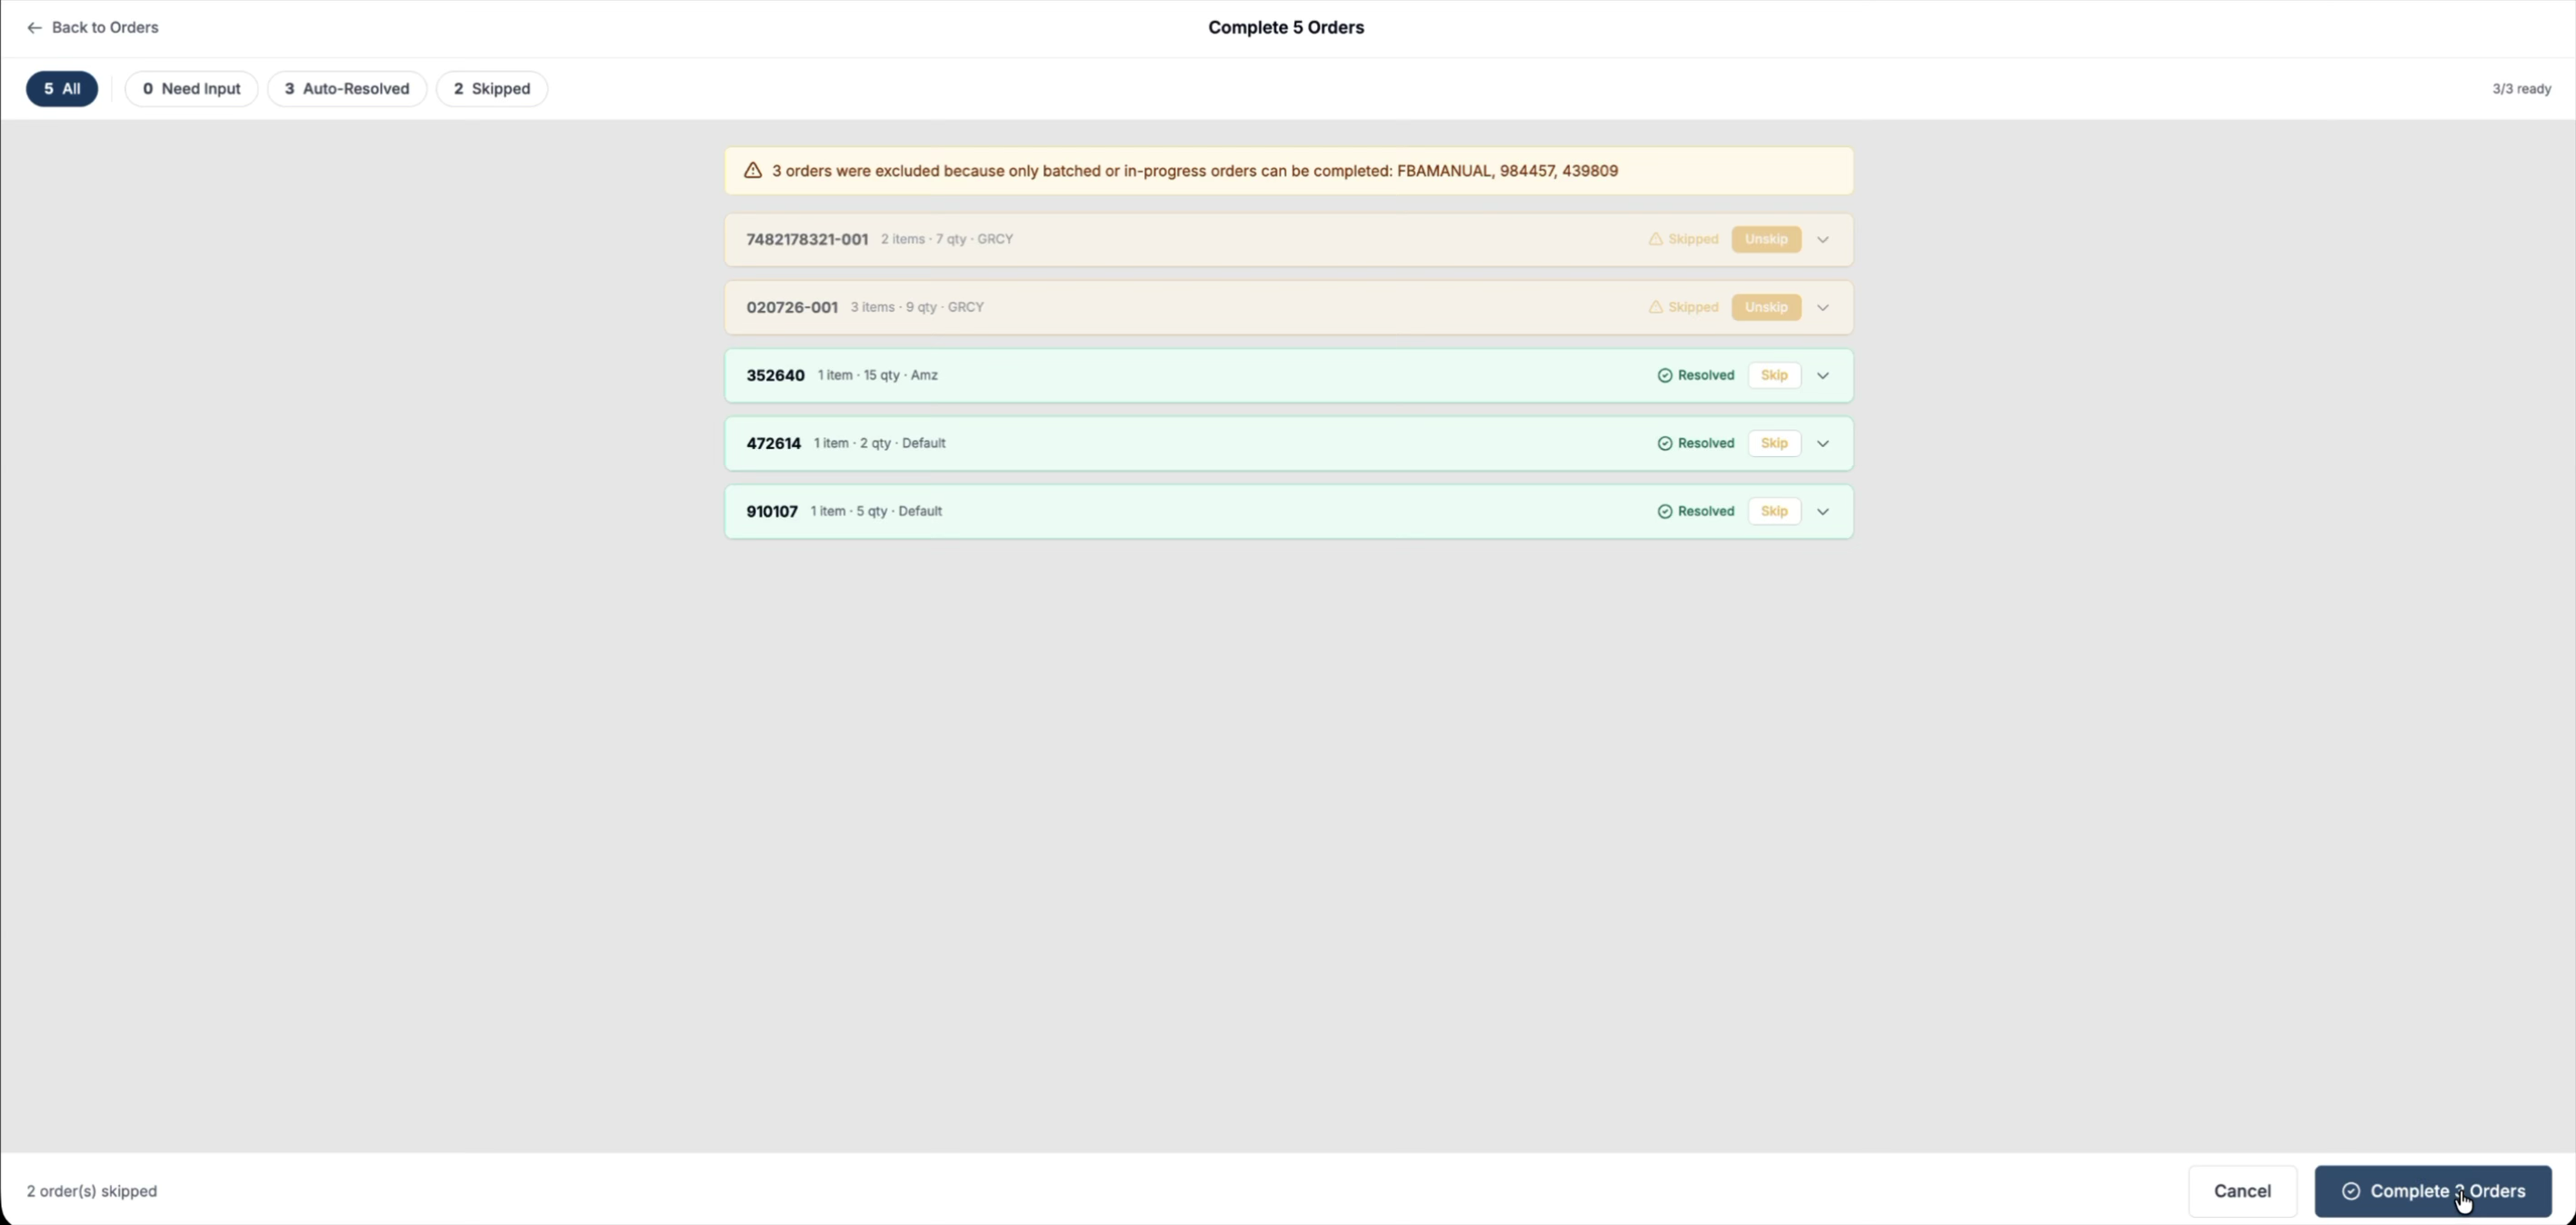
This opens a panel that loads all selected orders along with their available inventory.The system then:
-
Checks which orders can be auto-resolved (refillable on their own).
-
Identifies which orders require admin input.
-
Excludes ineligible orders (only batched and in-progress orders can be completed).
-
Lists which orders were not included in the completion set.
Step 4: Use Quick Filters to Review Order States
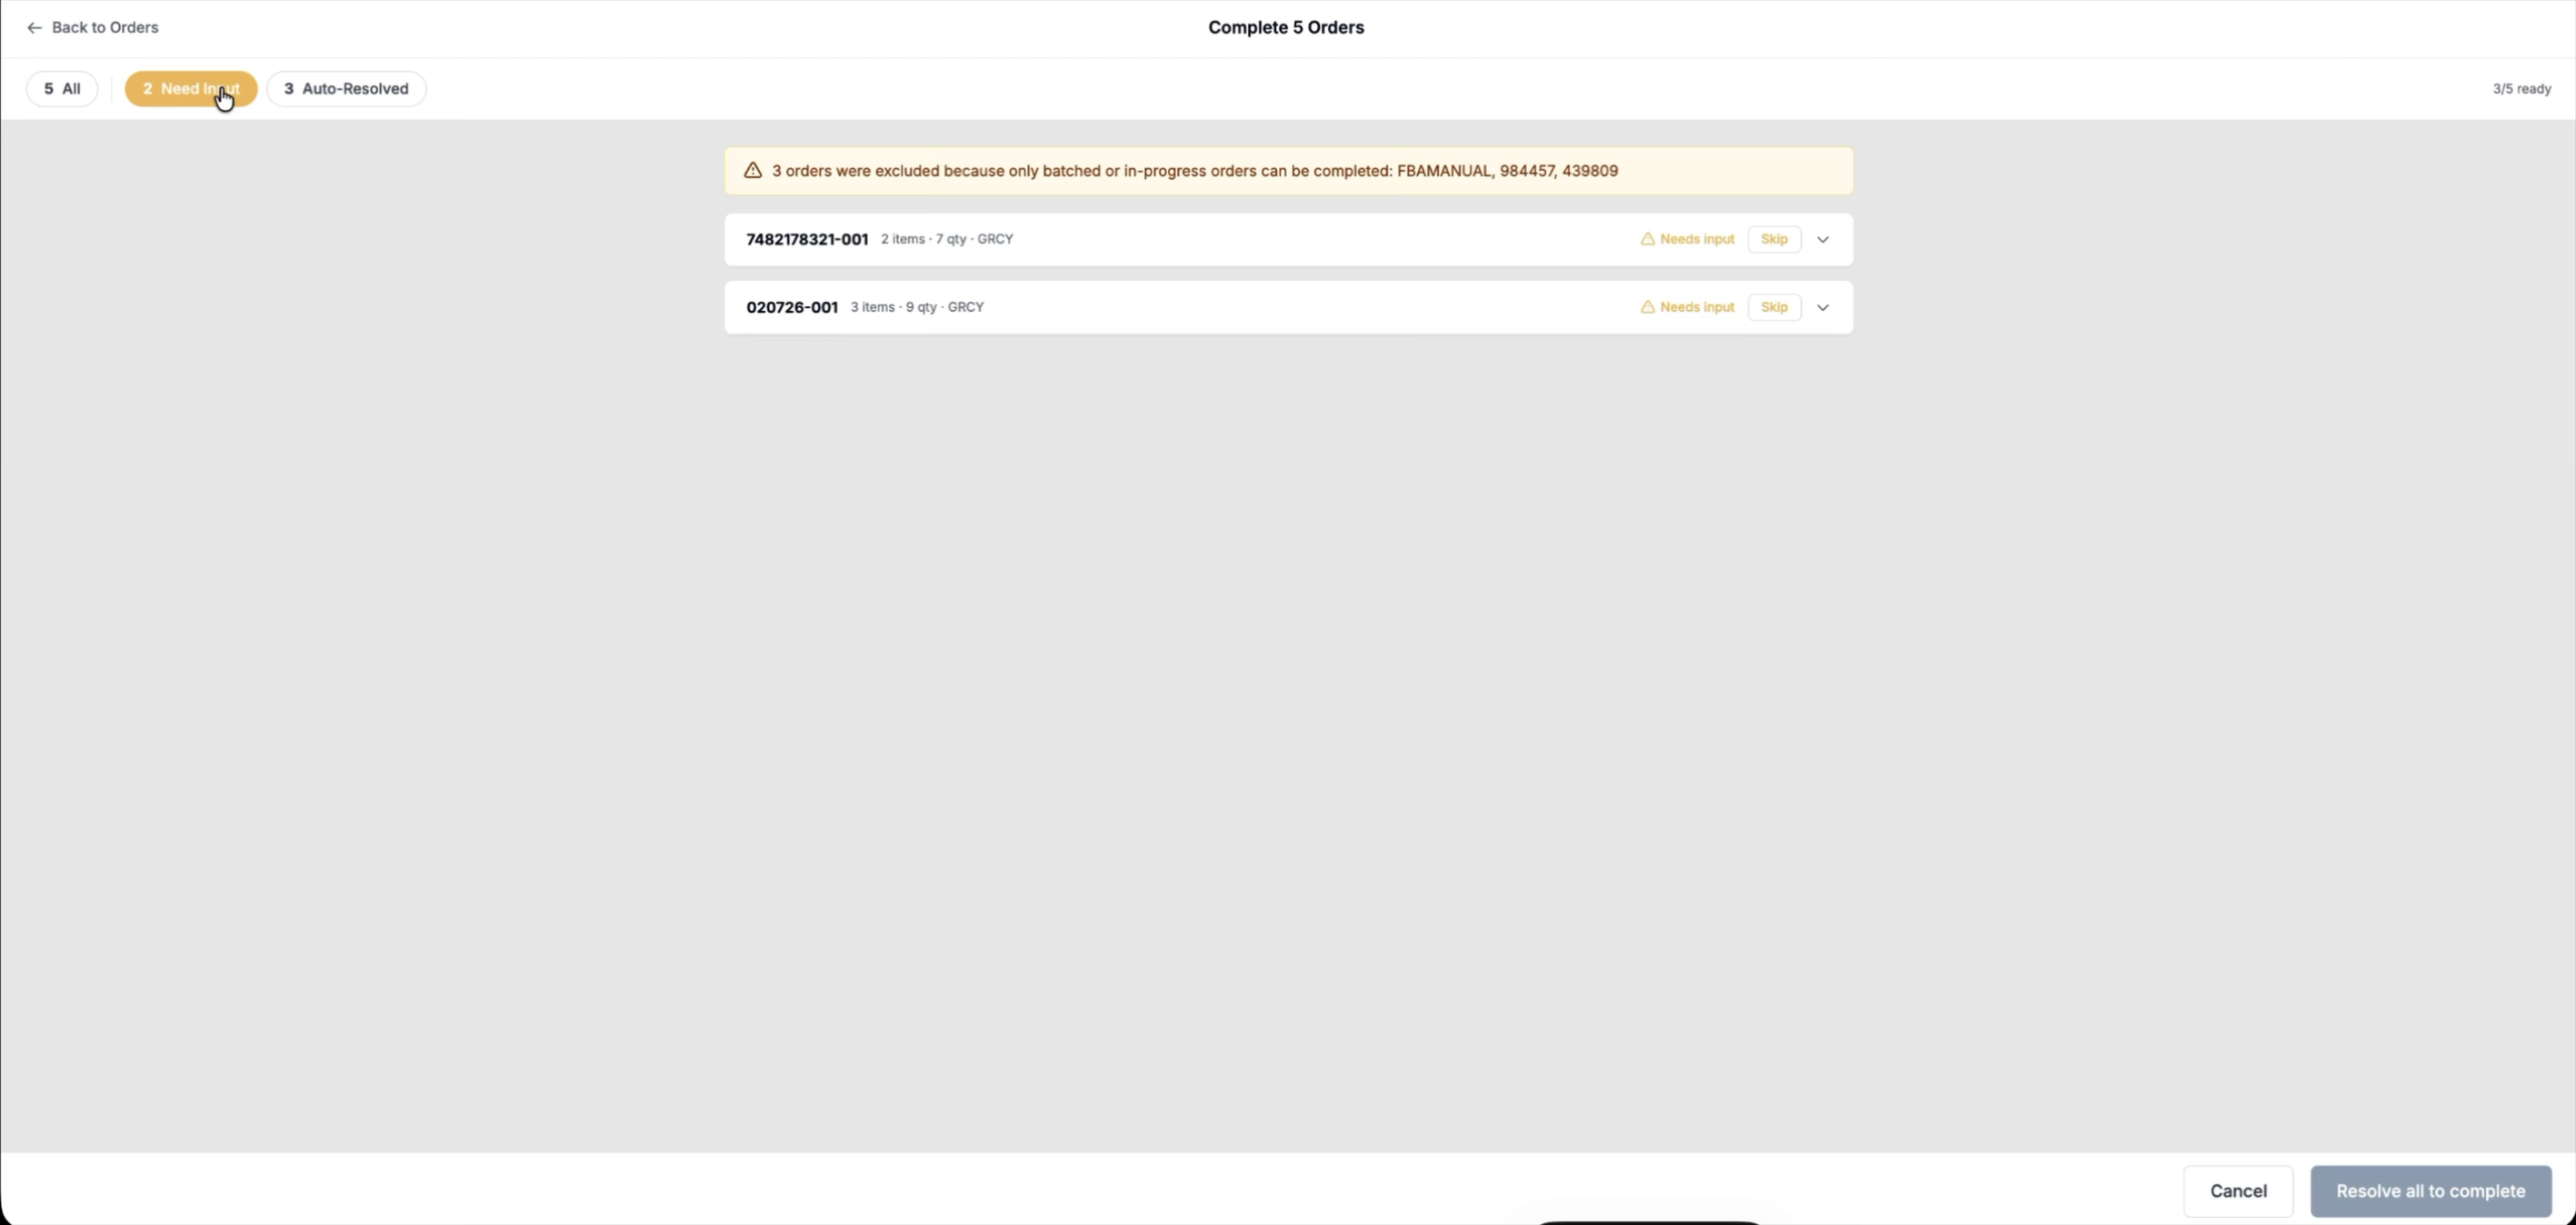
Use the quick filter chips to quickly view subsets of orders, such as those that need input, those already resolved, and those excluded or skipped.
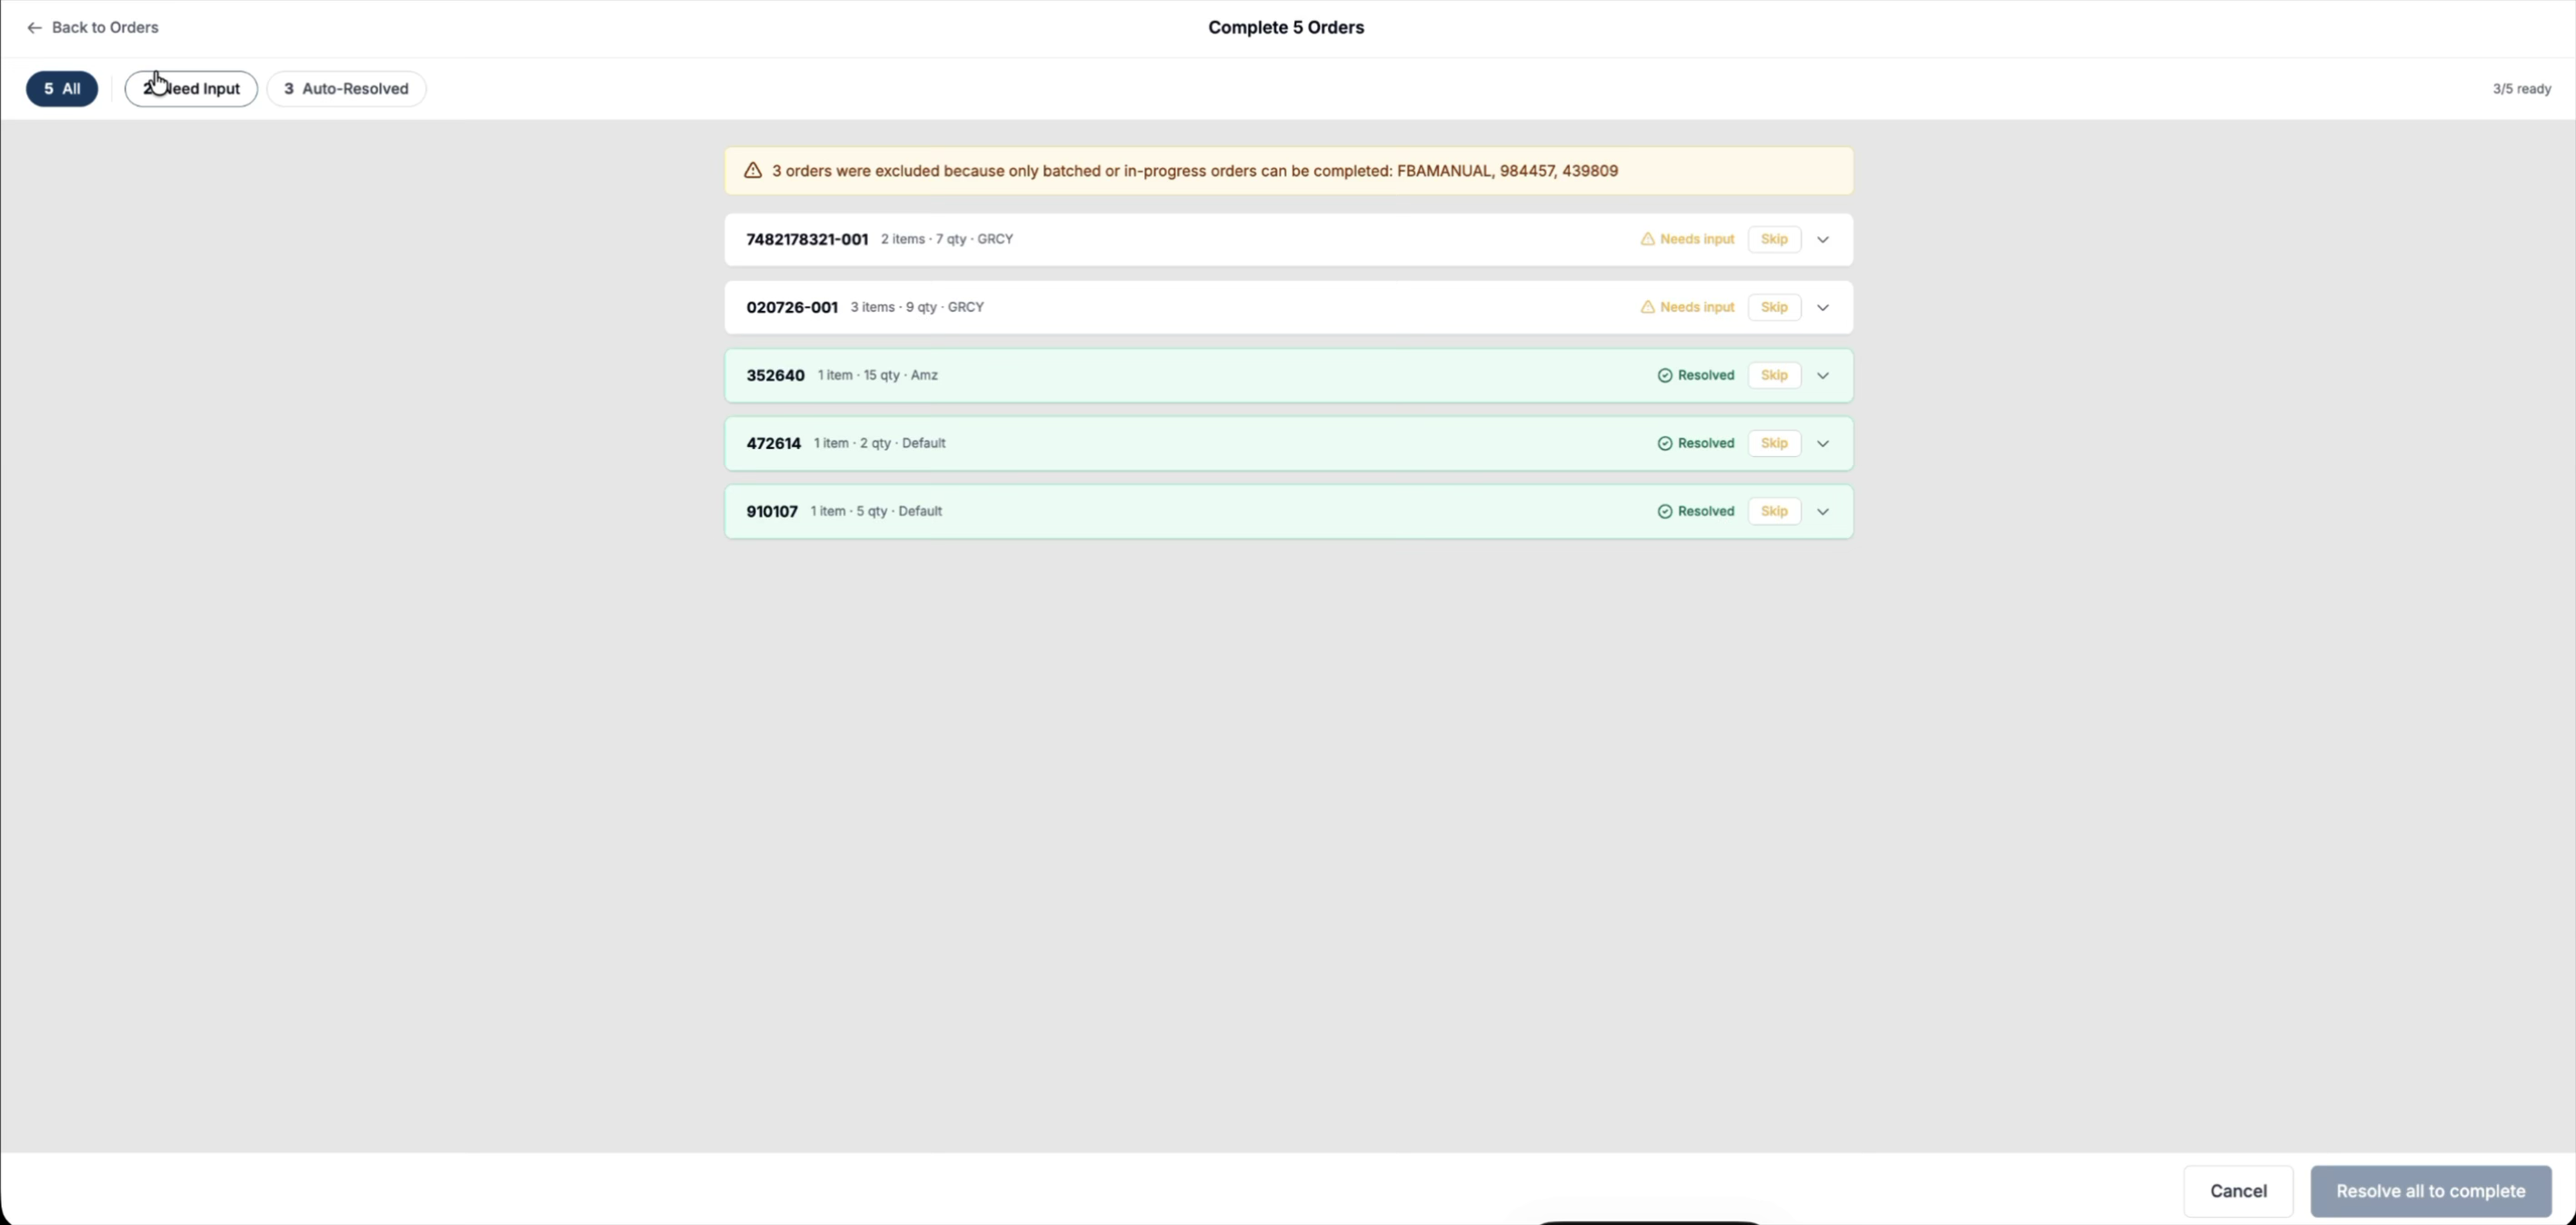
You can:
-
See which orders require additional details.
-
Review auto-resolved orders and adjust allocations if necessary.
Step 5: Resolve Orders That Need Input
Filter to the “Needs Input” set and expand an order that requires action.
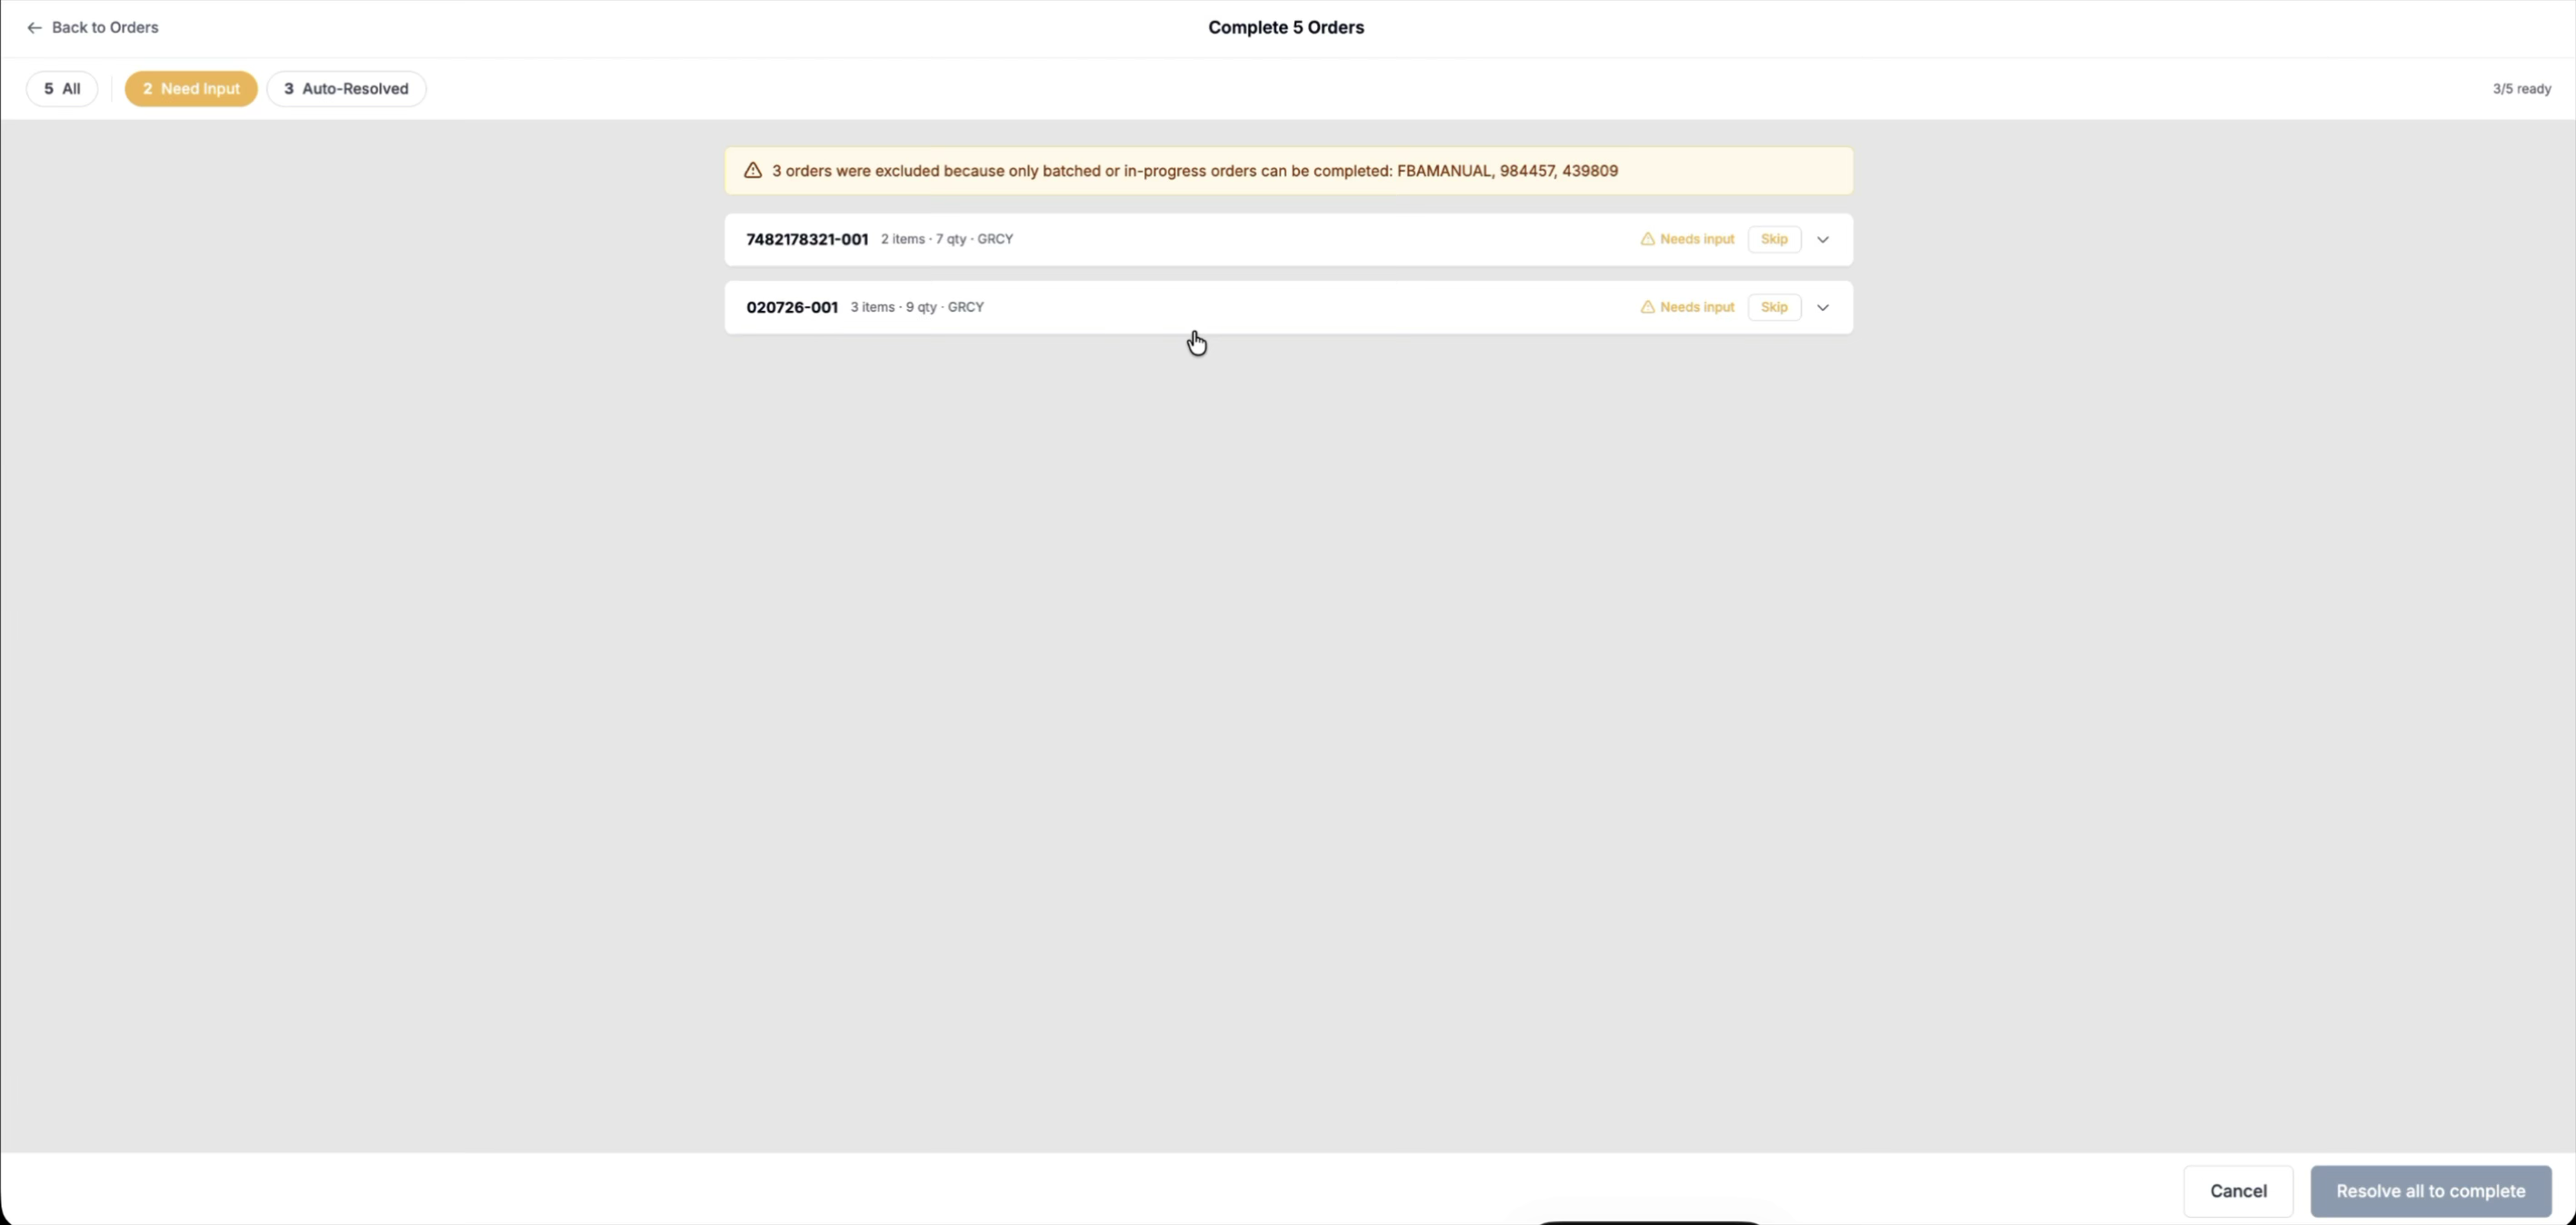
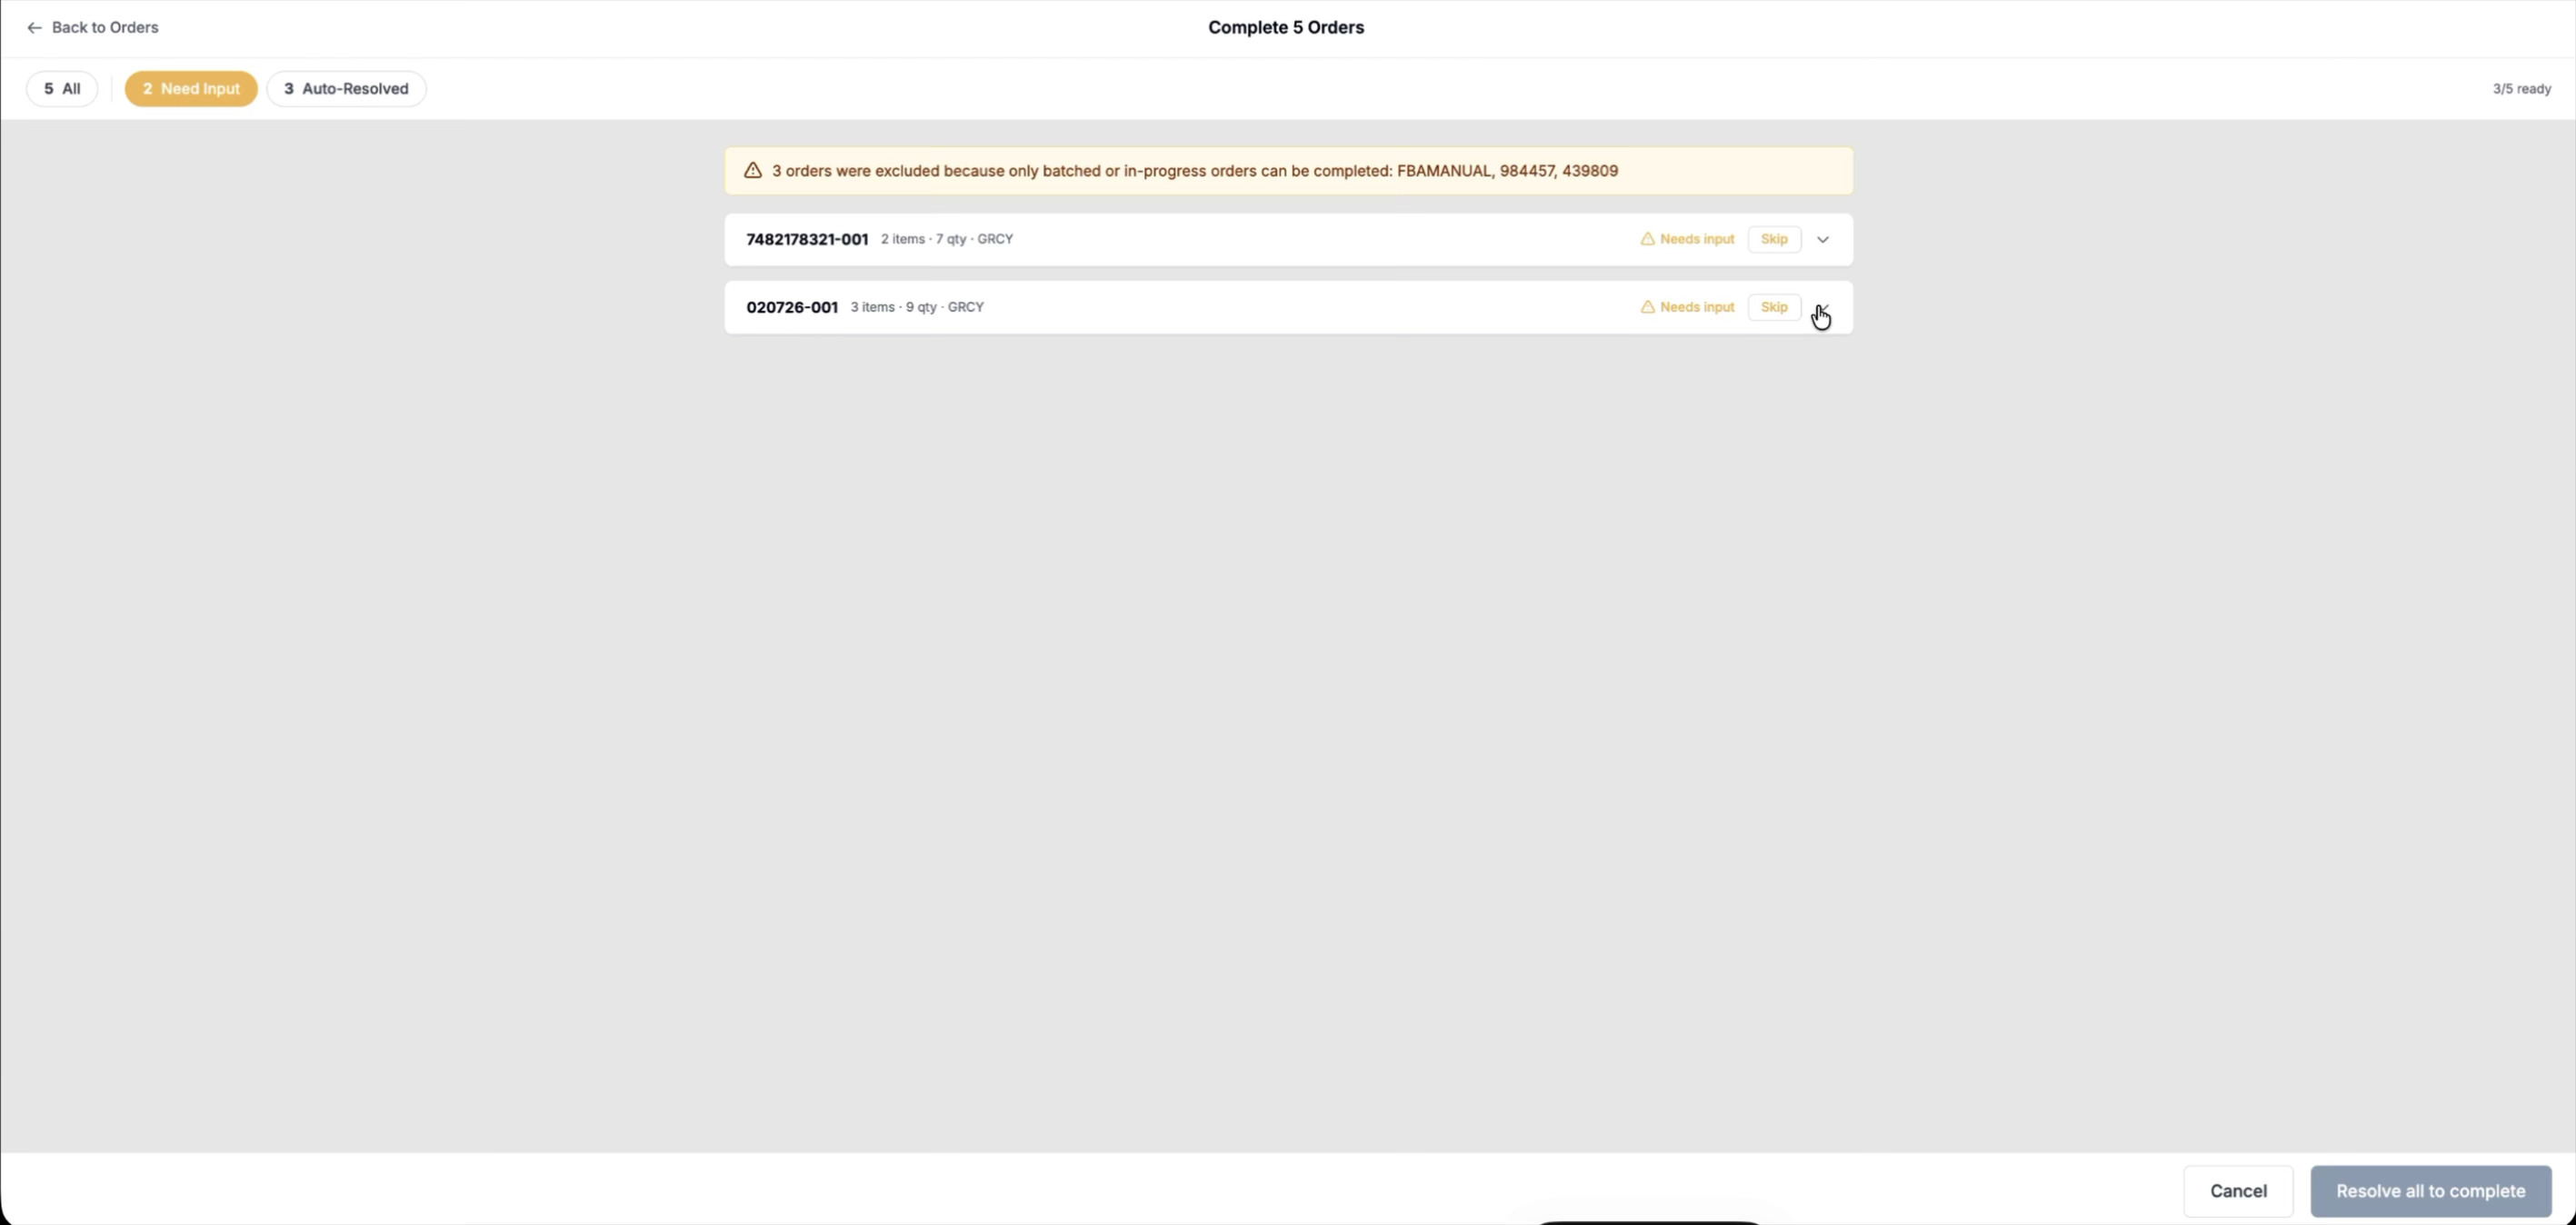
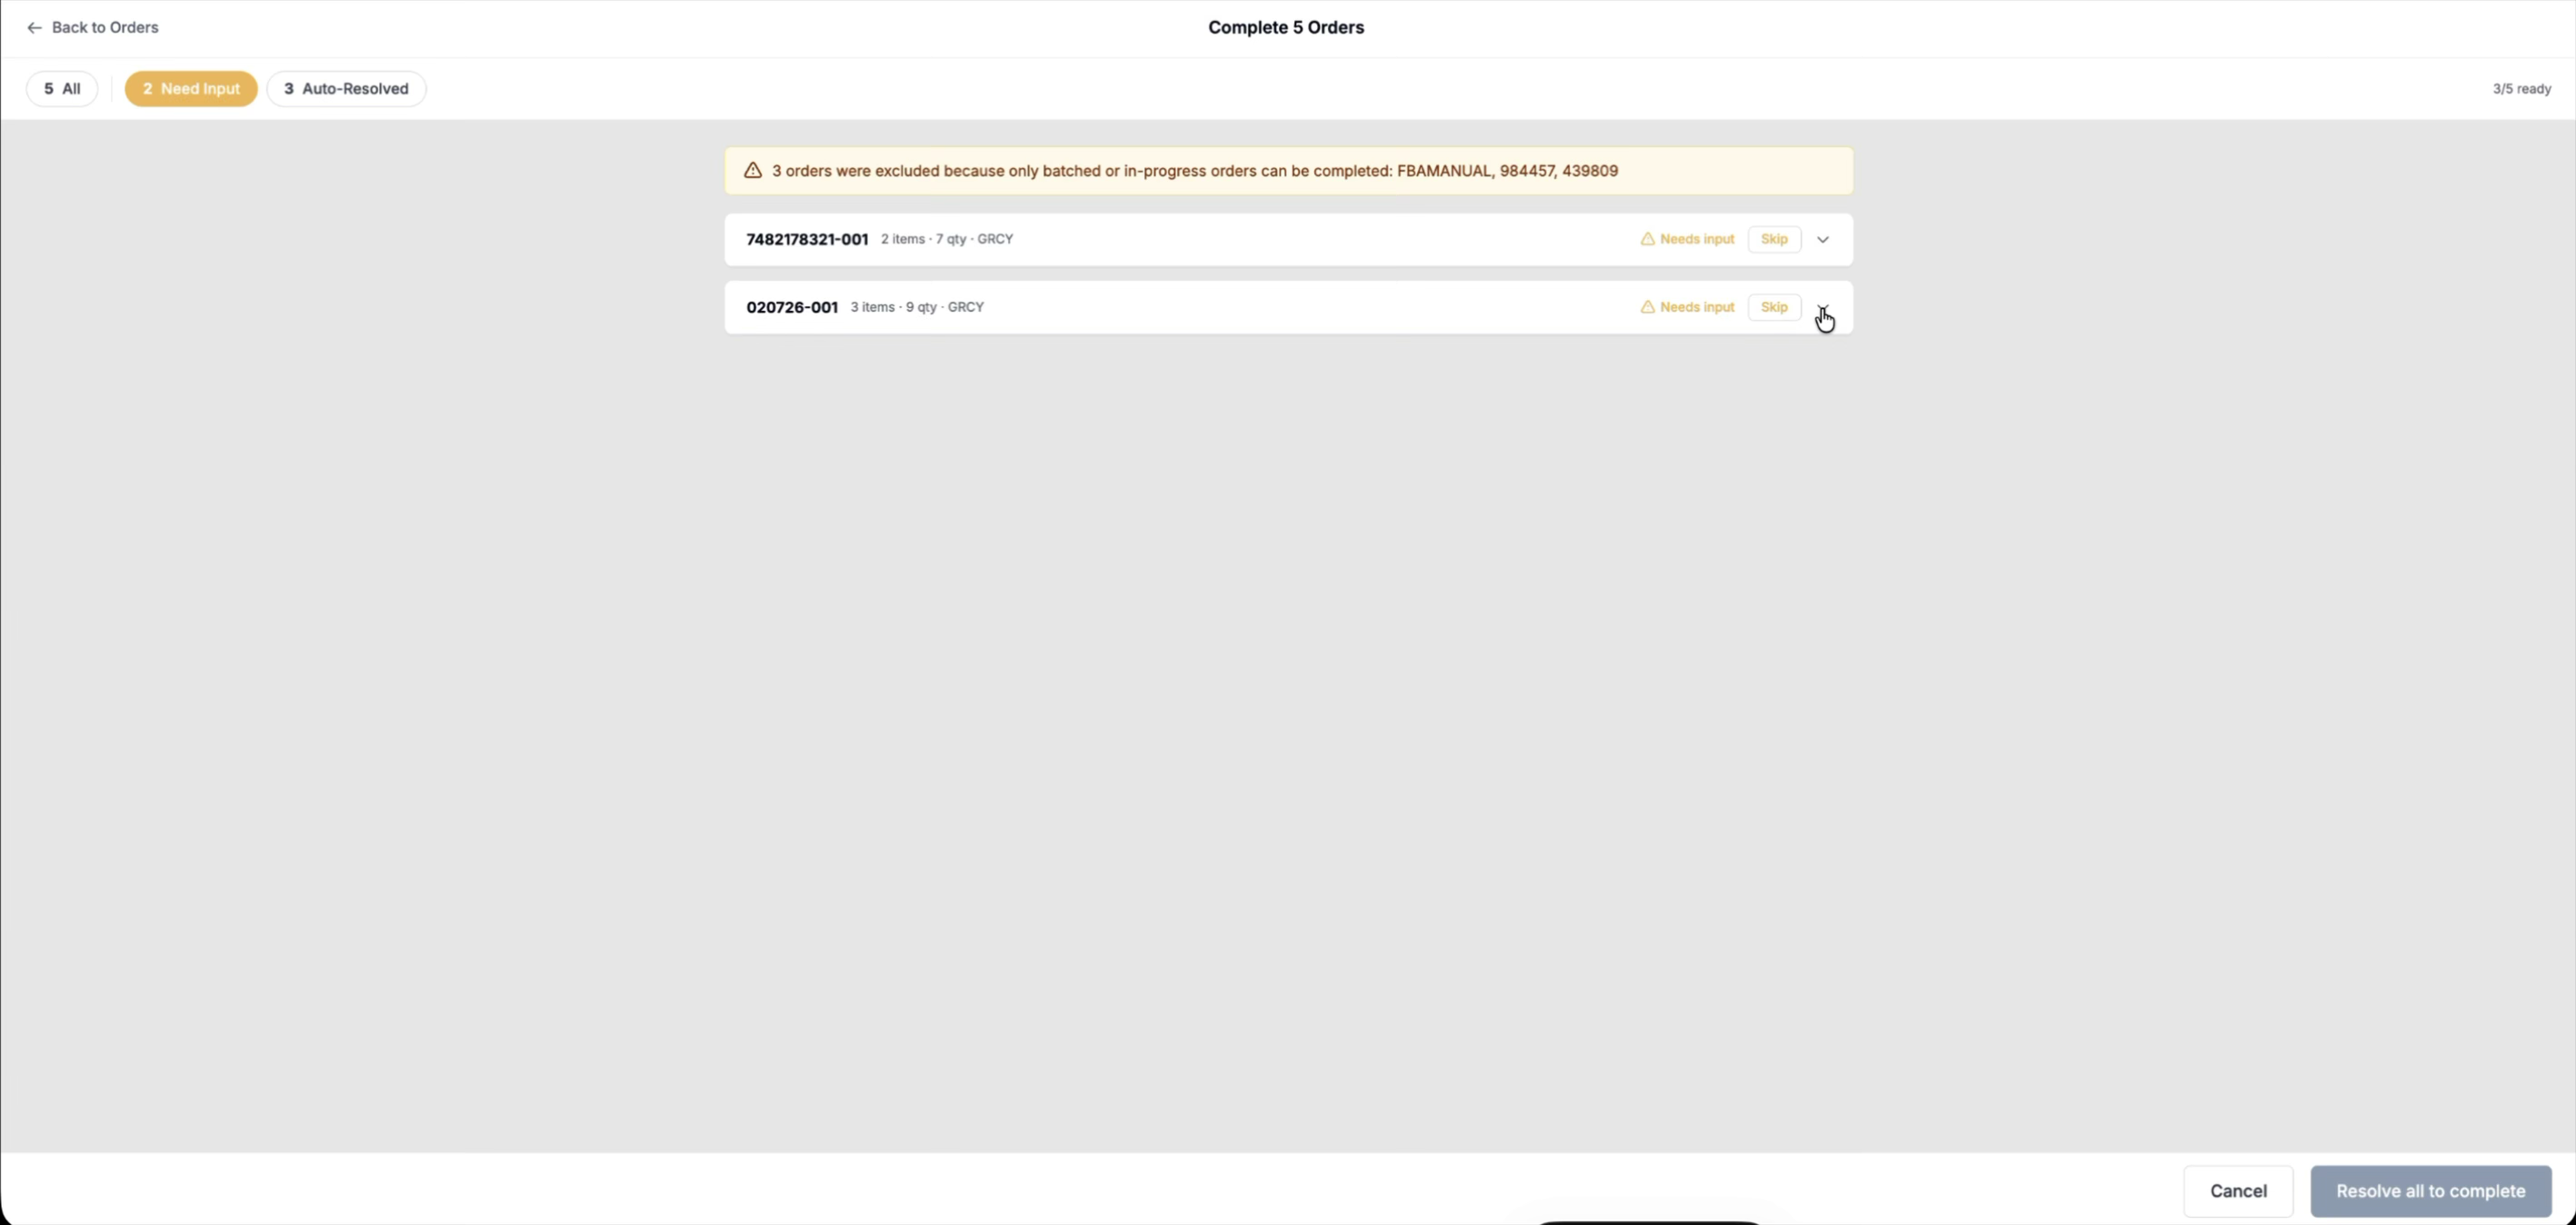
If the system can auto-resolve an order based on available inventory, it will do so automatically when you expand it.
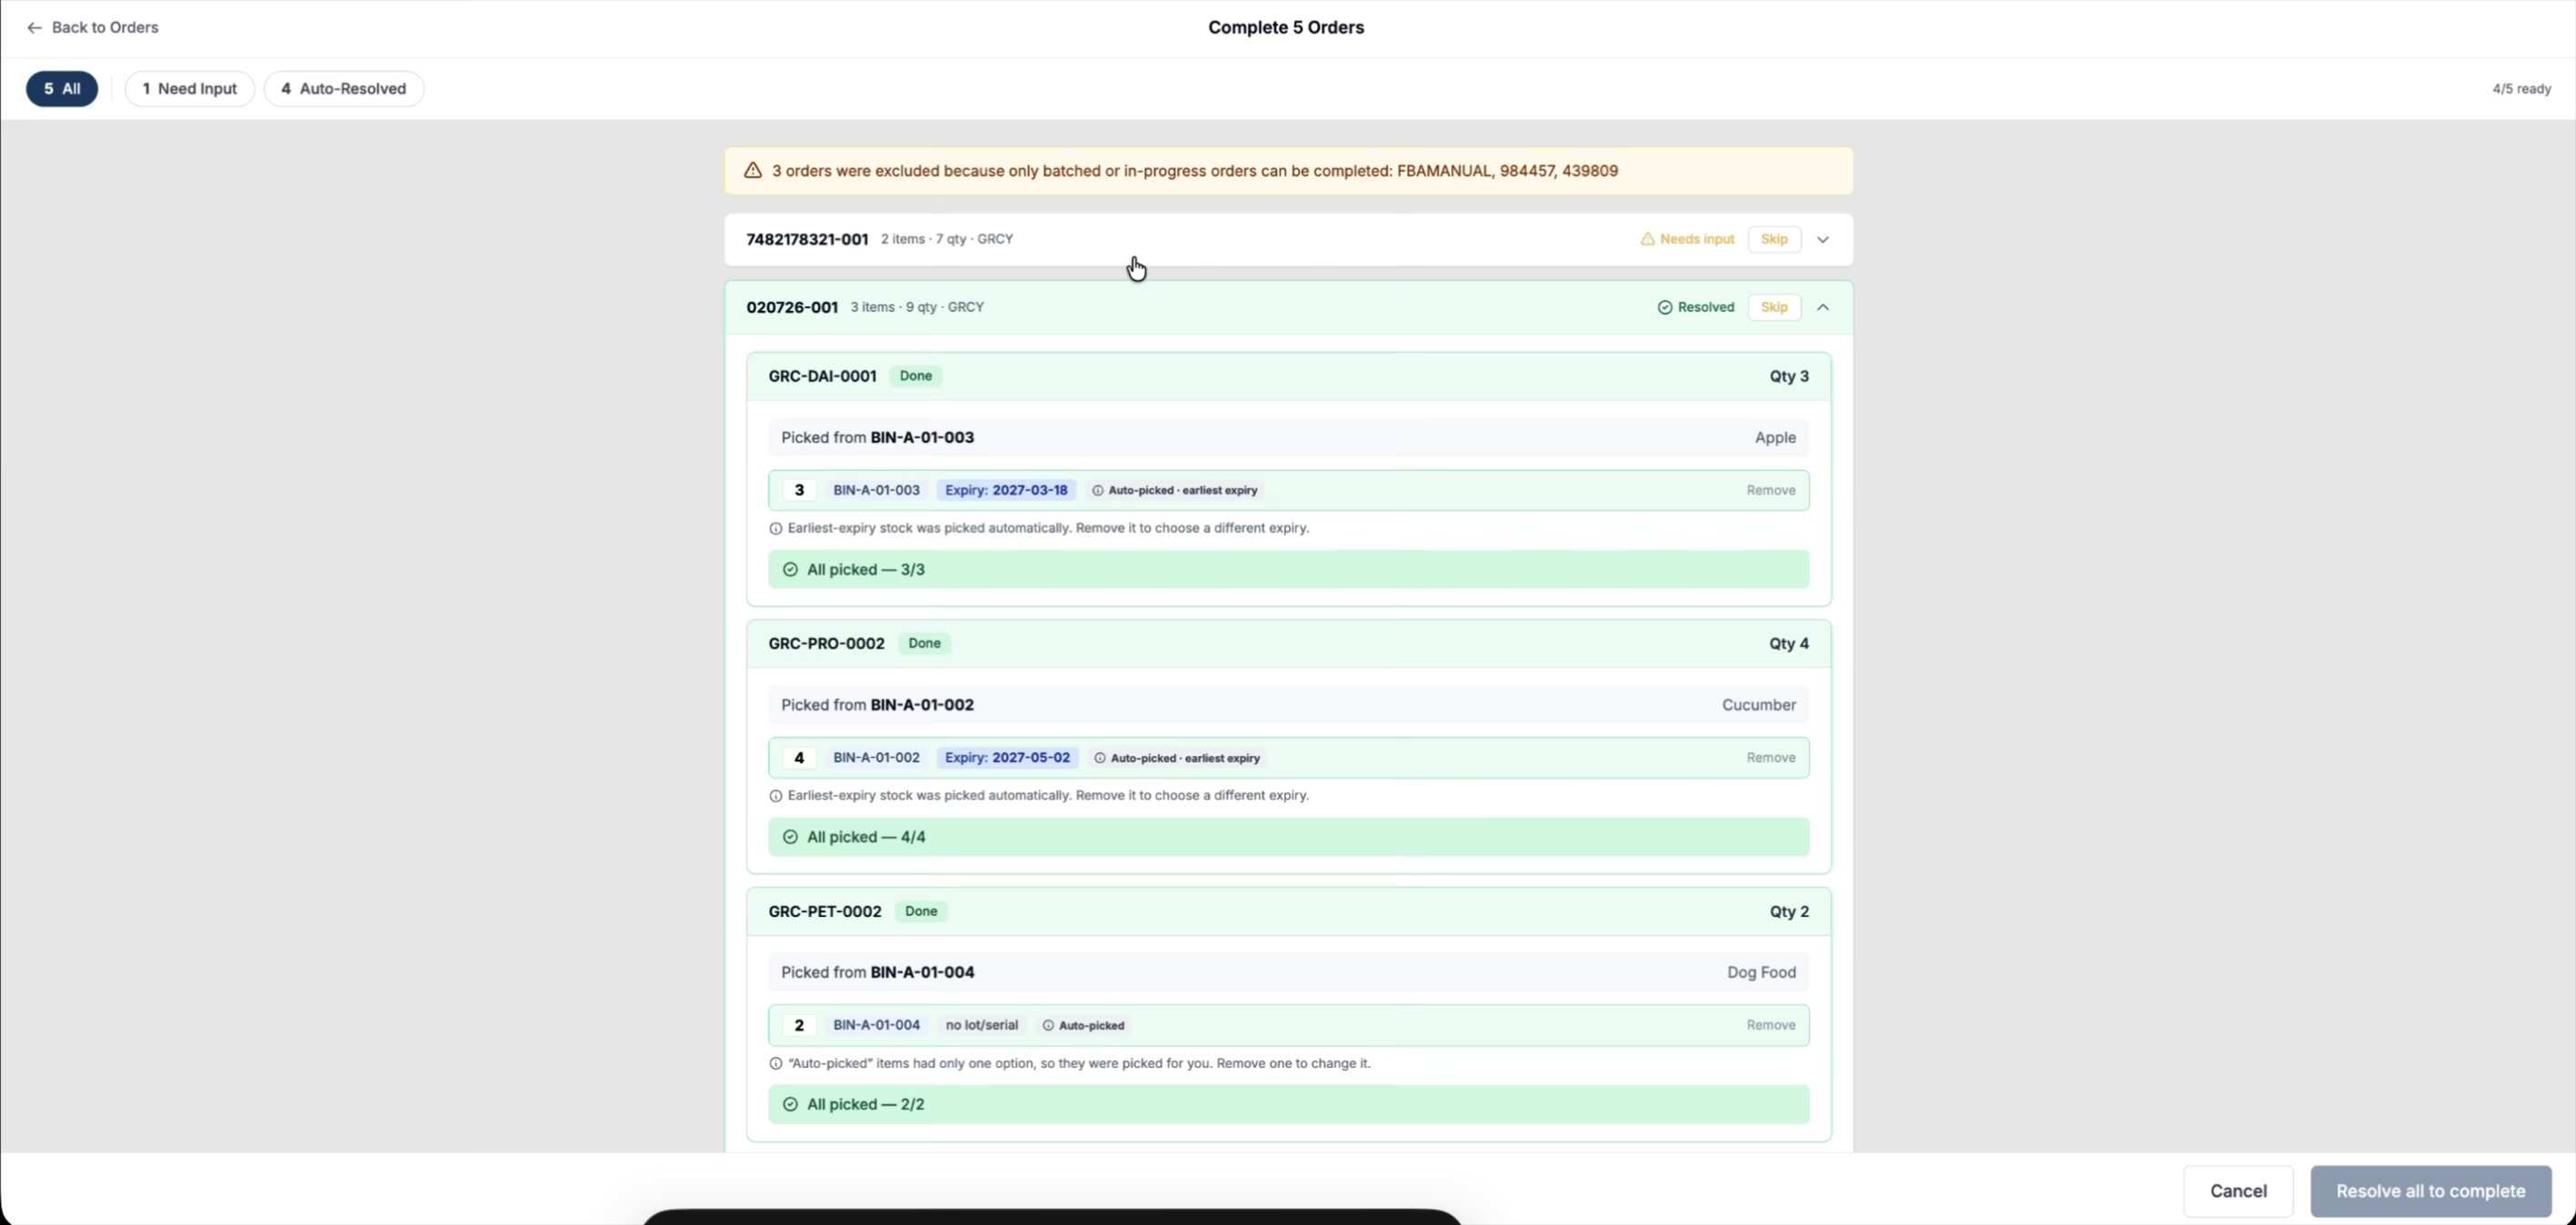
You can also access and manage any order from the “All” list:
-
Expand an order to specify what needs to be picked and from which location.
-
Adjust the proposed allocations as needed before proceeding.
Step 6: Skip Orders You Do Not Want to Complete
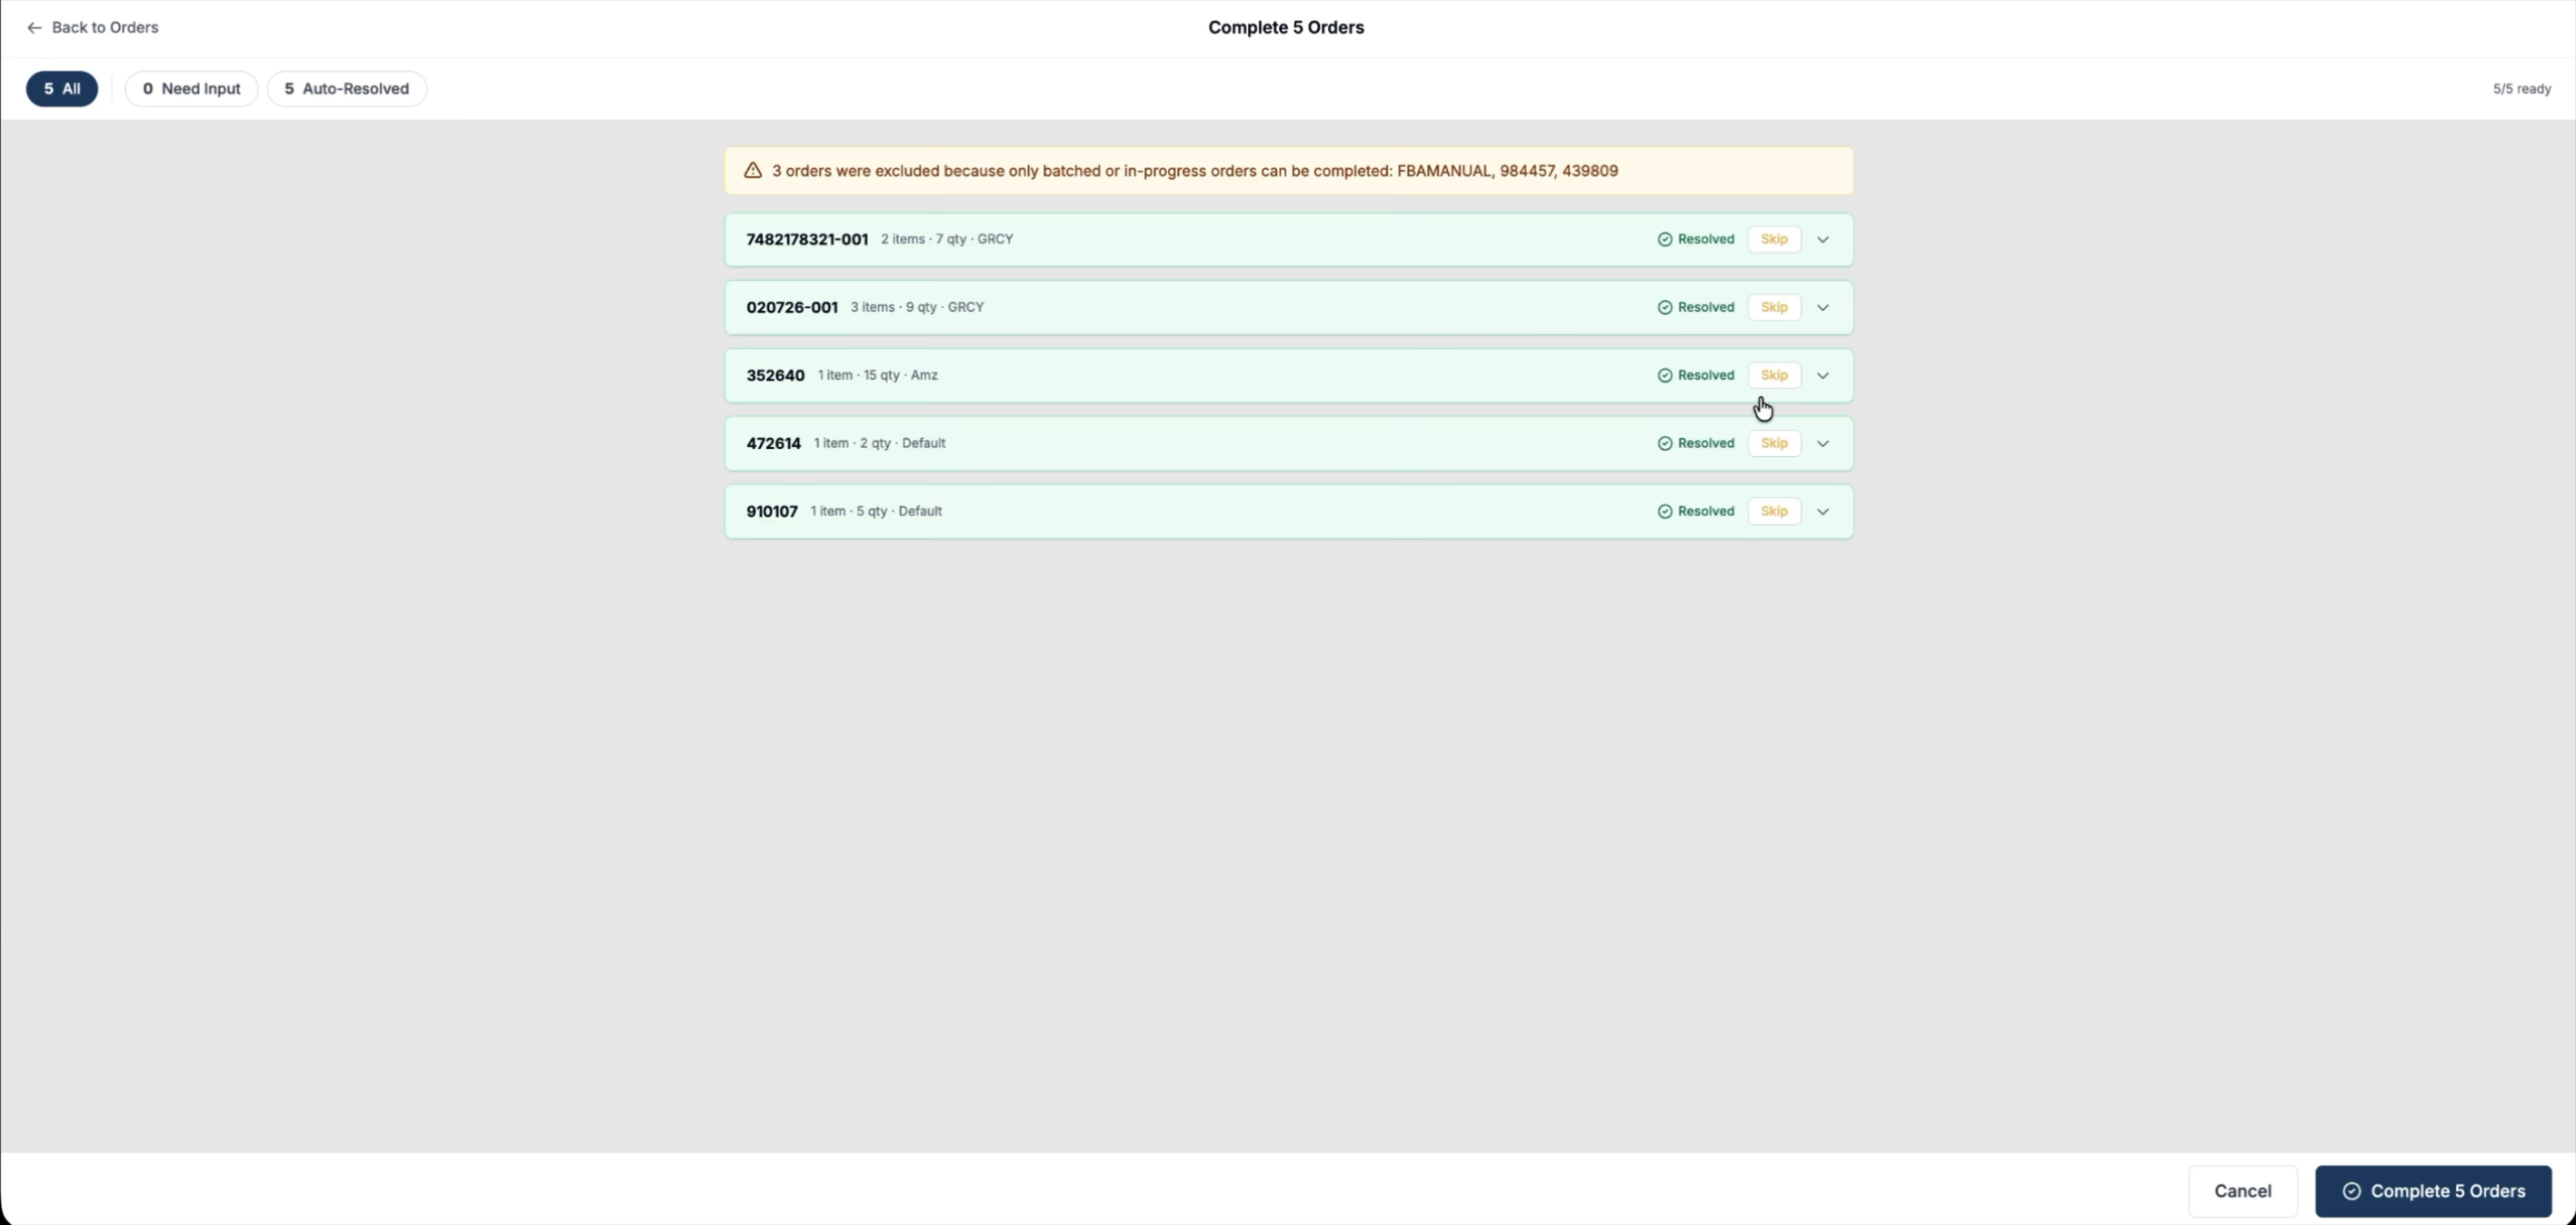
If there are orders you do not wish to complete in this bulk run, use the skip option to remove them from the current completion set.
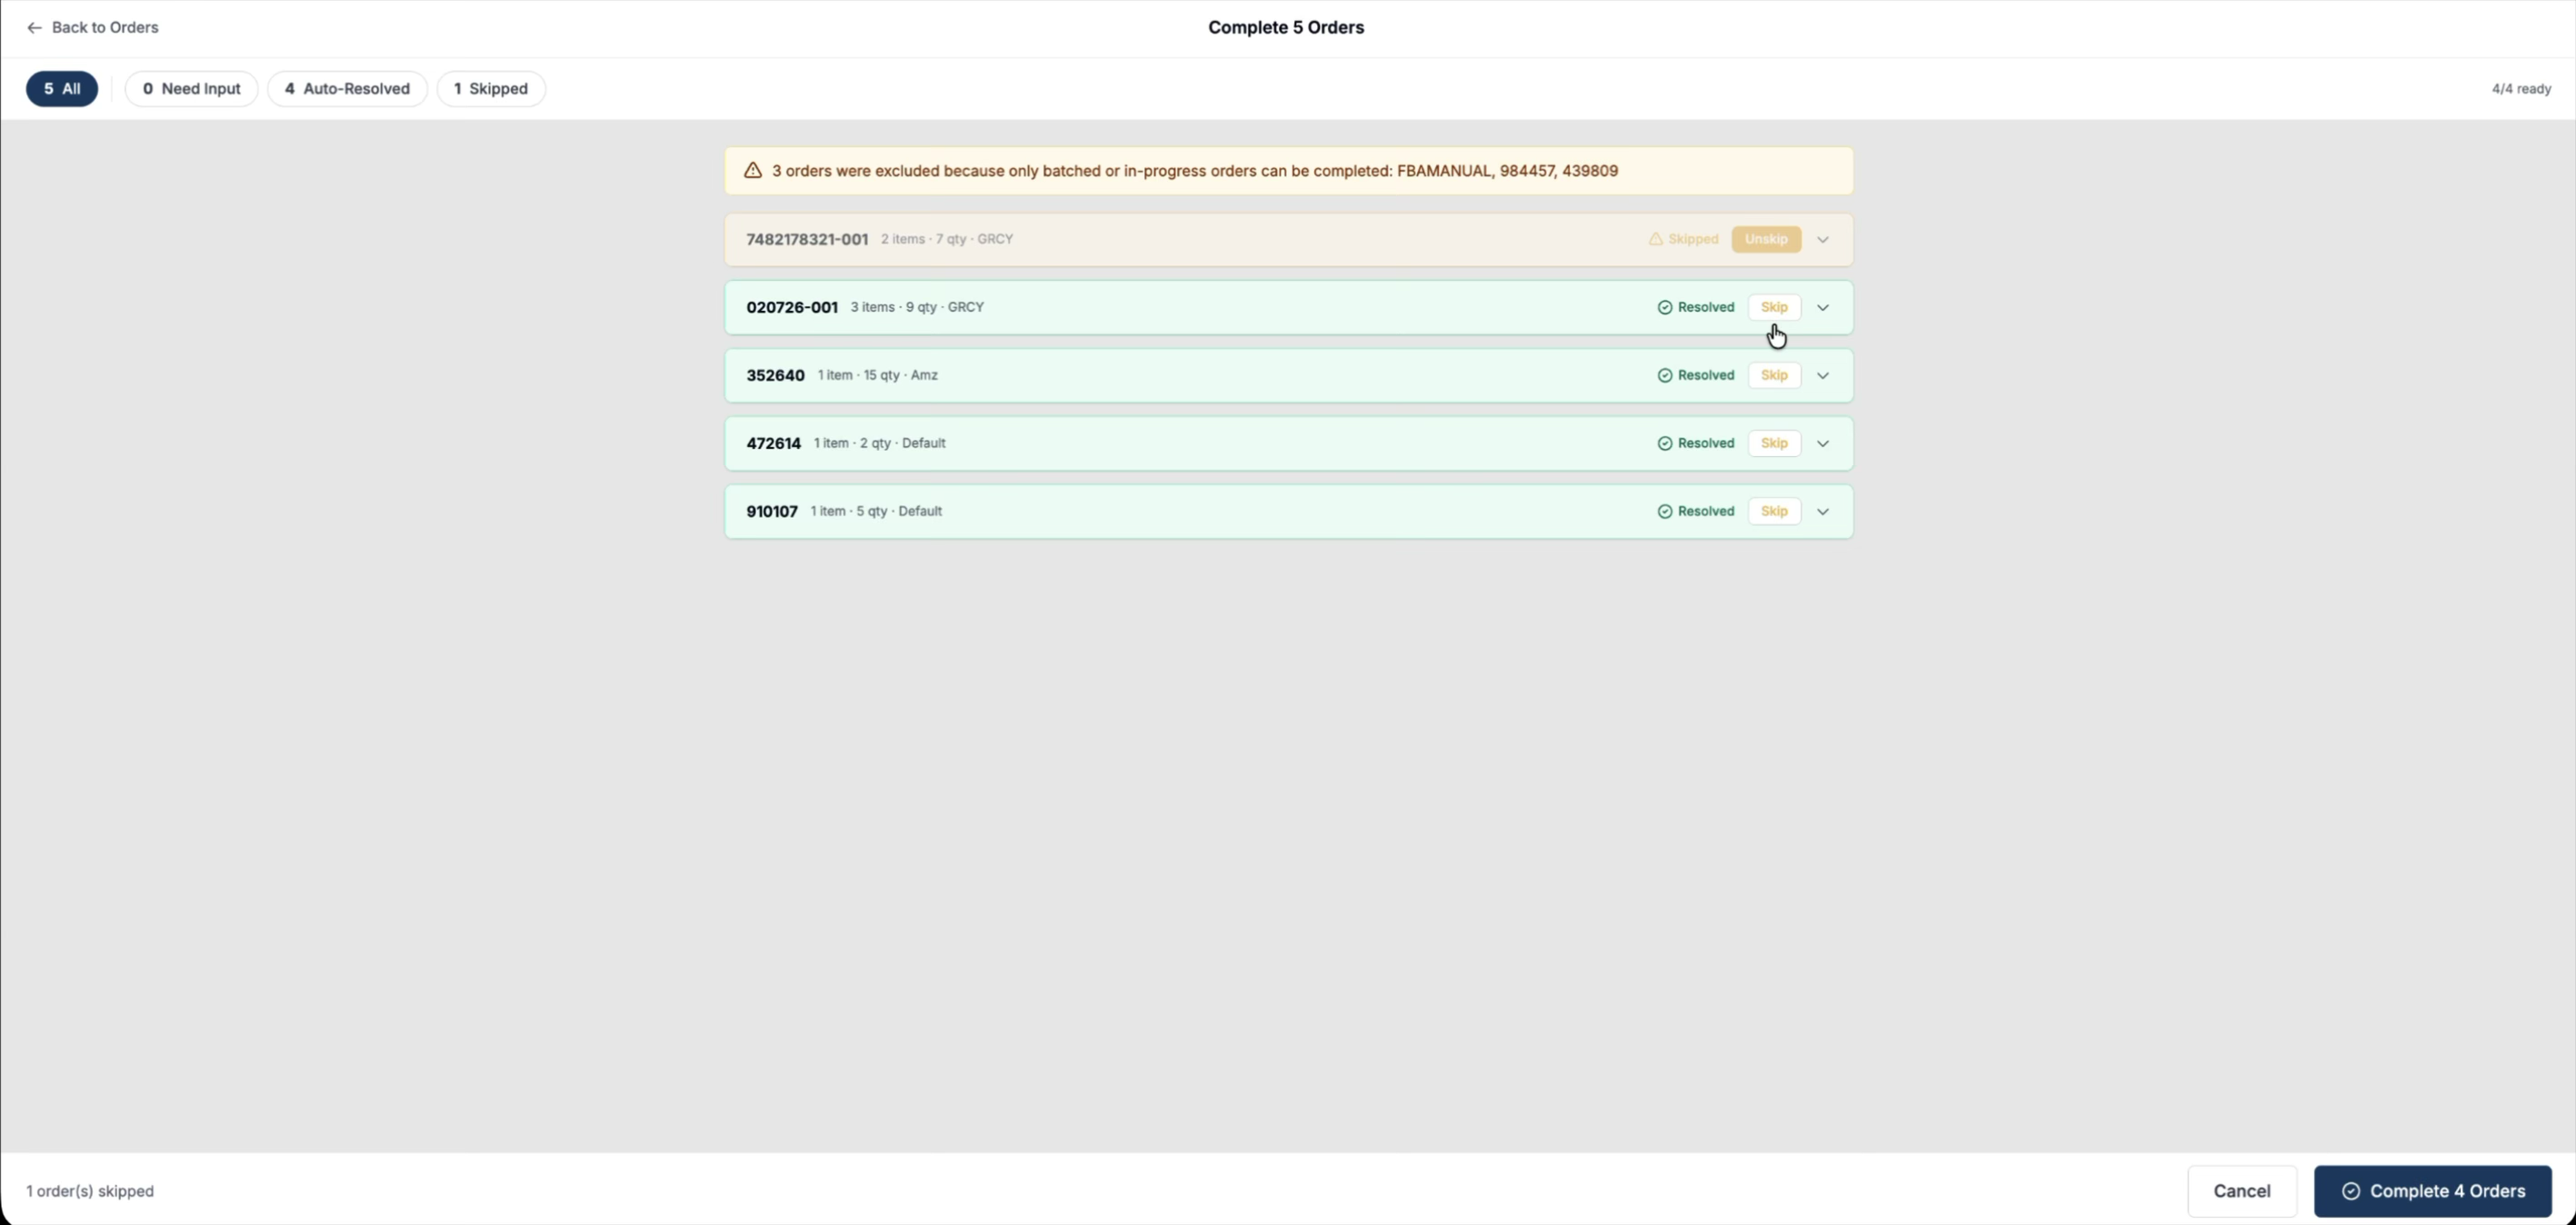
For example, if you decide not to resolve a particular order, simply skip it; it is removed from the set, and the skip is tracked and can be filtered for later review.
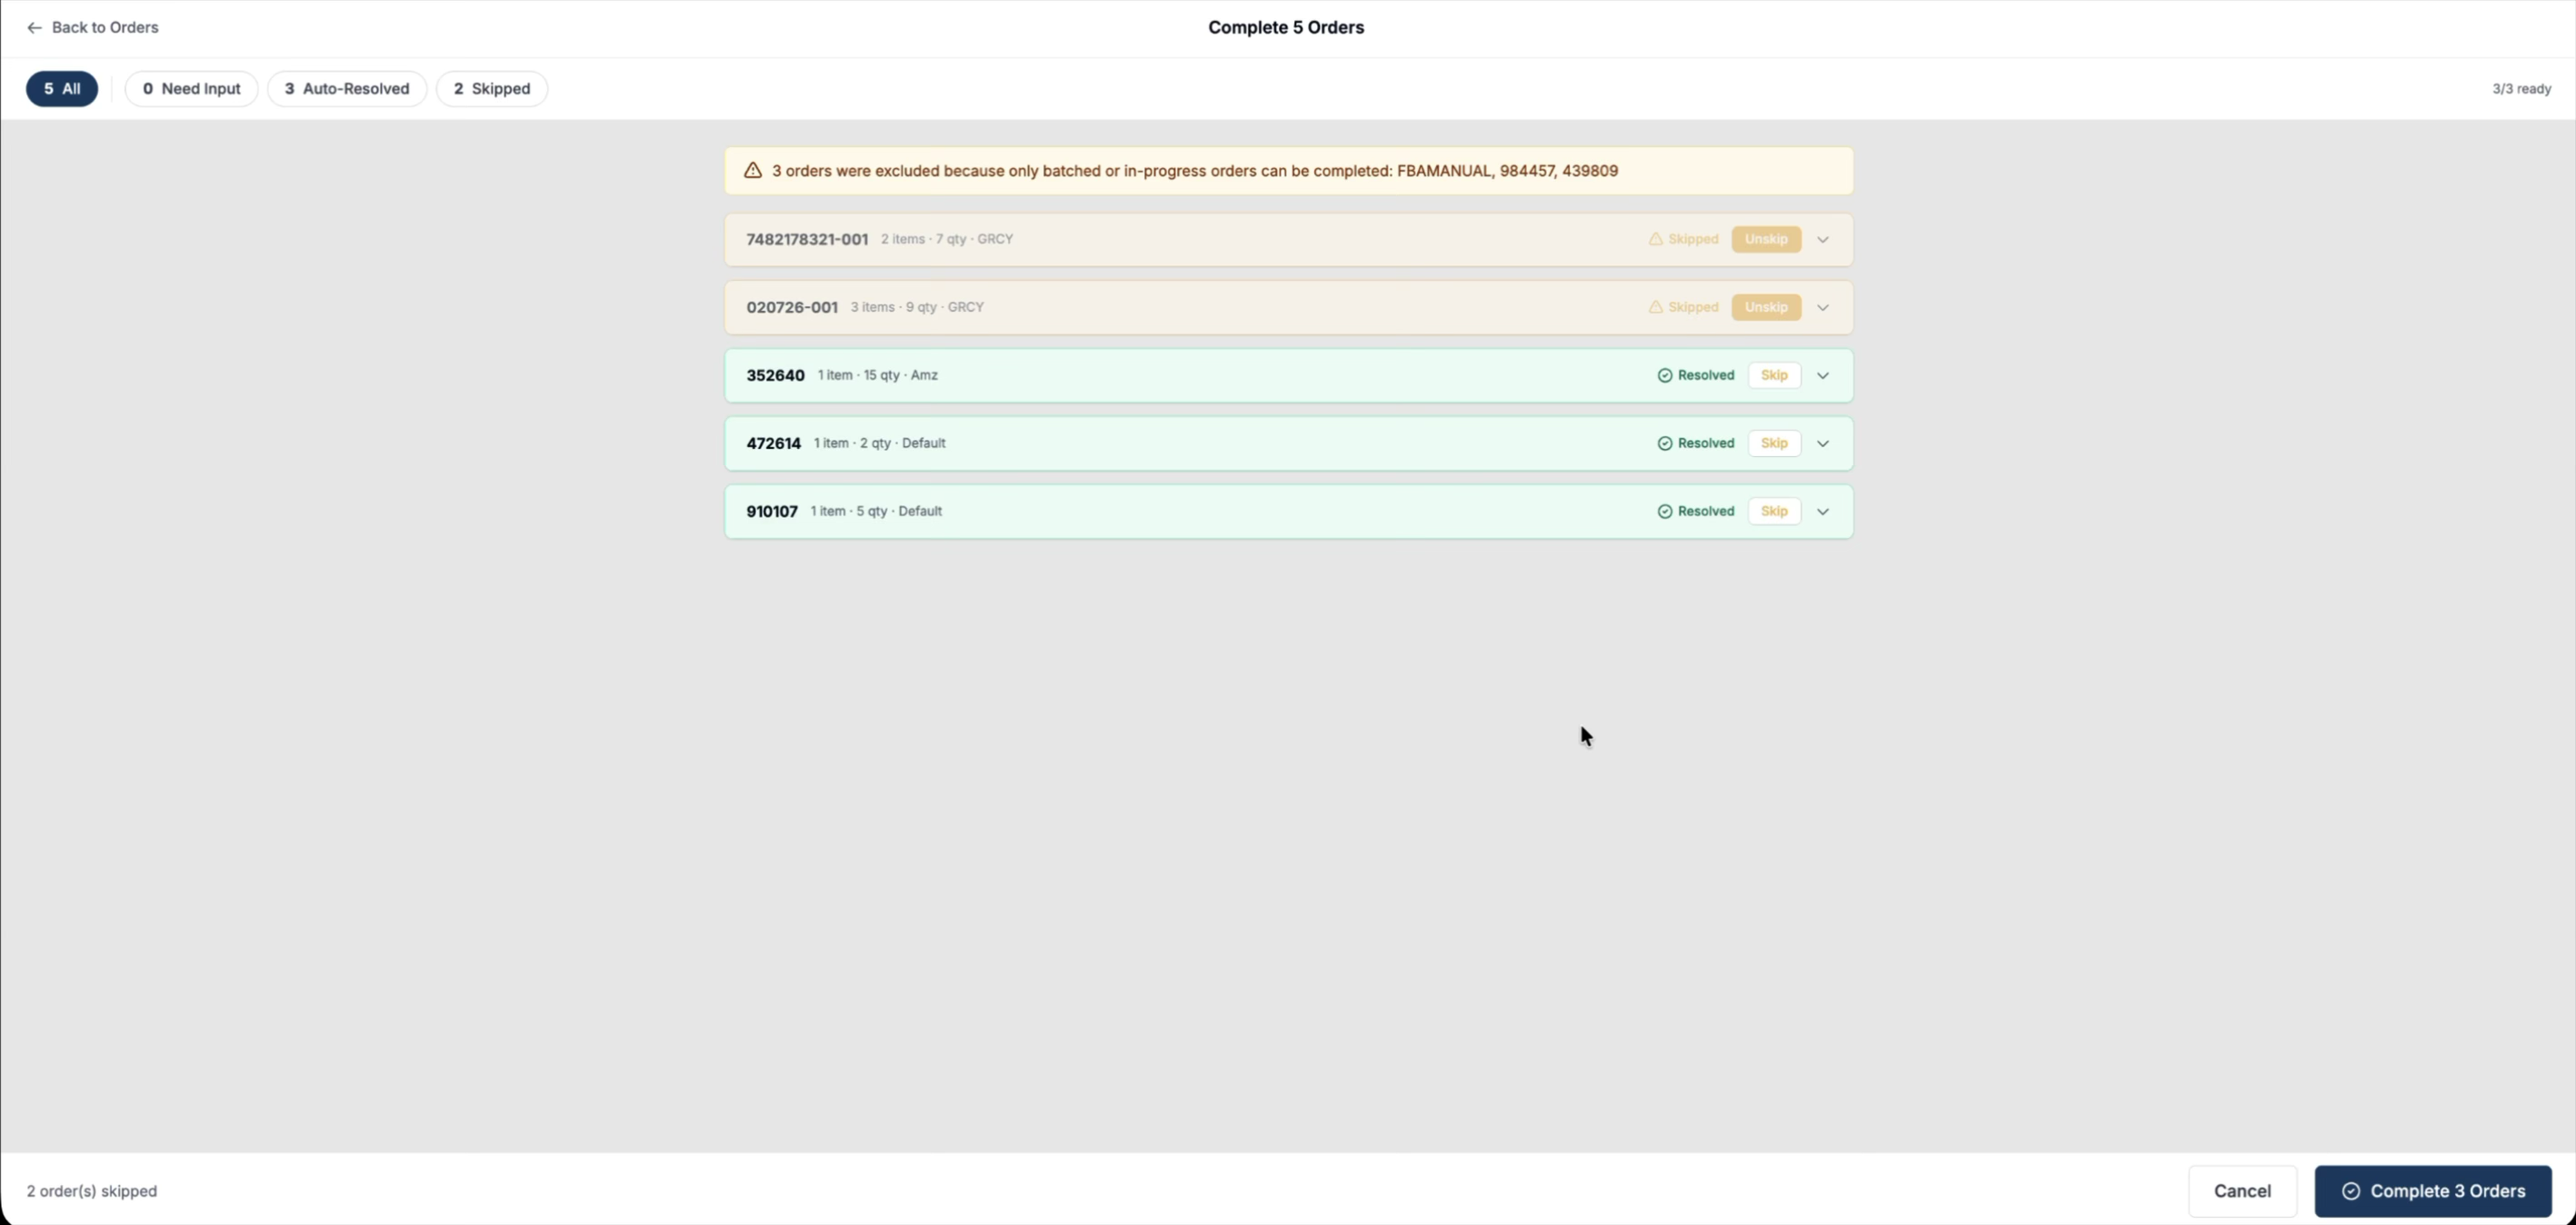
You can skip multiple orders if required, and then proceed to complete the remaining ones.
Step 7: Complete Orders and Review Results
Confirm completion for the remaining selected orders. The system processes them one by one and displays the outcome for each.
If an order fails to complete—such as when the chosen inventory has been allocated to another order—this failure is explicitly tracked.
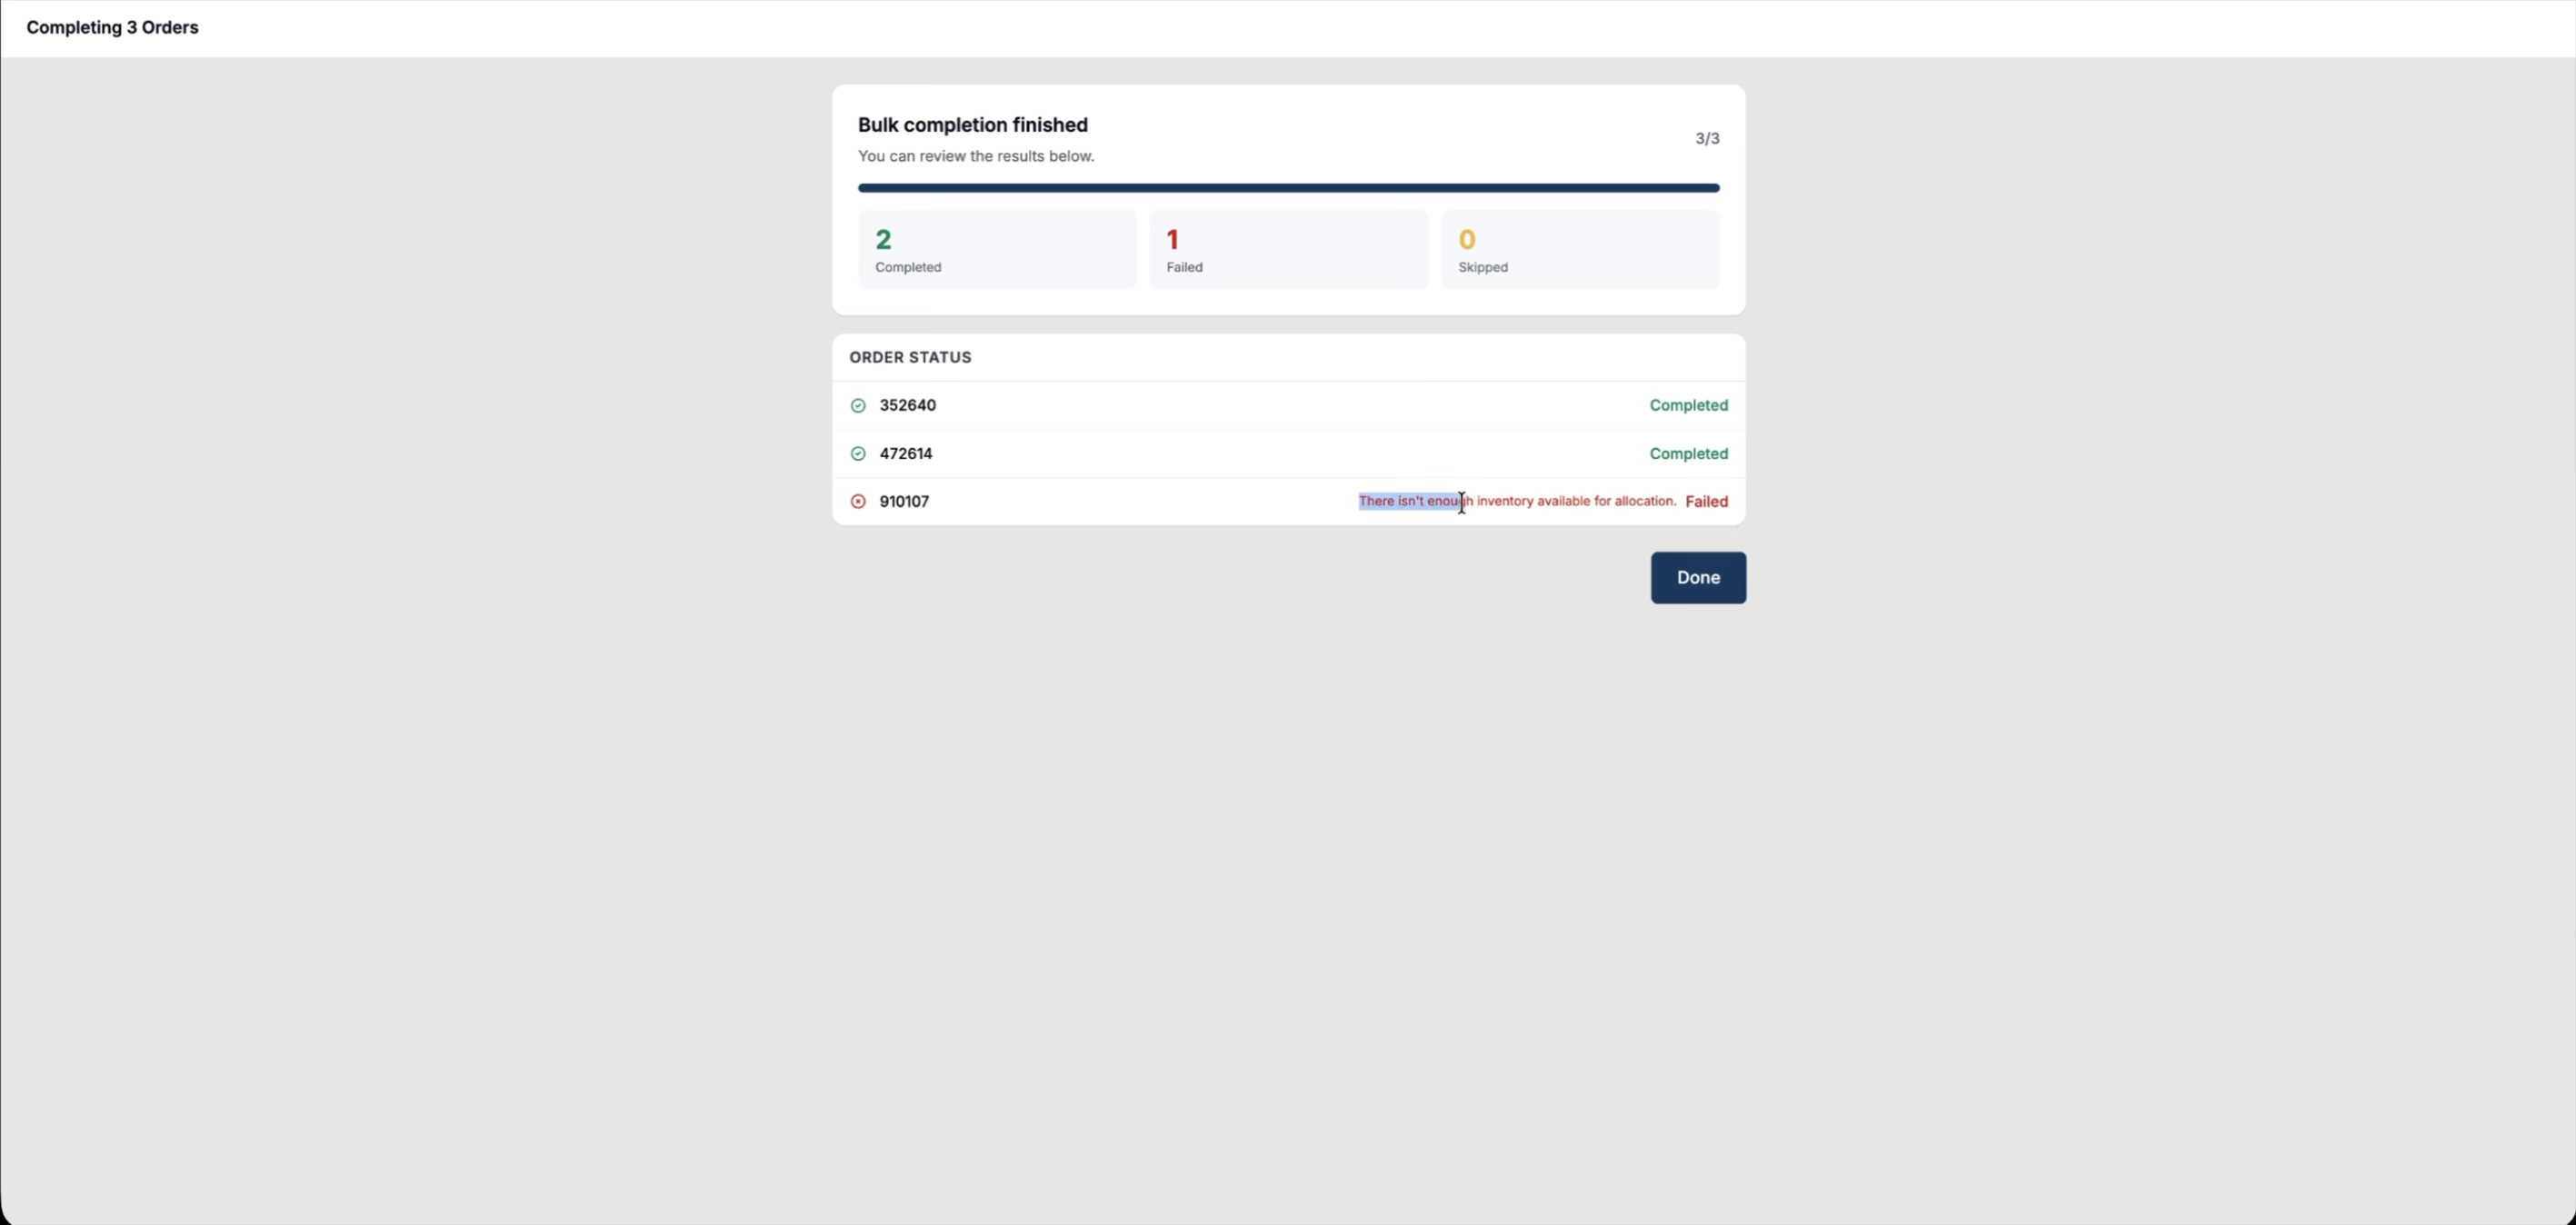
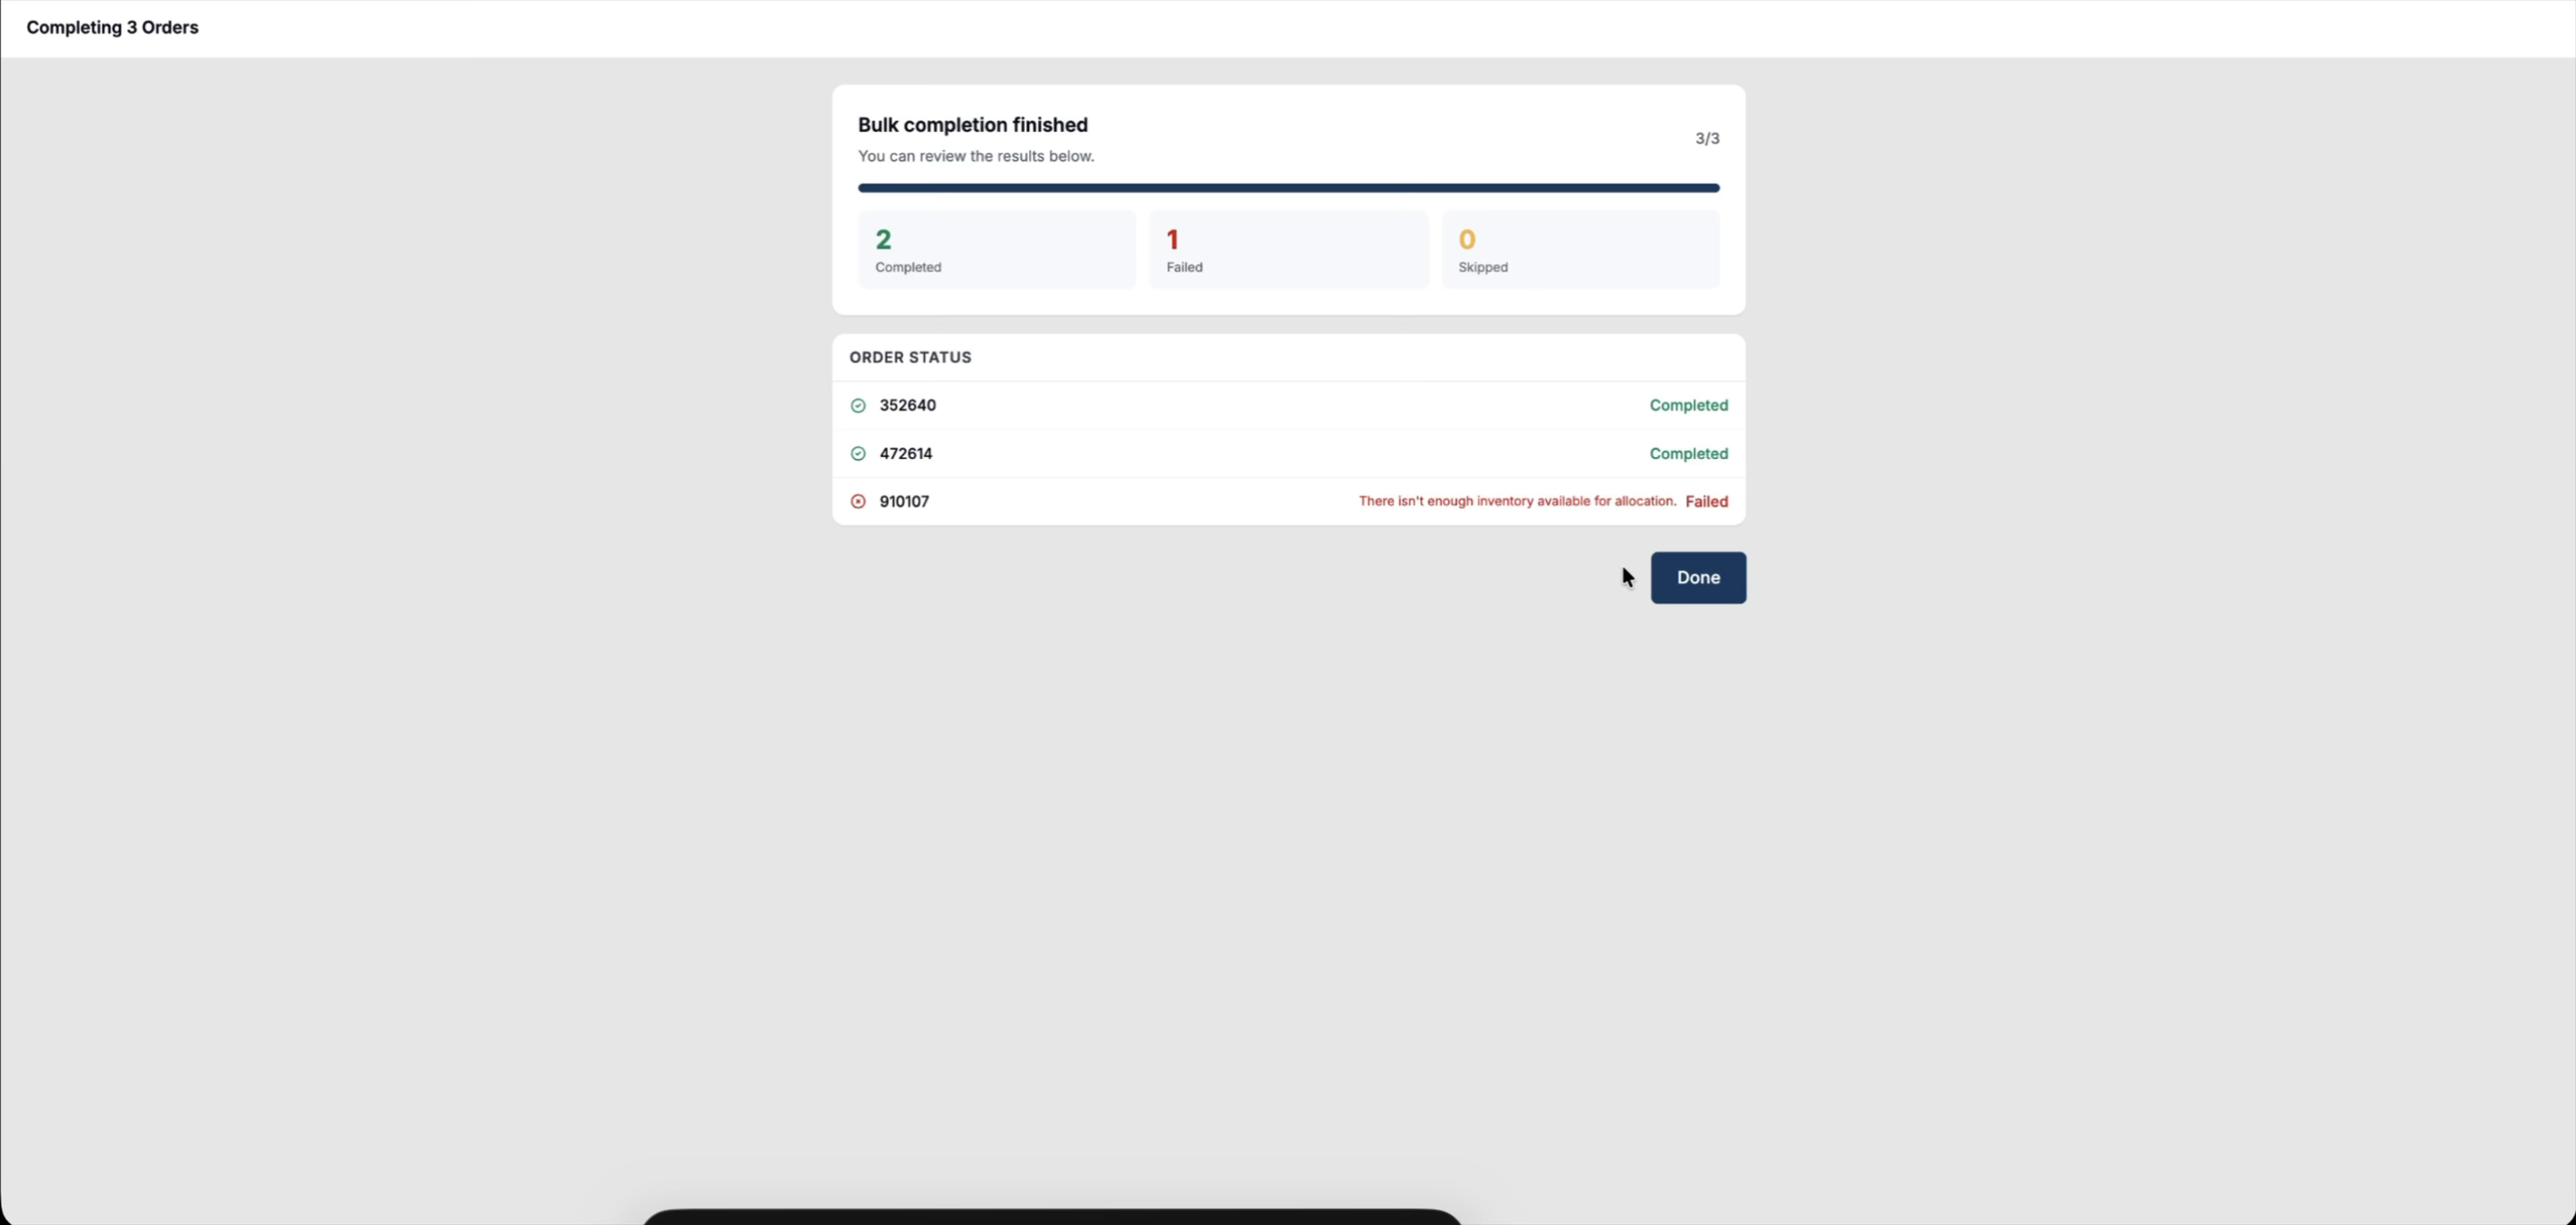
You can then take corrective actions based on these failures. All results (successes, failures, and skips) are recorded in this view, and you can return to this screen later even after hiding it.