
Integration Management V2 with Integration Health and Credentials
This document explains how to use the enhanced Integration Management interface to view, filter, and manage both client-level and global integrations, check connection health, and update or delete existing connections.
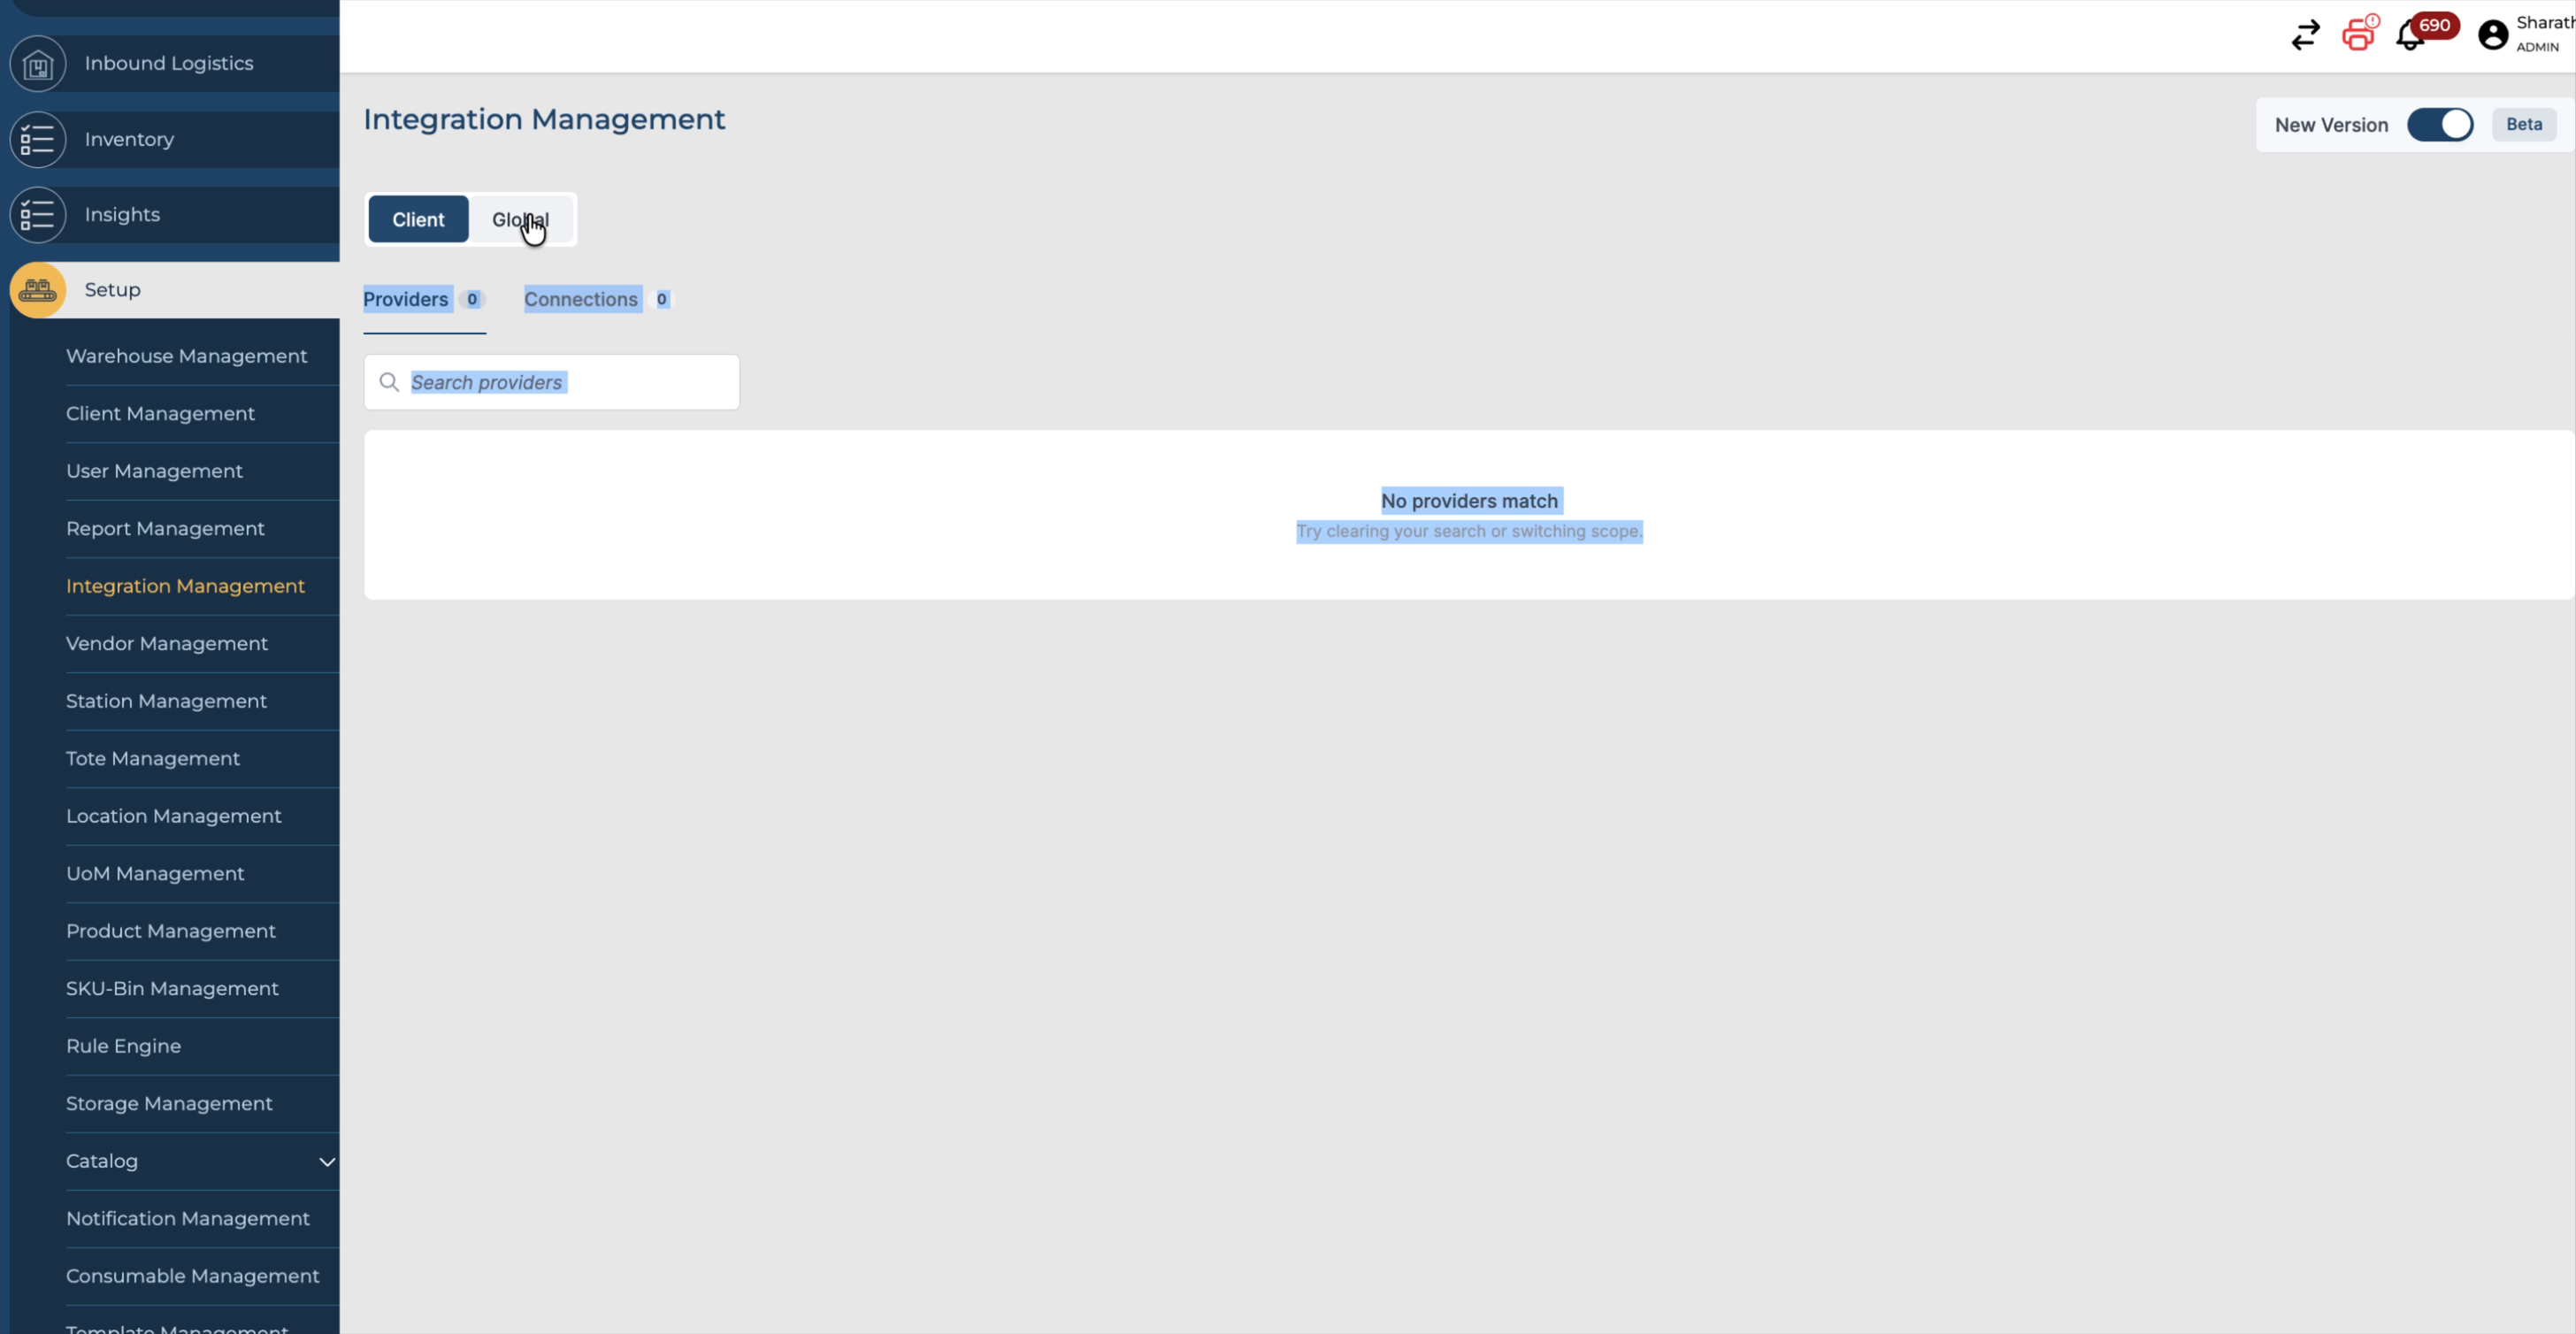
Step 1: Access and Switch Between Client and Global Tabs
The new Integration Management interface provides two primary tabs: Client and Global, allowing you to manage integrations at different scopes.

Use these tabs to switch between client-specific integrations and global integrations as needed.
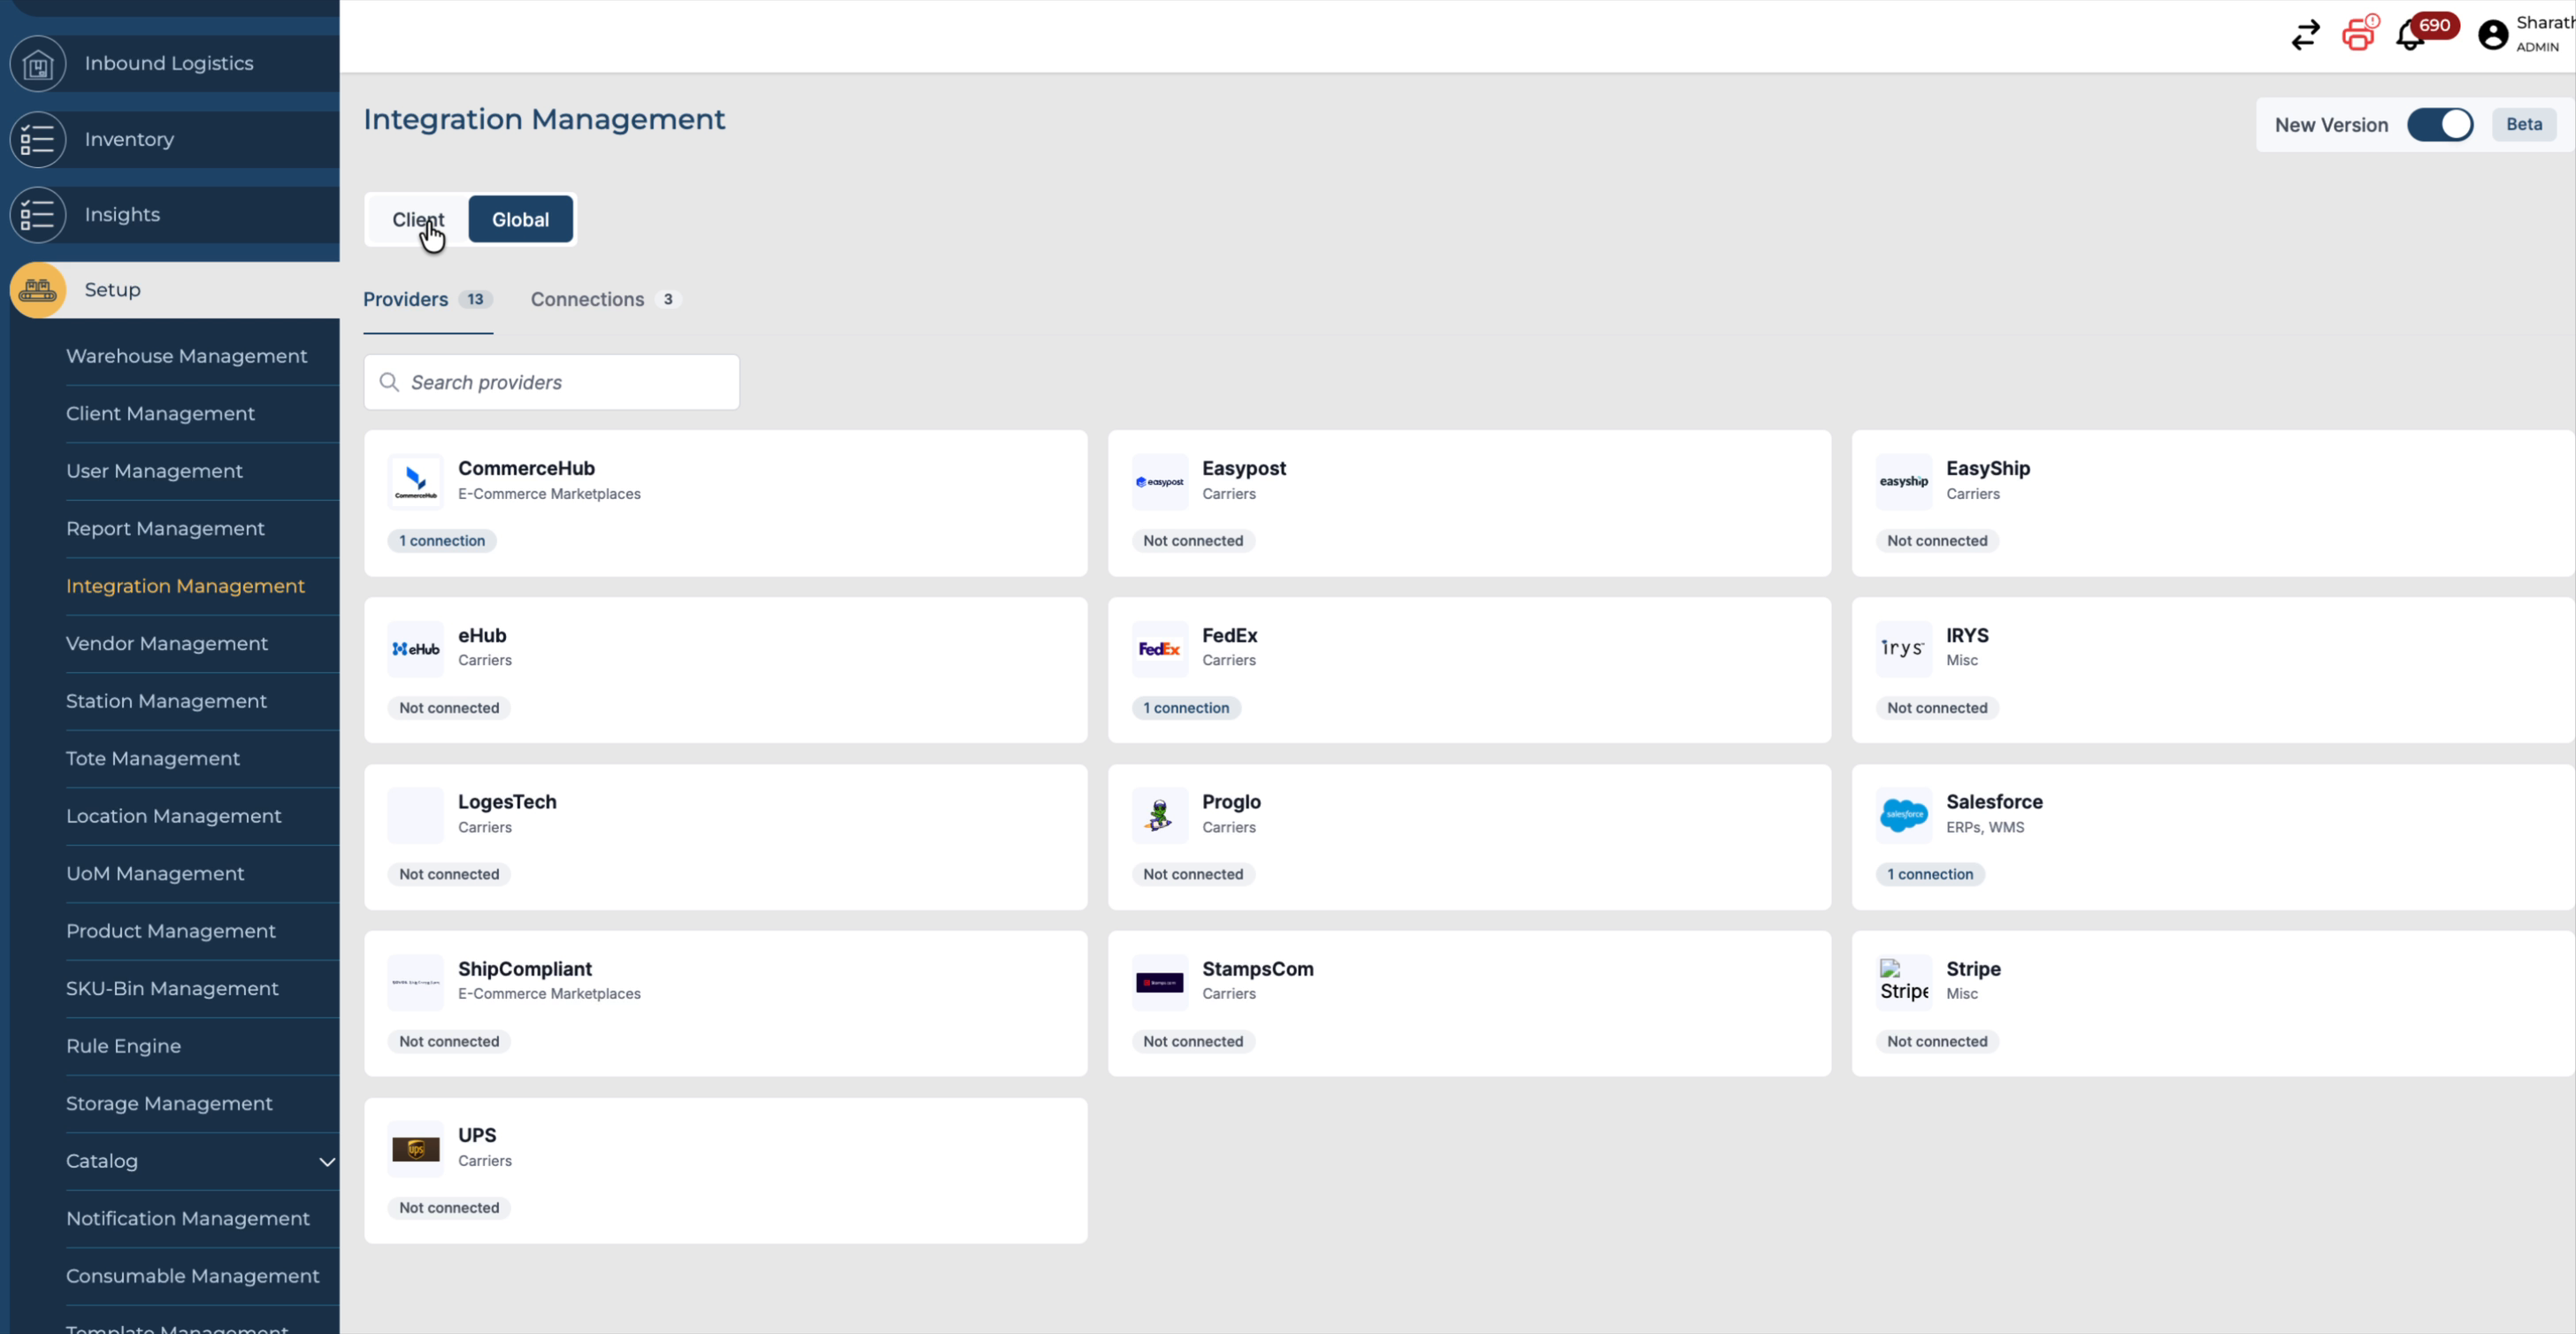
Step 2: Apply Filters for Warehouse, Client, and Integration Search
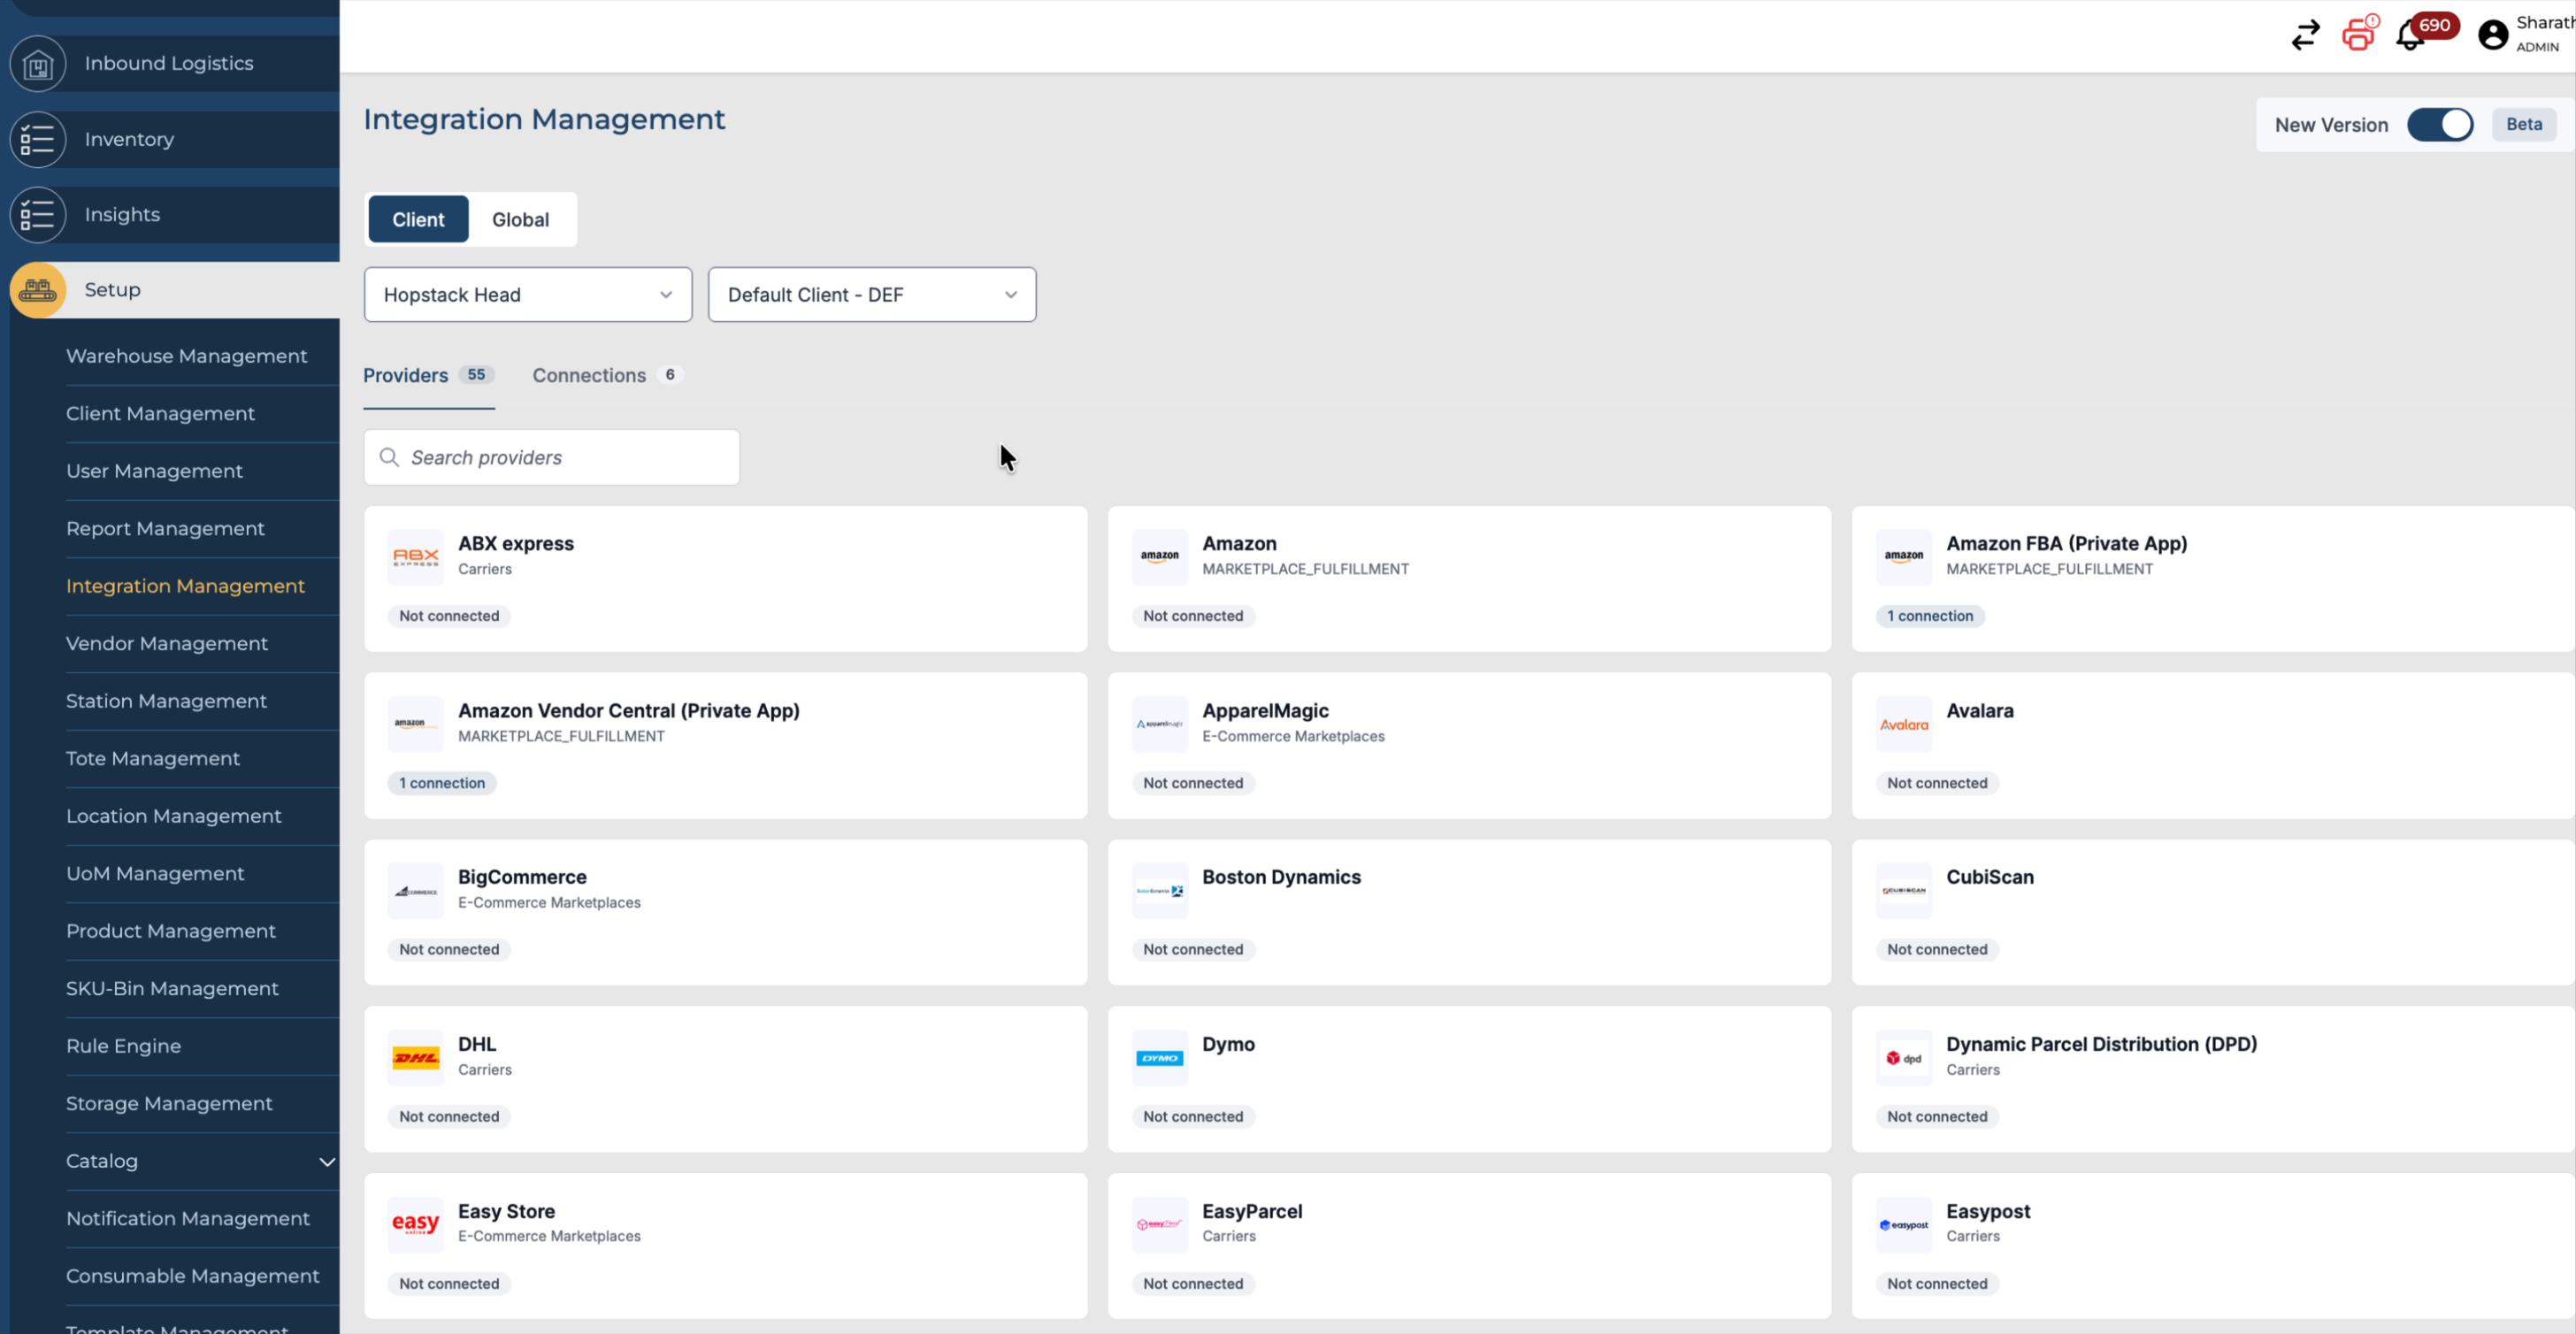
In the selected tab, use the available filters to narrow down the list of integrations.
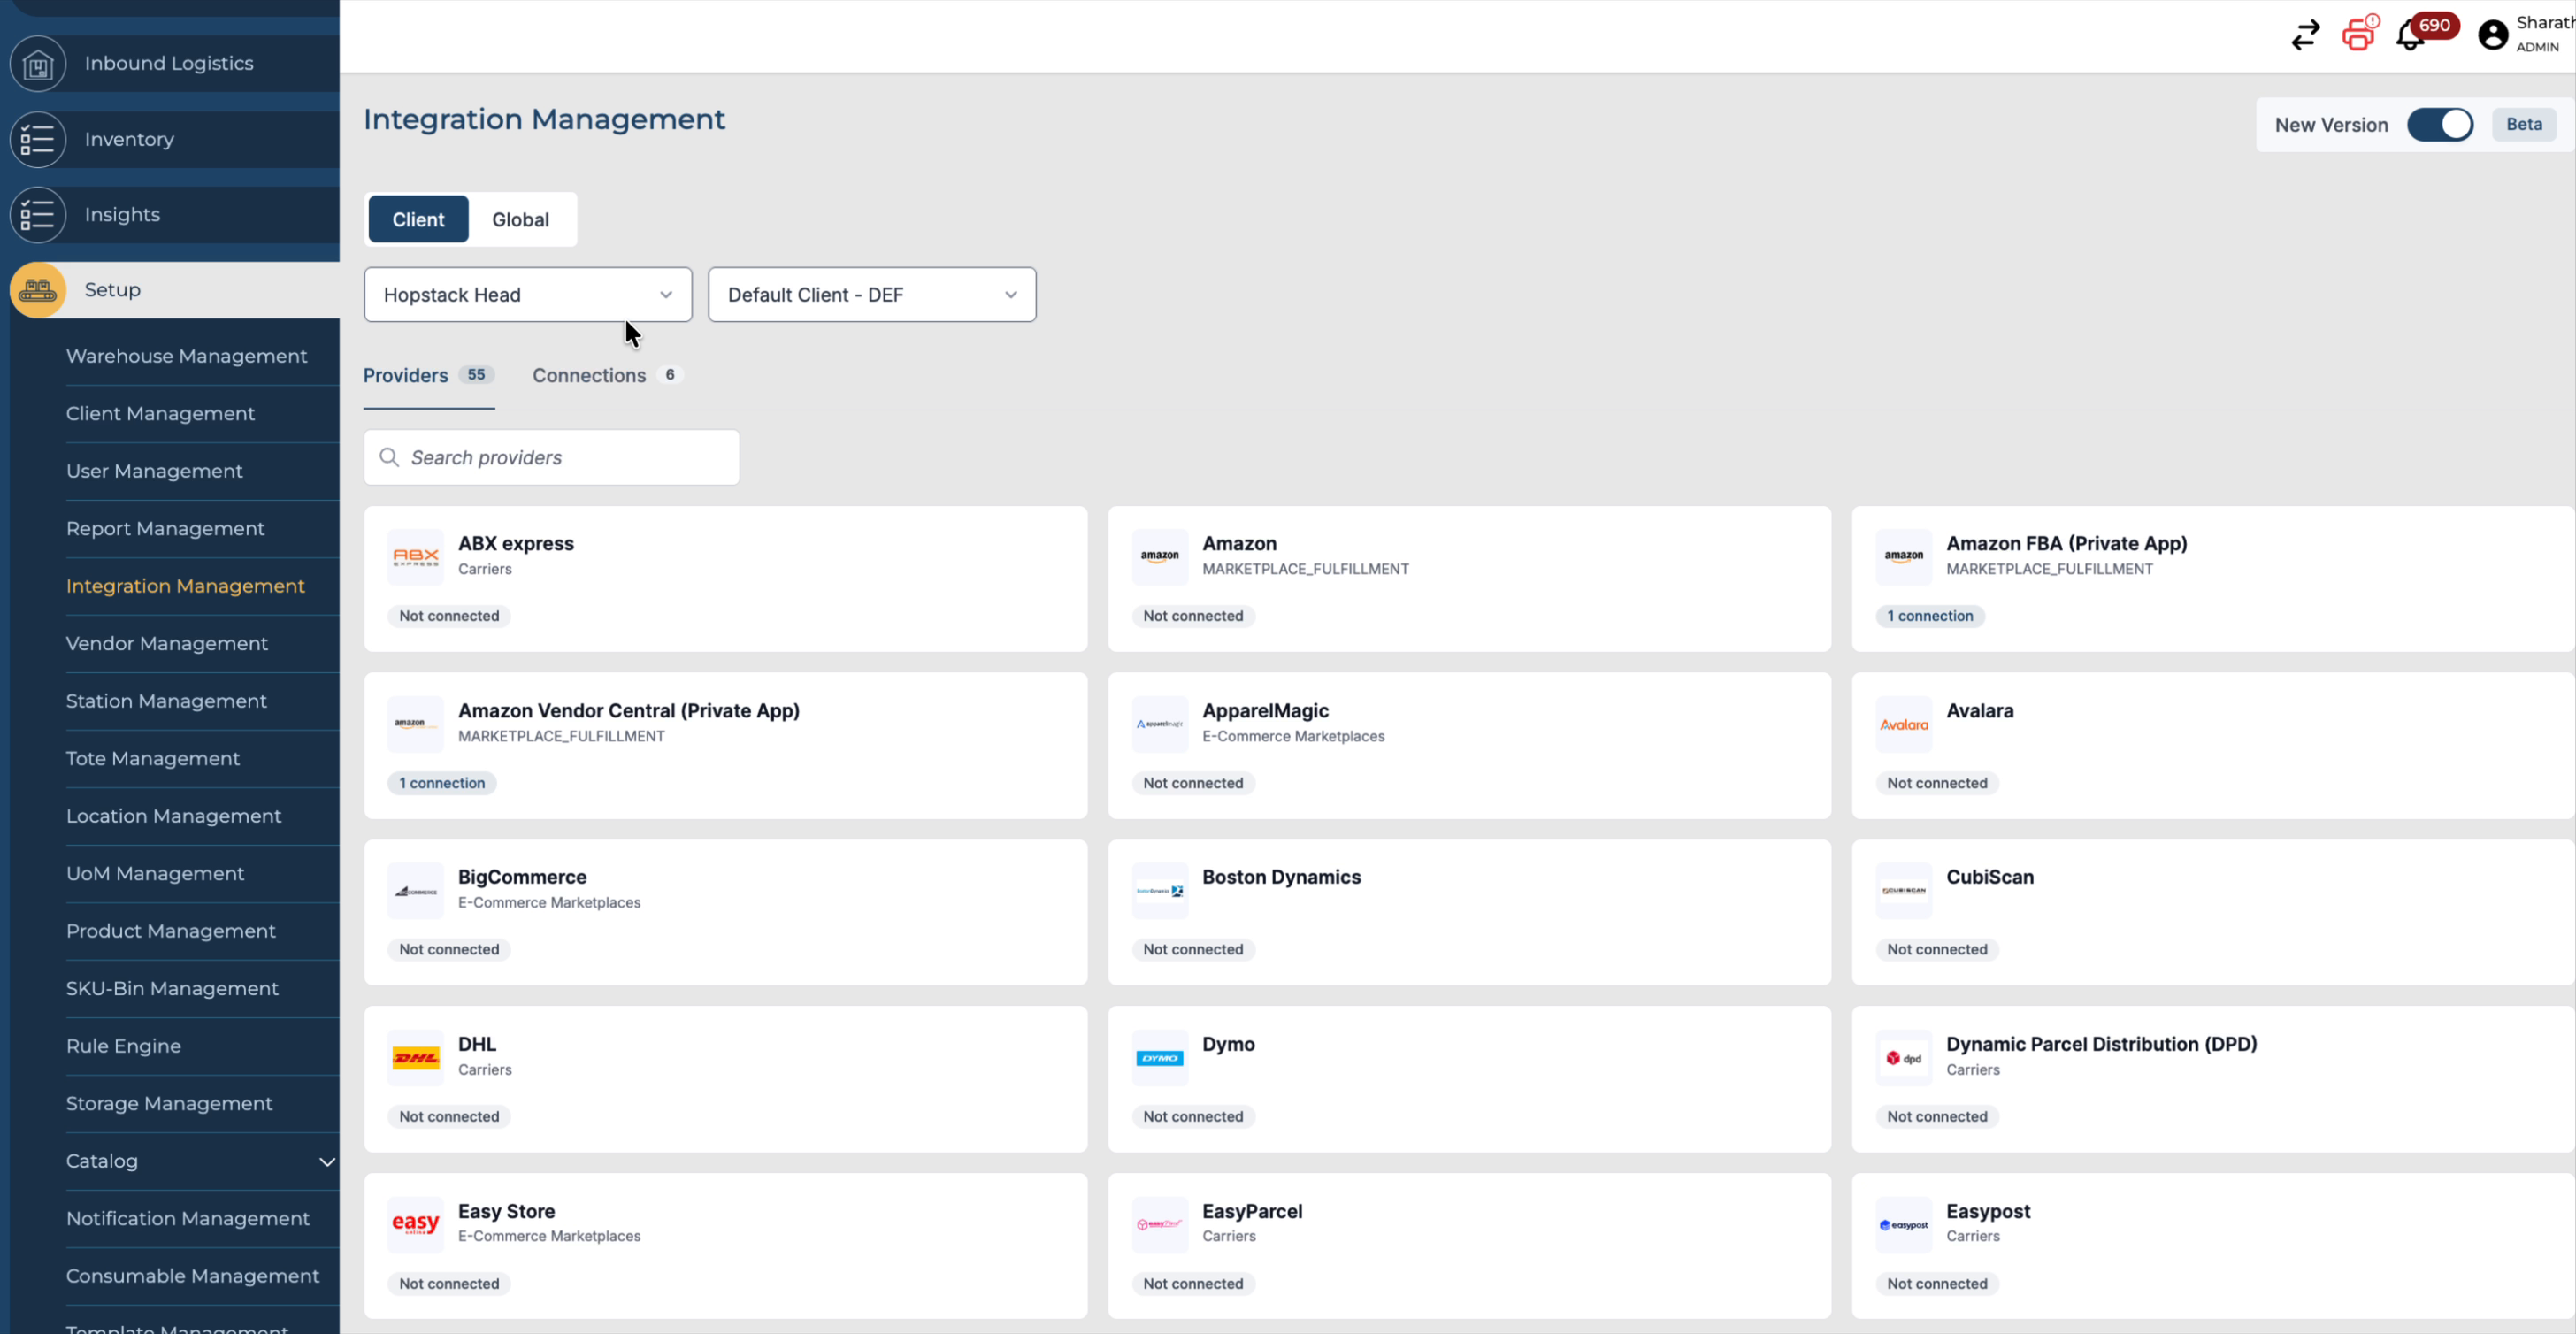
From the drop-down menus, select a specific warehouse to which the integration is linked.
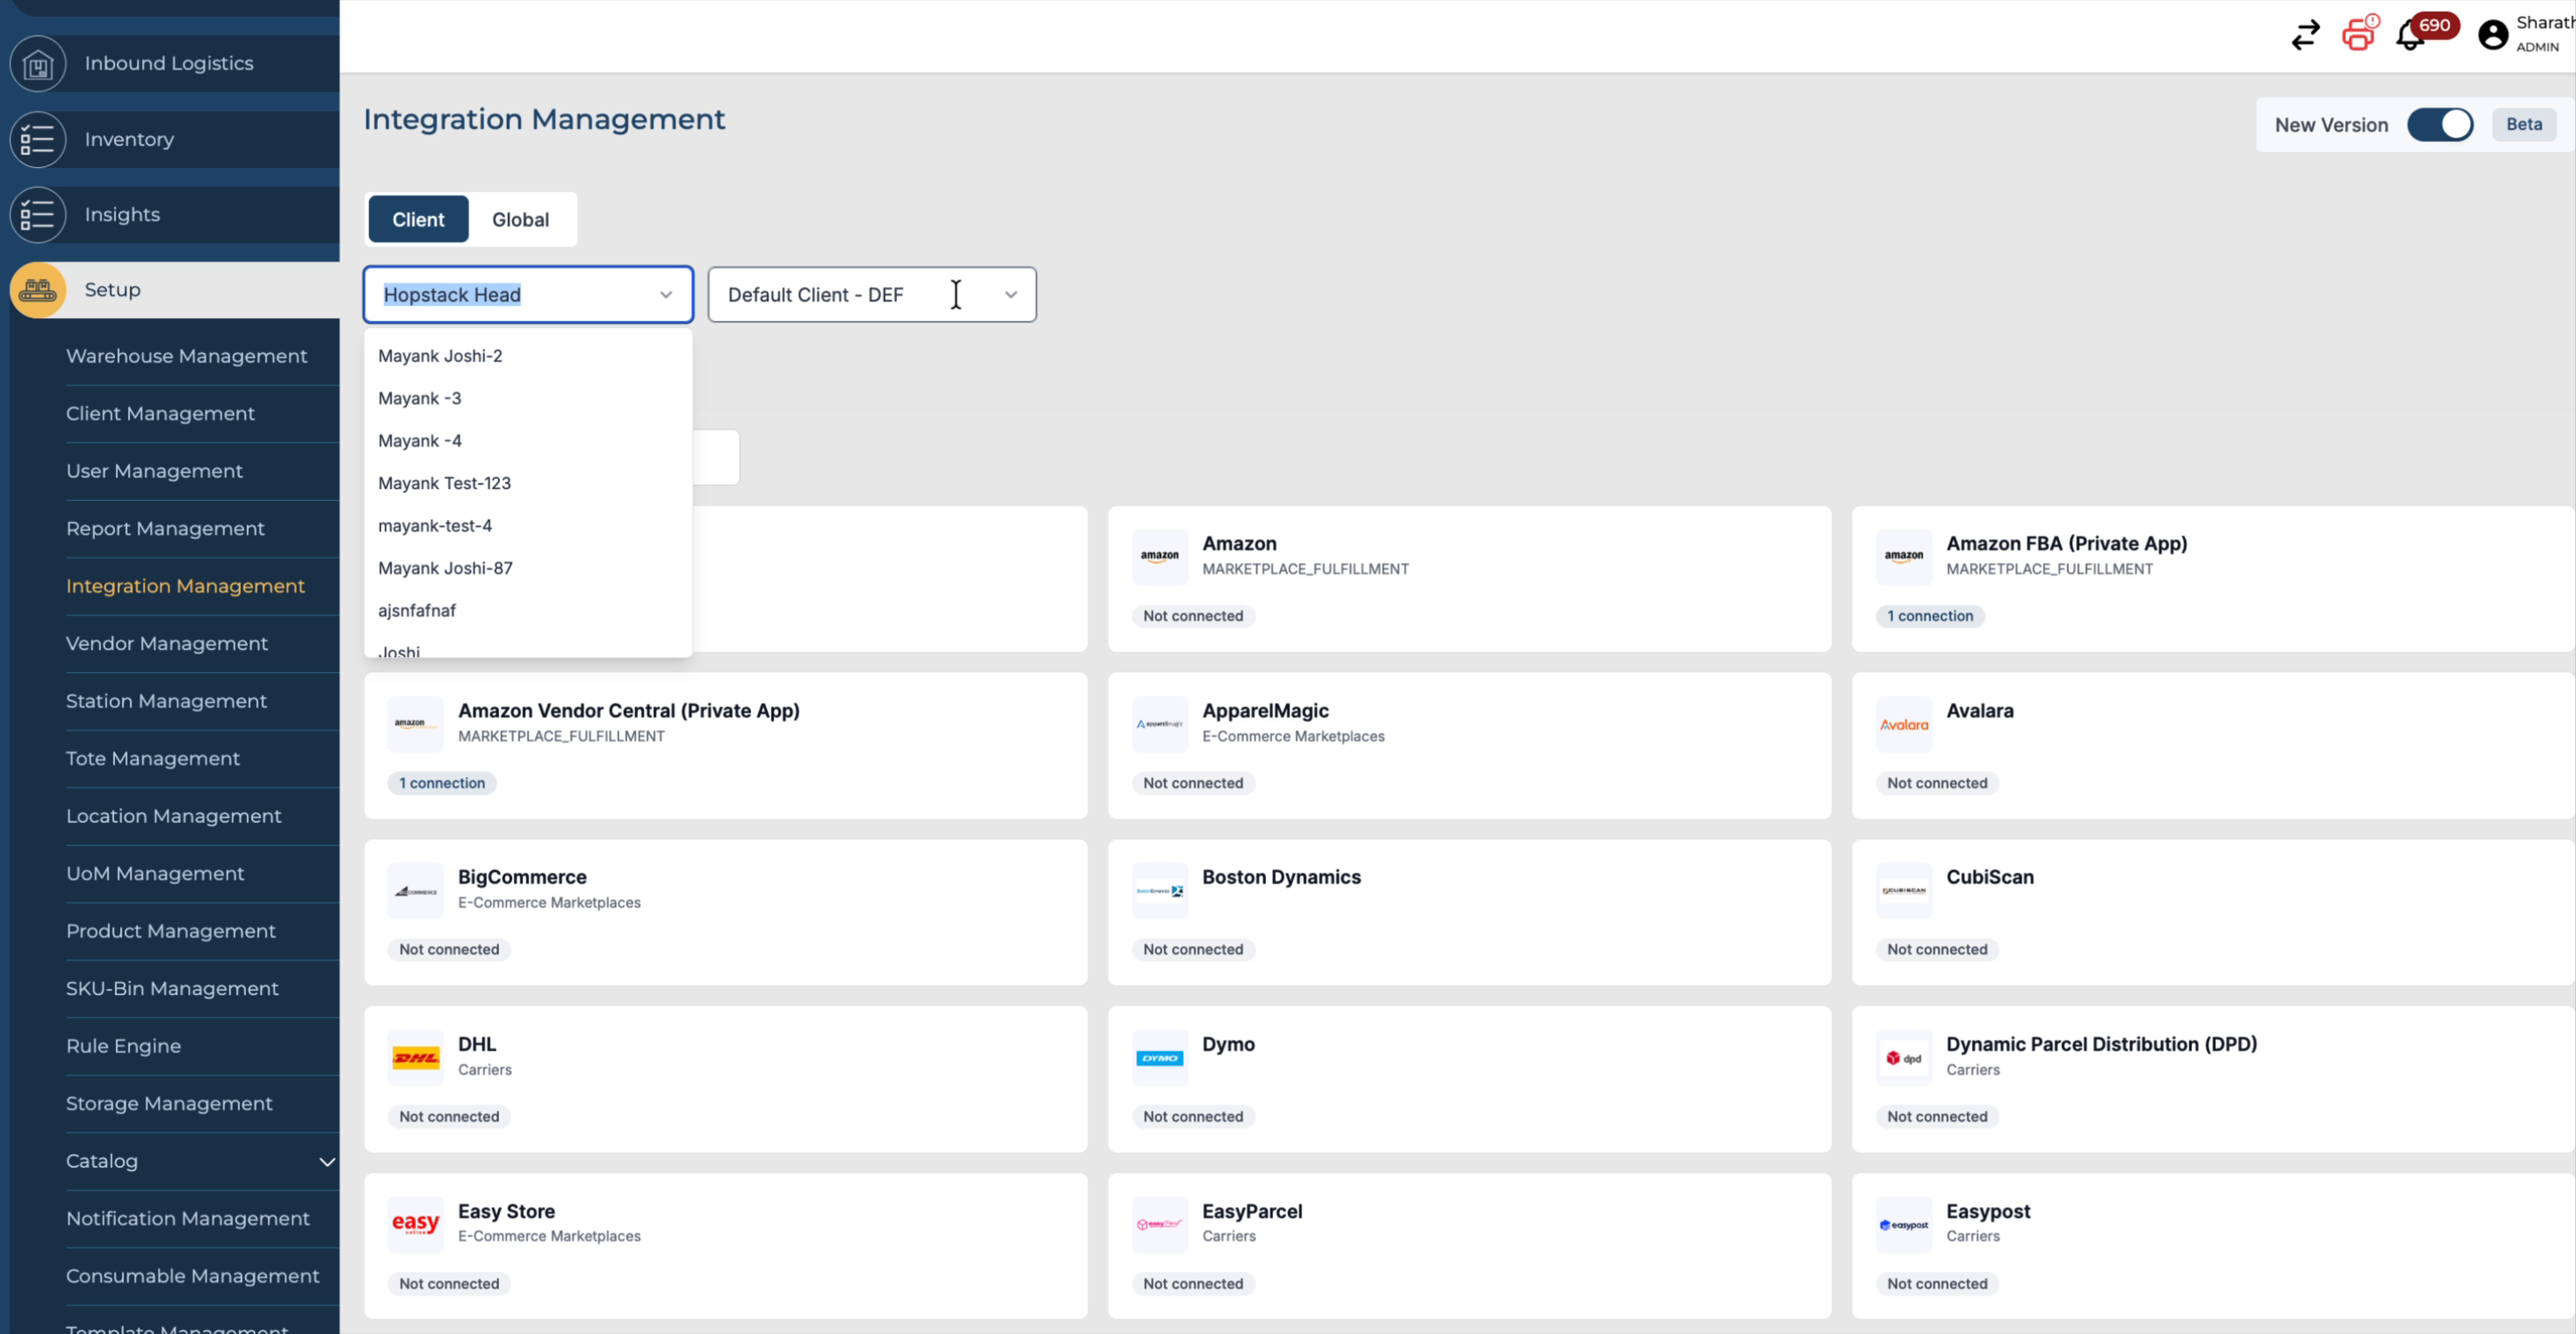
You can also select a specific client for which you want to configure or review integrations.
If you do not want to scroll through the entire list, use the search bar to quickly find an integration by name. For example, type “Shopify” to locate the Shopify integration.

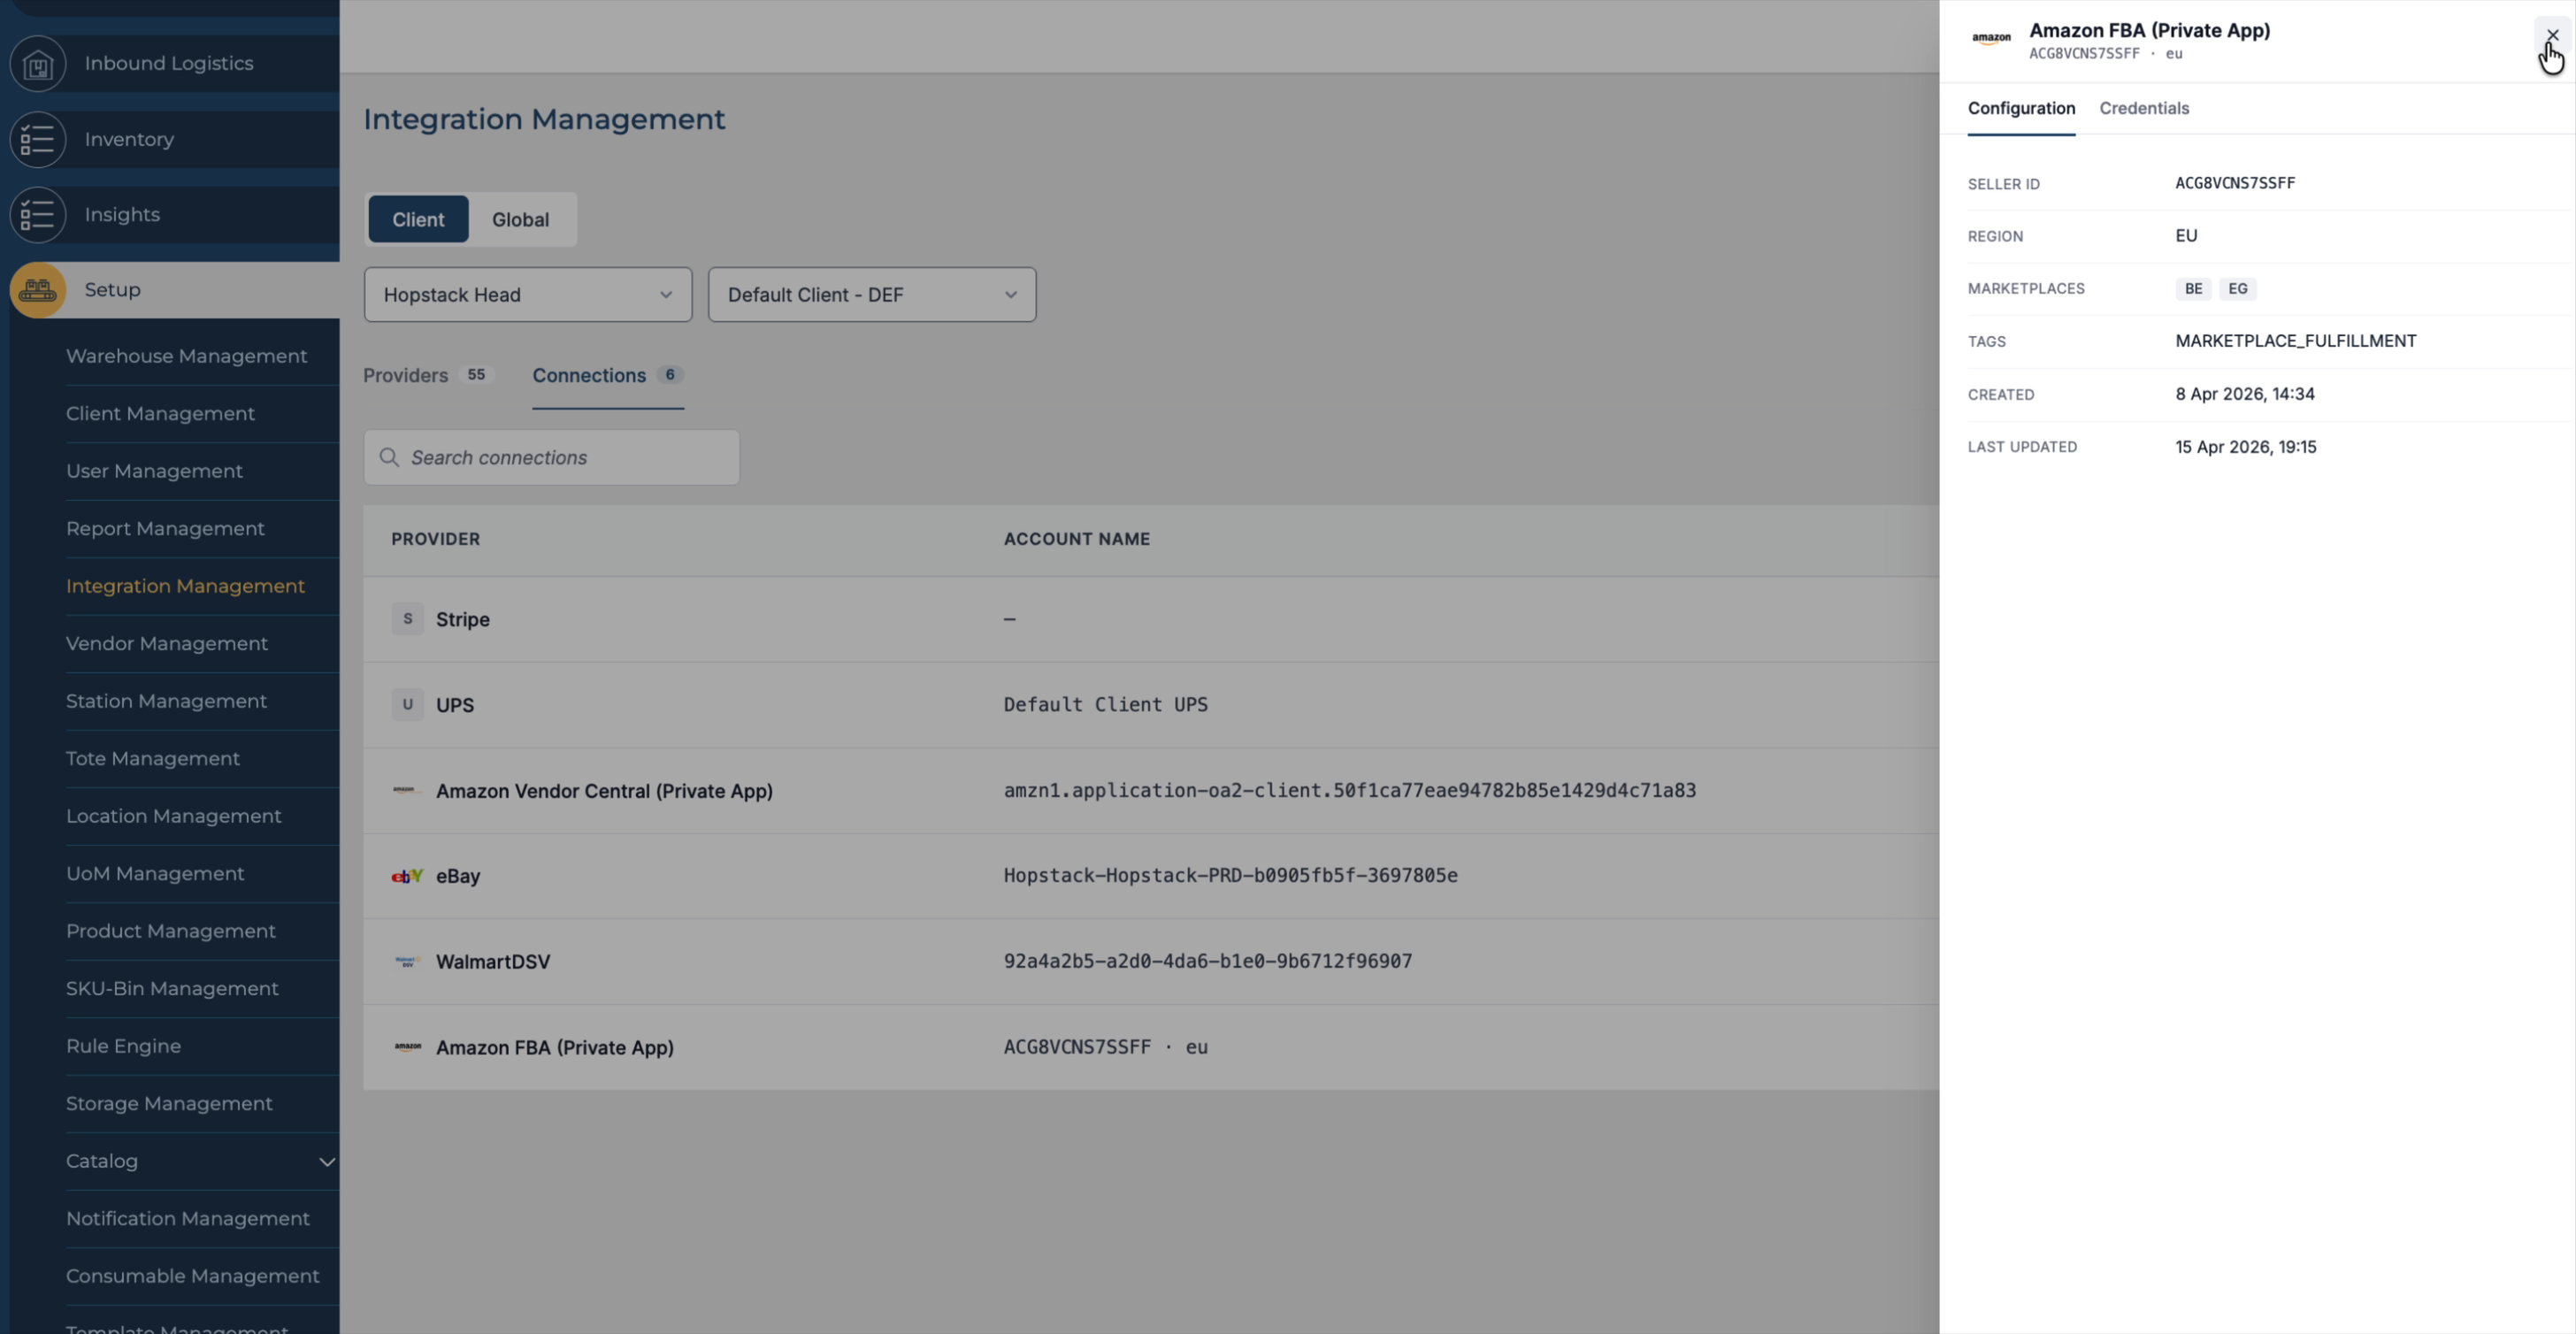
Step 3: View Existing Connections and Their Types
Switch to the Connections tab to see all integrations that are already connected.
Here you can view different marketplace and carrier integrations that are active in the system.
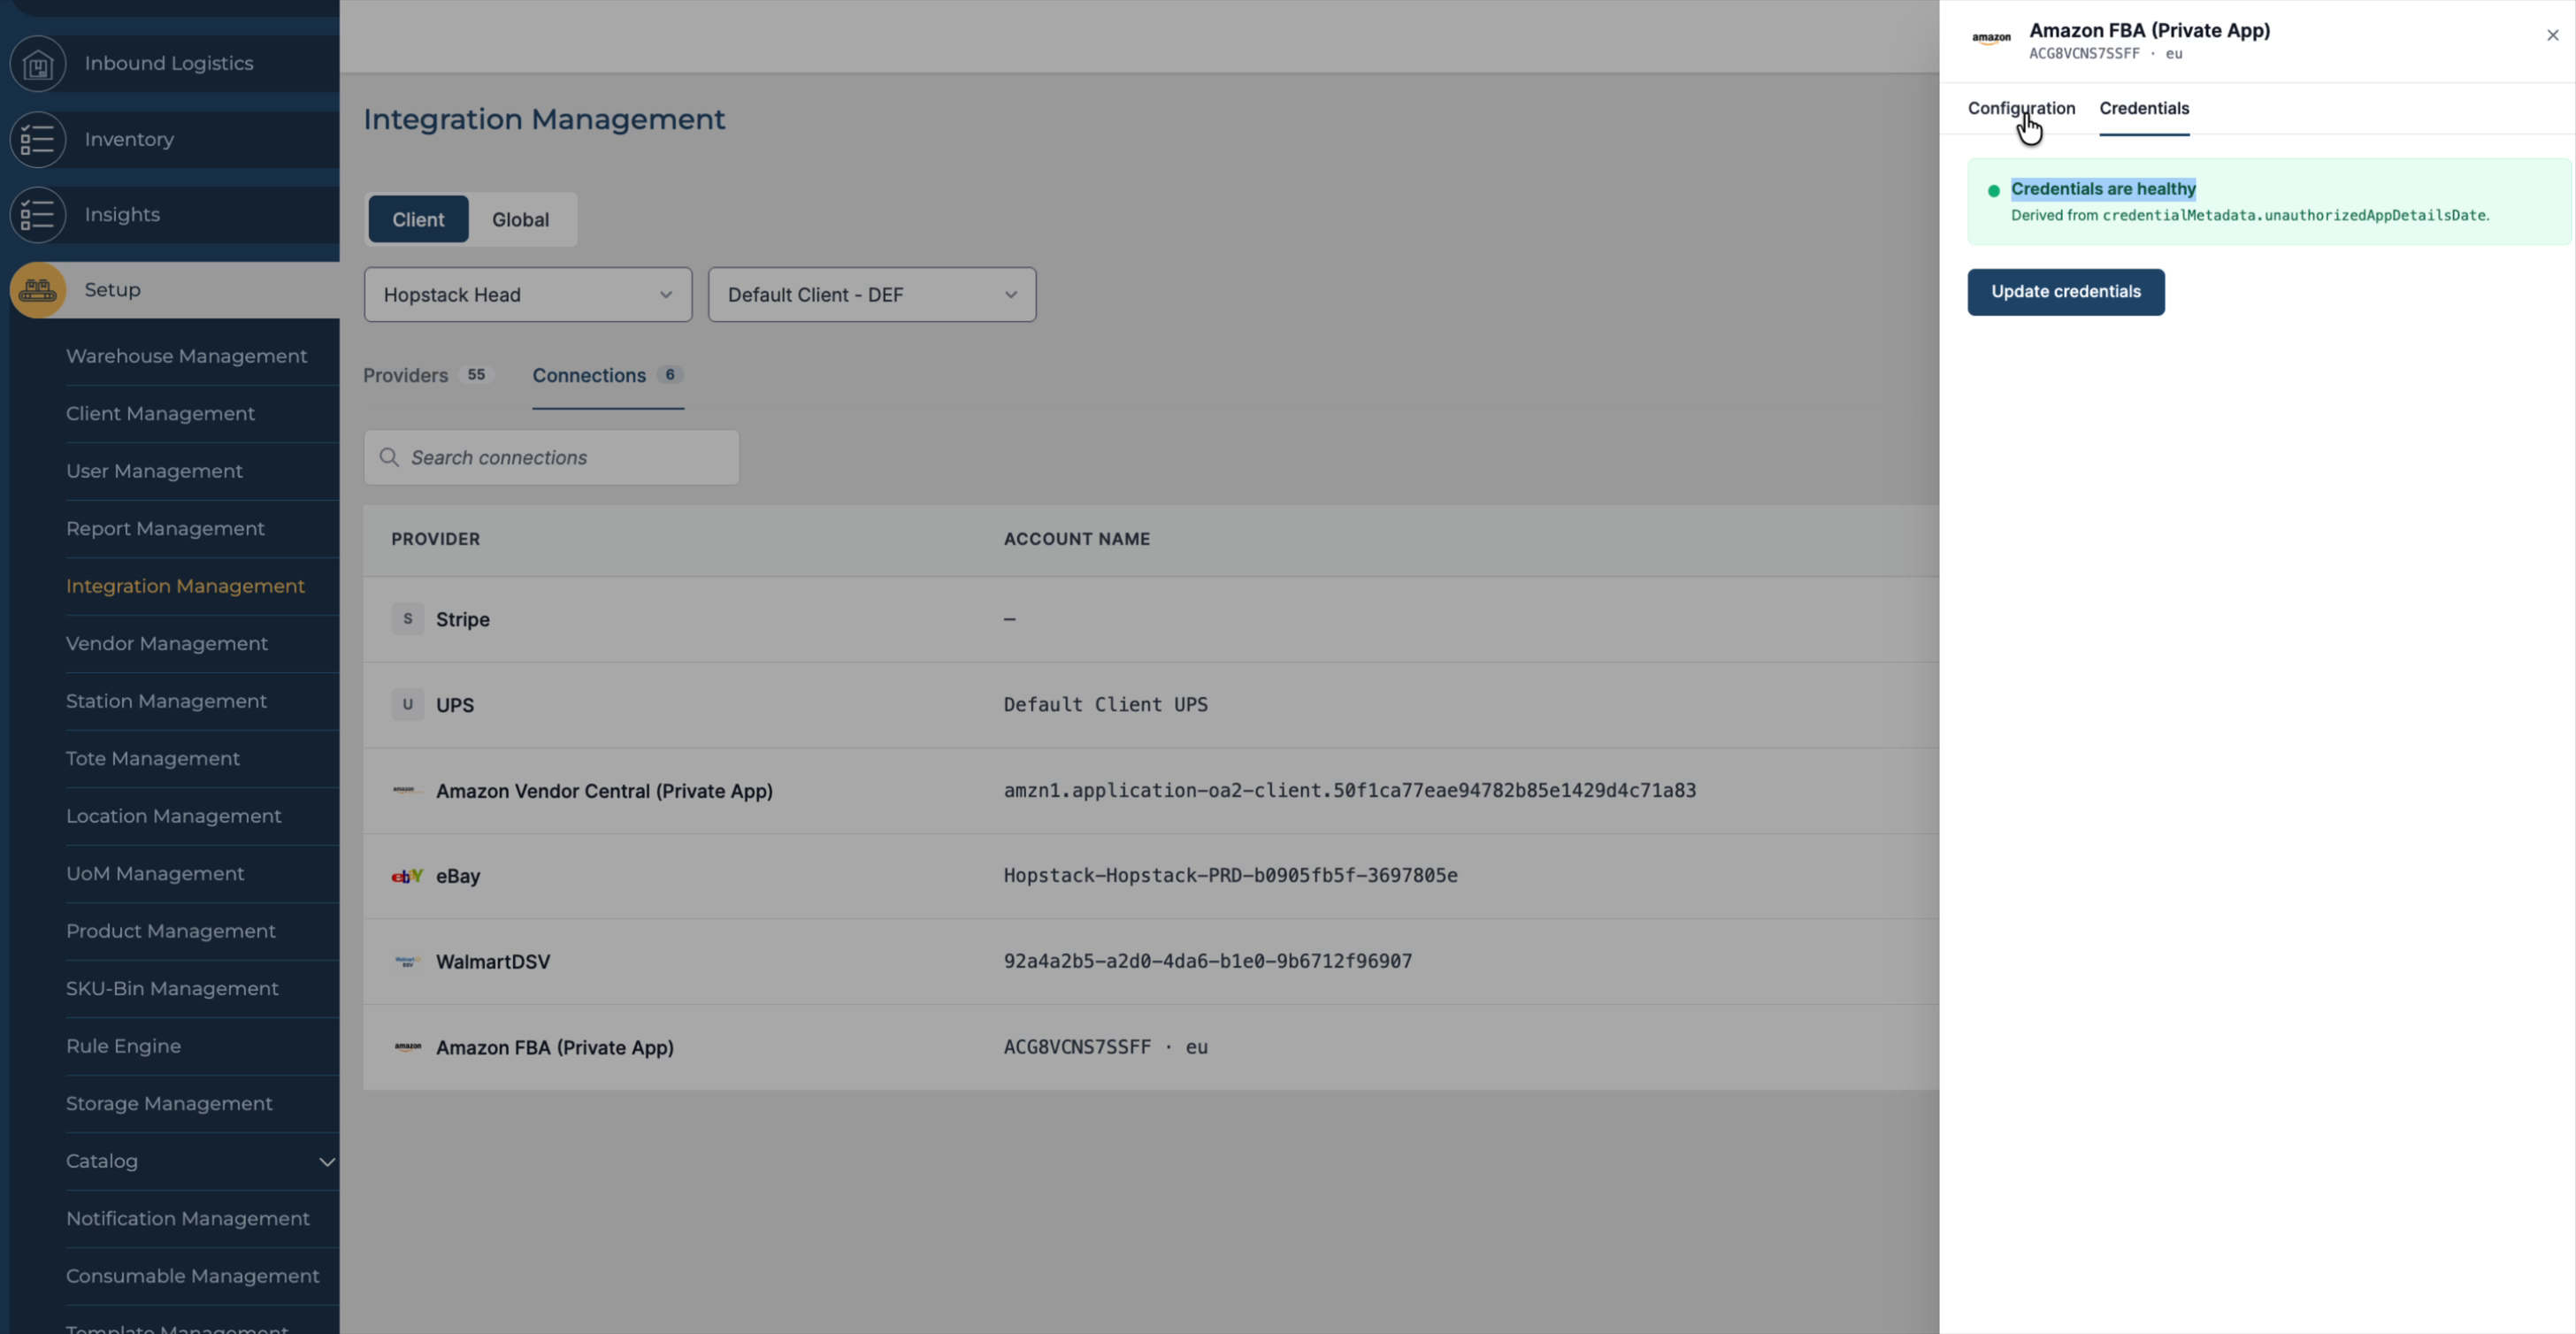
Step 4: Check Integration Health and Credentials
From the list of connections, select a specific marketplace to review its status.

Go to the Credentials section to verify whether the stored credentials are healthy and valid.
From this screen, you can also update the credentials if any changes are required.
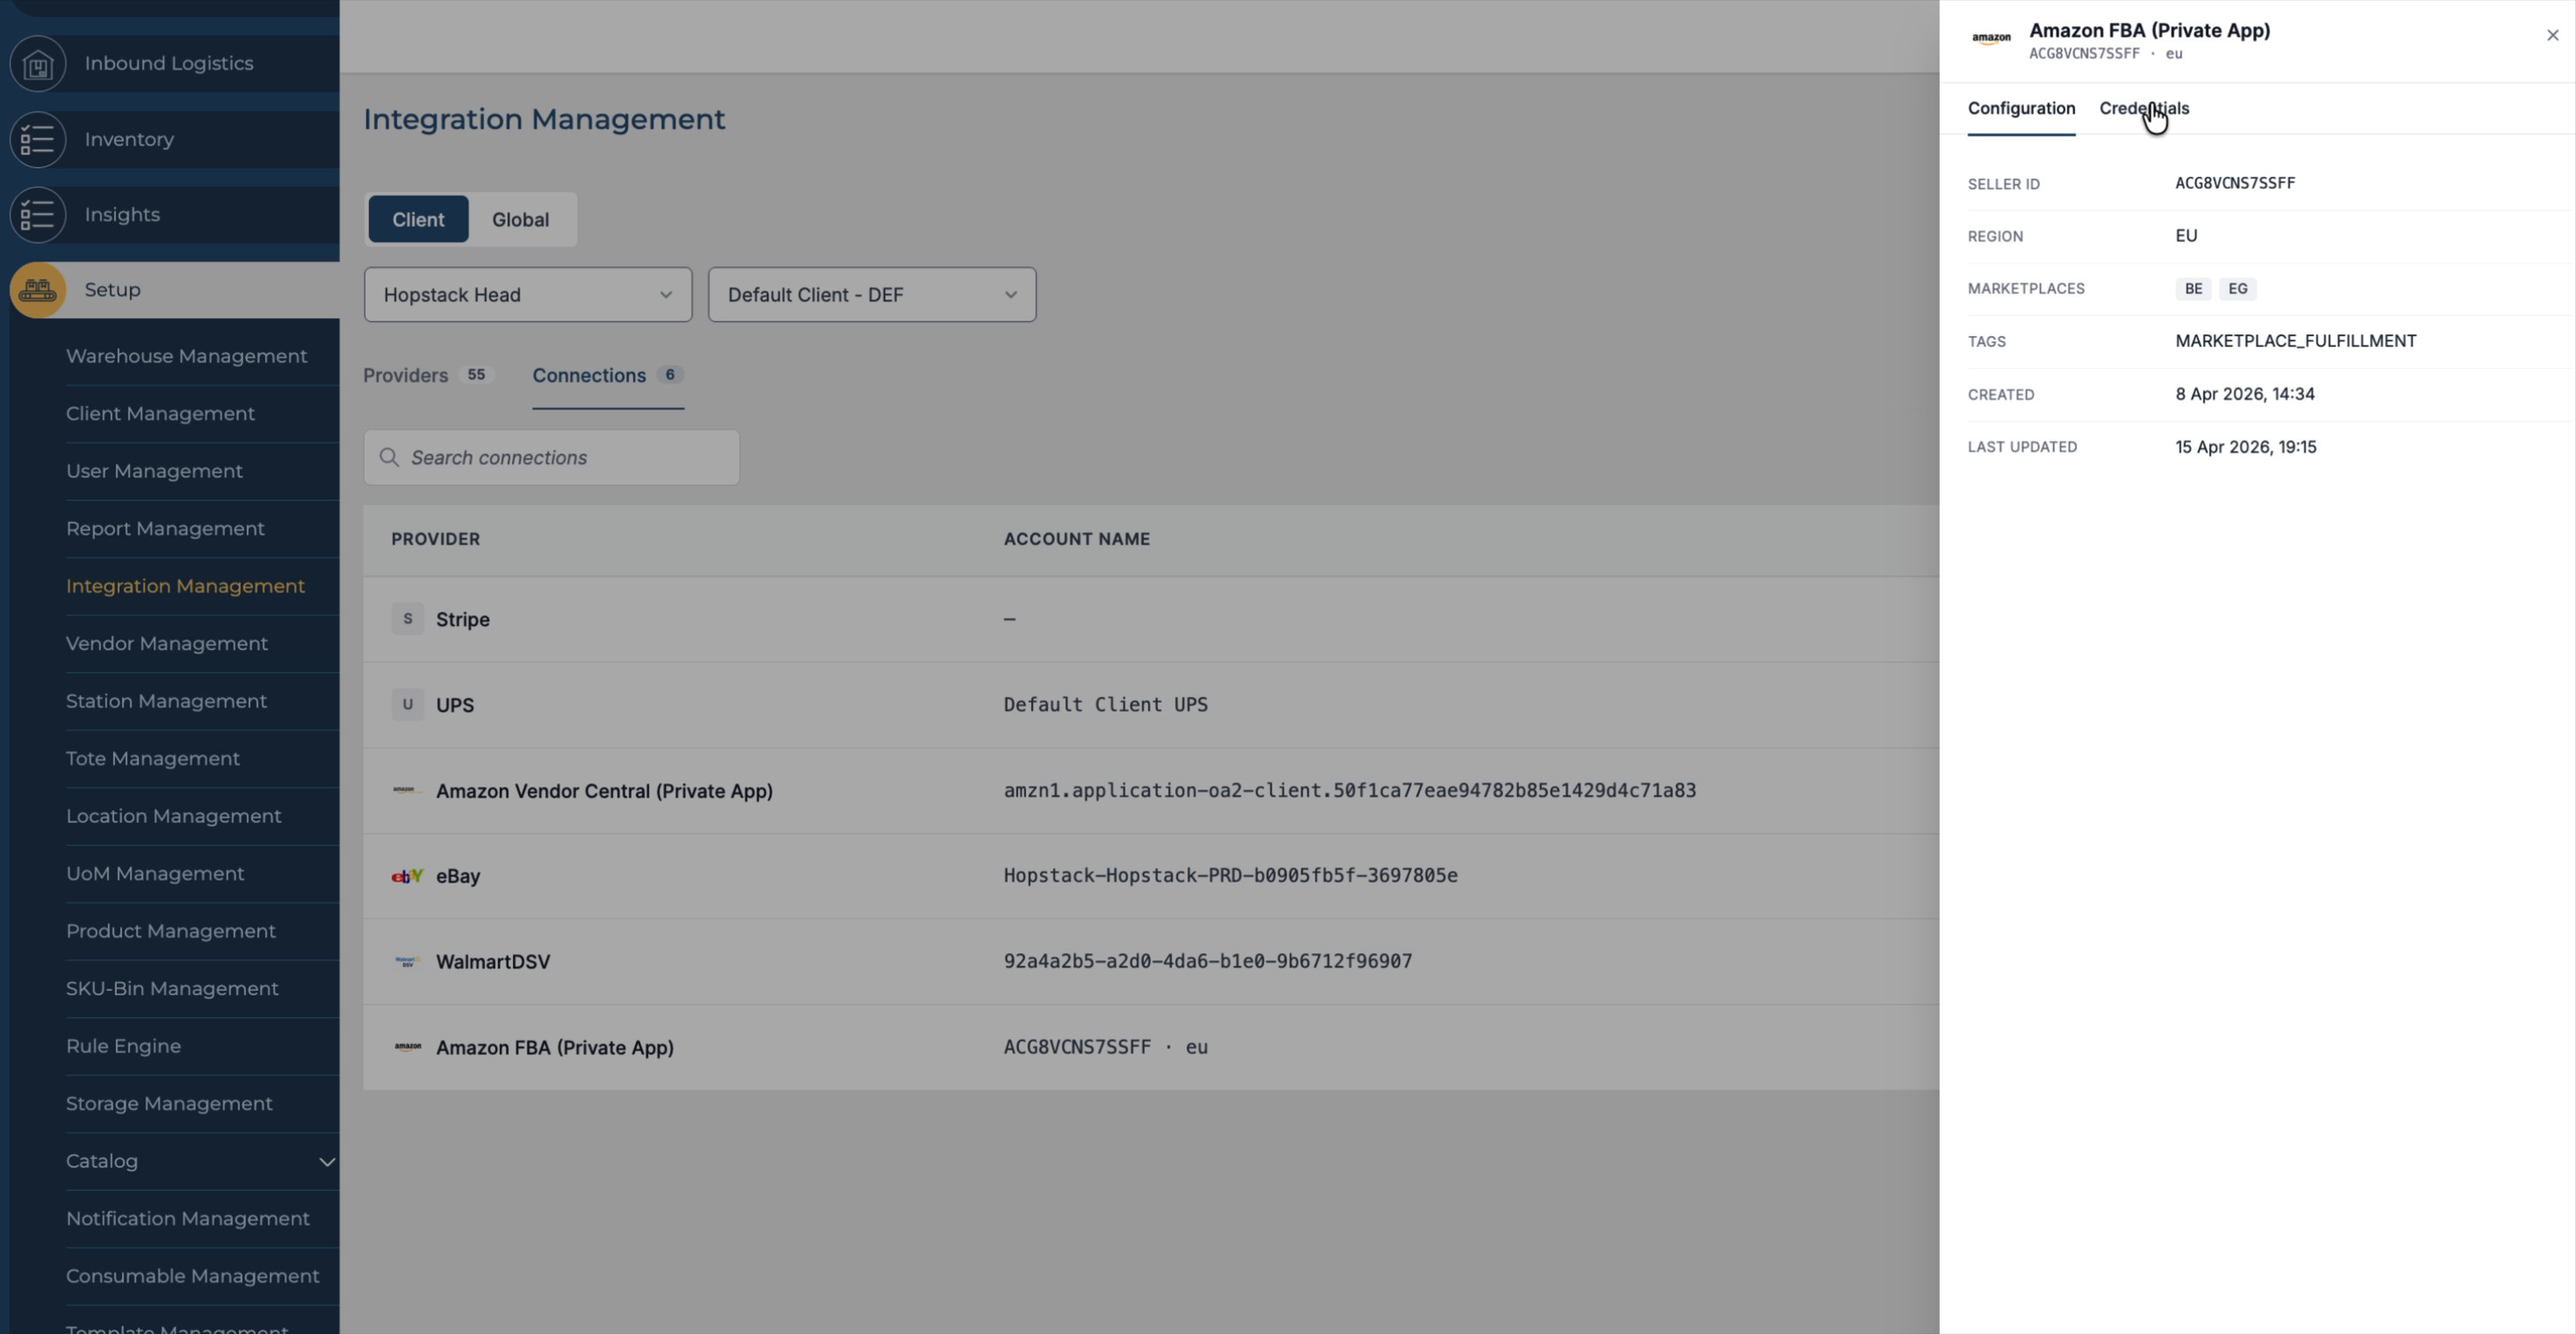
Step 5: Review Configuration Details
Open the Configuration tab for the selected integration to see its detailed configuration.
Here you can view the Seller ID, Region, Marketplace Integration details, as well as the Created Date and Last Updated Date for that connection.
Step 6: Use Connection Actions (Sync, Test, Update, Delete)
Return to the Connections tab to manage actions for each integration.
Locate the Action button for the relevant connection.
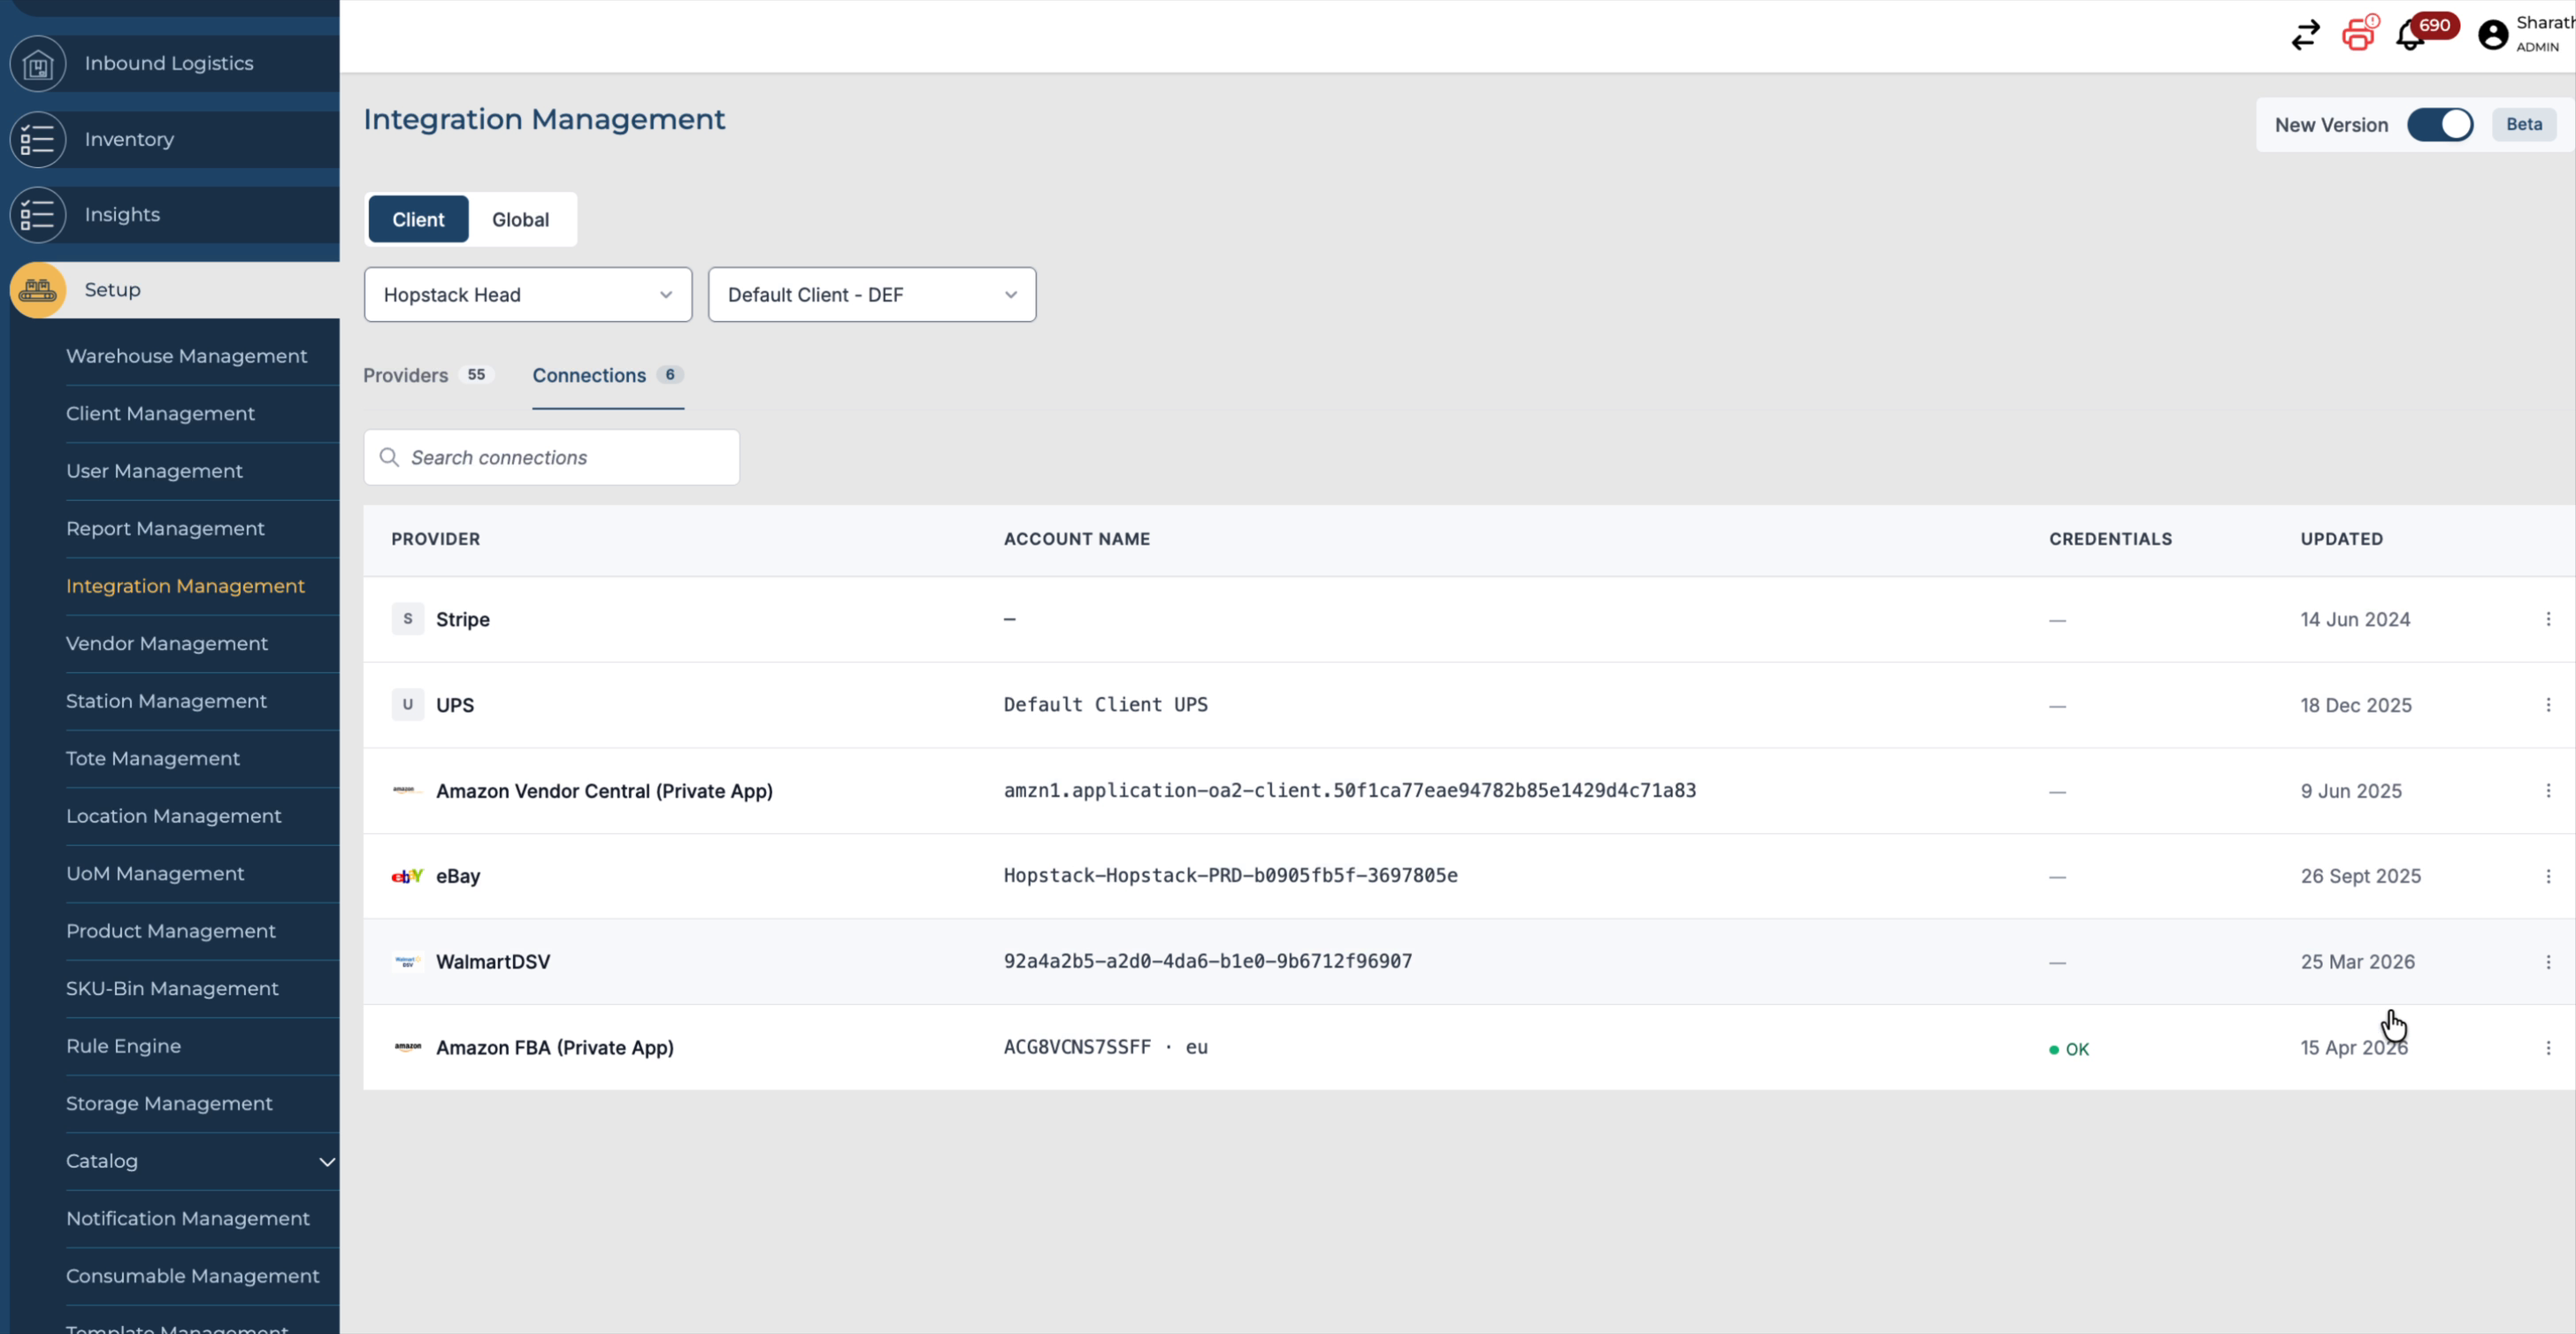
From the Action menu, you can:
Update Credentials for the integration
Click Sync Now to synchronise products and orders
Test Connection to ensure it is working correctly
Delete Connection to exclude and remove the integration when it is no longer needed
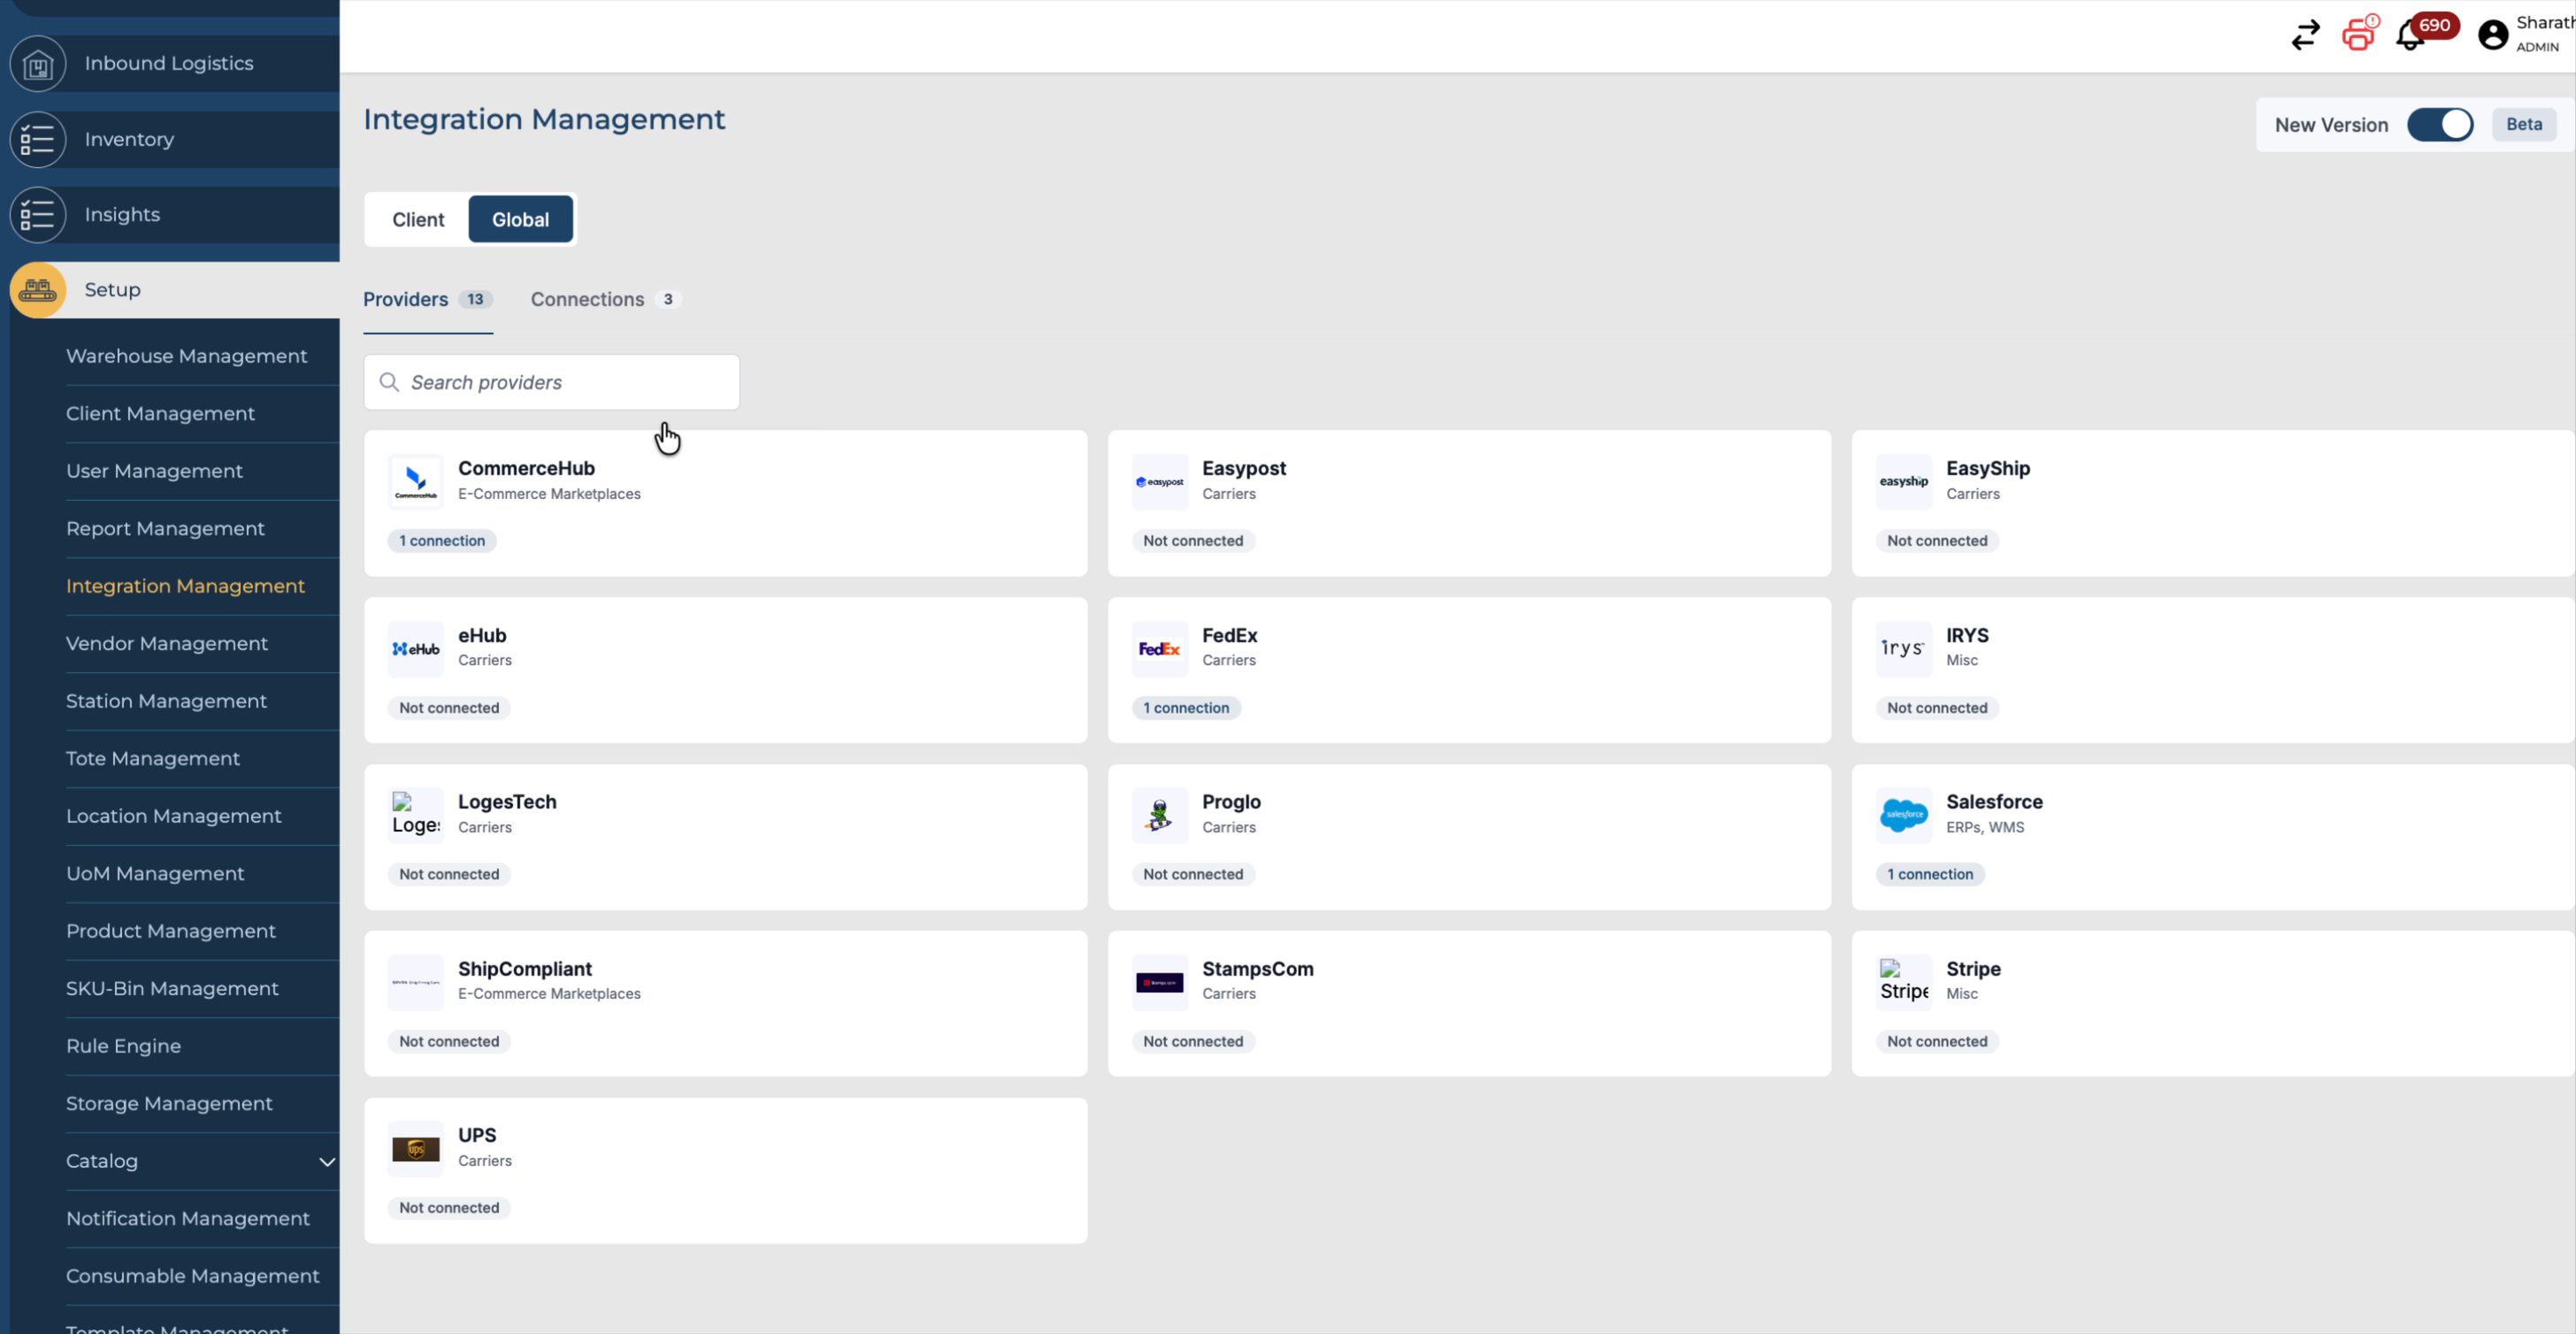
Step 7: Manage Global Integrations and Monitor Status
The same workflow applies to Global integrations.
In the Global tab, you can see the list of all global integrations available in the system.
Navigate to the Connections view under Global to check the connections and their health status.
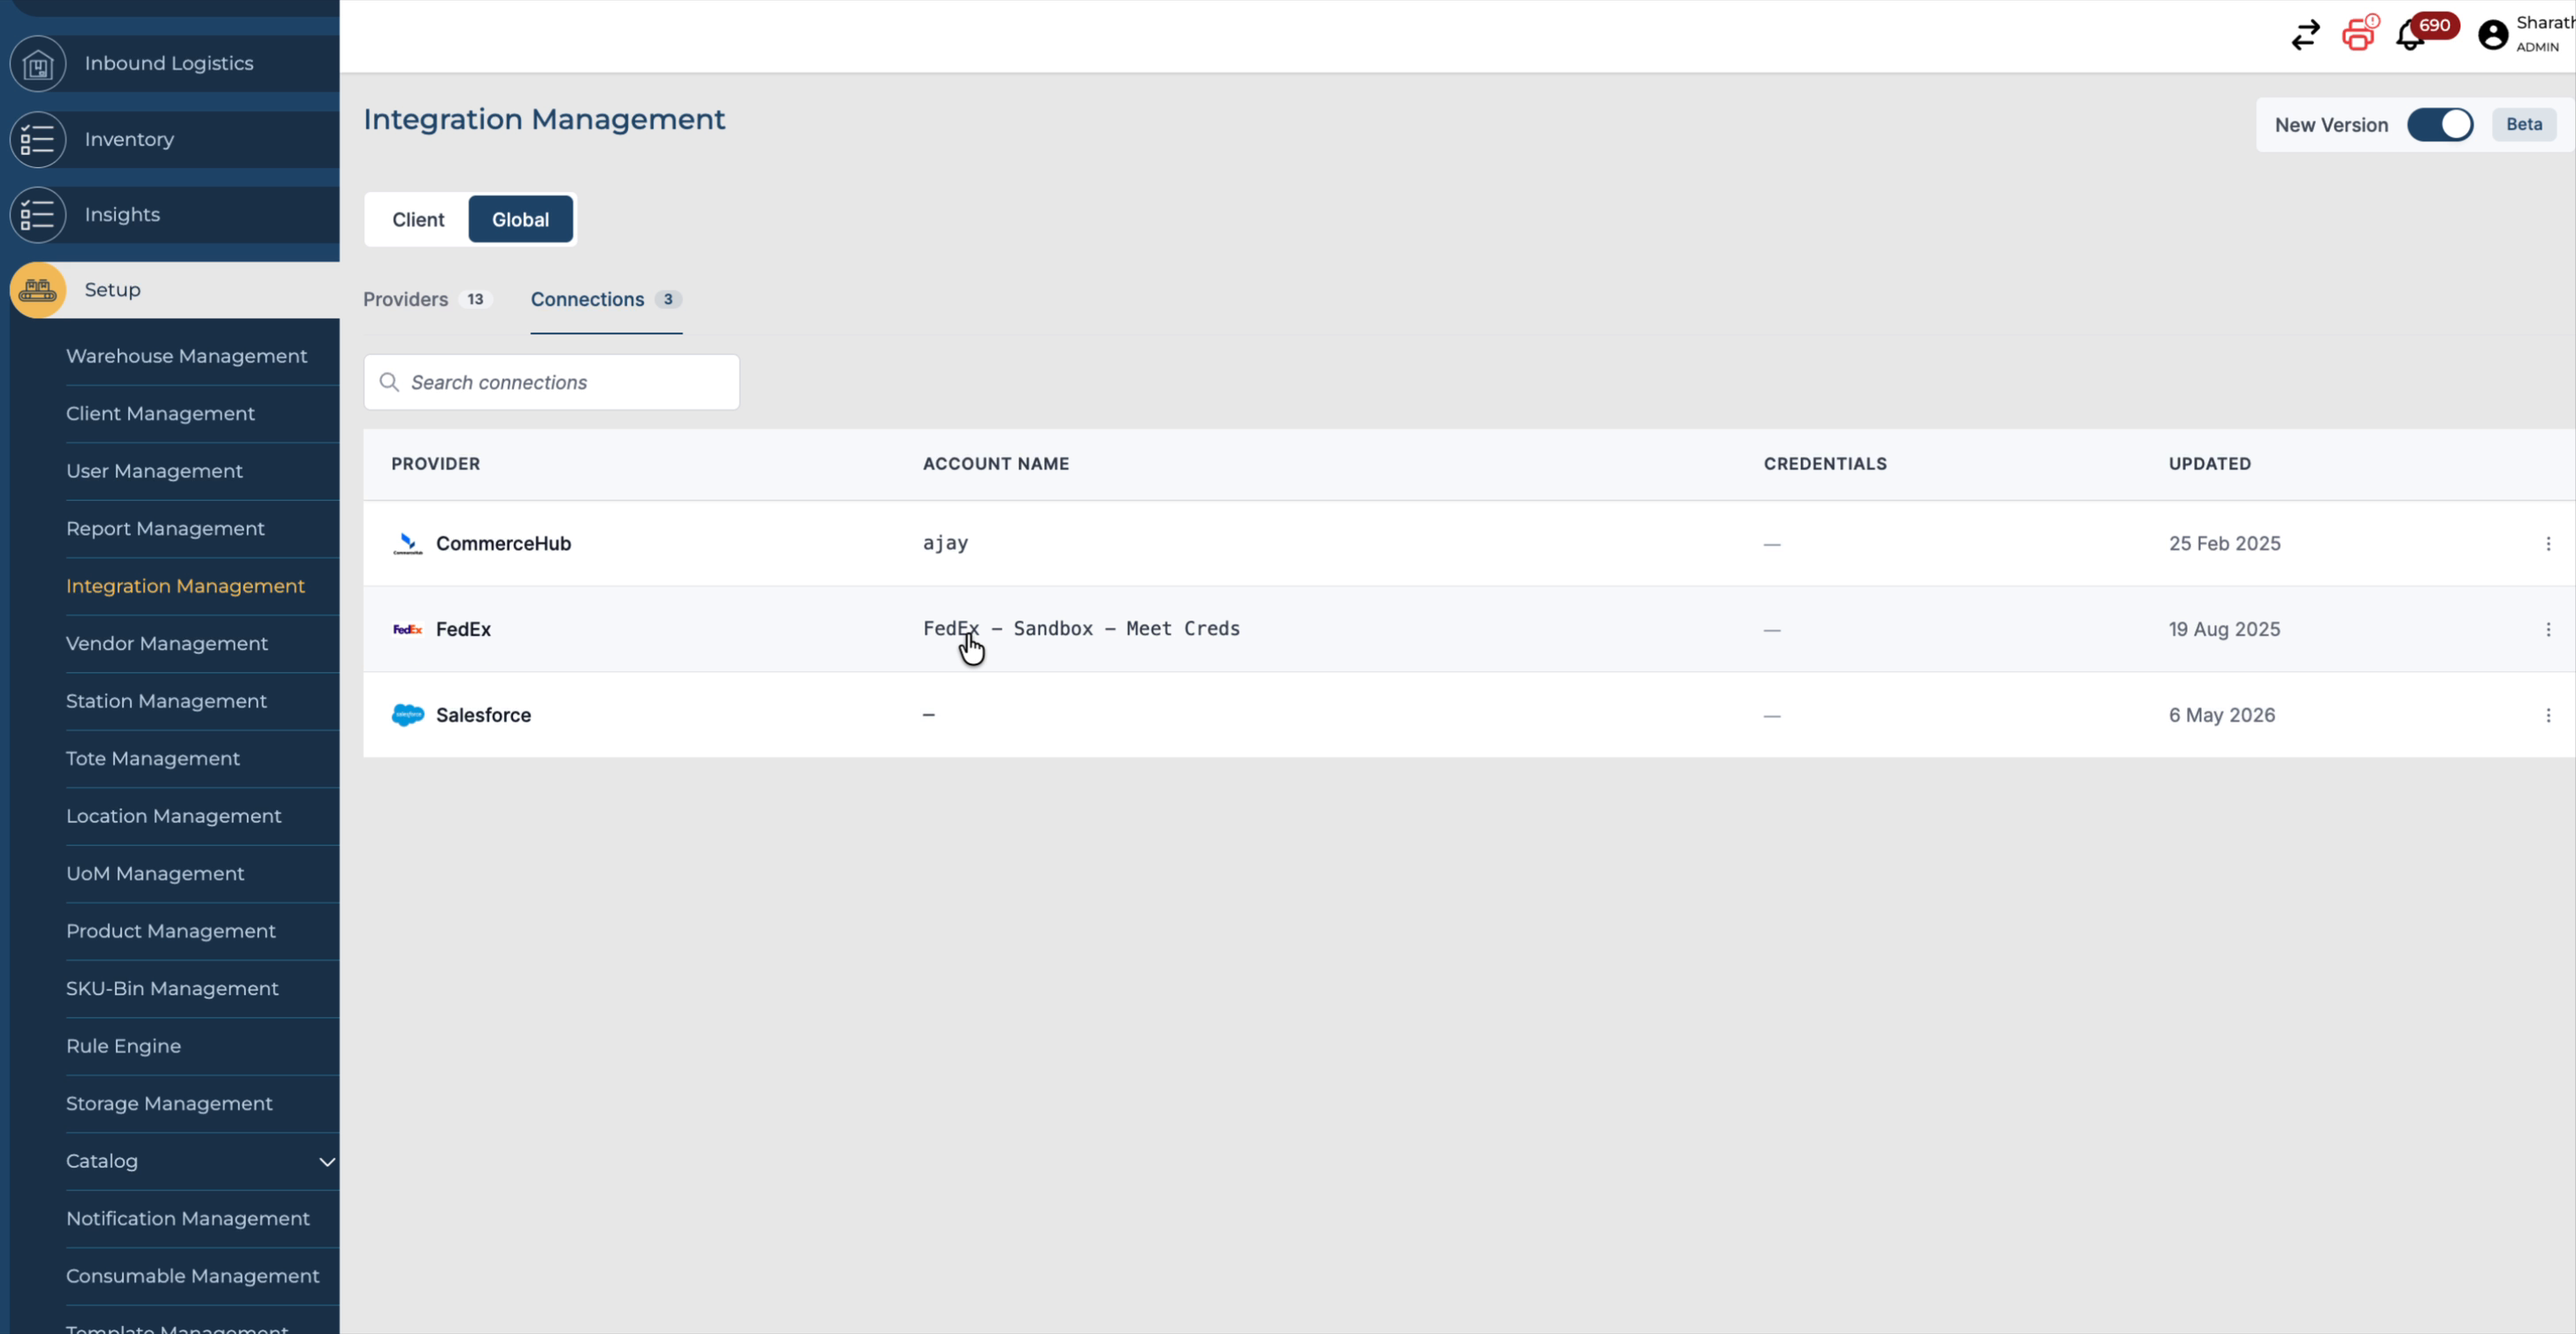
On this screen, you can also see the Last Updated Date for each global connection, enabling you to monitor when they were last modified or synchronised.
By using the Integration Management screen effectively, you can enhance overall performance