
This guide provides step-by-step instructions on how to integrate your NetSuite account with Hopstack.
1. Hopstack Portal Configuration
-
Login to the Hopstack Portal using the provided link and credentials.
-
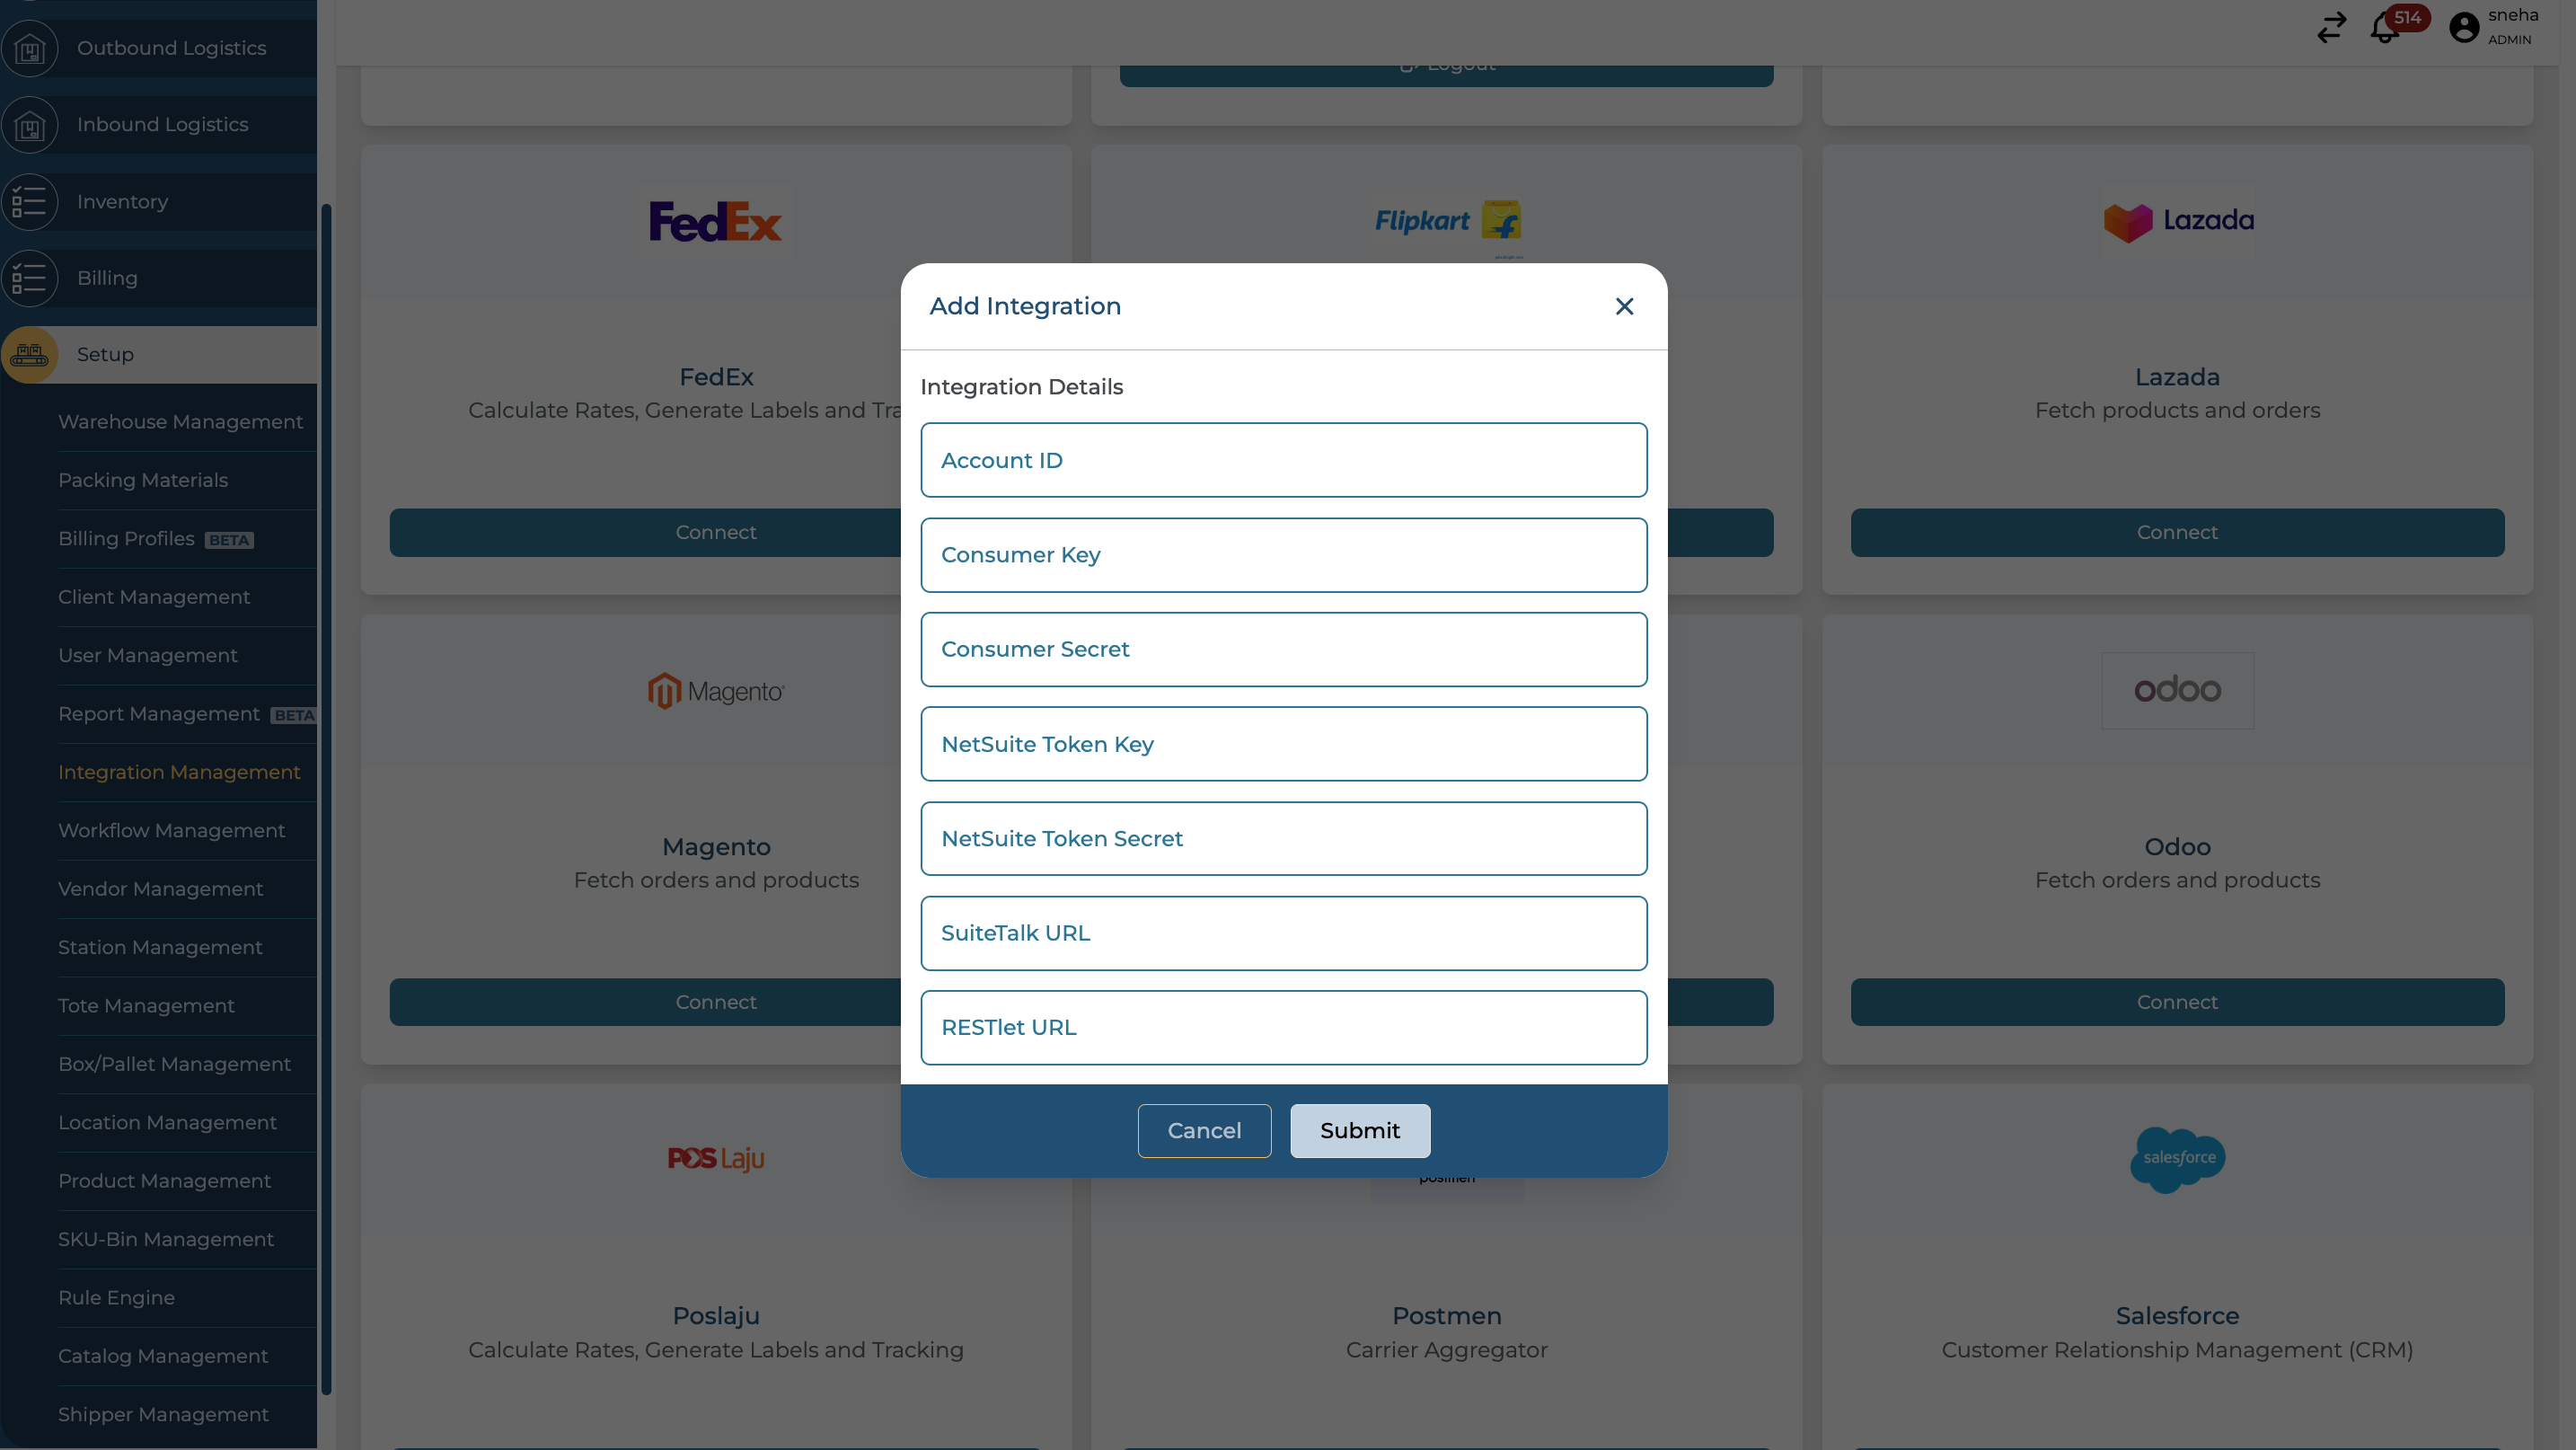
On the left sidebar, navigate to
Setup>Integration Management. -
Choose your
WarehouseandClient. -
Locate and click on the
NetSuitetile, then click onConnect.
-
Enter the following integration details:
-
Account ID
-
Consumer Key
-
Consumer Secret
-
NetSuite Token Key
-
NetSuite Token Secret
-
SuiteTalk URL
-
RESTlet URL
-
2. Obtain NetSuite Credentials
i. Get your Account ID
-
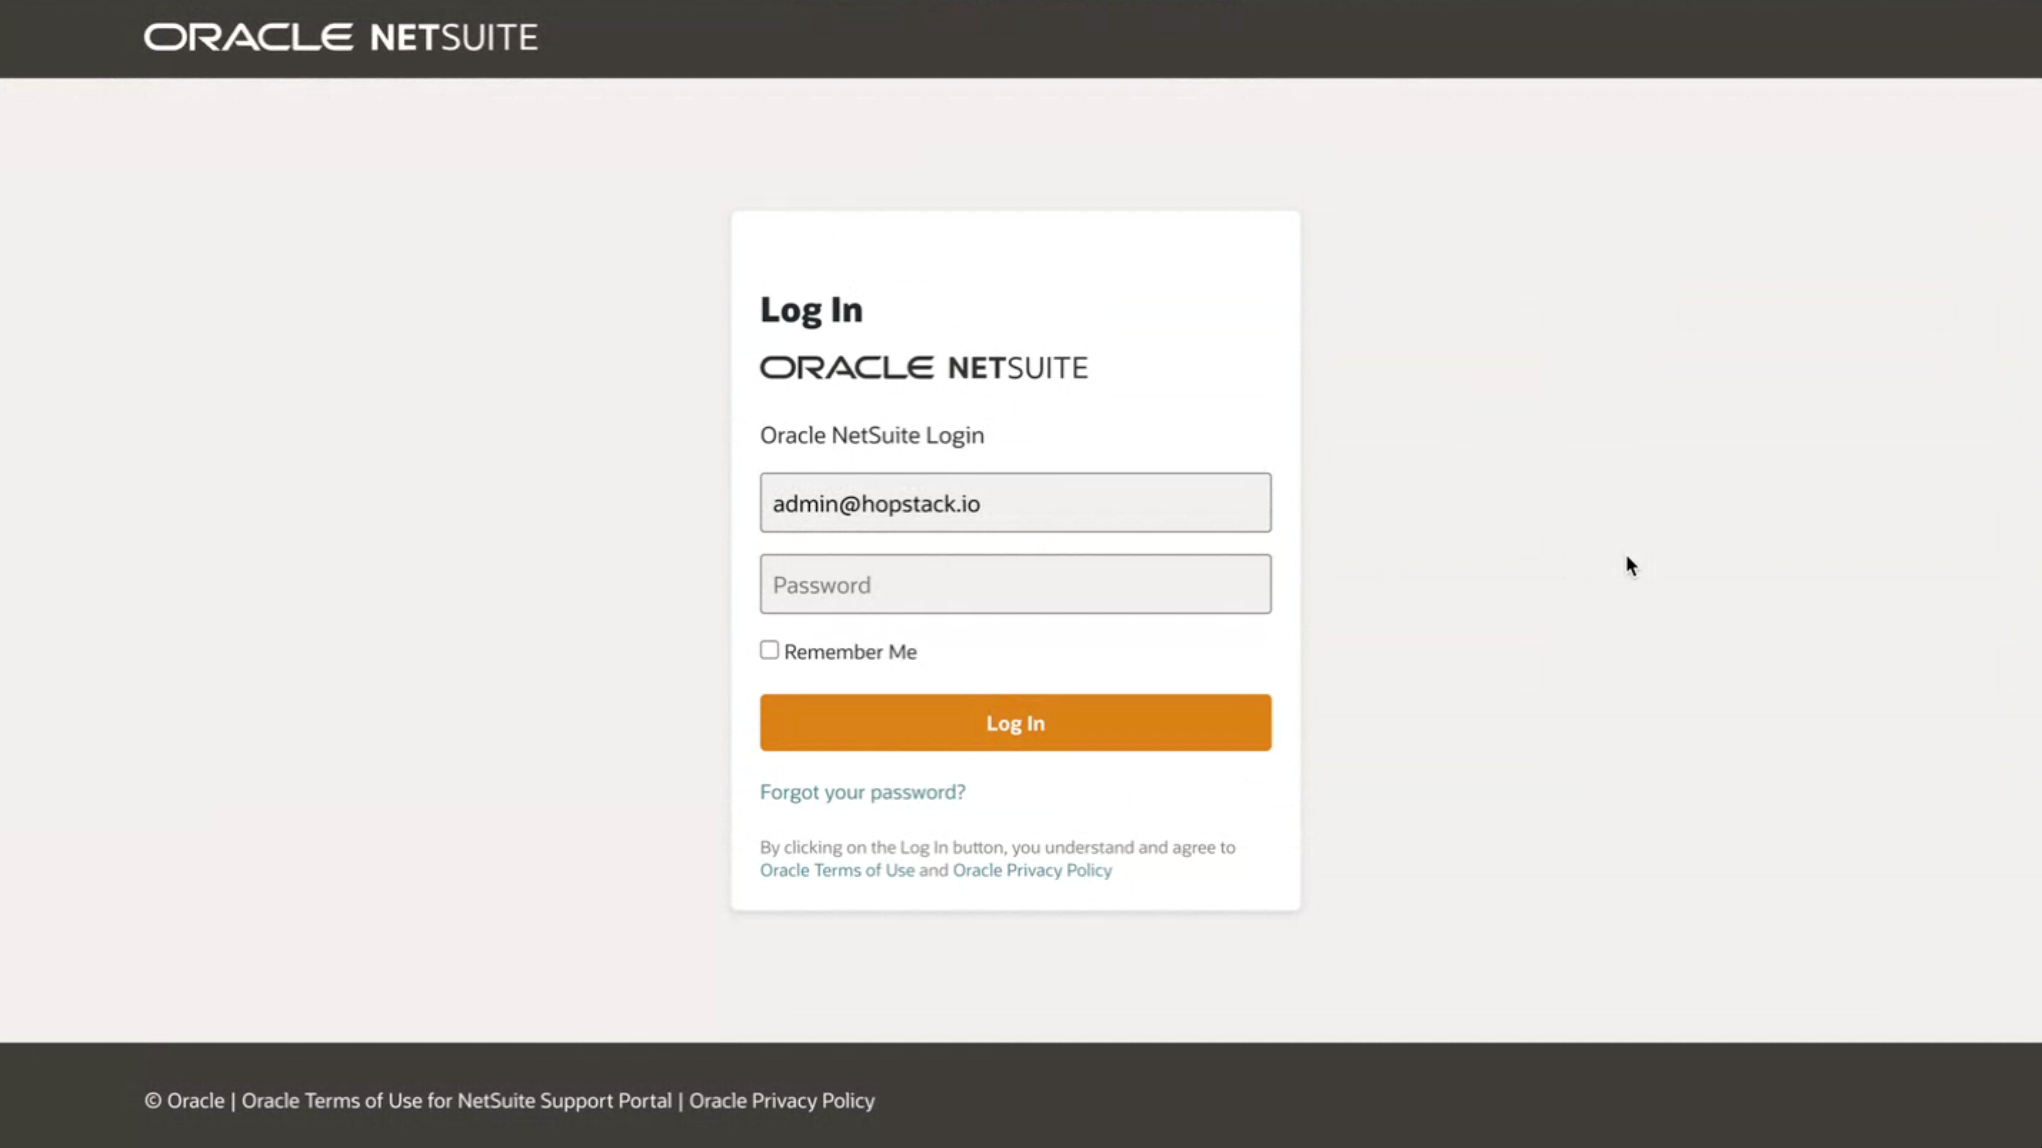
Login to NetSuite.
-
Go to
Setup>Company>Company Information.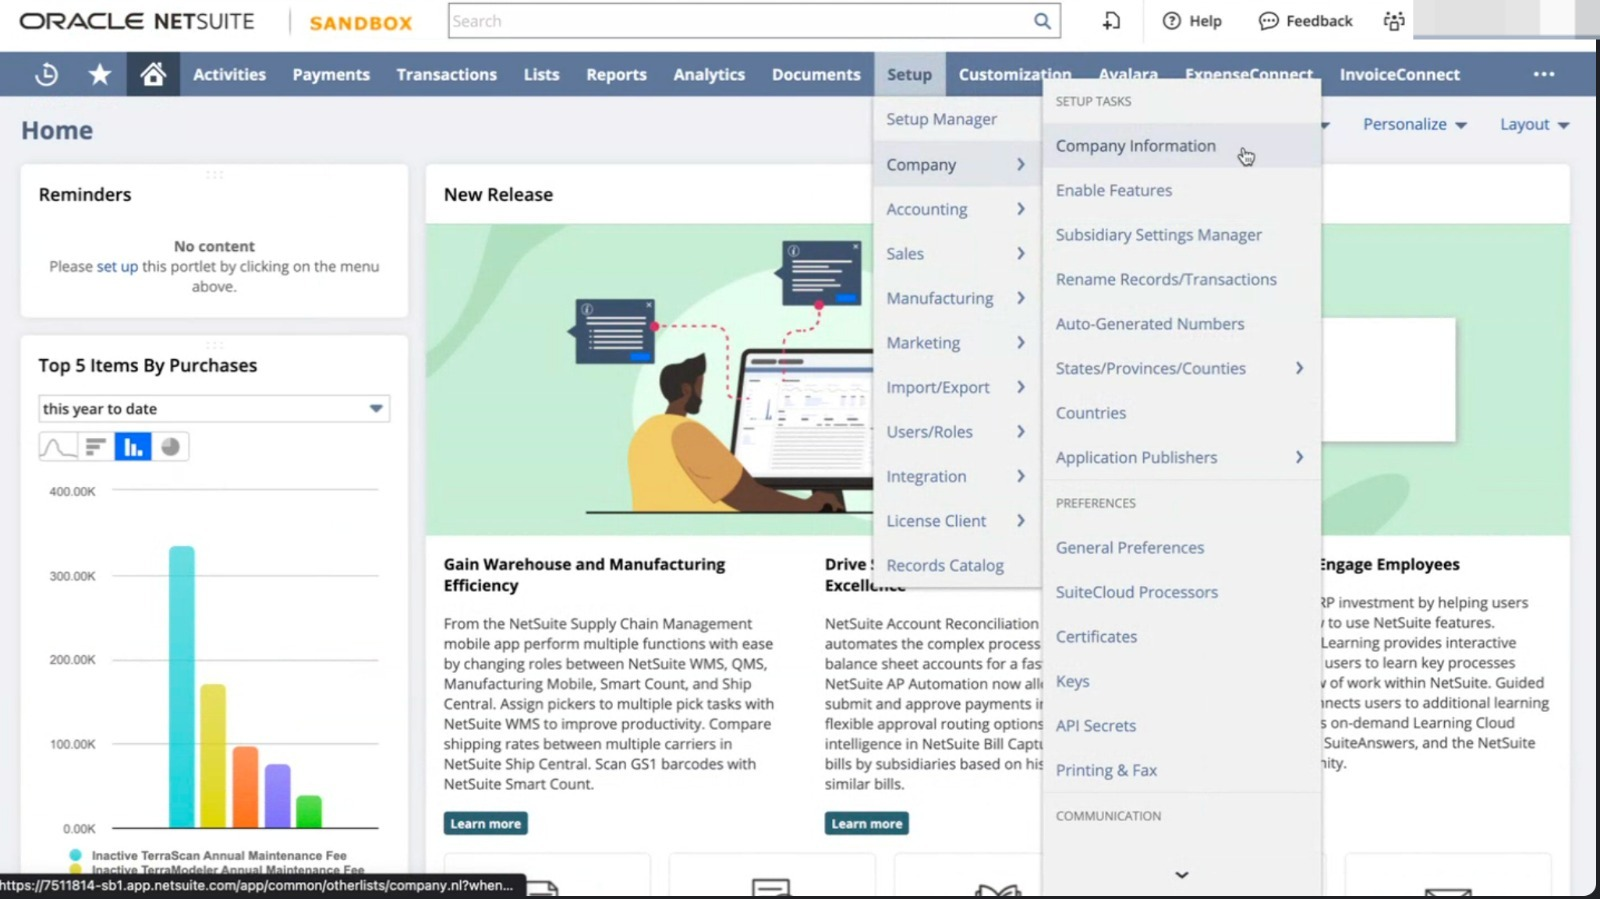
-
Locate the
ACCOUNT IDlabel on the right side. Record the number, excluding any suffix (e.g.,_SB1). -
On the same page, find the
SuiteTalk (Web Services) URLsection. This will contain your SuiteTalk URL.
ii. Create a Consumer Key/Secret Pair
-
Navigate to
Setup>Integrations>Manage Integrations.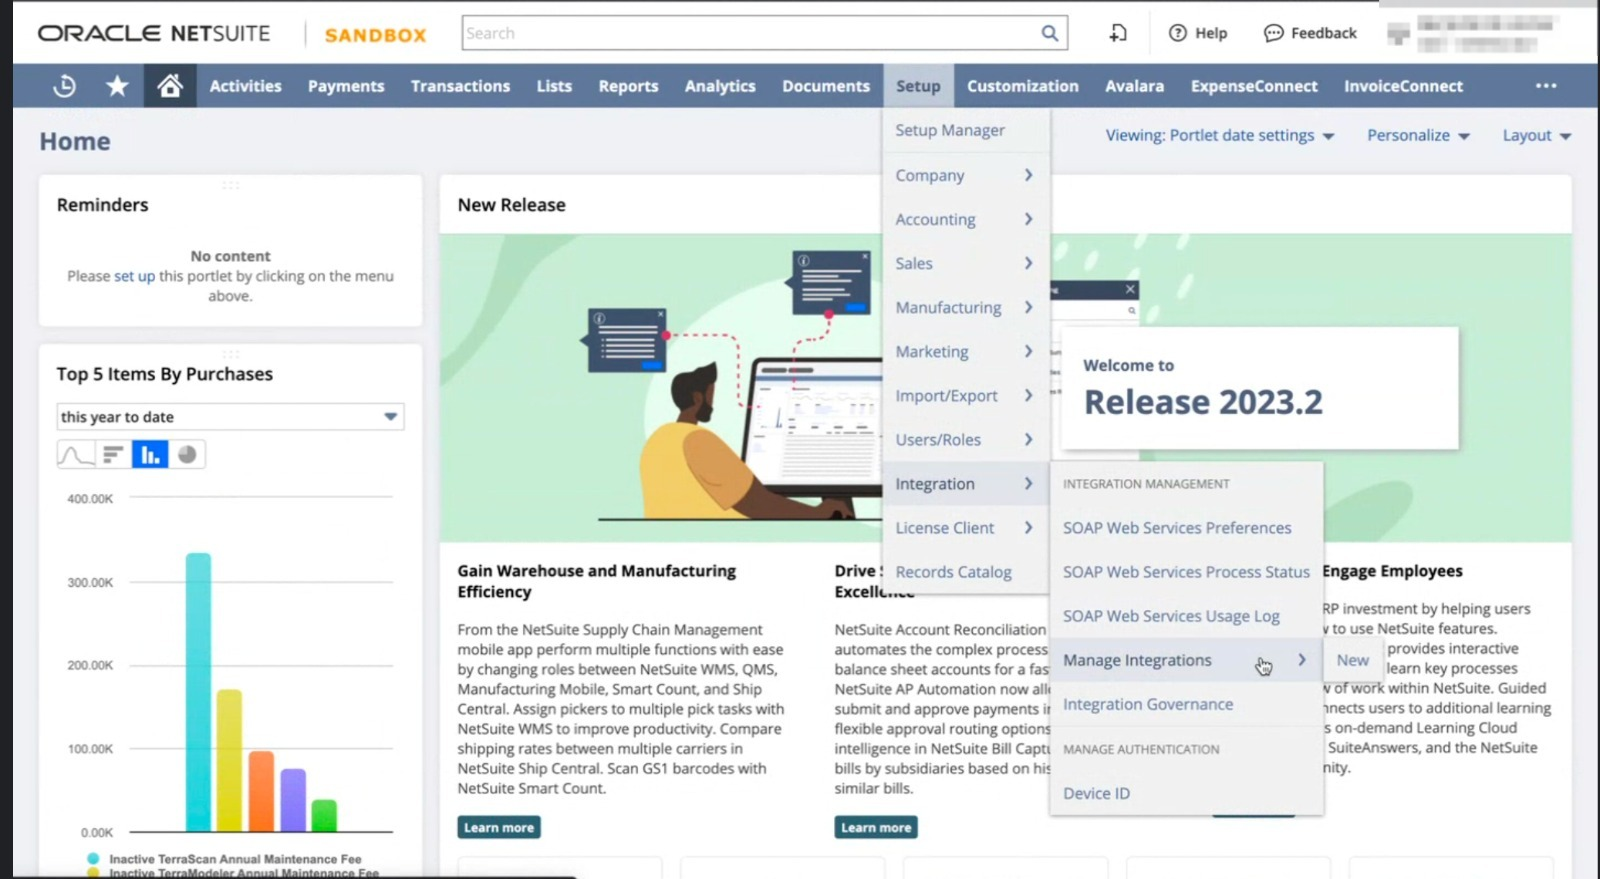
-
Define a name for your integration.
-
Check the
Token-Based AuthenticationandTBA: ISSUETOKEN ENDPOINToptions. -
Uncheck the
TBA: AUTHORIZATION FLOWandAUTHORIZATION CODE GRANToptions. -
After saving, find your
Consumer Key/Secret Pairat the bottom. Note: This pair is only shown once. Store it securely.
iii. Create a Role
-
Navigate to
Setup>Users/Roles>Manage Roles. -
Create a new role with full permissions for:
-
Setup
-
User Access Token
-
SOAP Web Services
-
Log in using Access Tokens
-
Integration Application
-
REST Web Services
-
Access Token Management
-
-
Configure additional permissions for
Lists,Reports, andTransactionsbased on your integration needs.
iv. Assign the Role to a User
-
Choose a user:
-
For a new user: Go to
Lists>Employees>New. -
For an existing user: Go to
Lists>Employees>Searchand select the user.
-
-
Under the
Access>Rolestab, add the integration role you created. -
Save your changes.
v. Generate Access Token Key/Secret Pair
-
Navigate to
Setup>Users/Roles>Access Tokens>New. -
On the Access Token page, select the
Integration Record,User, andRoleyou set up. -
After saving, locate your
Token ID/Secret Pairat the bottom of the page.
3. Paste the Netsuite Credentials in the Hopstack Platform
-
Navigate to the Hopstack platform with the provided URL and log in with your credentials
-
Navigate to the Integration Management screen under the Setup Section
-
Choose the relevant warehouse and tenant from the applicable dropdown menus on the screen.
-
Scroll down to find the Netsuite logo
-
Click on the Connect button
-
Type in the relevant keys retrieved from the previous step. The format should be as follows:
-
Account ID:
-
This is a unique identifier for your account.
-
Format: Contains numbers followed by an underscore and then more characters (e.g., 123456_ABC).
-
Example:
767814_SB2
-
-
Token Key:
-
A unique key is generated for API token-based authentication.
-
Format: Long alphanumeric string, usually 64 characters in length.
-
Example:
7e9f6765a3f9db2a538b61ba157229bff76e2c25b8b821df9b4c4e41a6a33f1f
-
-
Token Secret:
-
A secret associated with the Token Key.
-
Format: Long alphanumeric string, typically matches the length of the Token Key.
-
Example:
8c82bf7b8ac4ab9c1f6cc24aac8a57e45e9e95c3f54b0c2b5a8eb3b937245cdd
-
-
Consumer Key:
-
Key for the consumer (your application) to authenticate itself.
-
Format: Long alphanumeric string.
-
Example:
8920b5ff943fe2176ca578f2a4bee4183d2e9313b98430c67c4e4d0c105d98da
-
-
Consumer Secret:
-
A secret key associated with the Consumer Key.
-
Format: Long alphanumeric string, typically matches the length of the Consumer Key.
-
Example:
ba9a8998ff2d3d21afb2741ac8d0ca9631ca38838245c82e655e9912763f6e80
-
-
SuiteTalk URL:
-
URL endpoint for the SuiteTalk API service.
-
Format: Starts with 'https://' and contains 'suitetalk.api.netsuite.com'.
-
Example:
<https://767814-sb1.suitetalk.api.netsuite.com>
-
-
RESTlet URL:
-
URL endpoint for the RESTlet API service.
-
Format: Starts with 'https://' and contains 'restlets.api.netsuite.com'.
-
Example:
<https://767814-sb1.restlets.api.netsuite.com/app/site/hosting/restlet.nl?script=577&deploy=1
-
-
After completing these steps, your NetSuite account should be successfully connected to Hopstack. If you experience any issues, please contact Hopstack Support.
The initial sync between Netsuite and Hopstack may take a longer time than usual due to the first time connection. Beyond this, our system is built in a way that Netsuite to Hopstack synchronization typically occurs every 3-15 minutes depending on the type of item being synced.