We are excited to announce the Native UPS integration in Hopstack! This new feature allows you to connect your UPS account directly.
To integrate your UPS account with Hopstack, follow these steps:
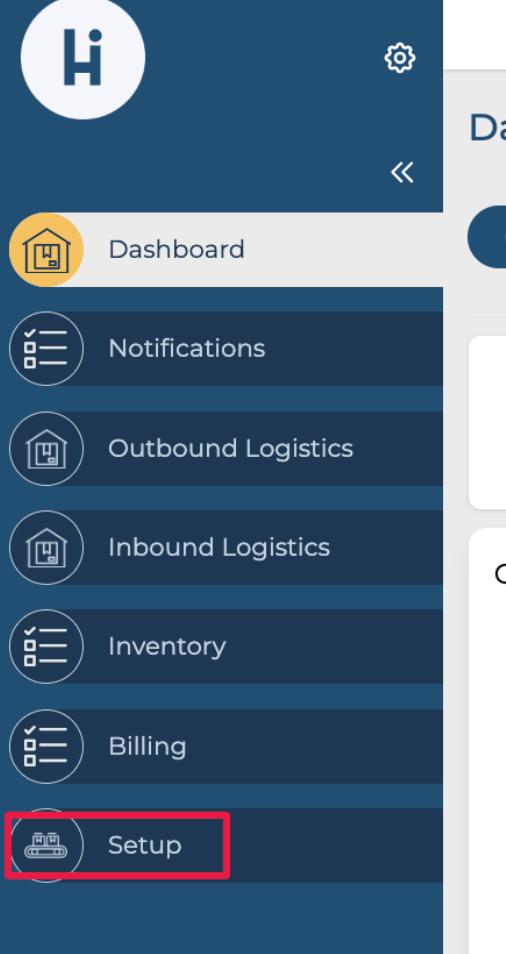
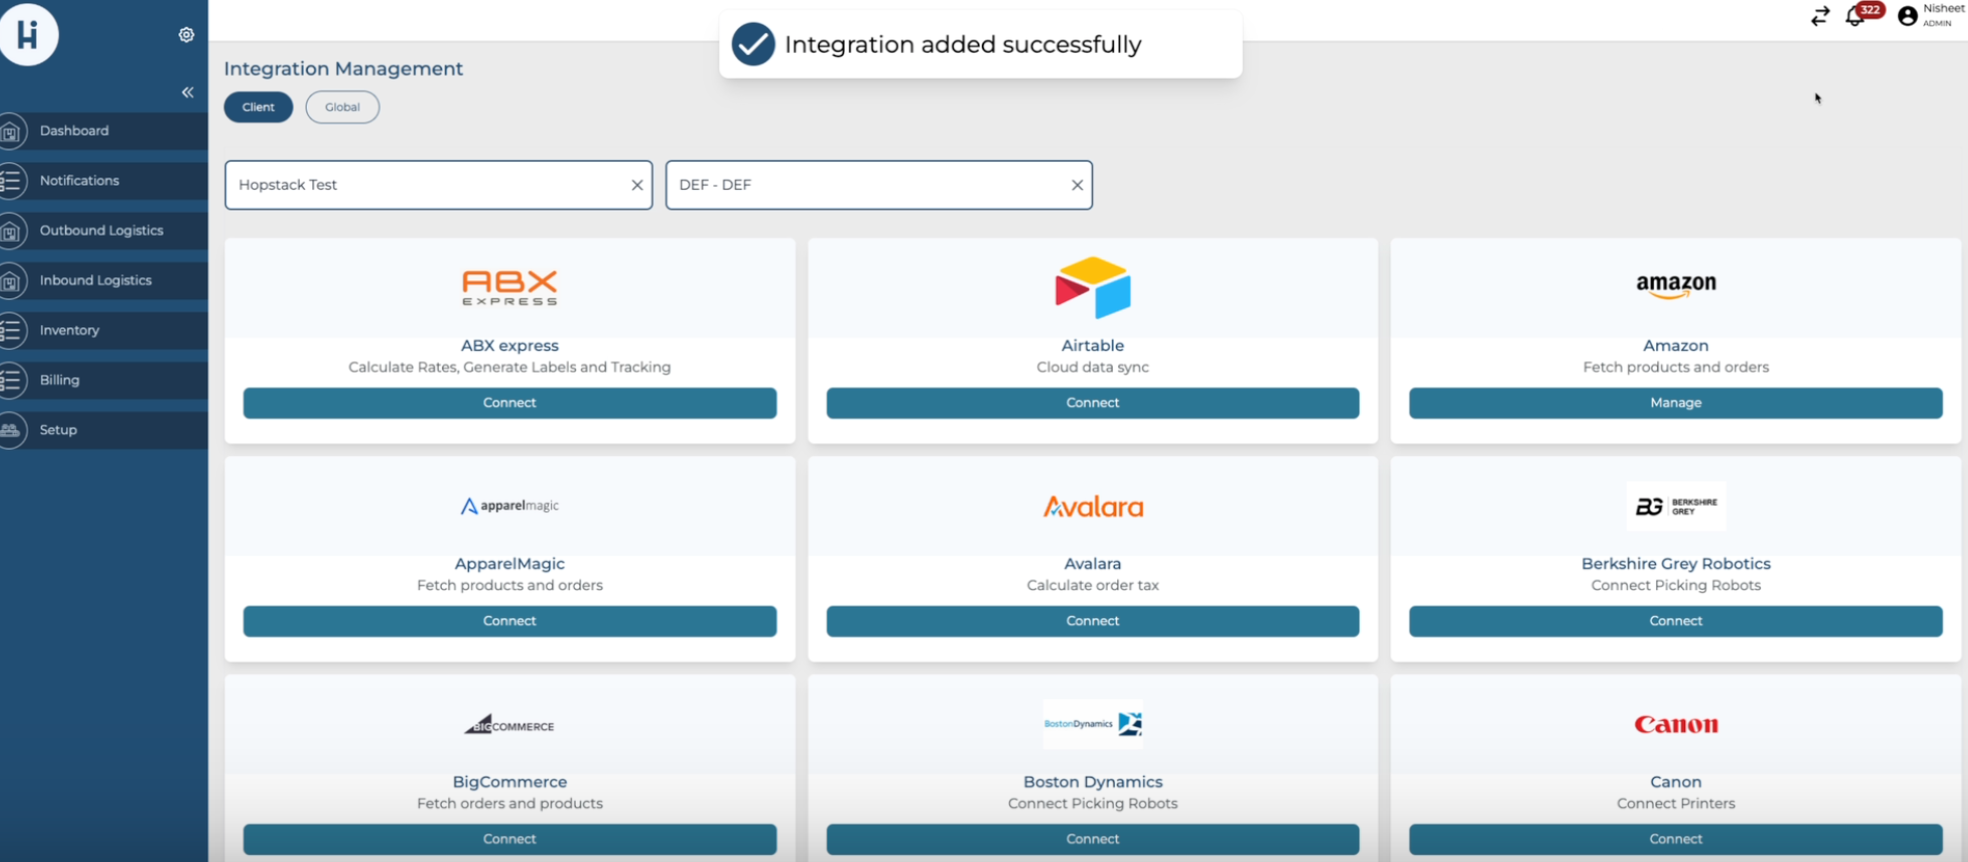
Step 1: Access Integration Management
-
Navigate to the Hopstack home page.
-
Click on the Setup option in the menu.
-
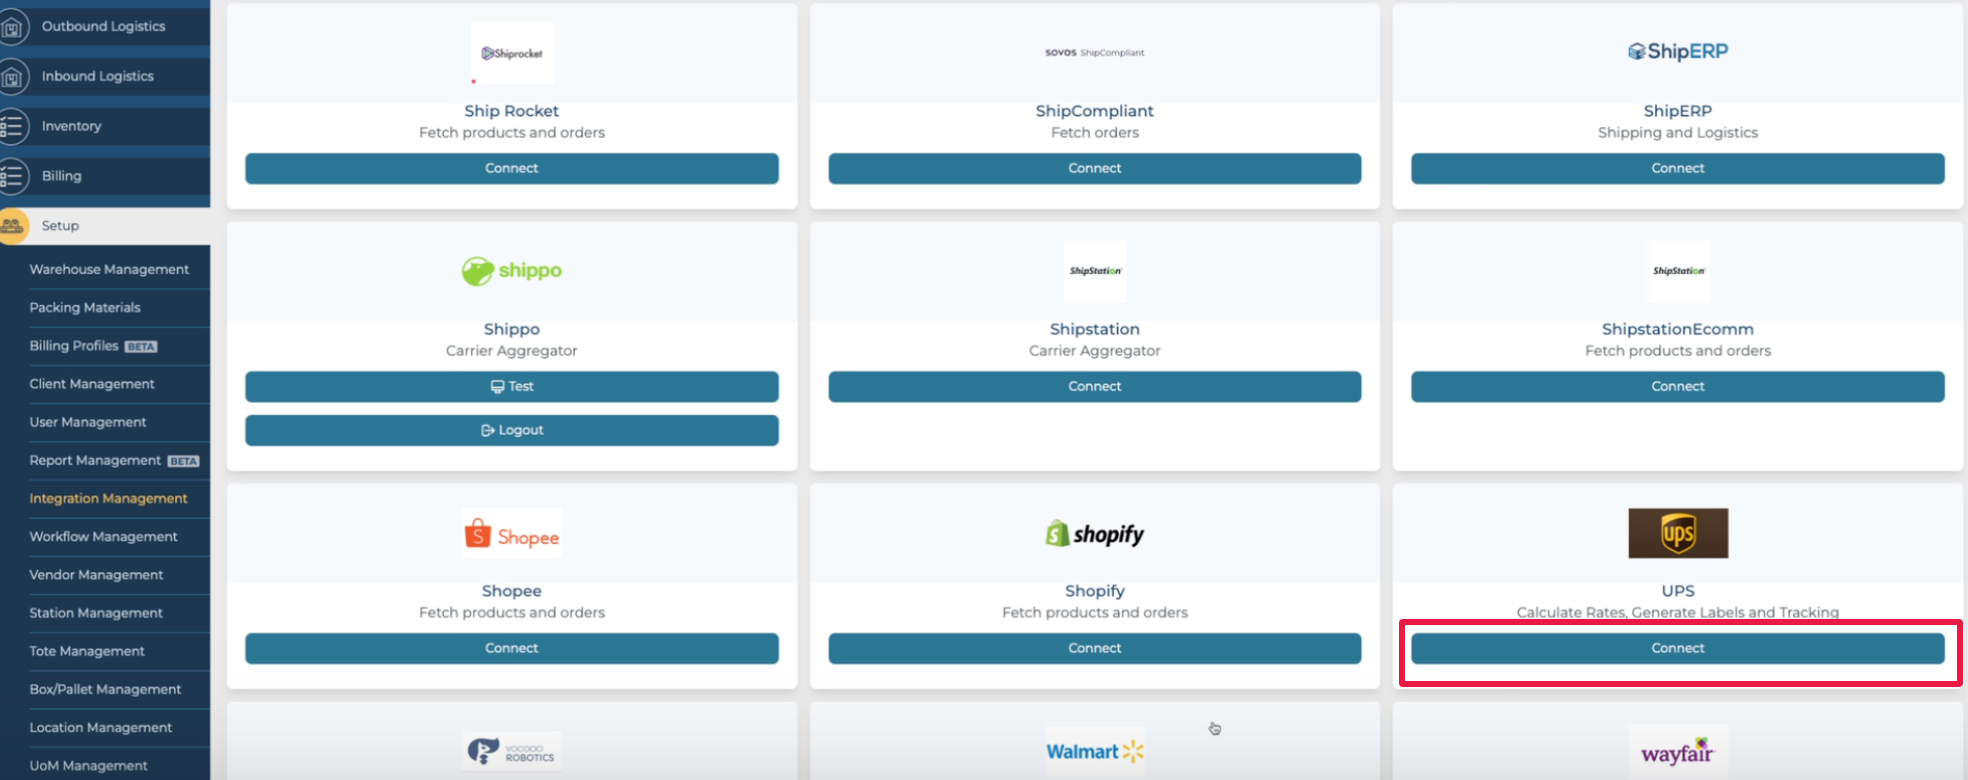
Click on Integration Management.

Step 2: Connect to UPS
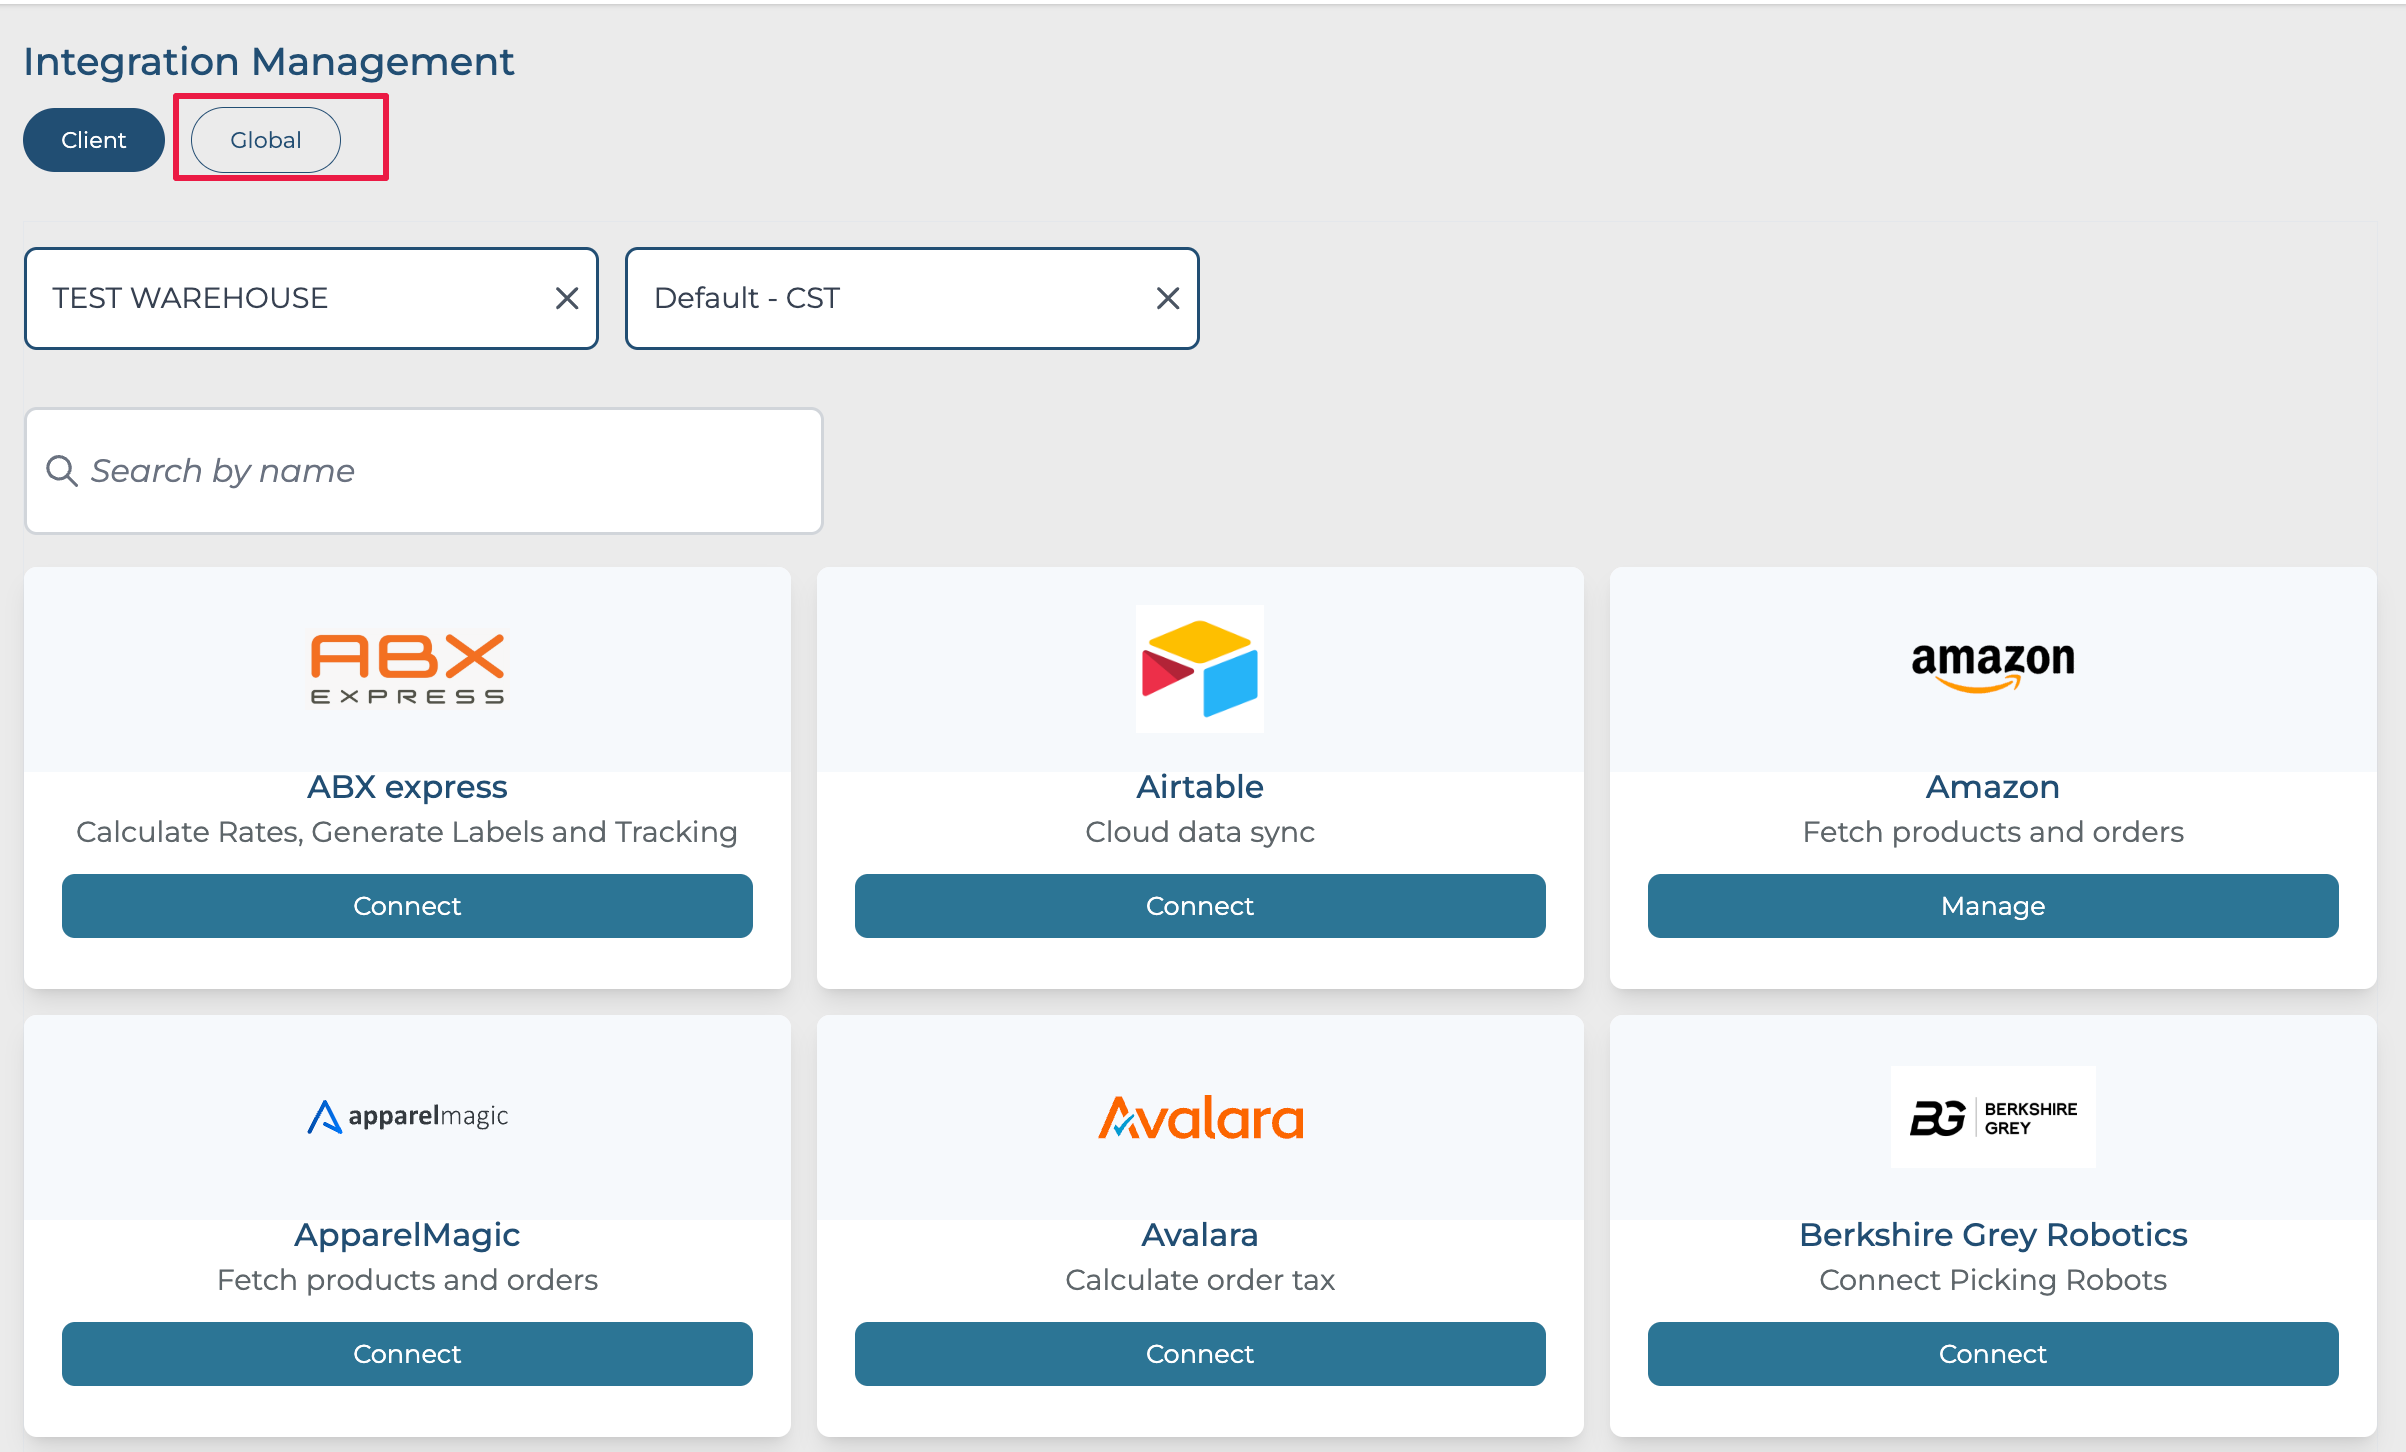
For Client and level integration
-
In the Integration Management window, select the appropriate warehouse and client from the drop-down menus for client-level integration.
-
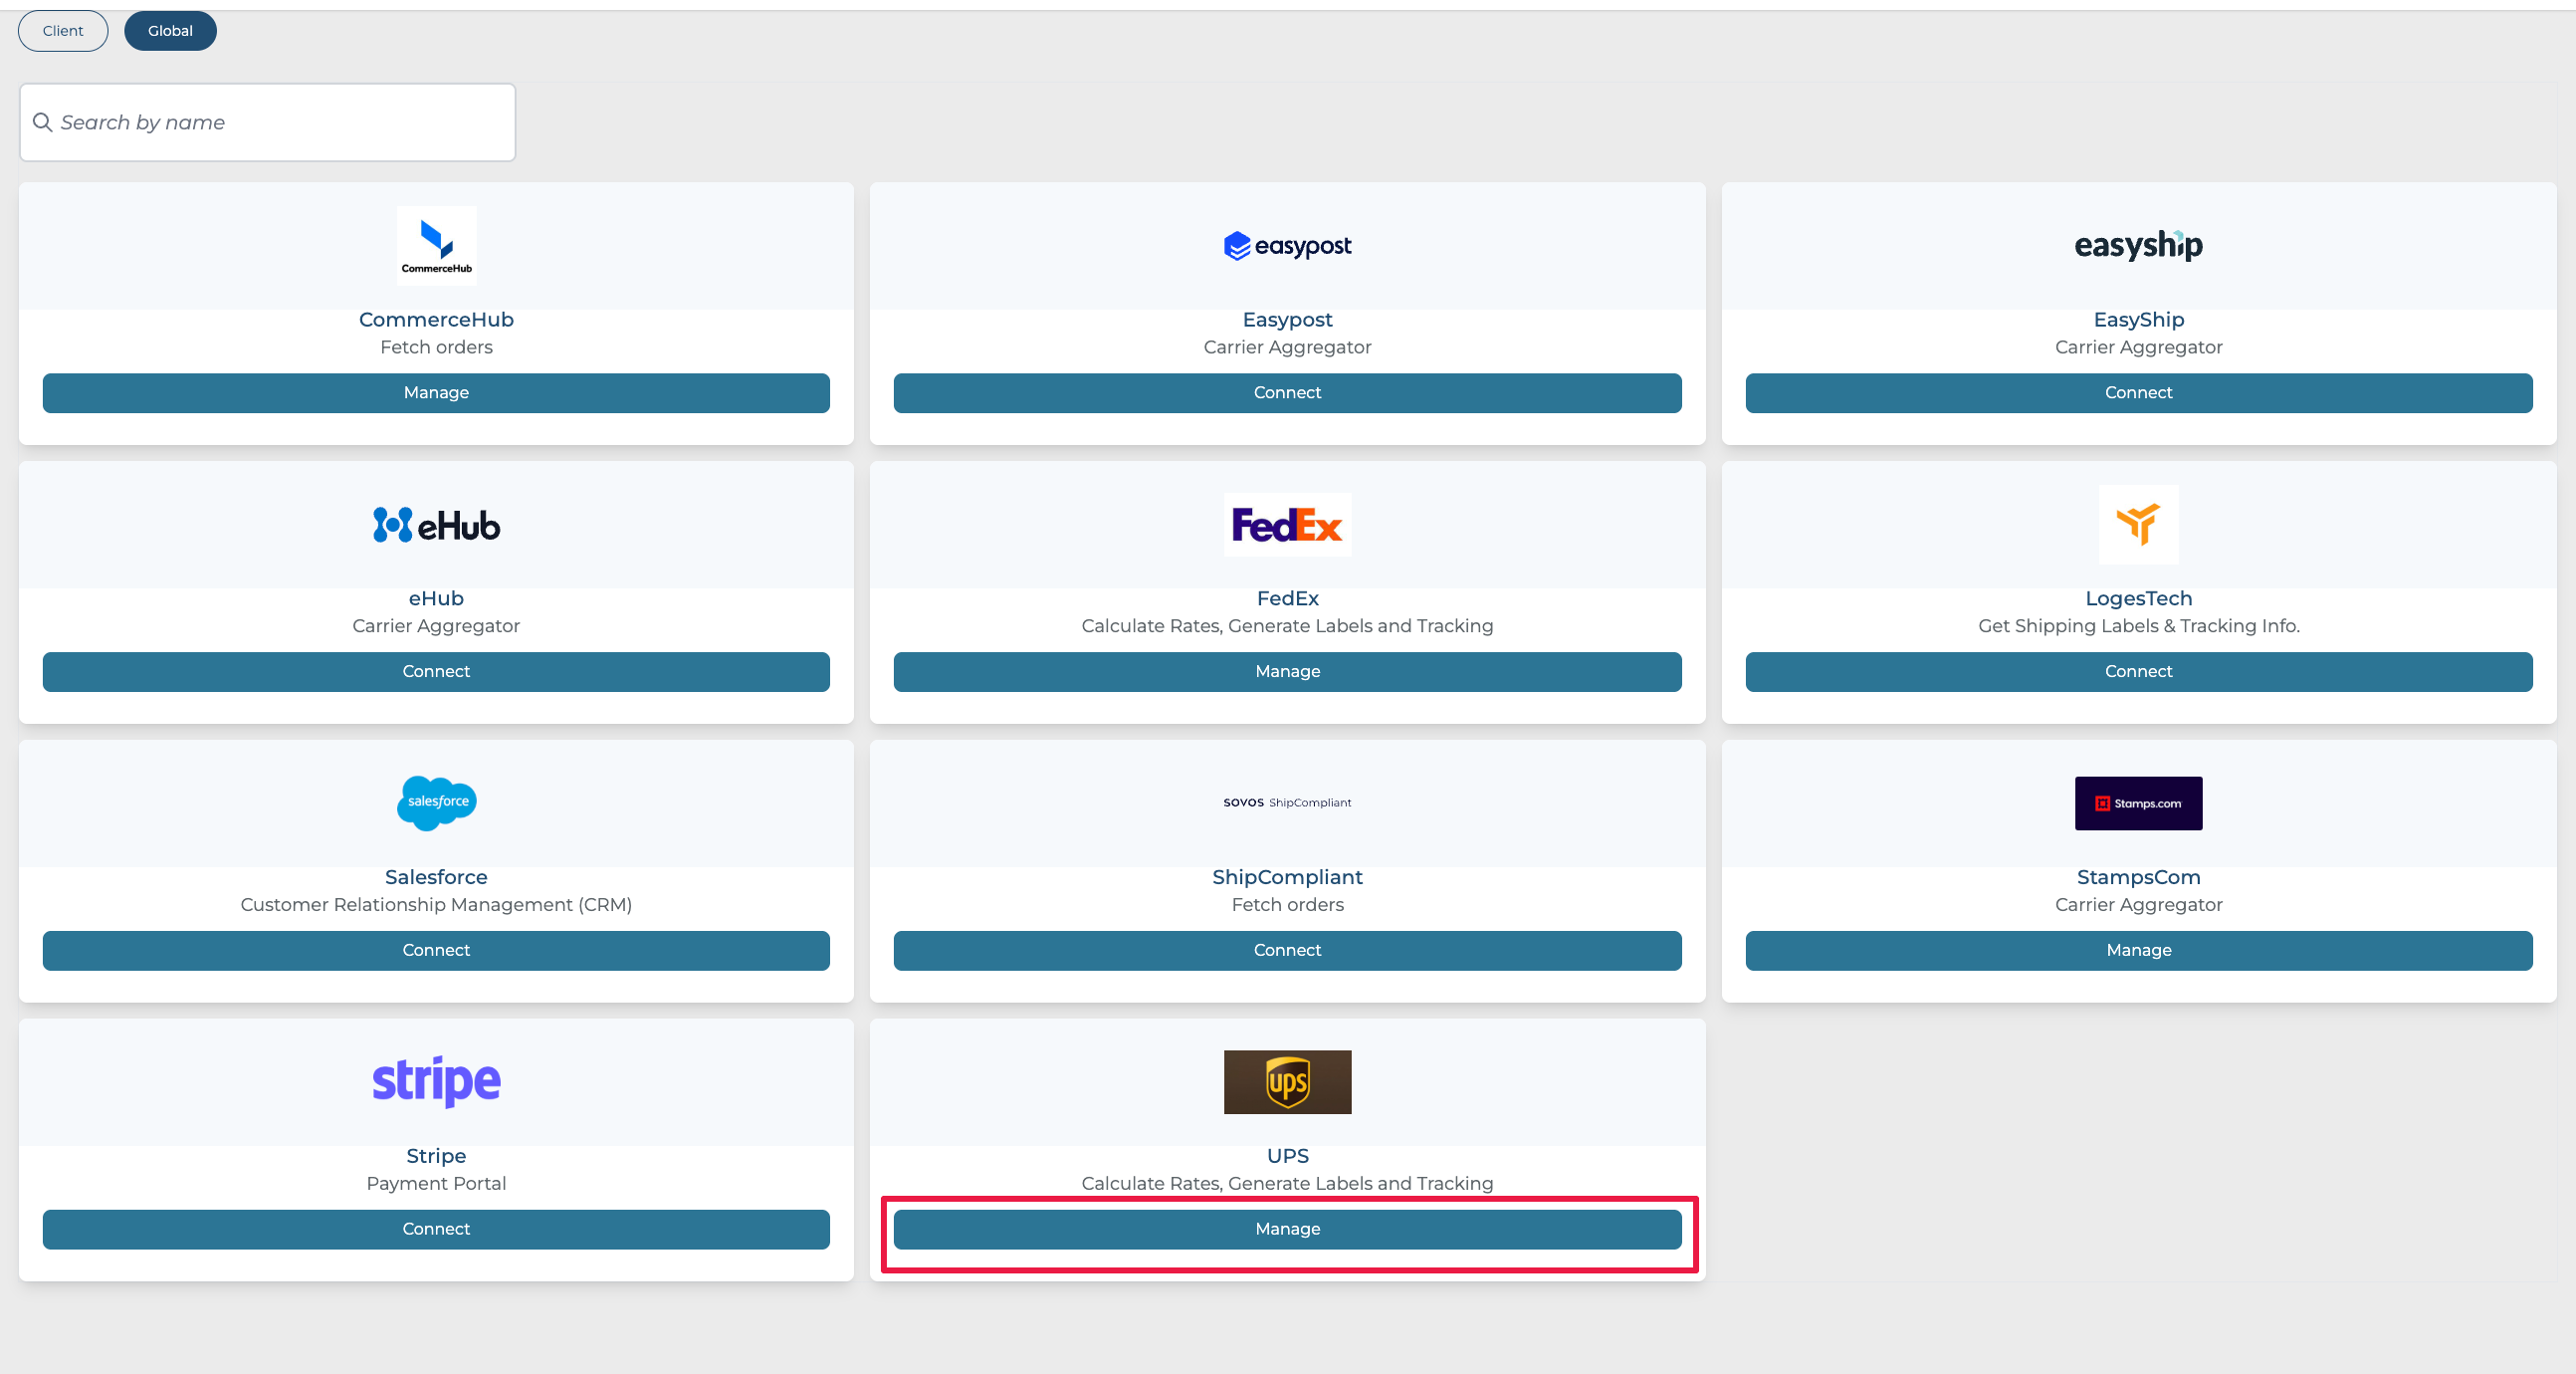
Scroll down to locate the UPS option.
-
Click the Connect button next to UPS.

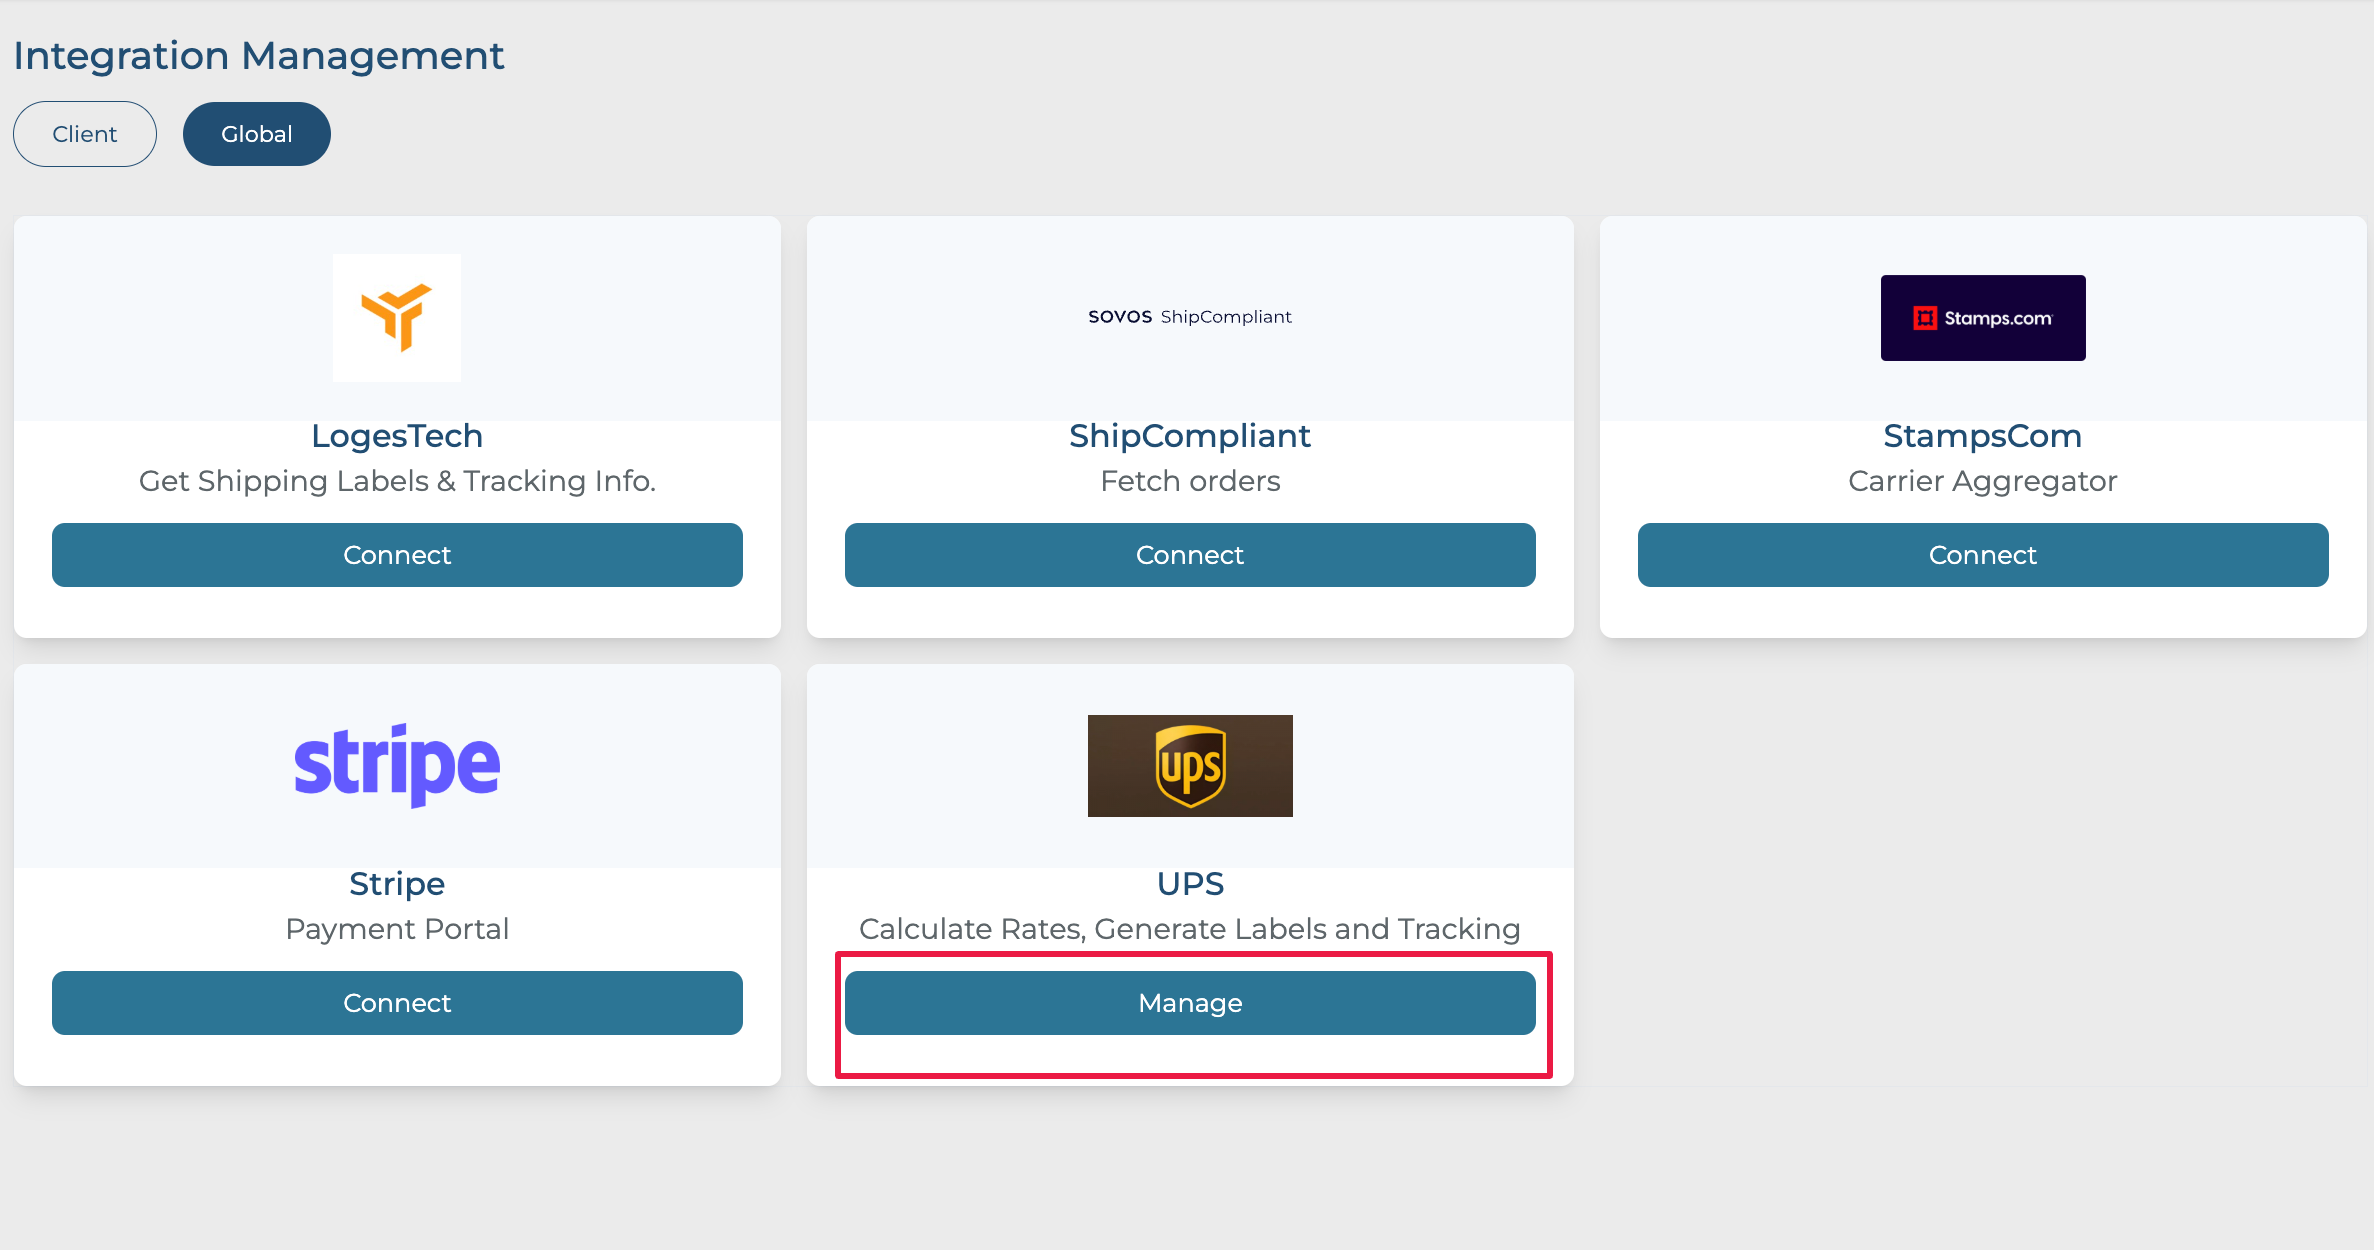
For Global Integration:
1. Click on Global
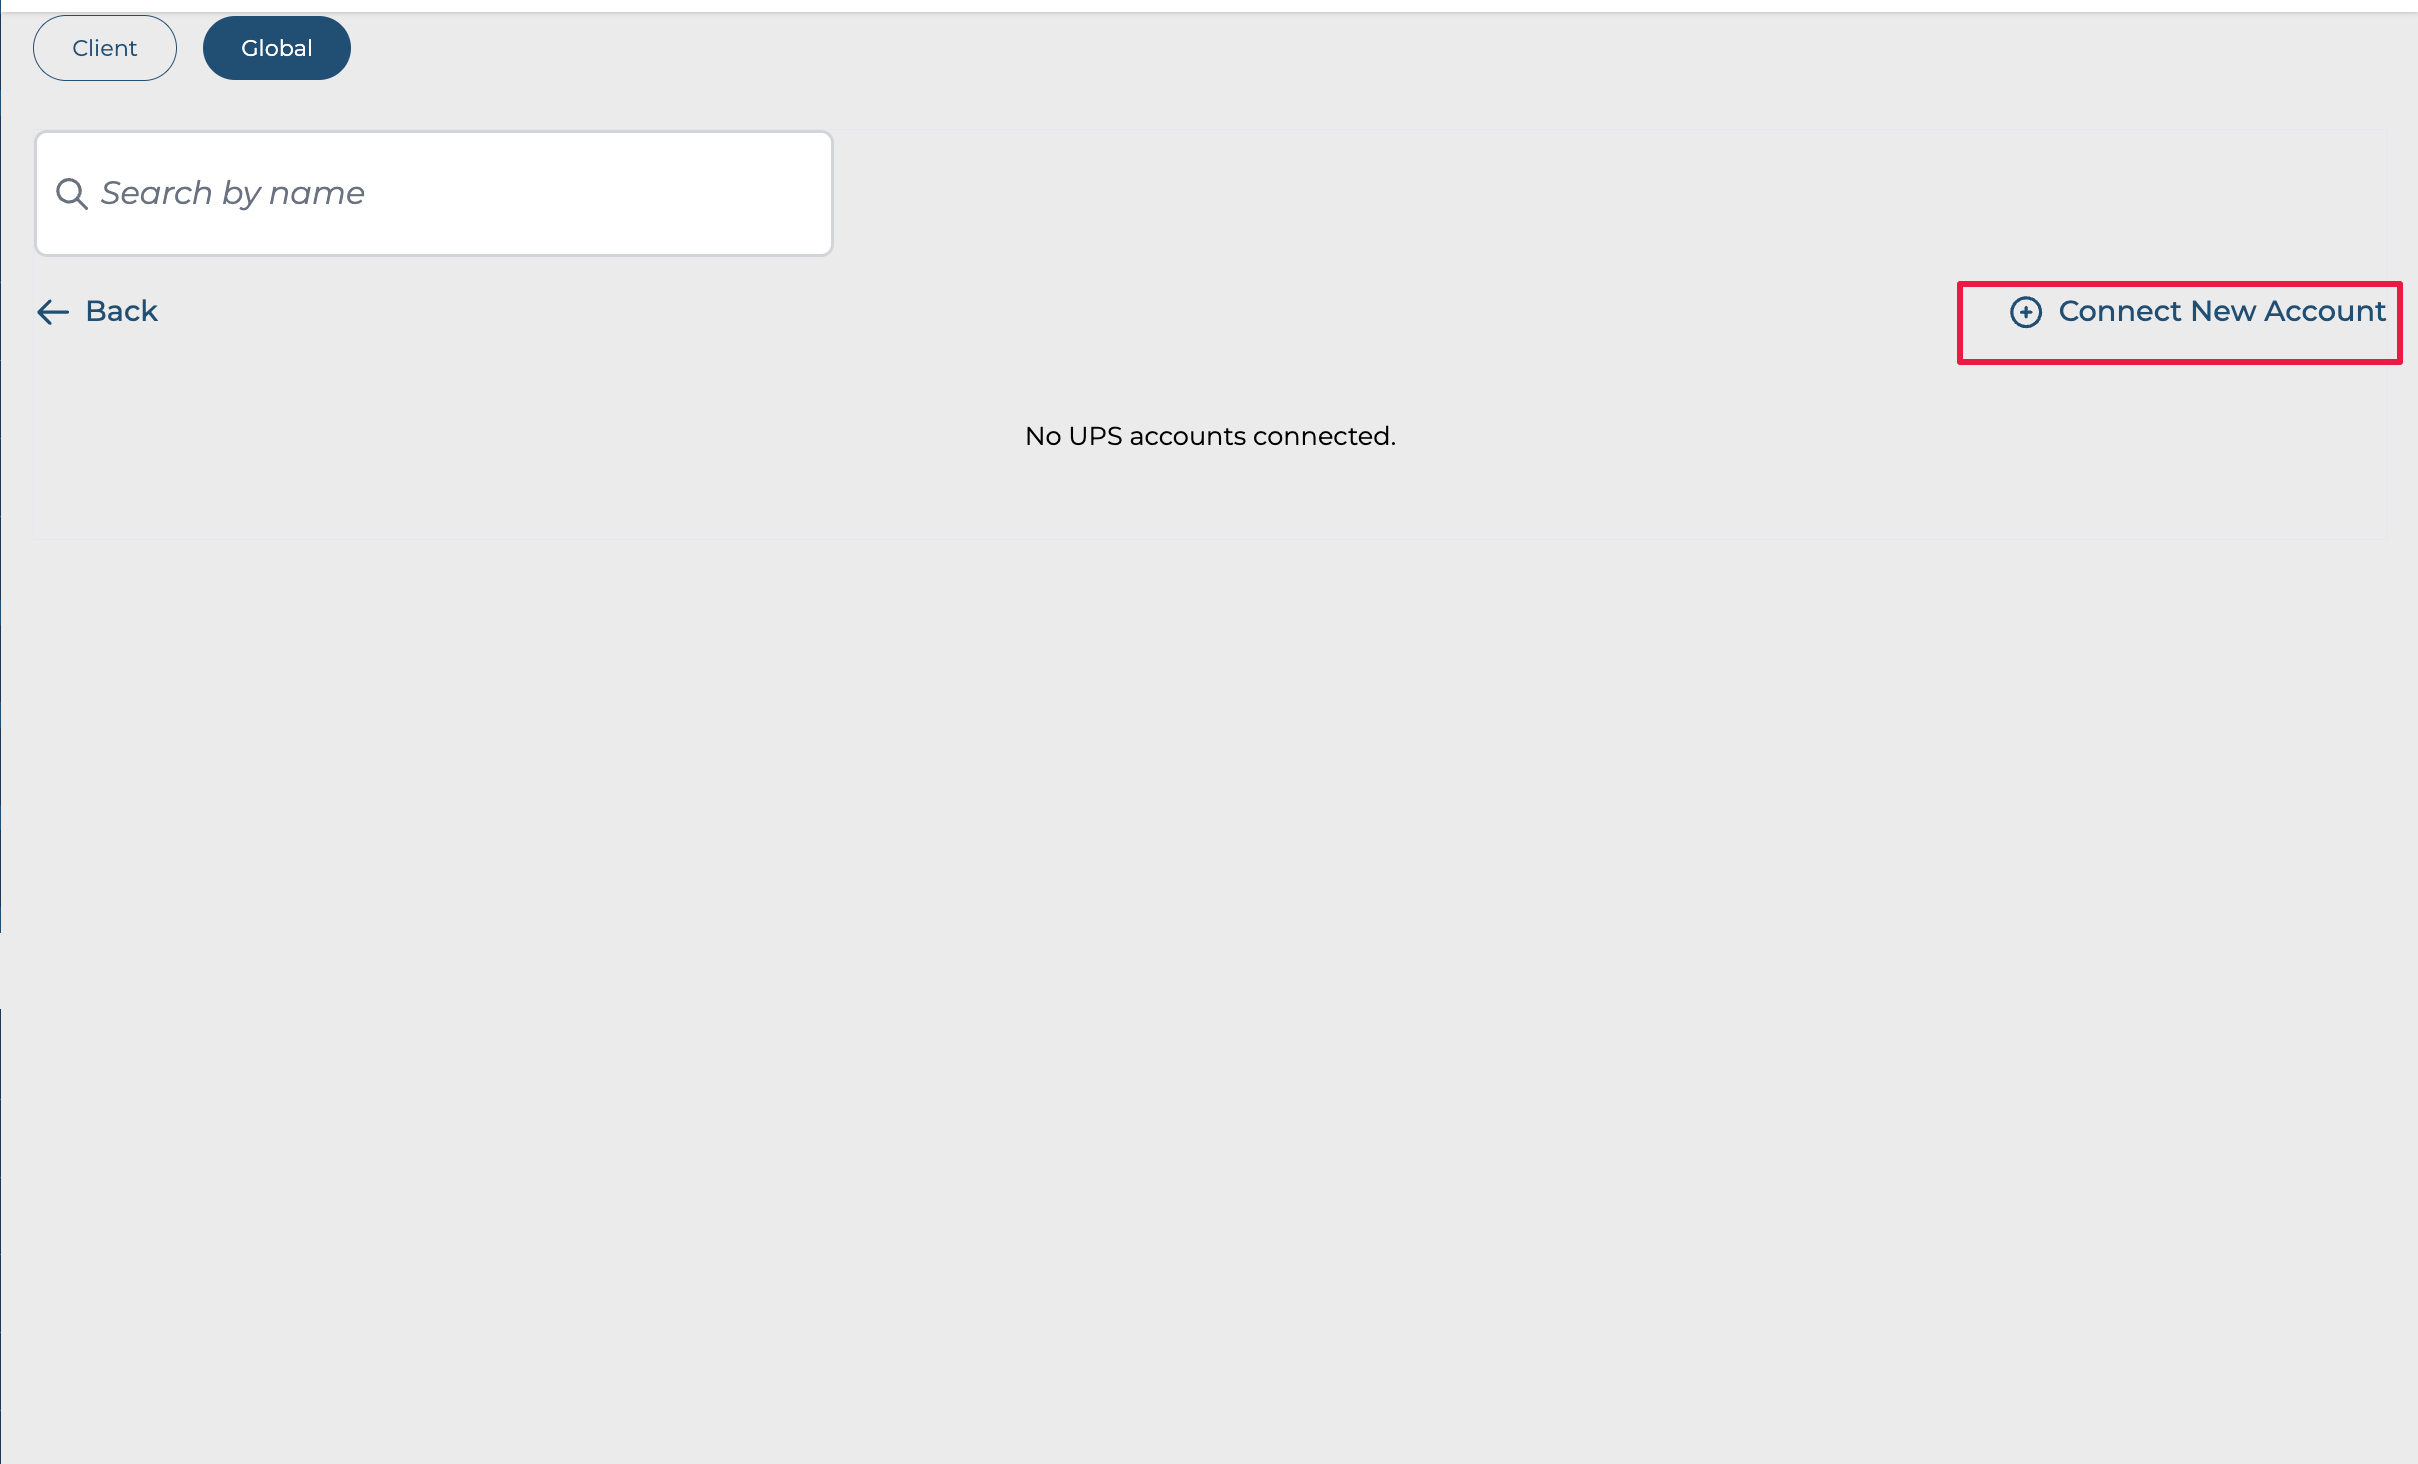
2. Identify UPS and click on Manage
3. Click on Connect New Account
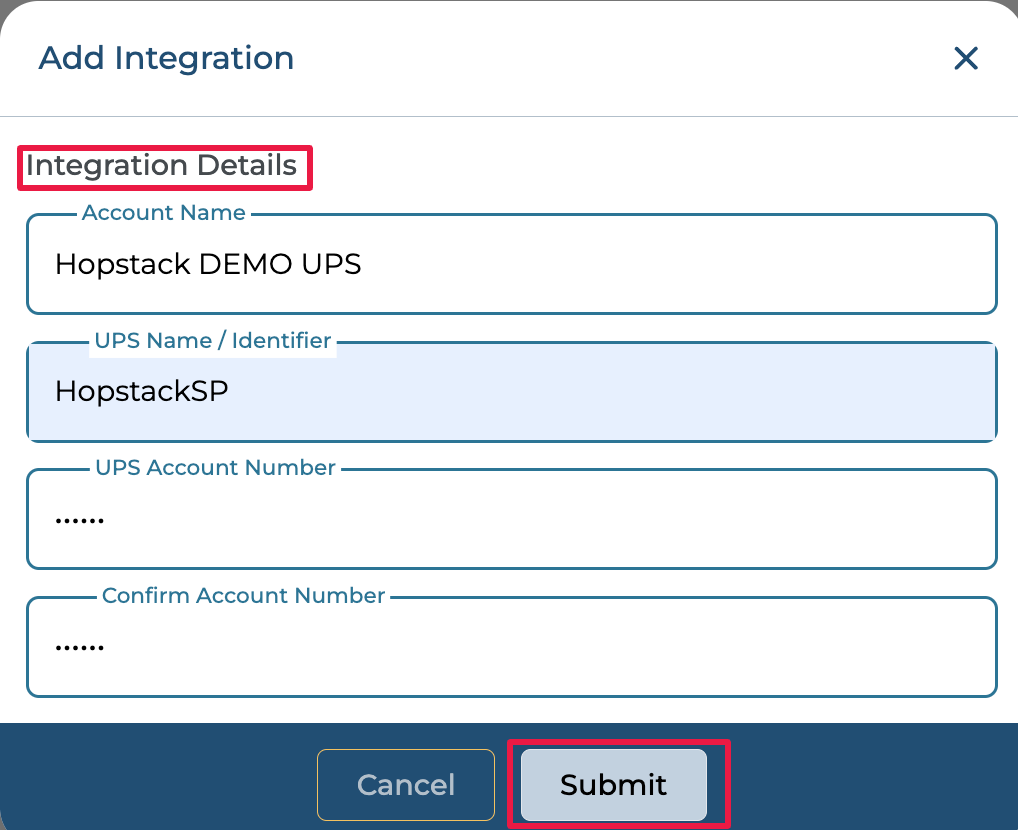
Step 5: Add Integration
-
A pop-up window will appear prompting you to enter the following details
-
Account Name- Provide a name for the UPS account to be stored in Hopstack
-
UPS Name/Identifier - Provide the UPS username
-
UPS Account number - Provide the UPS account number
-
-
After entering your account number, click the Submit button.
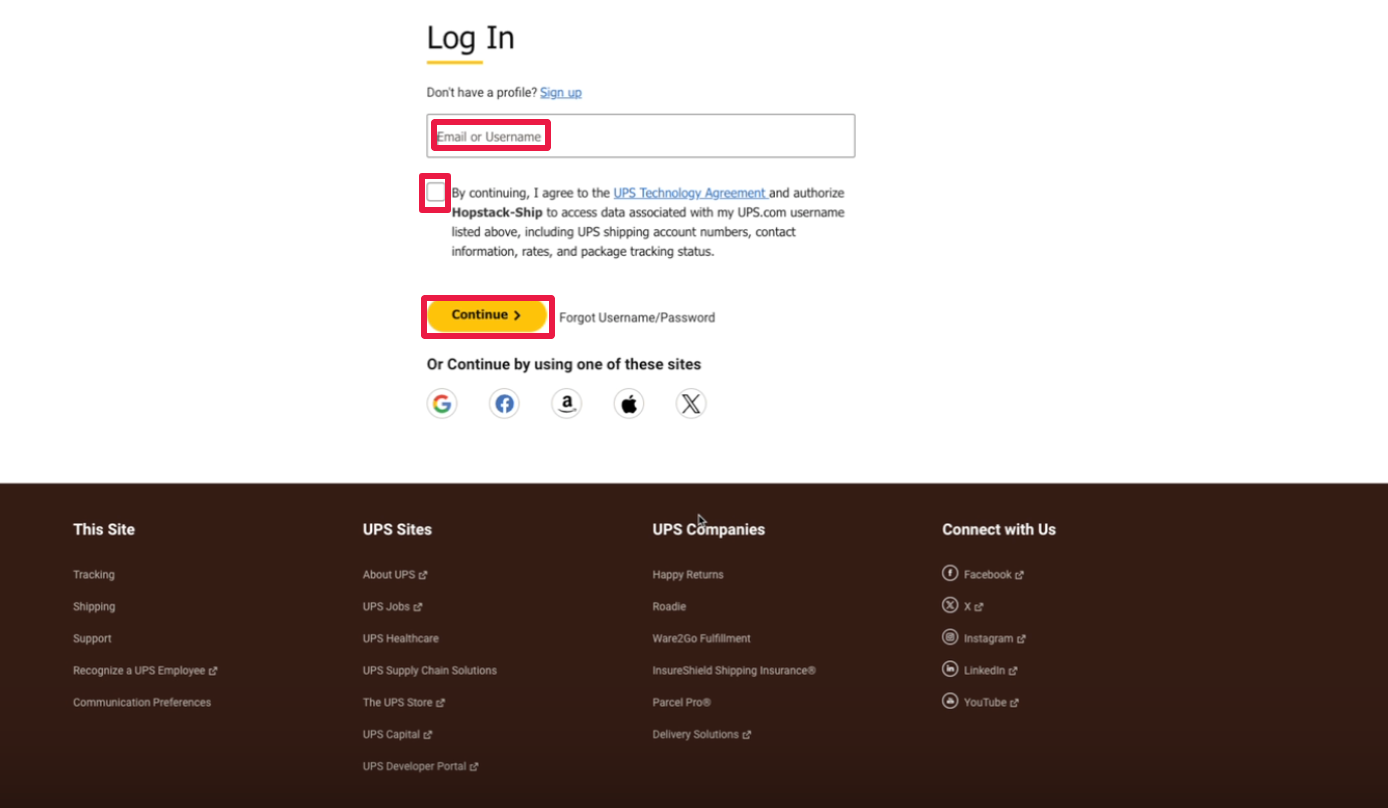
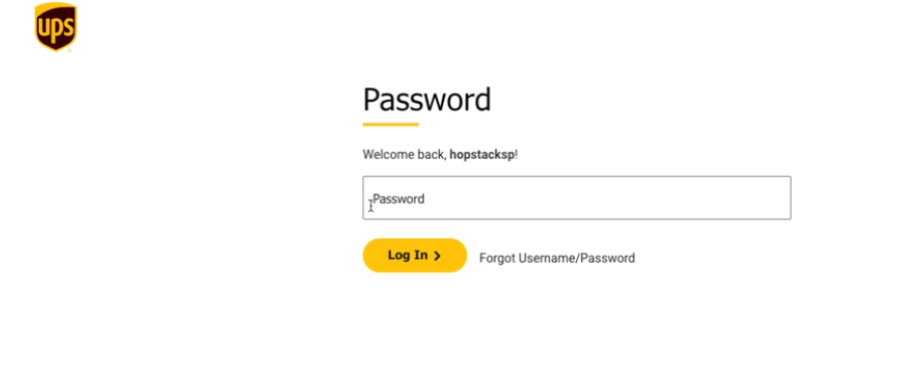
Step 6: Log In to Your UPS Account
-
You will be redirected to the UPS login page.
-
Enter your UPS account username or email address. Make sure to check the box (if prompted) to agree to the terms, then click Continue.
-
Type in your UPS account password and click the Login button.
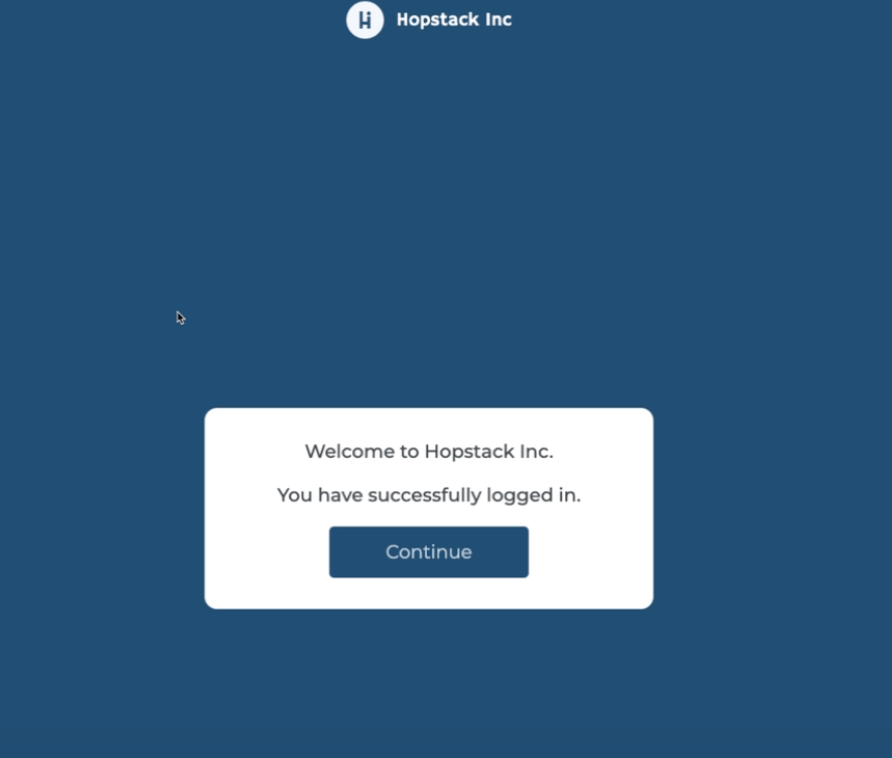
Step 7: Complete Integration
-
After a successful login, you will be redirected back to Hopstack.A notification will confirm that you have successfully logged into your UPS account.
-
Click the Continue button to finalize the integration.
-
You will receive a final notification indicating that the integration has been added successfully.
To add multiple accounts in global integration, click on Manage, connect new and repeat the above steps to add the next account.