
This guide covers the steps to allocate inventory for Bundle creation.
-
Navigate to the Stock ledger screen.
-
Apply Warehouse and Client Filters.
Select the appropriate Warehouse (for multi-warehouse setups) and Client to view and allocate inventory for the required bundle.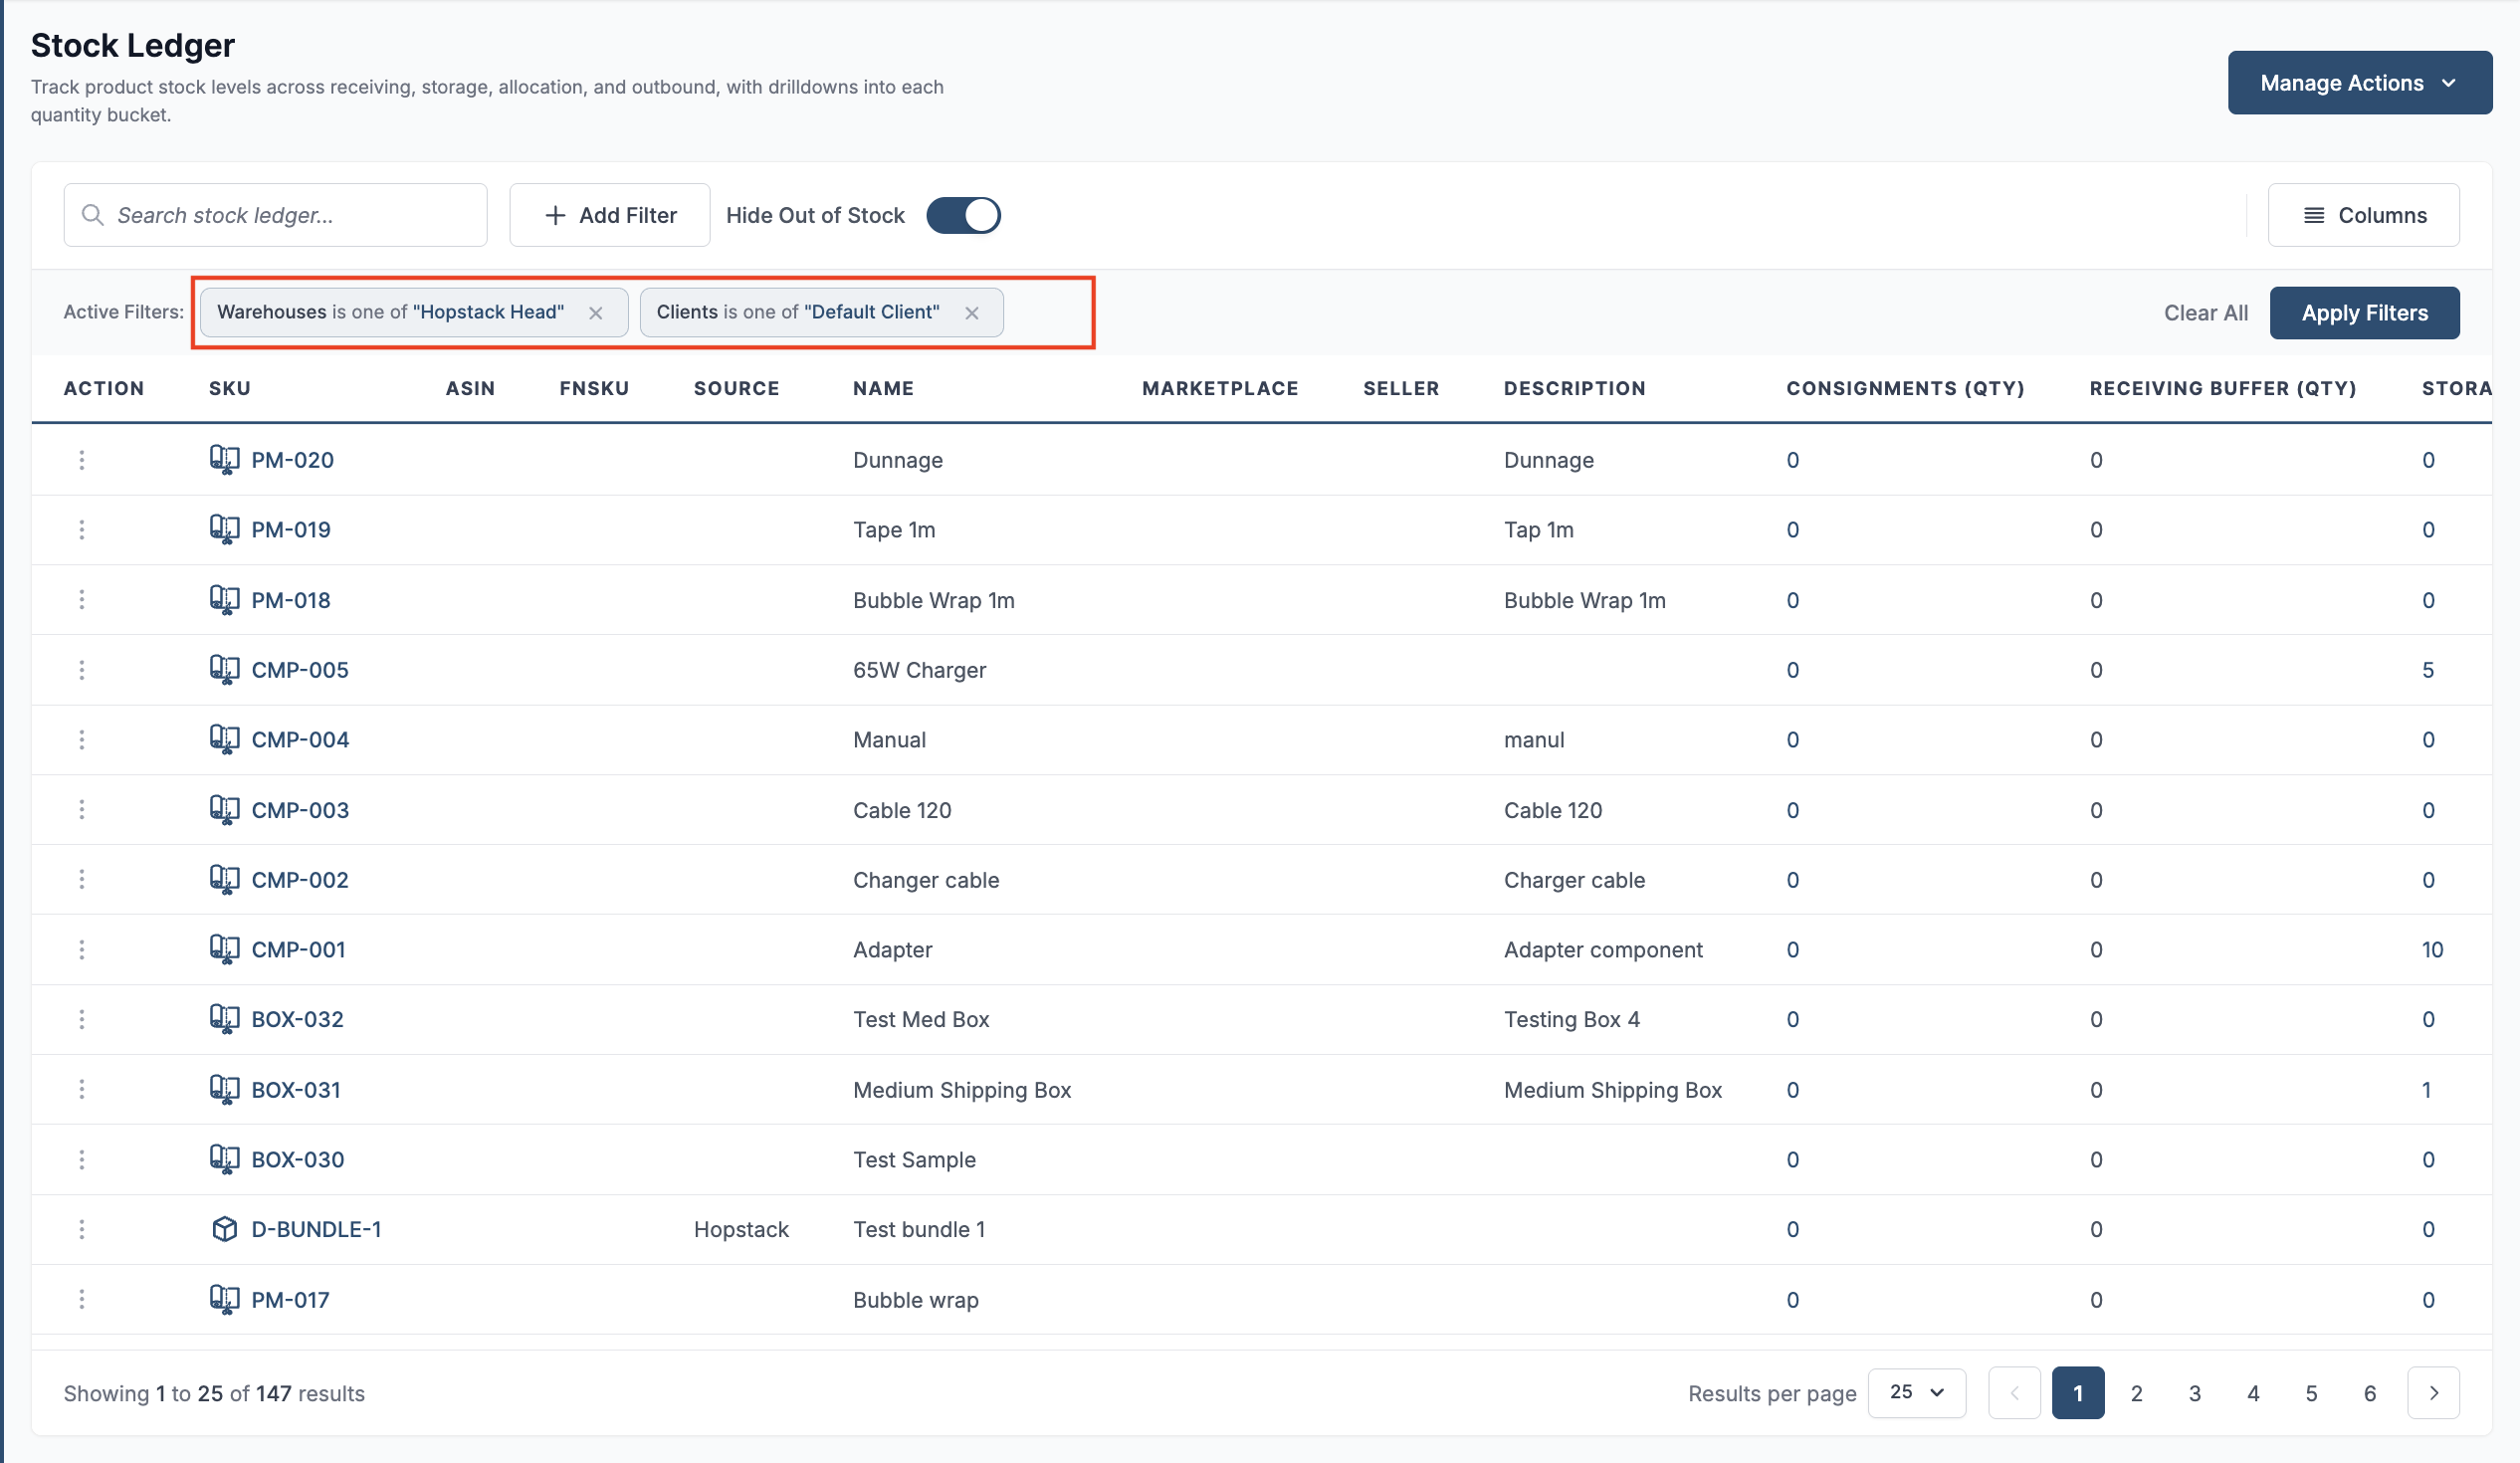
-
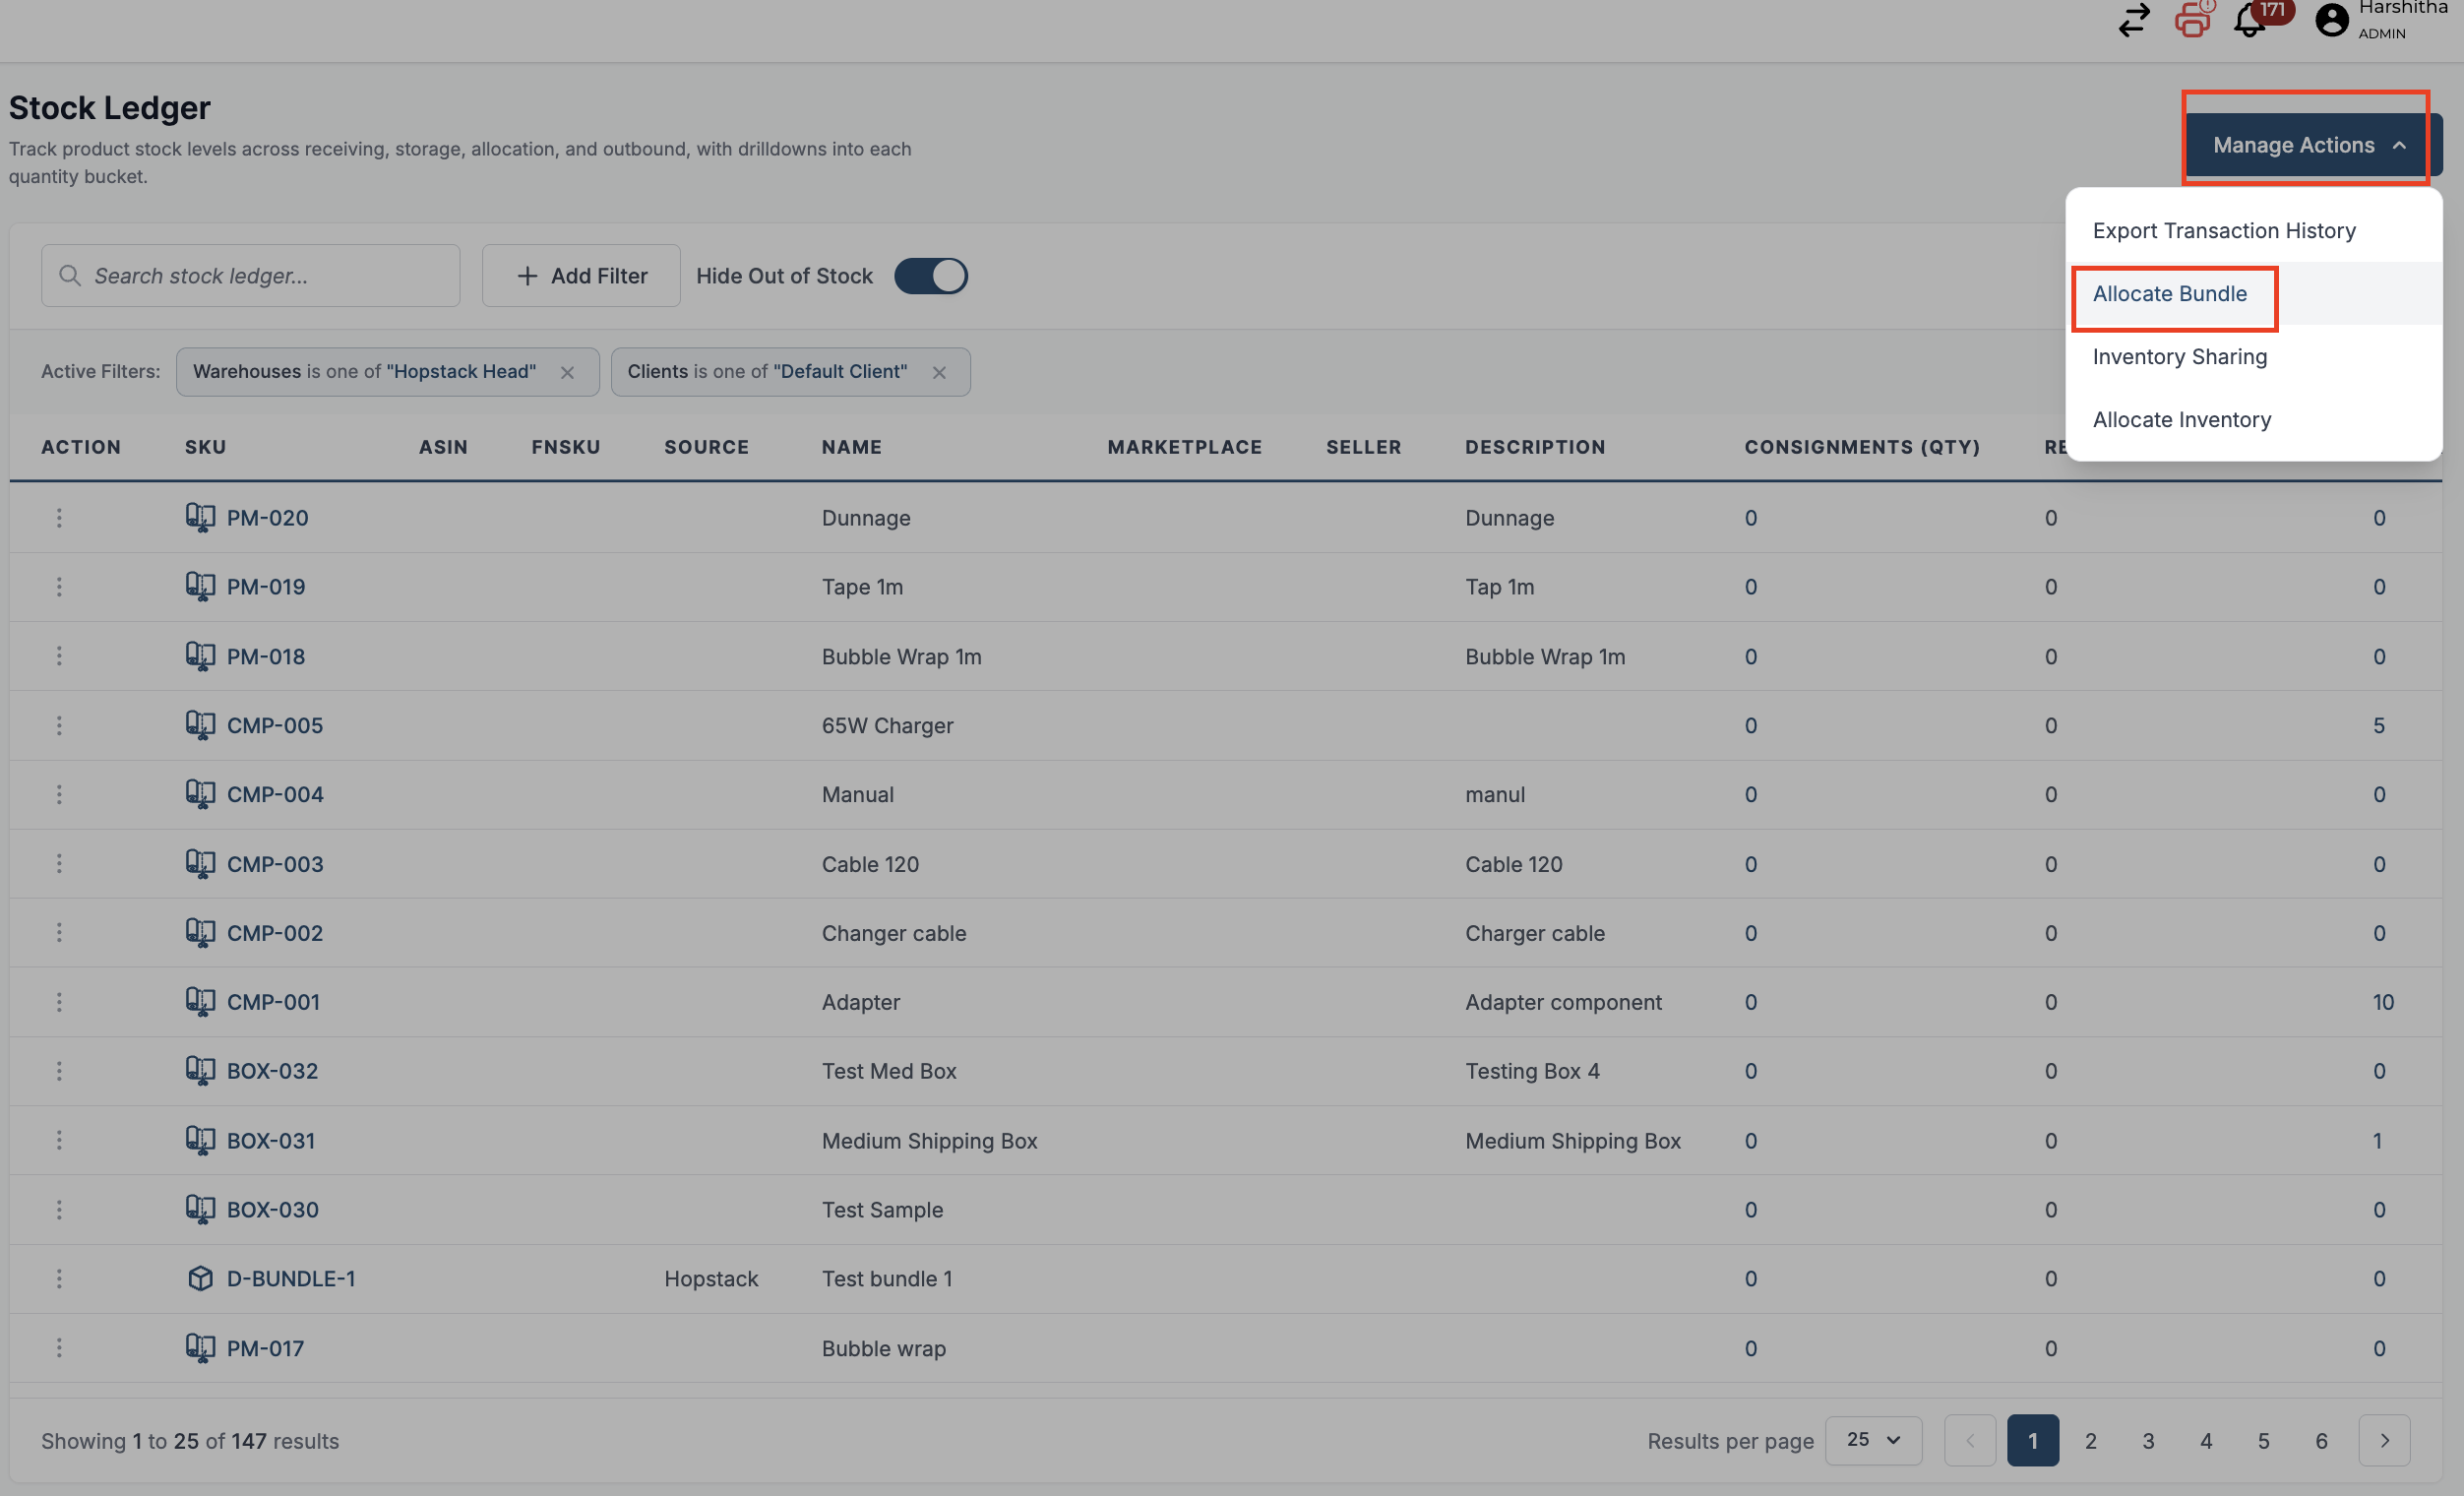
Manage Actions → Allocate Bundle
-
Identify Bundle
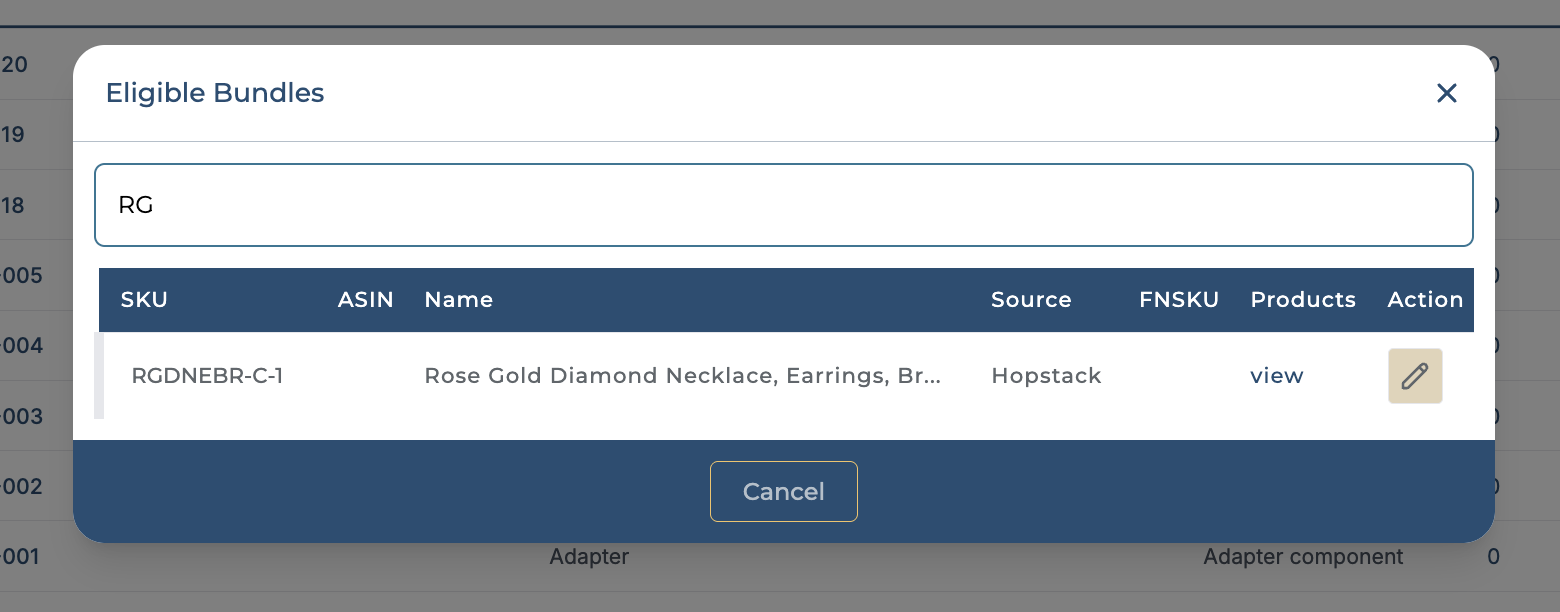
A list of eligible bundles is displayed. Search for the specific bundle or scroll through the list to find the bundle for which you would like to allocate inventory.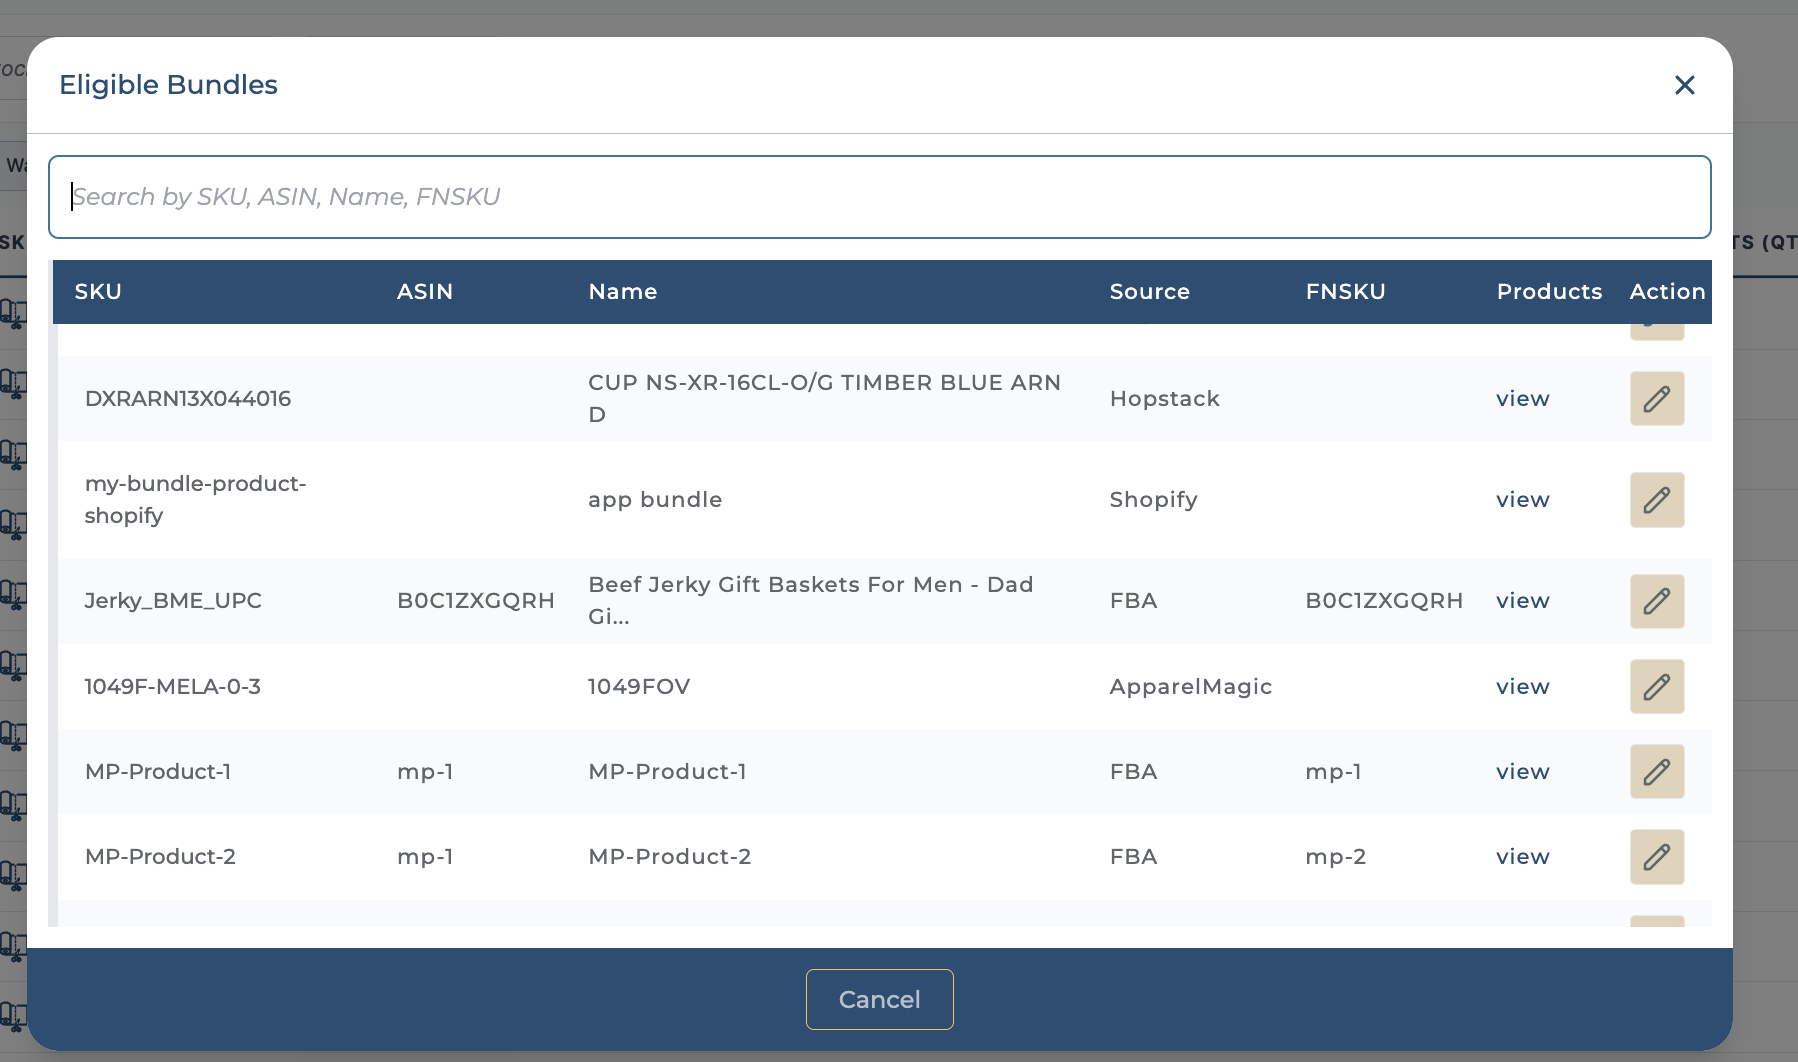
-
Verify Products Inventory
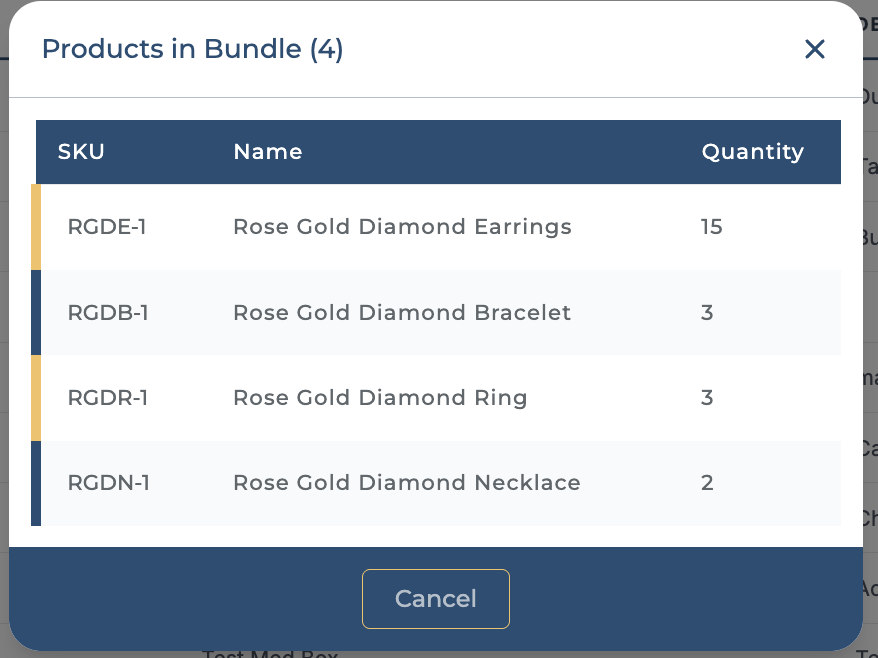
Click on View in the Products column to view the products in the bundle and their corresponding inventory. Once you verify the products, hit on X to go back to the previous screen.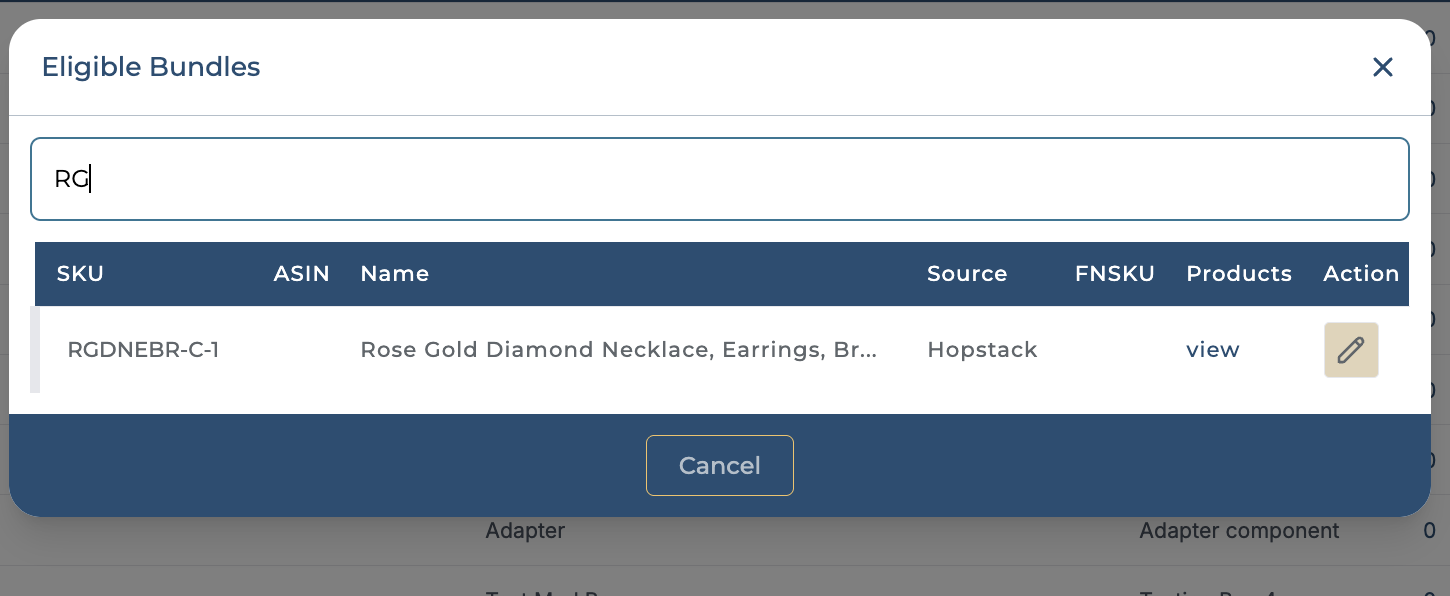
-
Allocating inventory for Bundle
Click on the Pencil Icon in the Action column.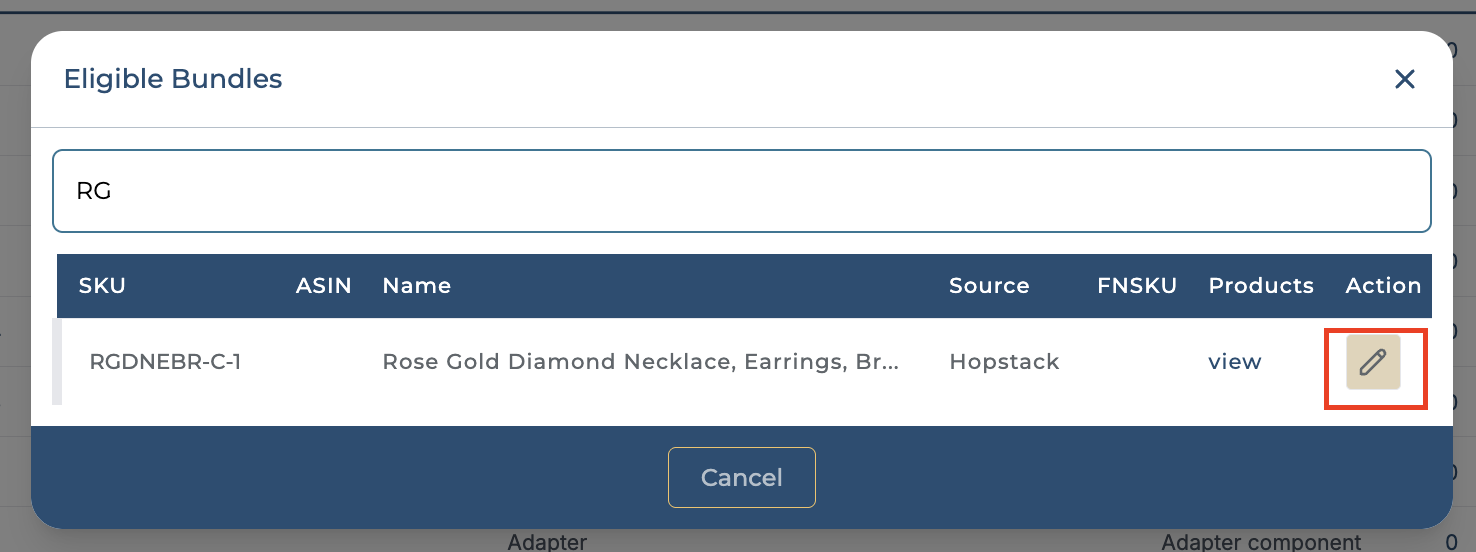
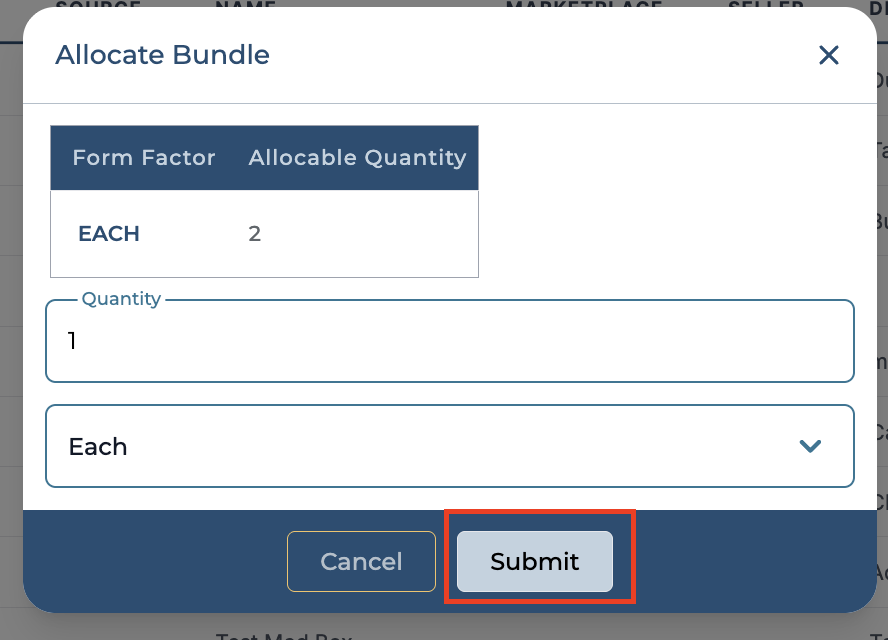
The Allocate Bundle screen displays the Allocable Quantity for the selected bundle. Allocable Quantity represents the maximum number of bundles that can be assembled based on the currently available inventory of all component products.
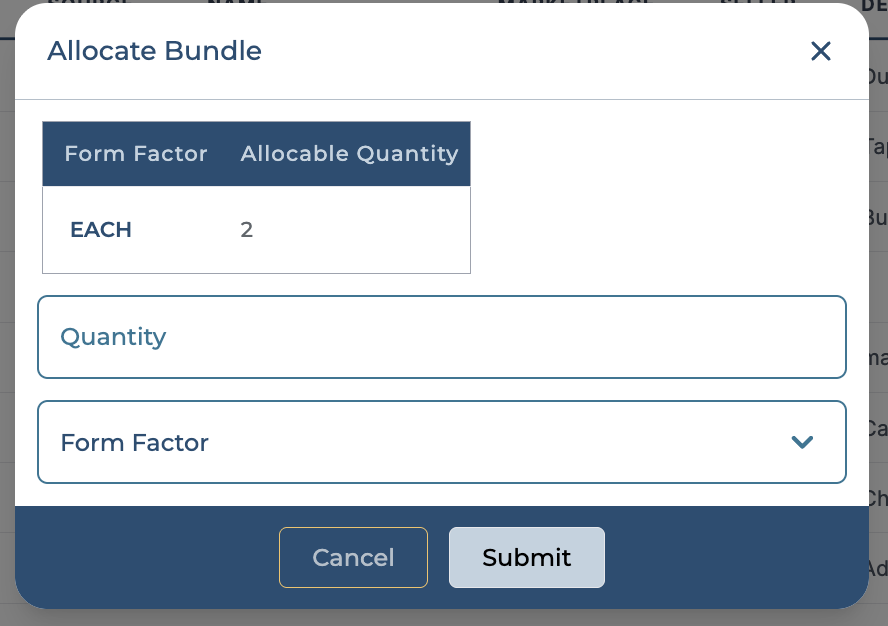
Enter Quantity, select form factor, and click on Submit.
The user is notified that the bundle allocation was successful. The picker can now pick for the bundle using the steps from https://help.hopstack.io/home/allocating-and-picking-bundles