
This document explains how to create an FBA inbound plan that targets specific inventory units using identifiers such as LPNs, lots, pallets, and POs. You will learn how to use the new “Pick From” and identifier-selection options so that your FBA inbound orders pull only from the exact inventory you specify, without needing to manually edit orders after creation.
Step 1: Review How Targeted Picking Works in Regular Orders
-
Navigate to Order Management.
-
Start by creating a Regular order.
-
Proceed through the order-creation flow and select the desired products.
-
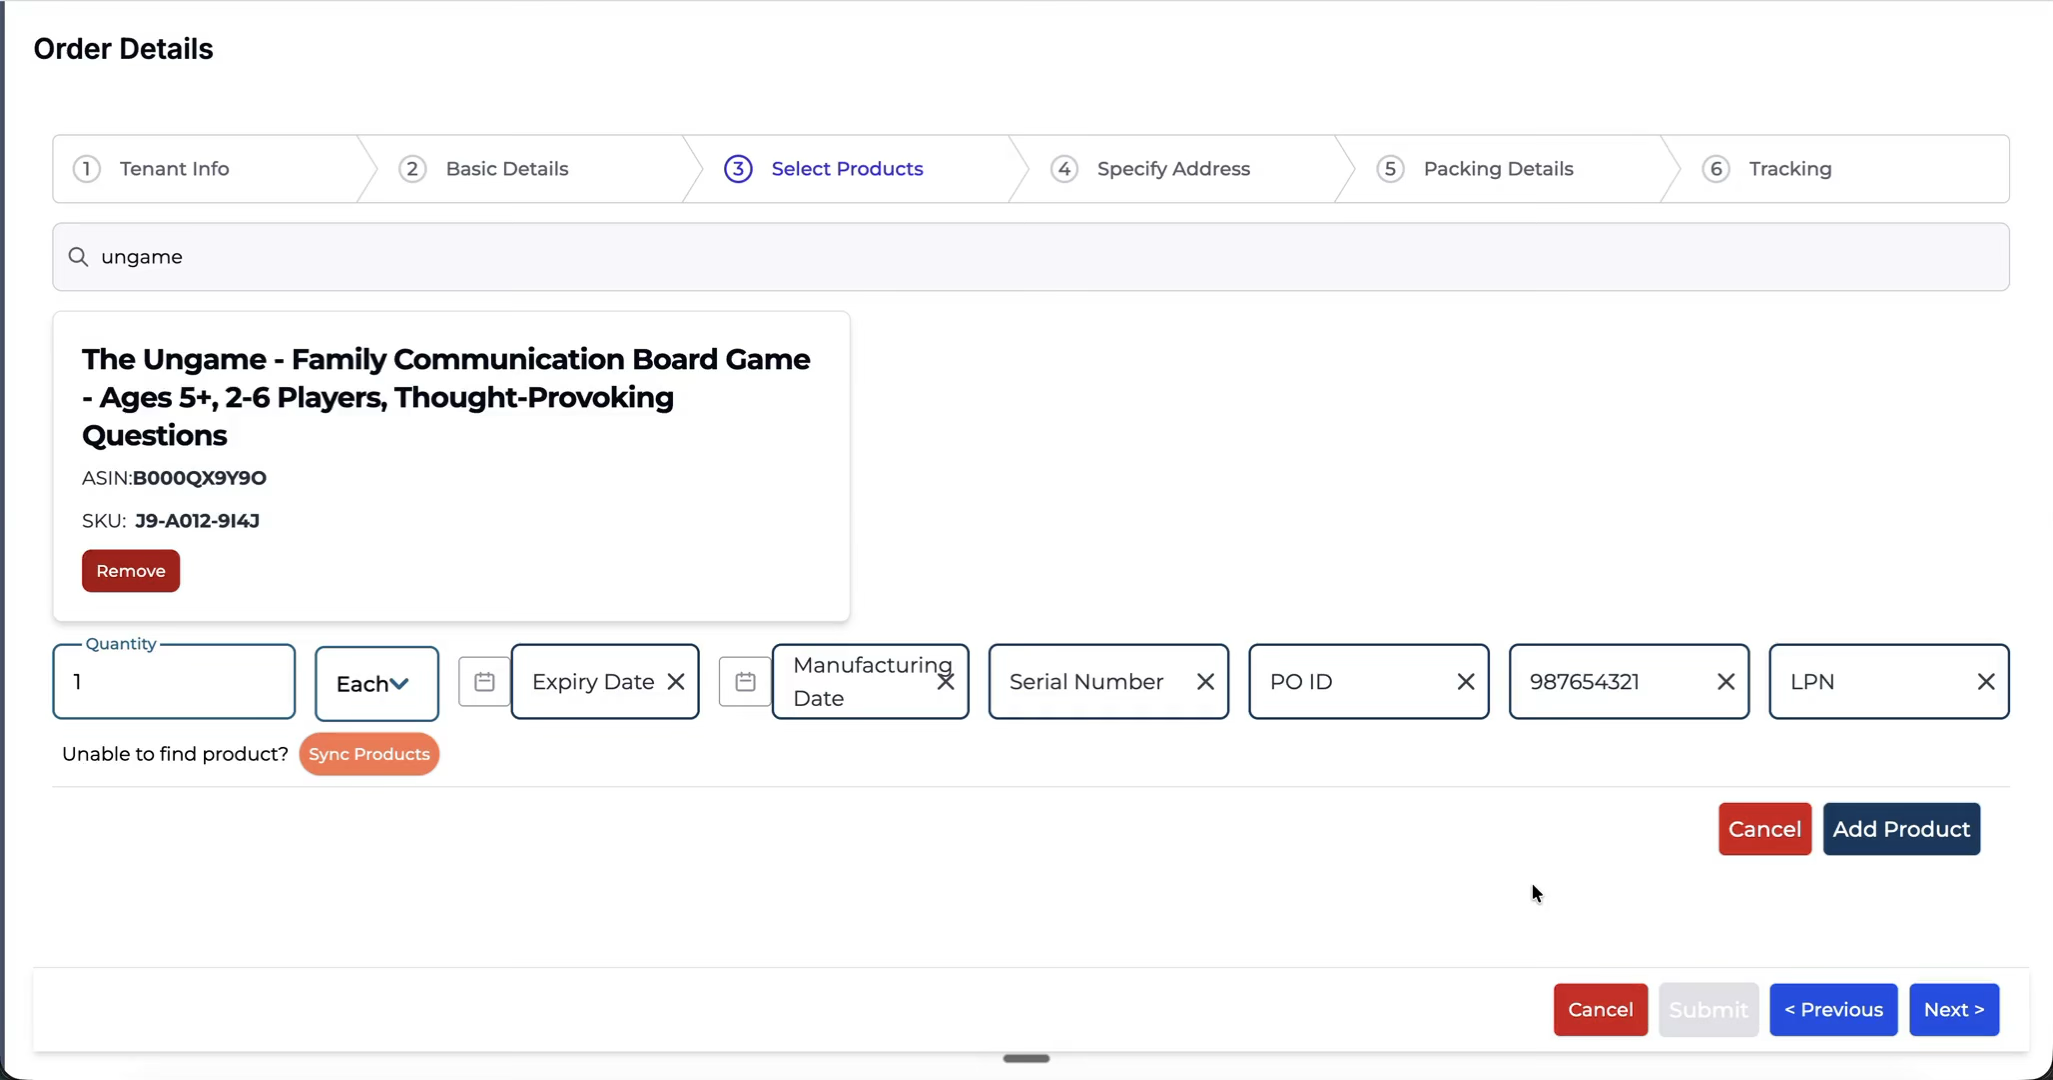
On the product selection or line-item details, review the options to target specific inventory:
-
Add specific serial numbers.
-
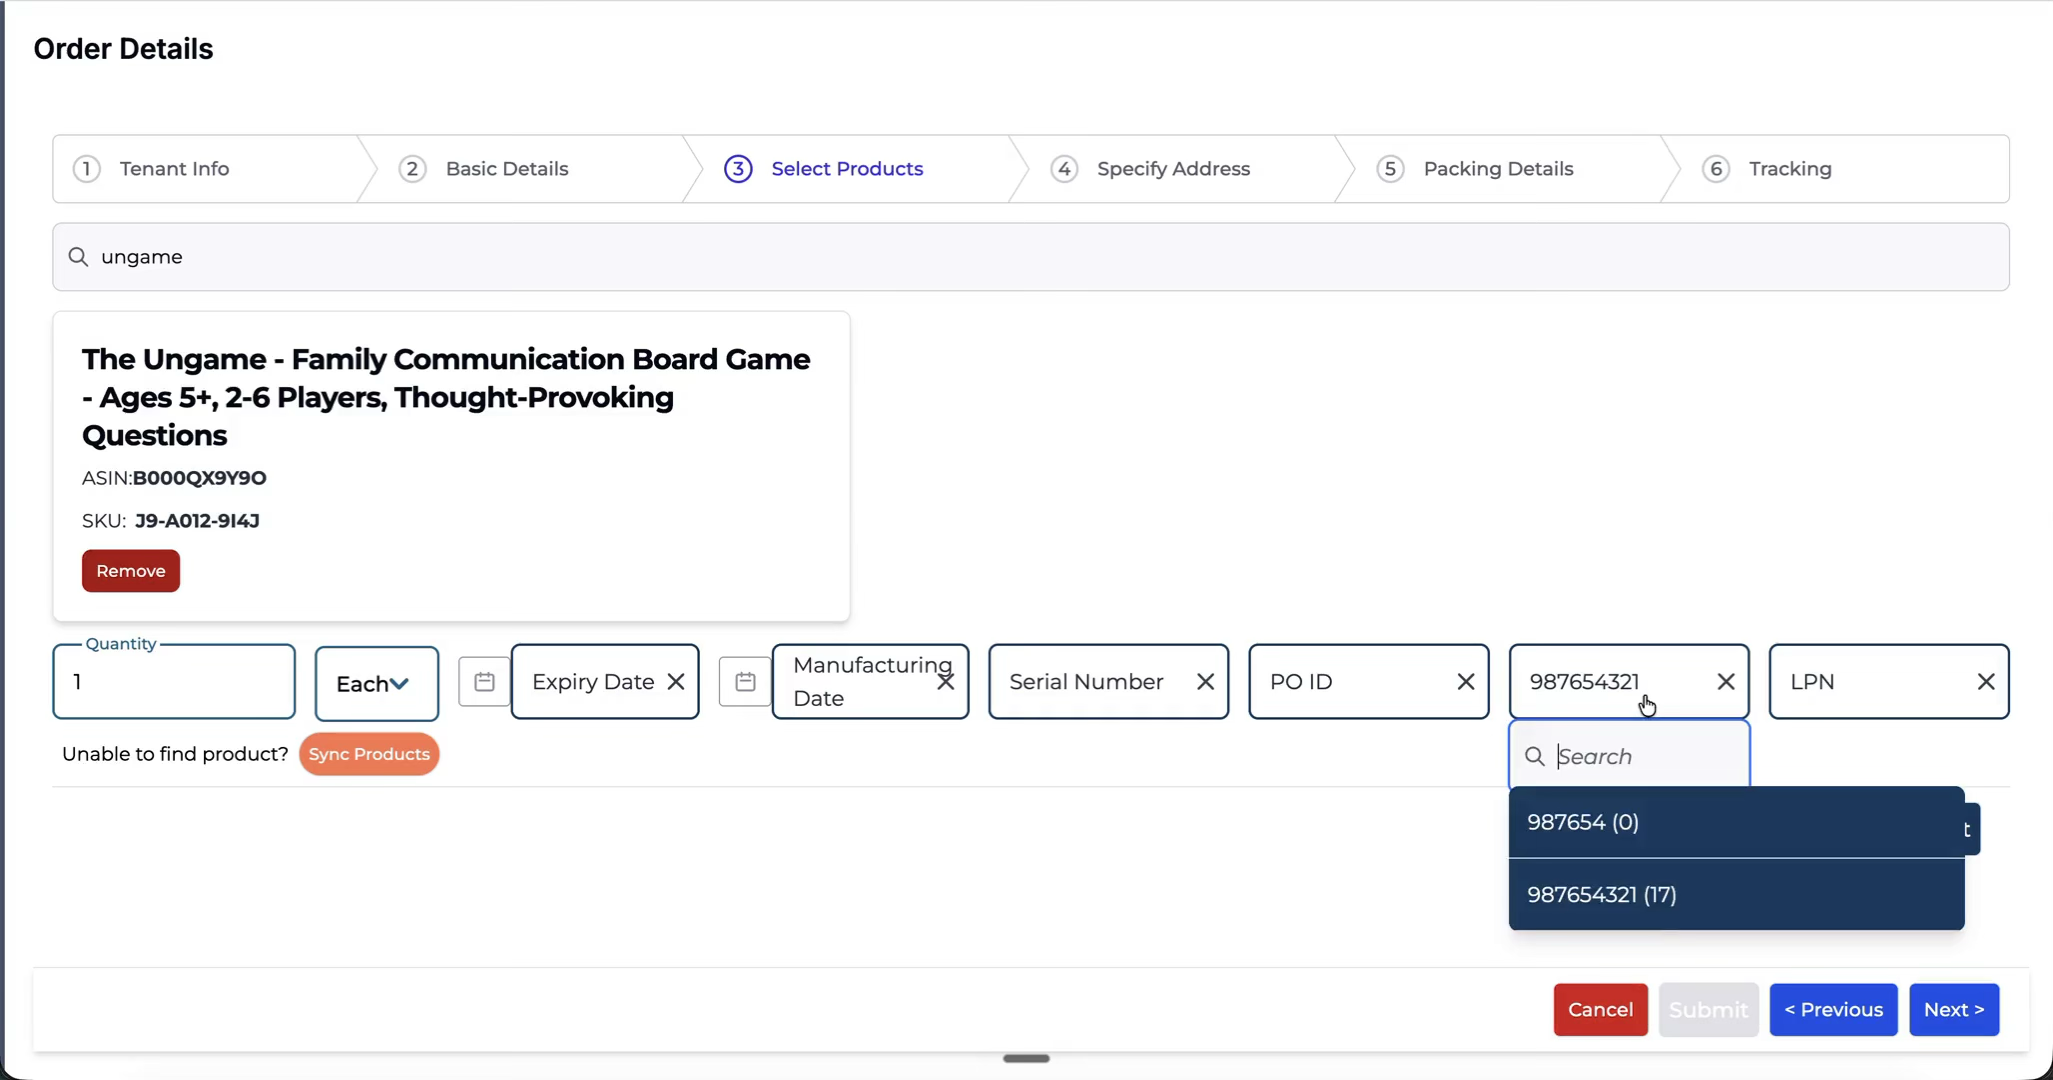
Add specific pallets.
5. Note that when you add a pallet here:
-
The resulting order, when batched, will only pick from the selected pallets.
-
You cannot add more items than the available quantity on that pallet.
Step 2: Start Creating a New FBA Inbound Plan
-
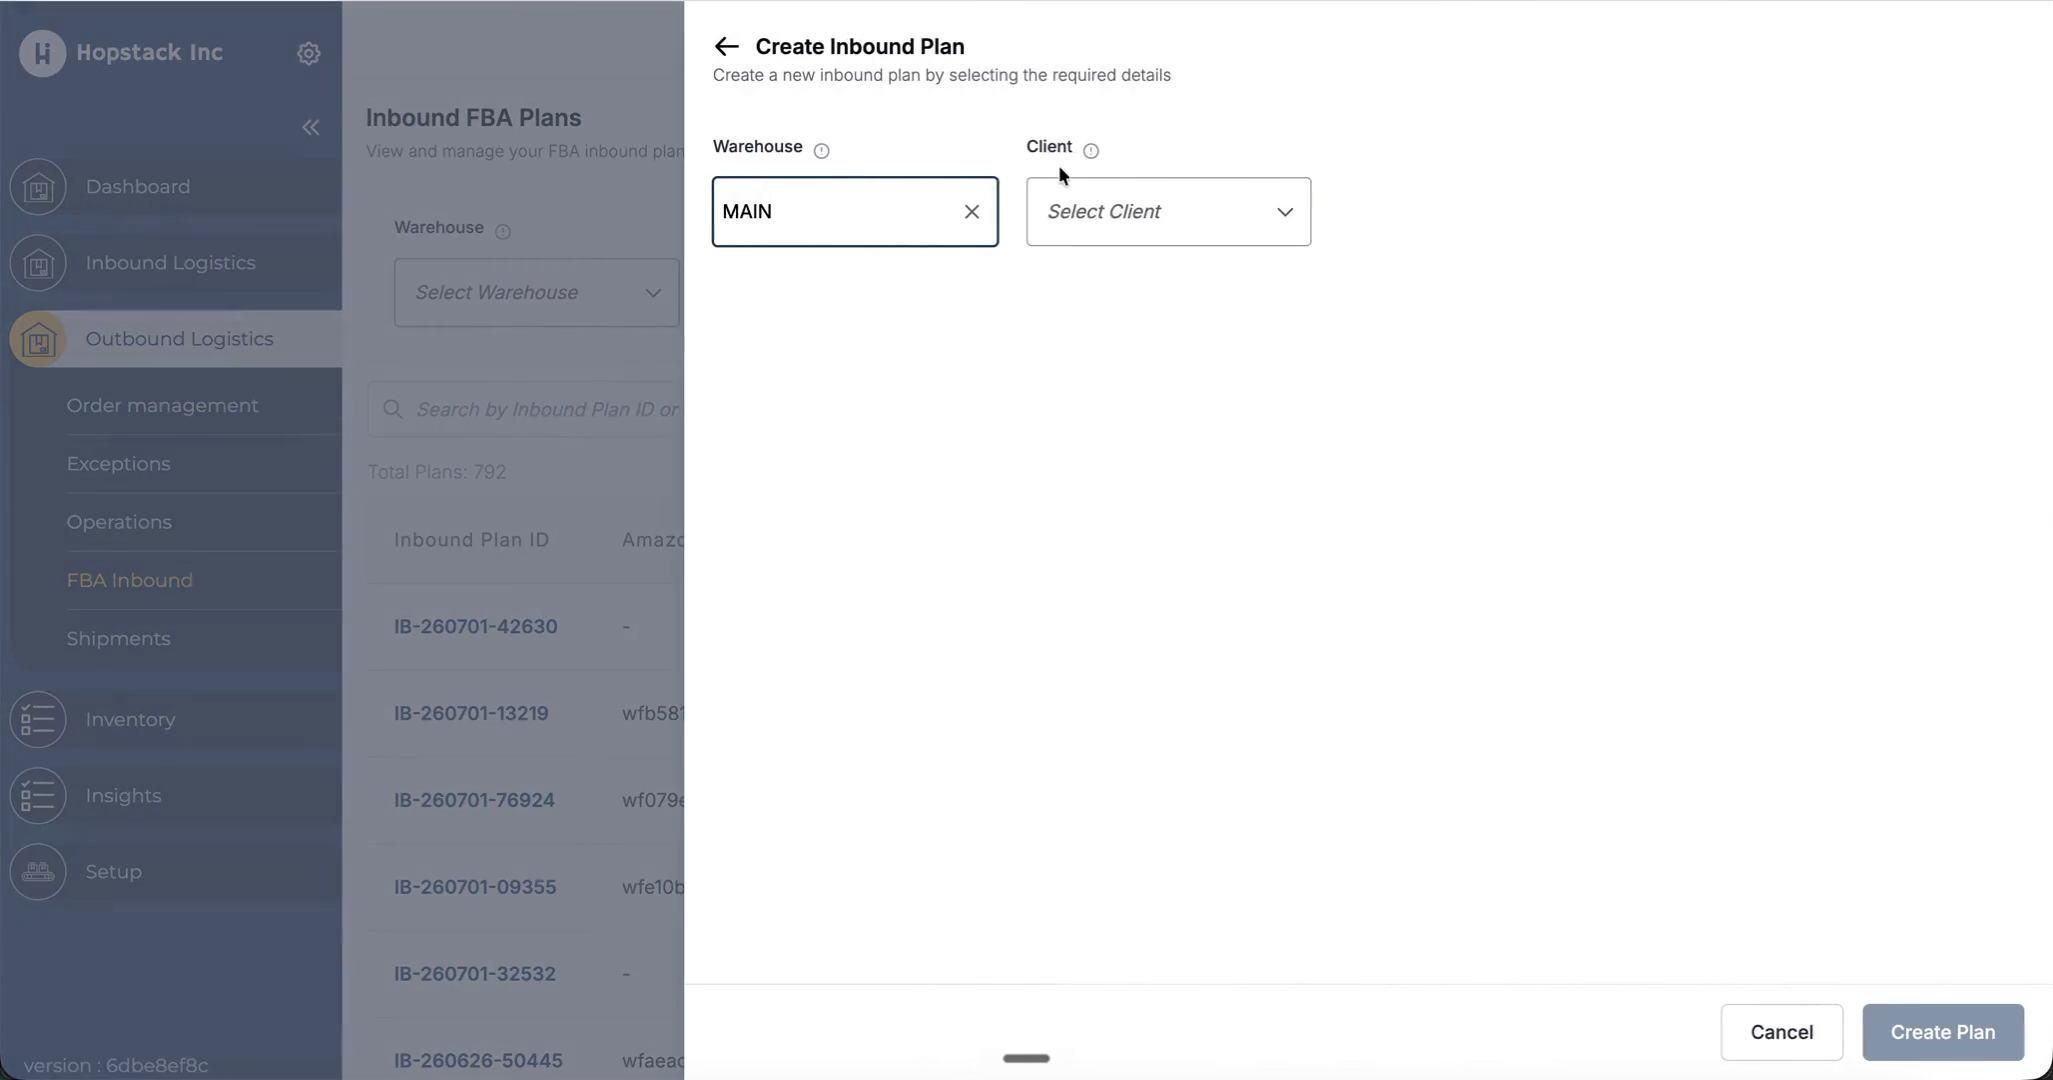
Go to the FBA Inbound section.
-
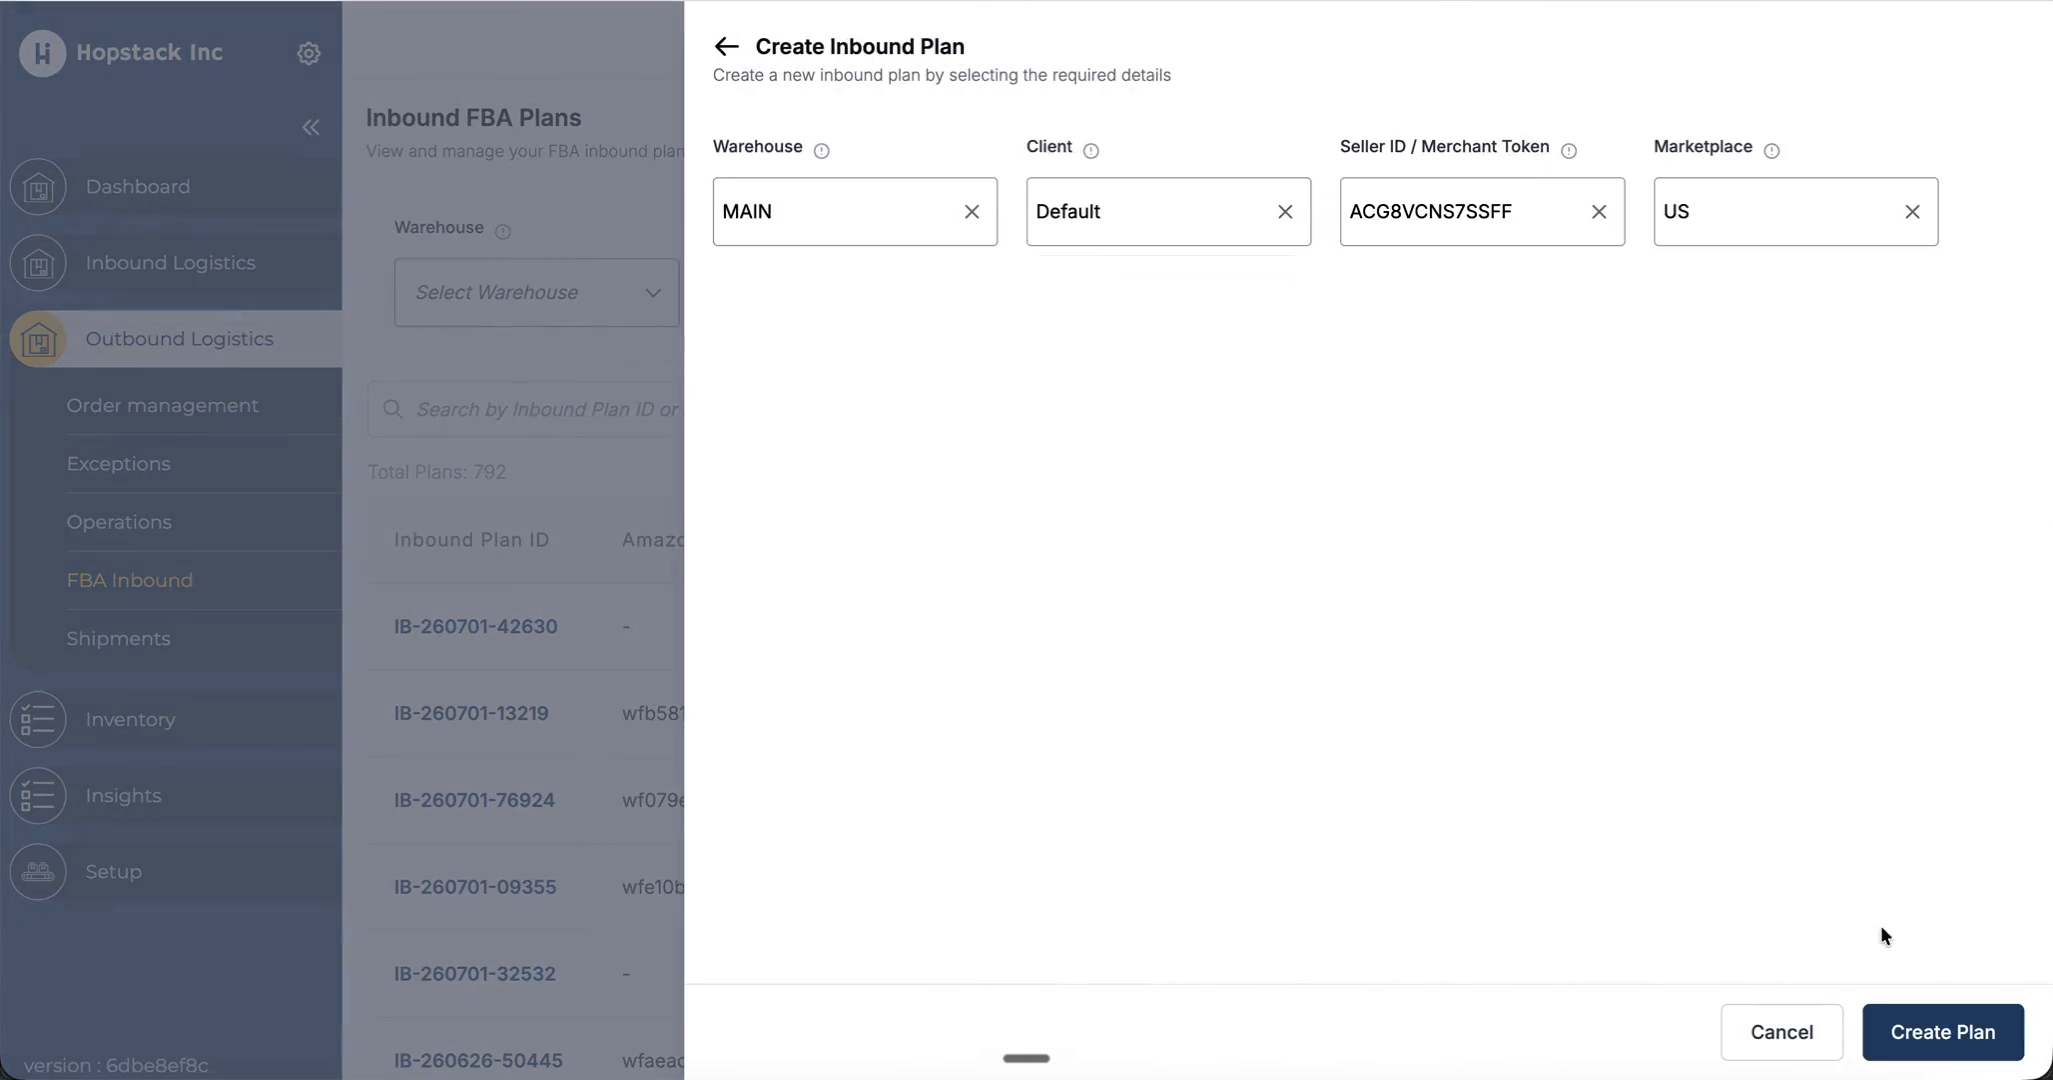
Choose the option to Create an inbound plan.
-
Confirm you are on the new inbound plan UI, which has been visually updated but keeps the same core flow you are used to.
Step 3: Understand the Product Details and “Pick From” Column
-
In the inbound plan, locate the Product Details section.
-
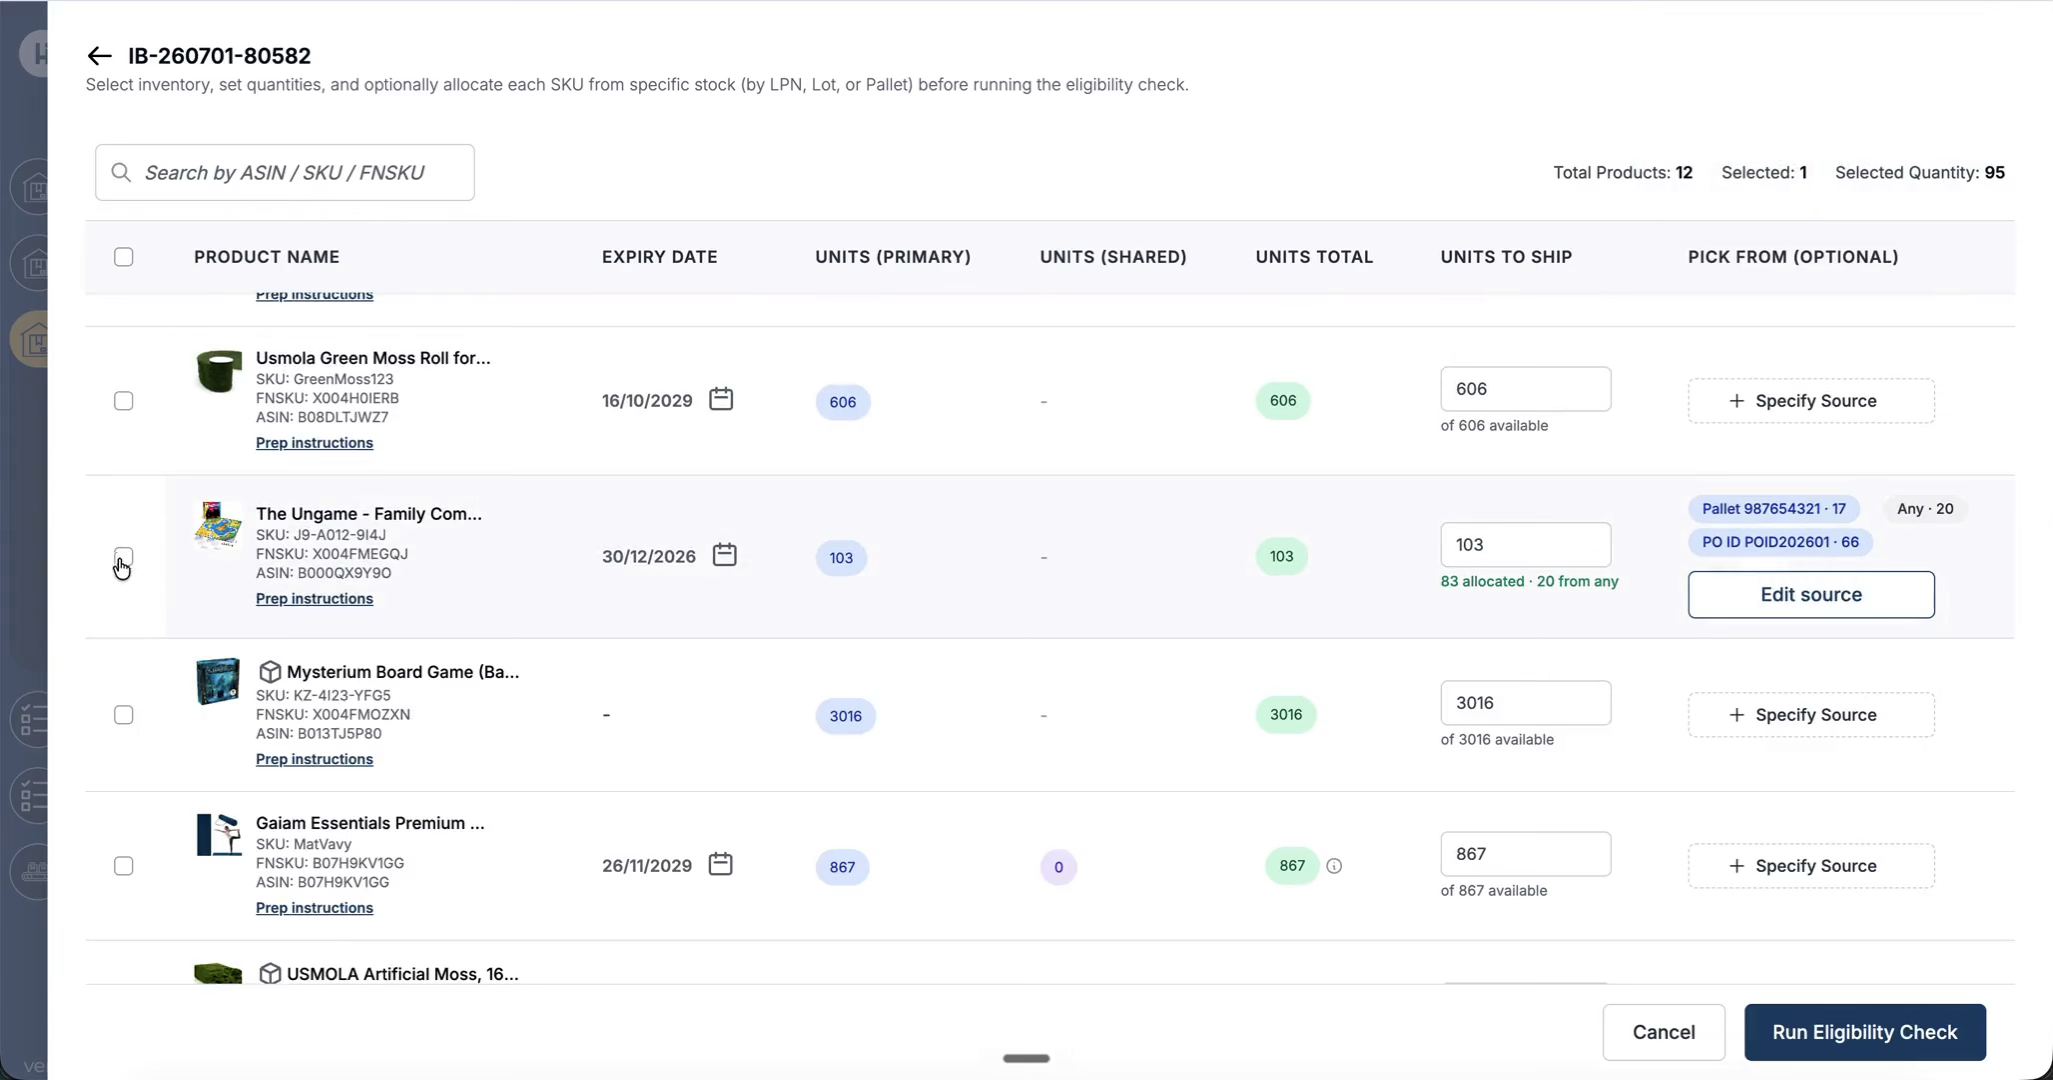
Identify the new Pick From column for each SKU. This column lets you define exactly where the system should pick the units from (e.g., specific lots, pallets, POs, or other identifiers).
-
If you do not need to target specific inventory, simply add the product lines as usual and proceed; the behavior remains the same as the existing flow.
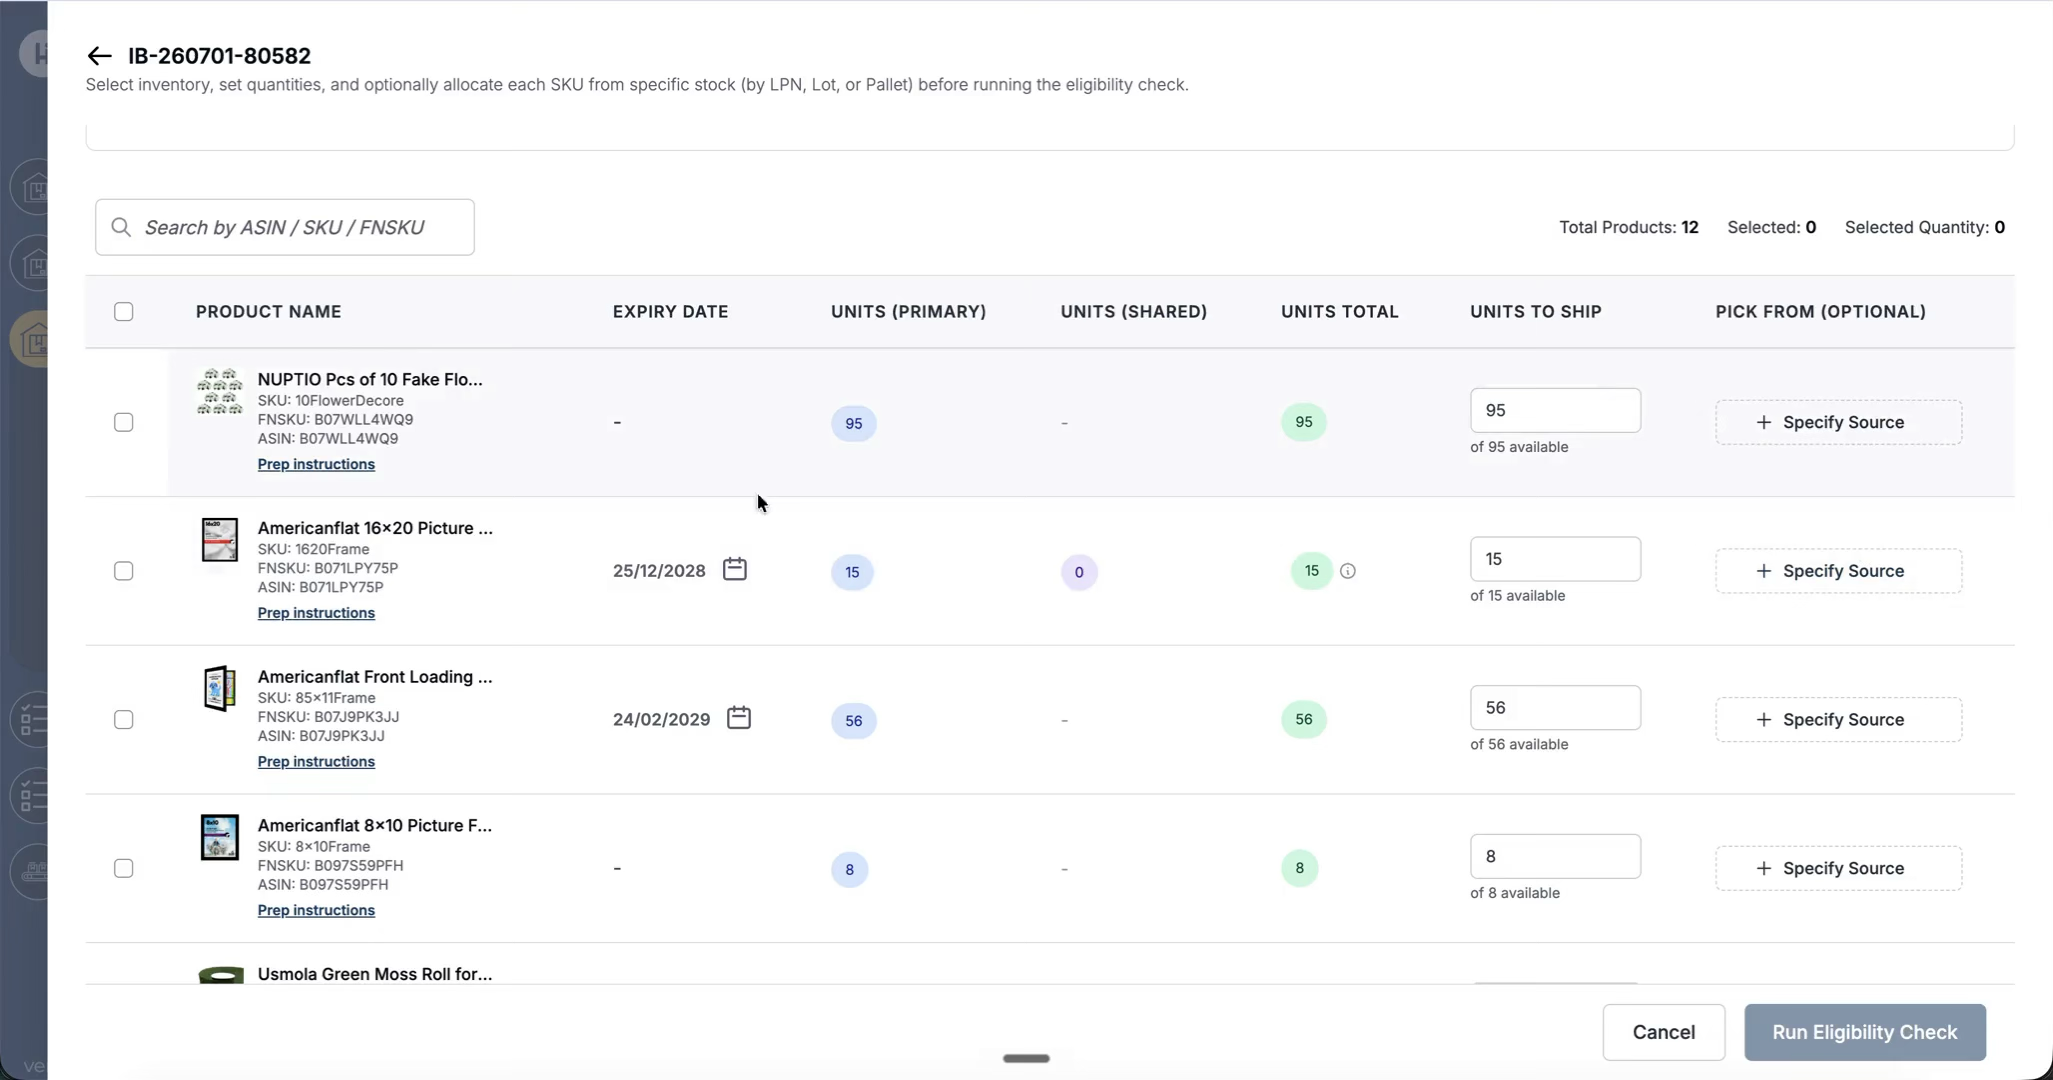
Step 4: Open the “Specify Source” for a Product
-
For a product where you want to target specific inventory, open the Pick From options and choose Specify source.
-
Because Amazon allows only one expiry date per SKU per inbound plan, you must select a single expiry (or lot/expiry combination) when prompted.
-
Select the desired expiry/lot option for that SKU.
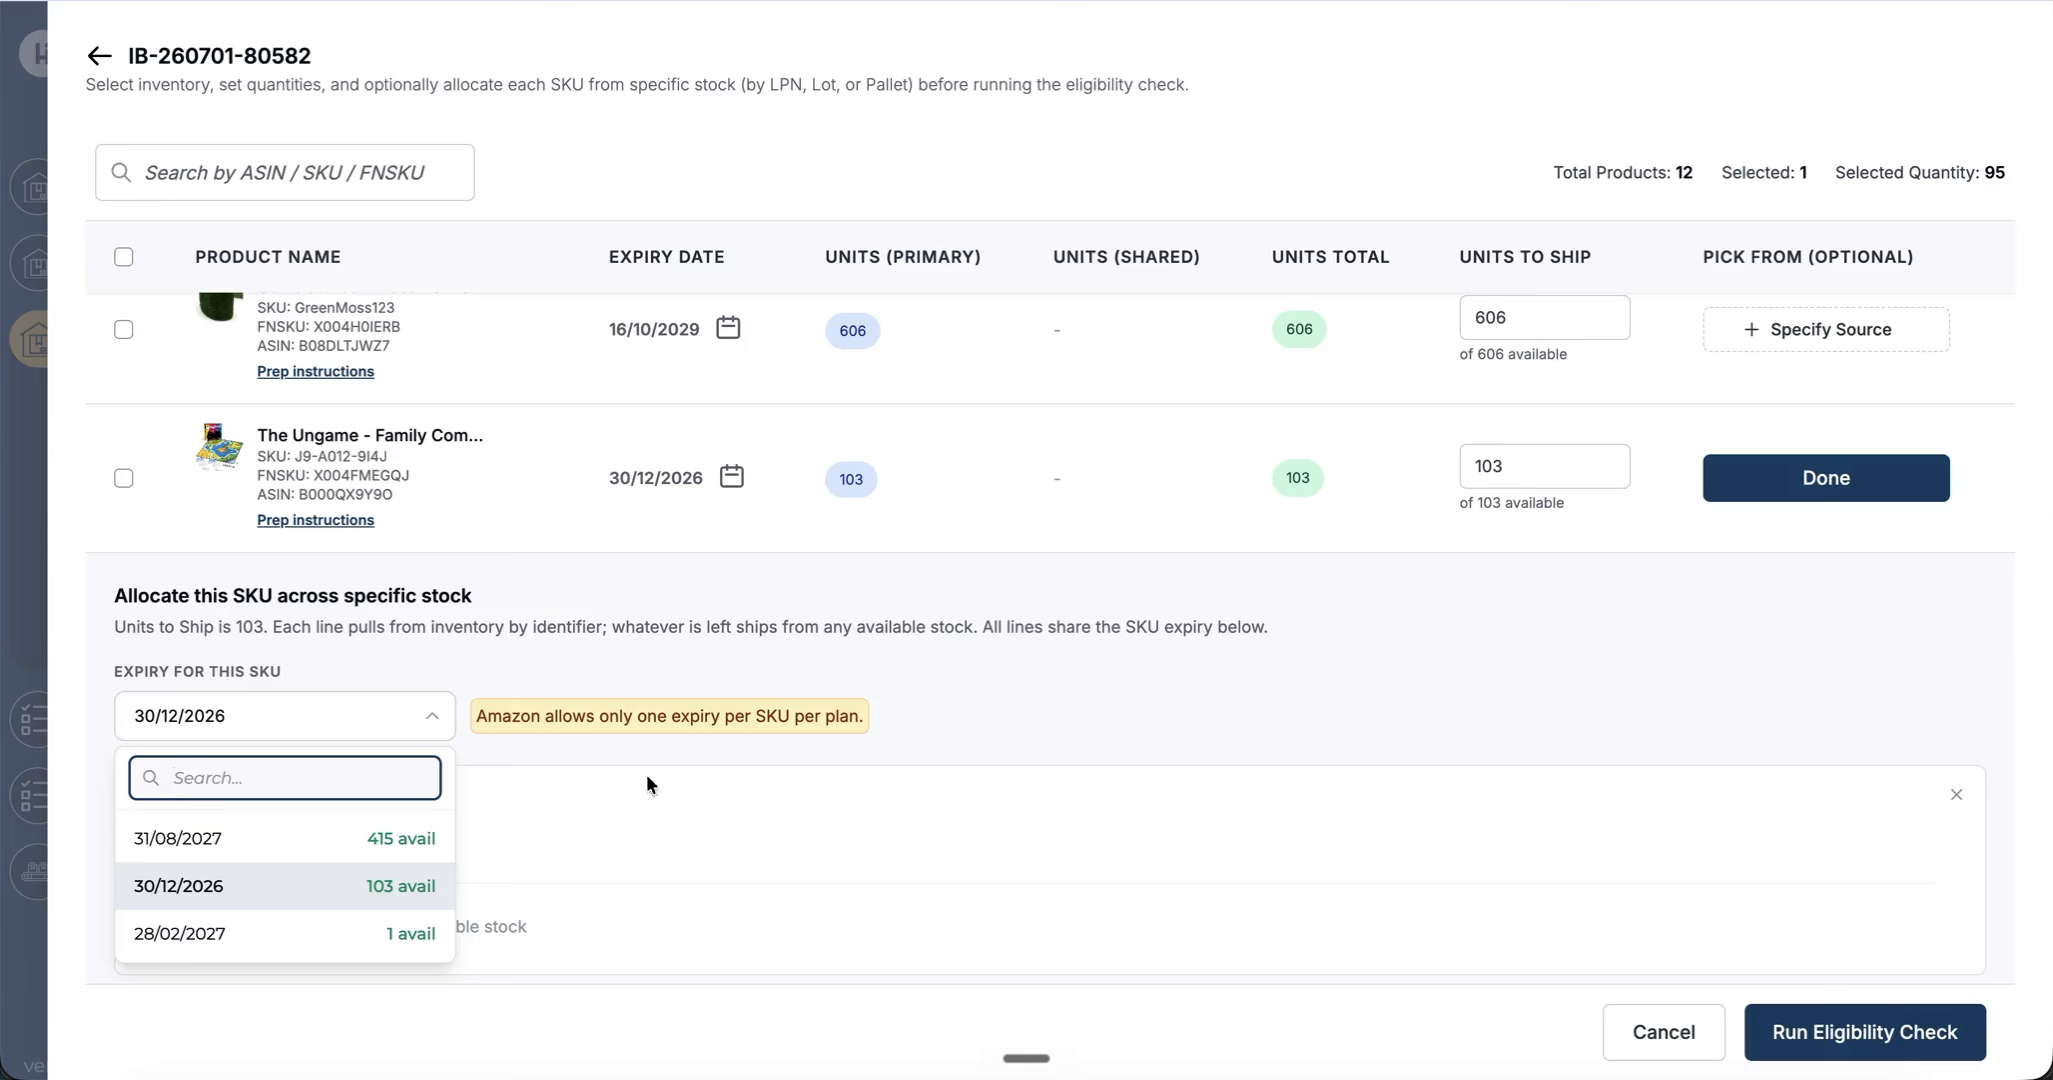
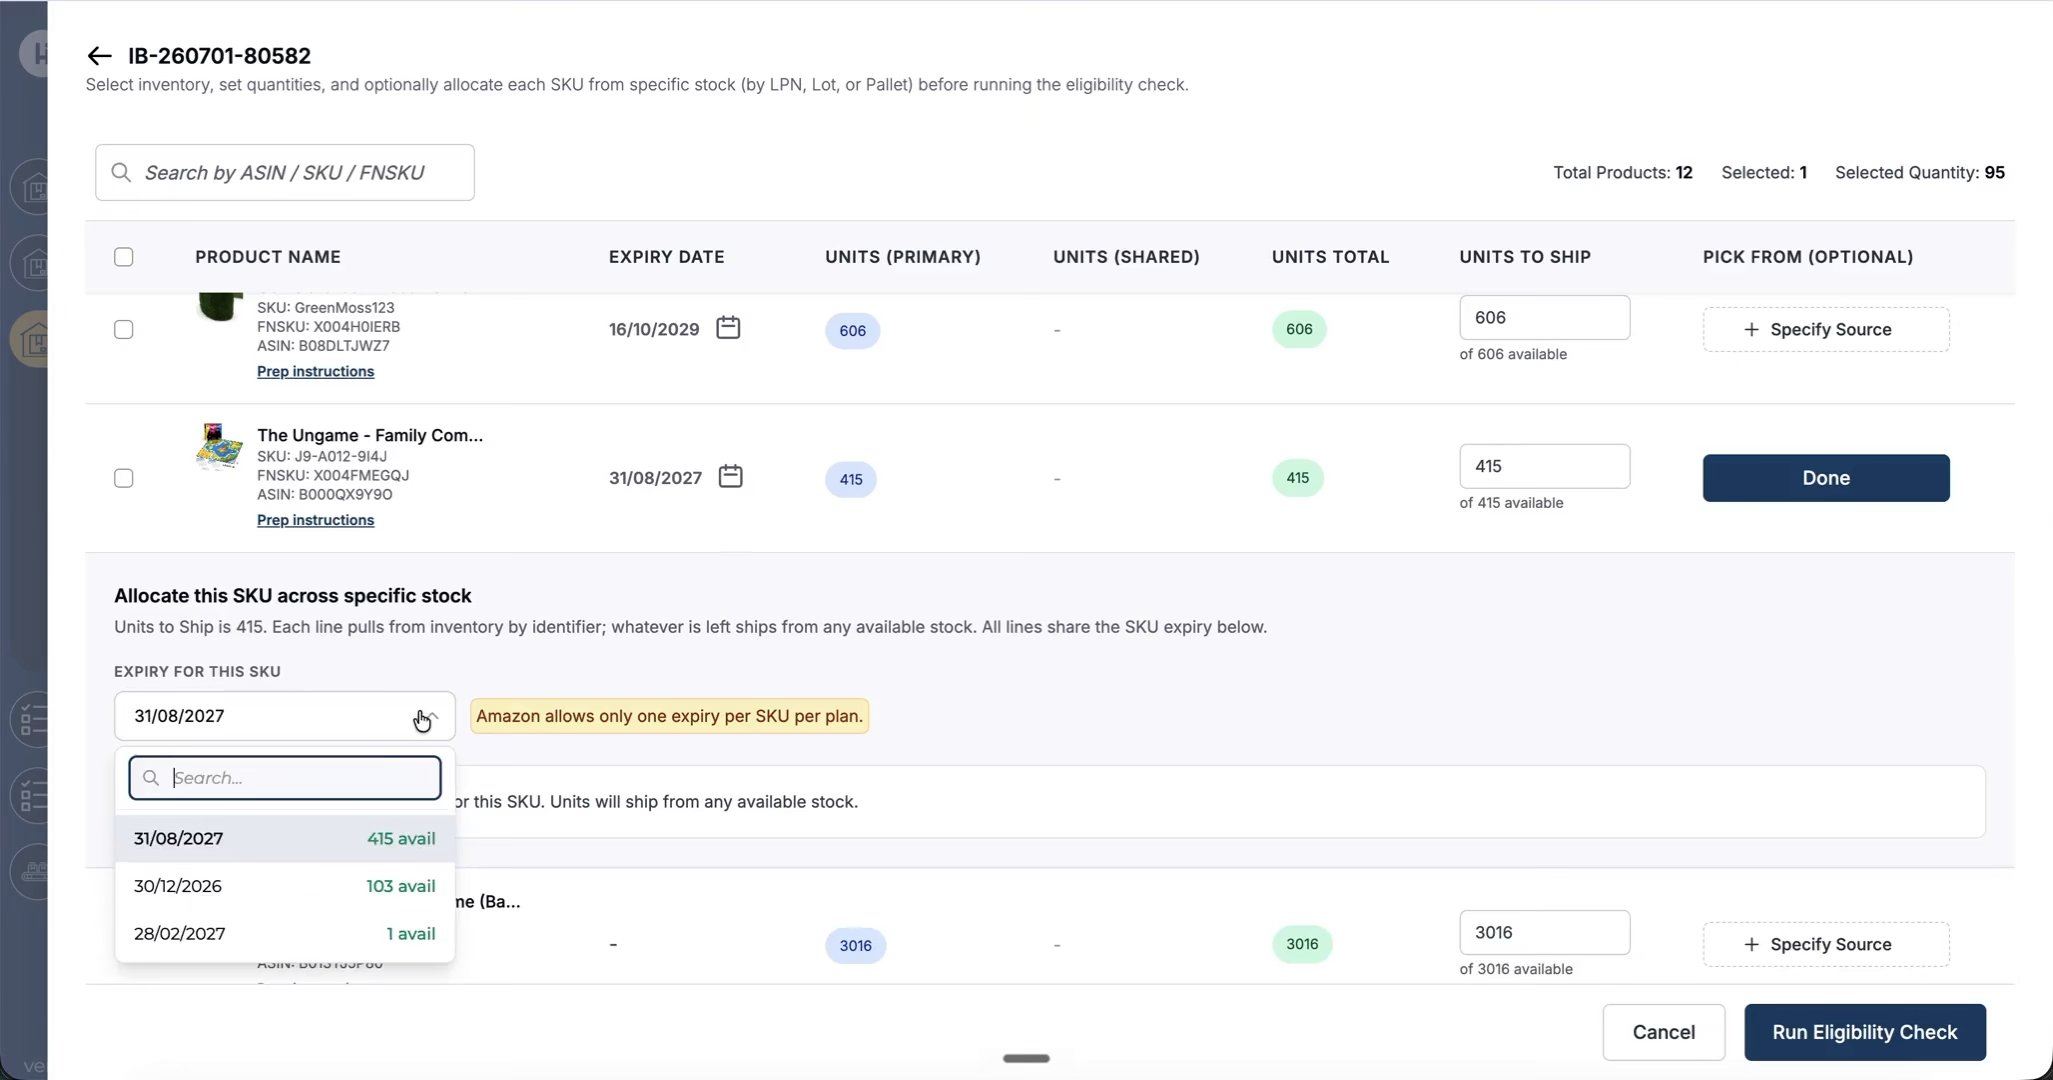
Step 5: Add Primary Identifiers (Lot, Pallet, PO)
-
After selecting the expiry, click Add identifier to see the available identifiers for that SKU and expiry.
-
Review the summary indicating what is available, such as:
-
Number of lots
-
Number of pallets
-
Number of POs
-
Total available quantity
-
For example, you might see that there are 17 units available from a specific pallet.
-
Add the chosen pallet (or other identifier) to the plan line.
-
Observe that:
-
The product line may have had an existing quantity (e.g., 103 units).
-
The targeted identifier adds only its available quantity (e.g., 17 units) tied to that pallet.
-
You are constrained by the inventory on that identifier and cannot exceed it.
Step 6: Add Sub-Identifiers to Narrow the Source Further
-
Optionally, add a sub-identifier to further narrow where the stock will be picked from (for example, a lot within a pallet).
-
When sub-identifiers differ (e.g., multiple lots on the same pallet), the combination of identifier and sub-identifier restricts picking to exactly that subset of inventory.
-
In cases where identifiers and sub-identifiers are effectively the same, there will be no change in the final picked units.
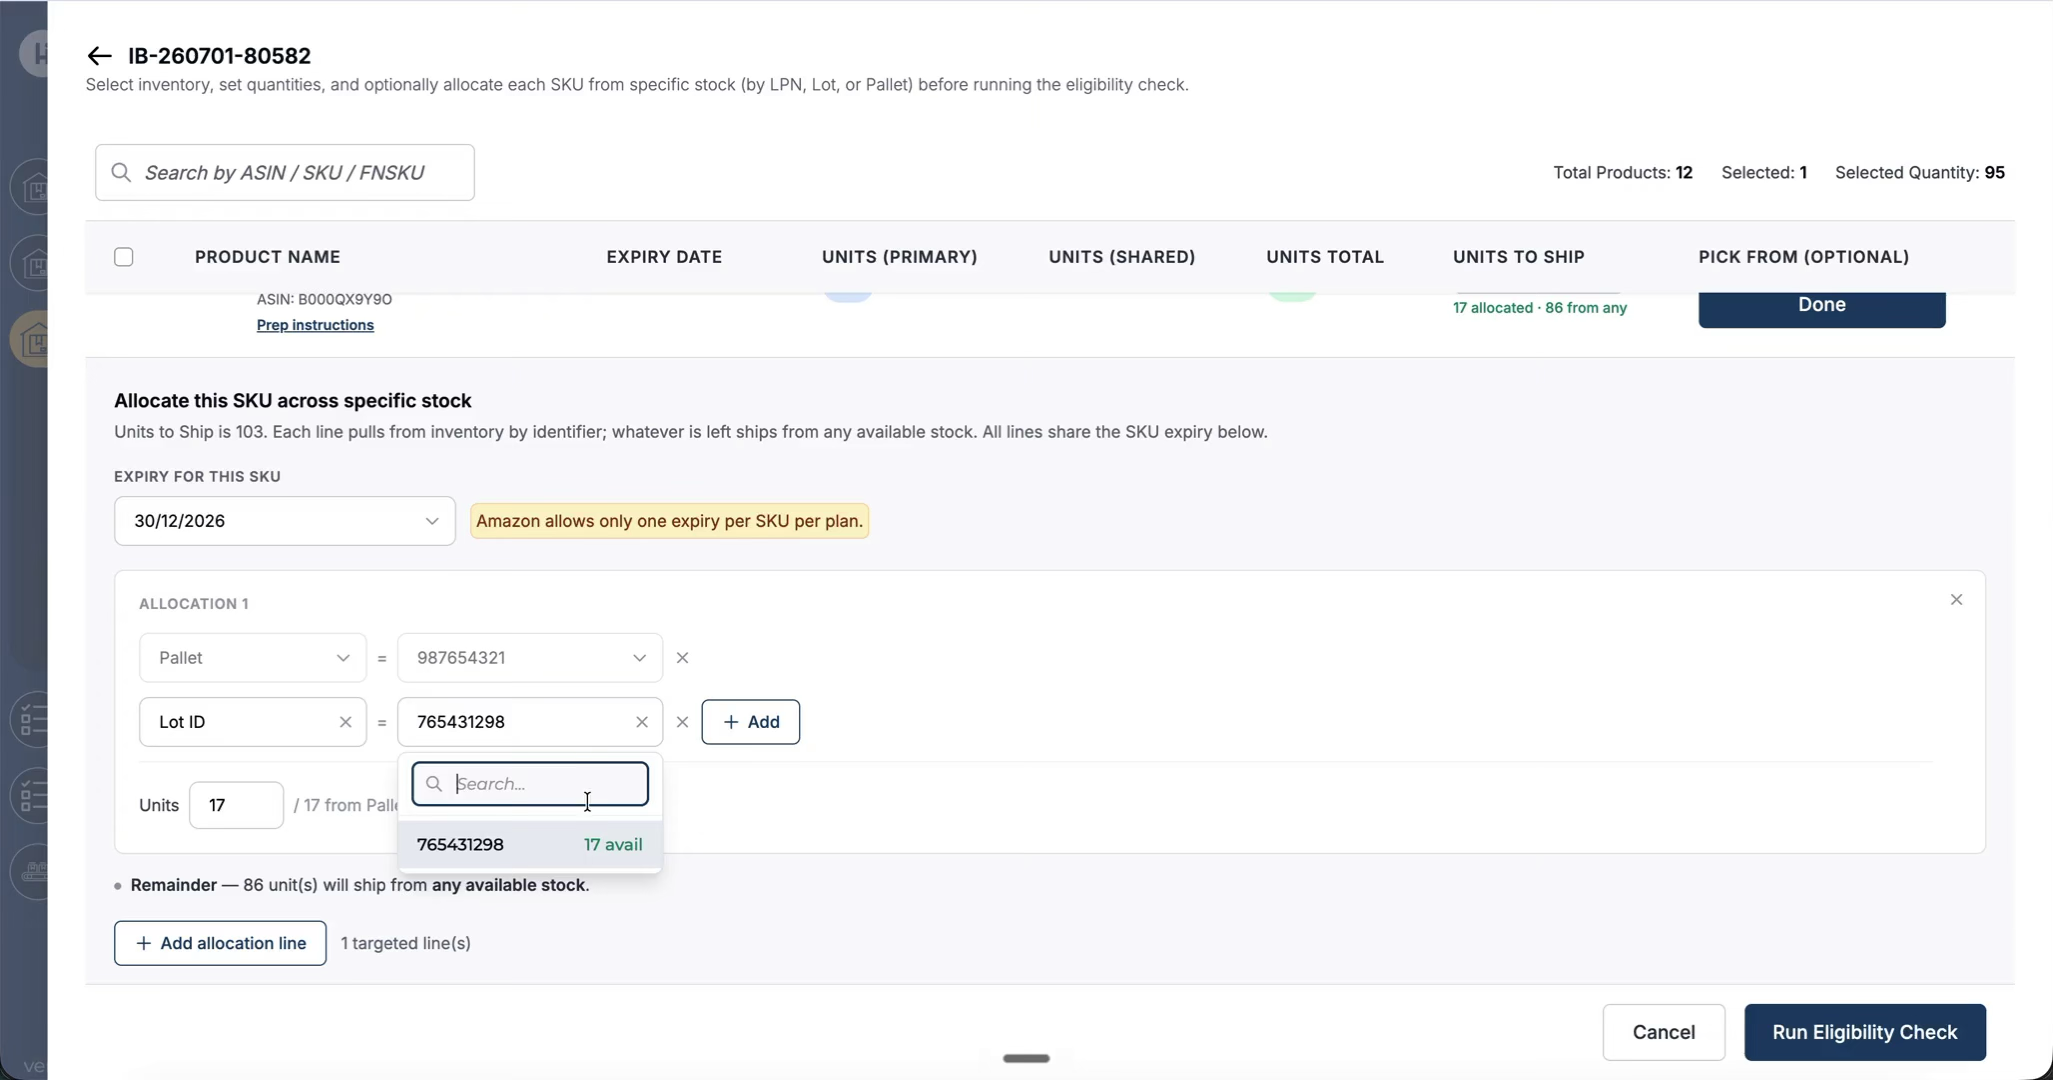
Step 7: Target Multiple Identifiers (e.g., Multiple Pallets or POs)
-
If you want to pick from two or more specific pallets or other identifiers for the same SKU, repeat the identifier selection process.
-
Use Add to include additional identifiers.
-
If only one pallet is available, you will be limited to that; otherwise, you can add multiple pallets or identifiers.
-
Select another identifier, such as a PO ID, to include all units from that PO for the selected SKU.
-
Adjust the quantity for each identifier as needed, with these constraints:
-
You may reduce the quantity below what is available on that identifier.
-
You may not increase the quantity beyond what is available on that identifier.
-
Any remaining quantity on the product line (beyond what is covered by specific identifiers) will be picked from any remaining eligible stock, as indicated by the helper text in the UI.
Step 8: Validate and Finalise the Identifier Selection
-
Ensure that at least one identifier is added for each line where you have chosen to Specify source; the UI will show an error if you attempt to proceed without adding any identifiers.
-
Once you have added and adjusted all required identifiers, click Done to confirm your selection.
-
Verify that the product line now shows the selected identifiers and quantities.
-
Continue through the rest of the inbound plan flow as usual; no changes are required in the downstream steps.
Step 9: Complete the Inbound Plan and Use in Operations
-
Finish configuring and submitting the inbound plan following your normal process.
-
When the plan is converted into orders and batched:
-
The orders will include the specific identifiers you selected.
-
The batching and picking operations will draw inventory only from those identifiers.
-
This behaviour applies both when you physically pick items and when you mark items as picked in the system, reducing the need to manually manipulate orders just to target particular inventory.