
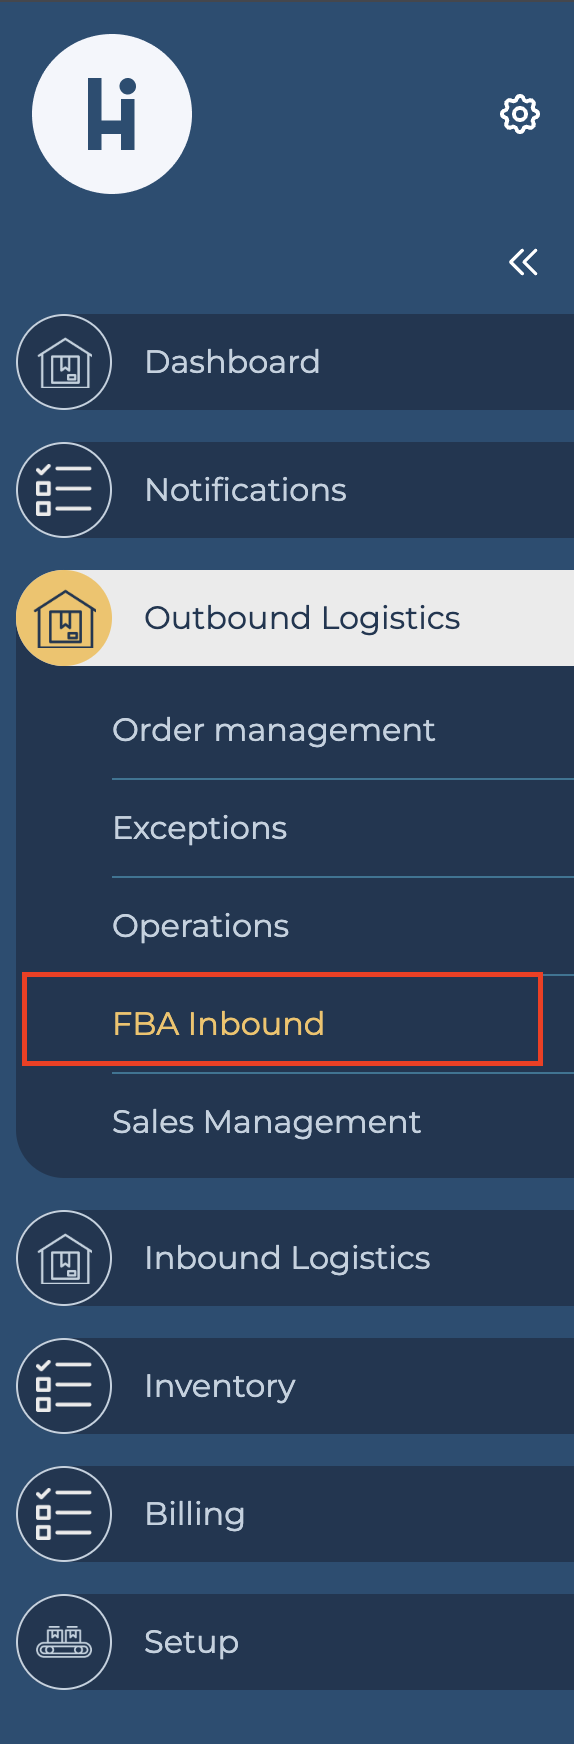
Step 1: Navigate to the FBA Inbound Plan Section
-
Log in to your system.
-
From the navigation dashboard, navigate to Outbound Logistics.
-
Under Outbound Logistics, select FBA Inbound.
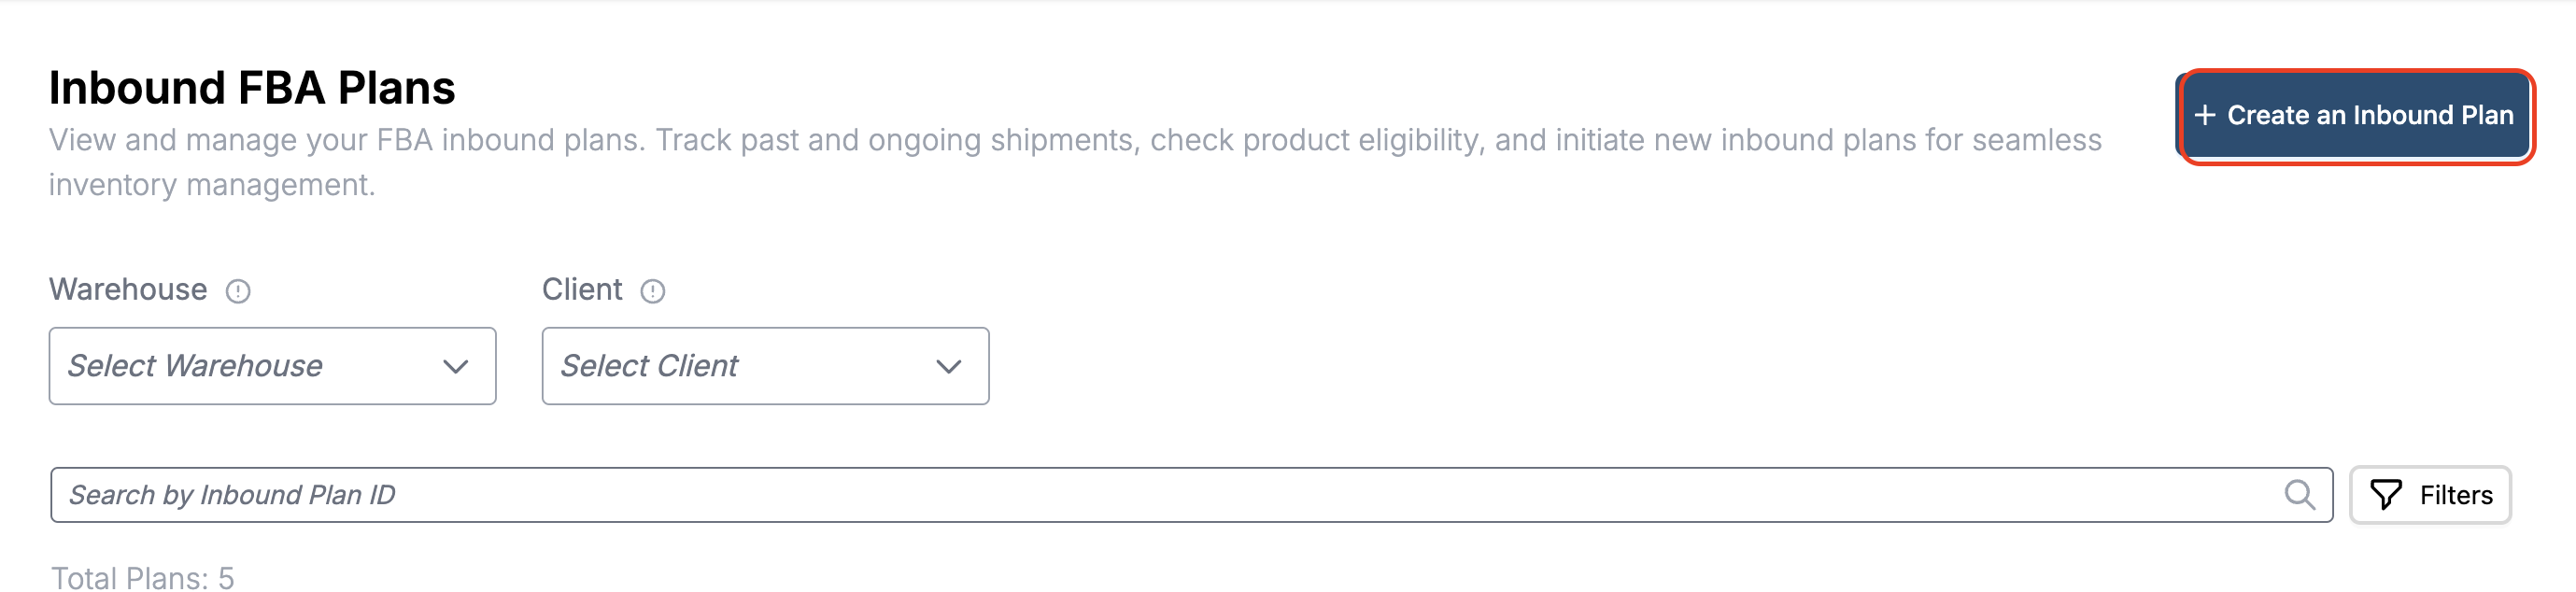
Step 2: Create a New Inbound Plan
-
Click on Create an Inbound Plan.
-
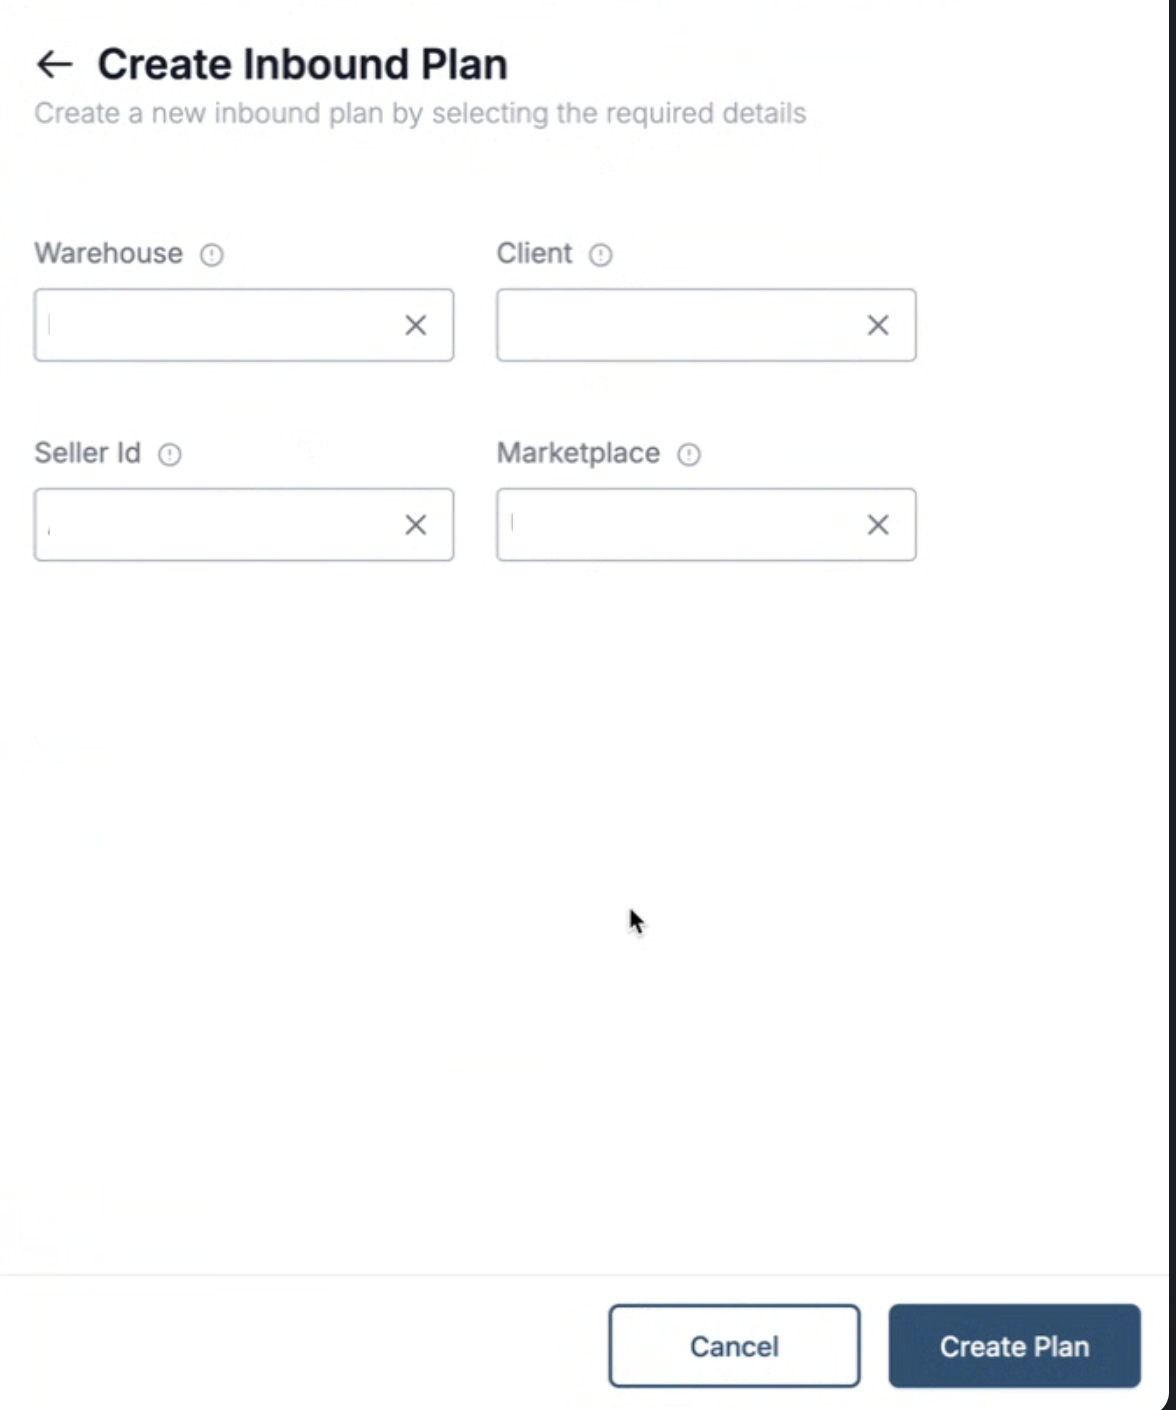
A small pop-up window will appear where you need to input the following details:
-
Warehouse: Select the appropriate warehouse where your goods will be sent.
-
Client: Choose the client associated with this shipment.
-
Seller ID: Enter the Seller ID related to your FBA account.
-
Marketplace: Select the marketplace for which you're creating the inbound plan.
-
Step 3: Confirm and Create the Plan
-
After filling in the required details, click on the Create Plan button.
-
Once the plan is created, a new window will pop up, displaying the list of products associated with the plan.
Step 4: Edit Product Units
-
In the newly opened window, you will see the list of products included in your inbound plan.
-
Review the product details and edit the units to be shipped as needed.
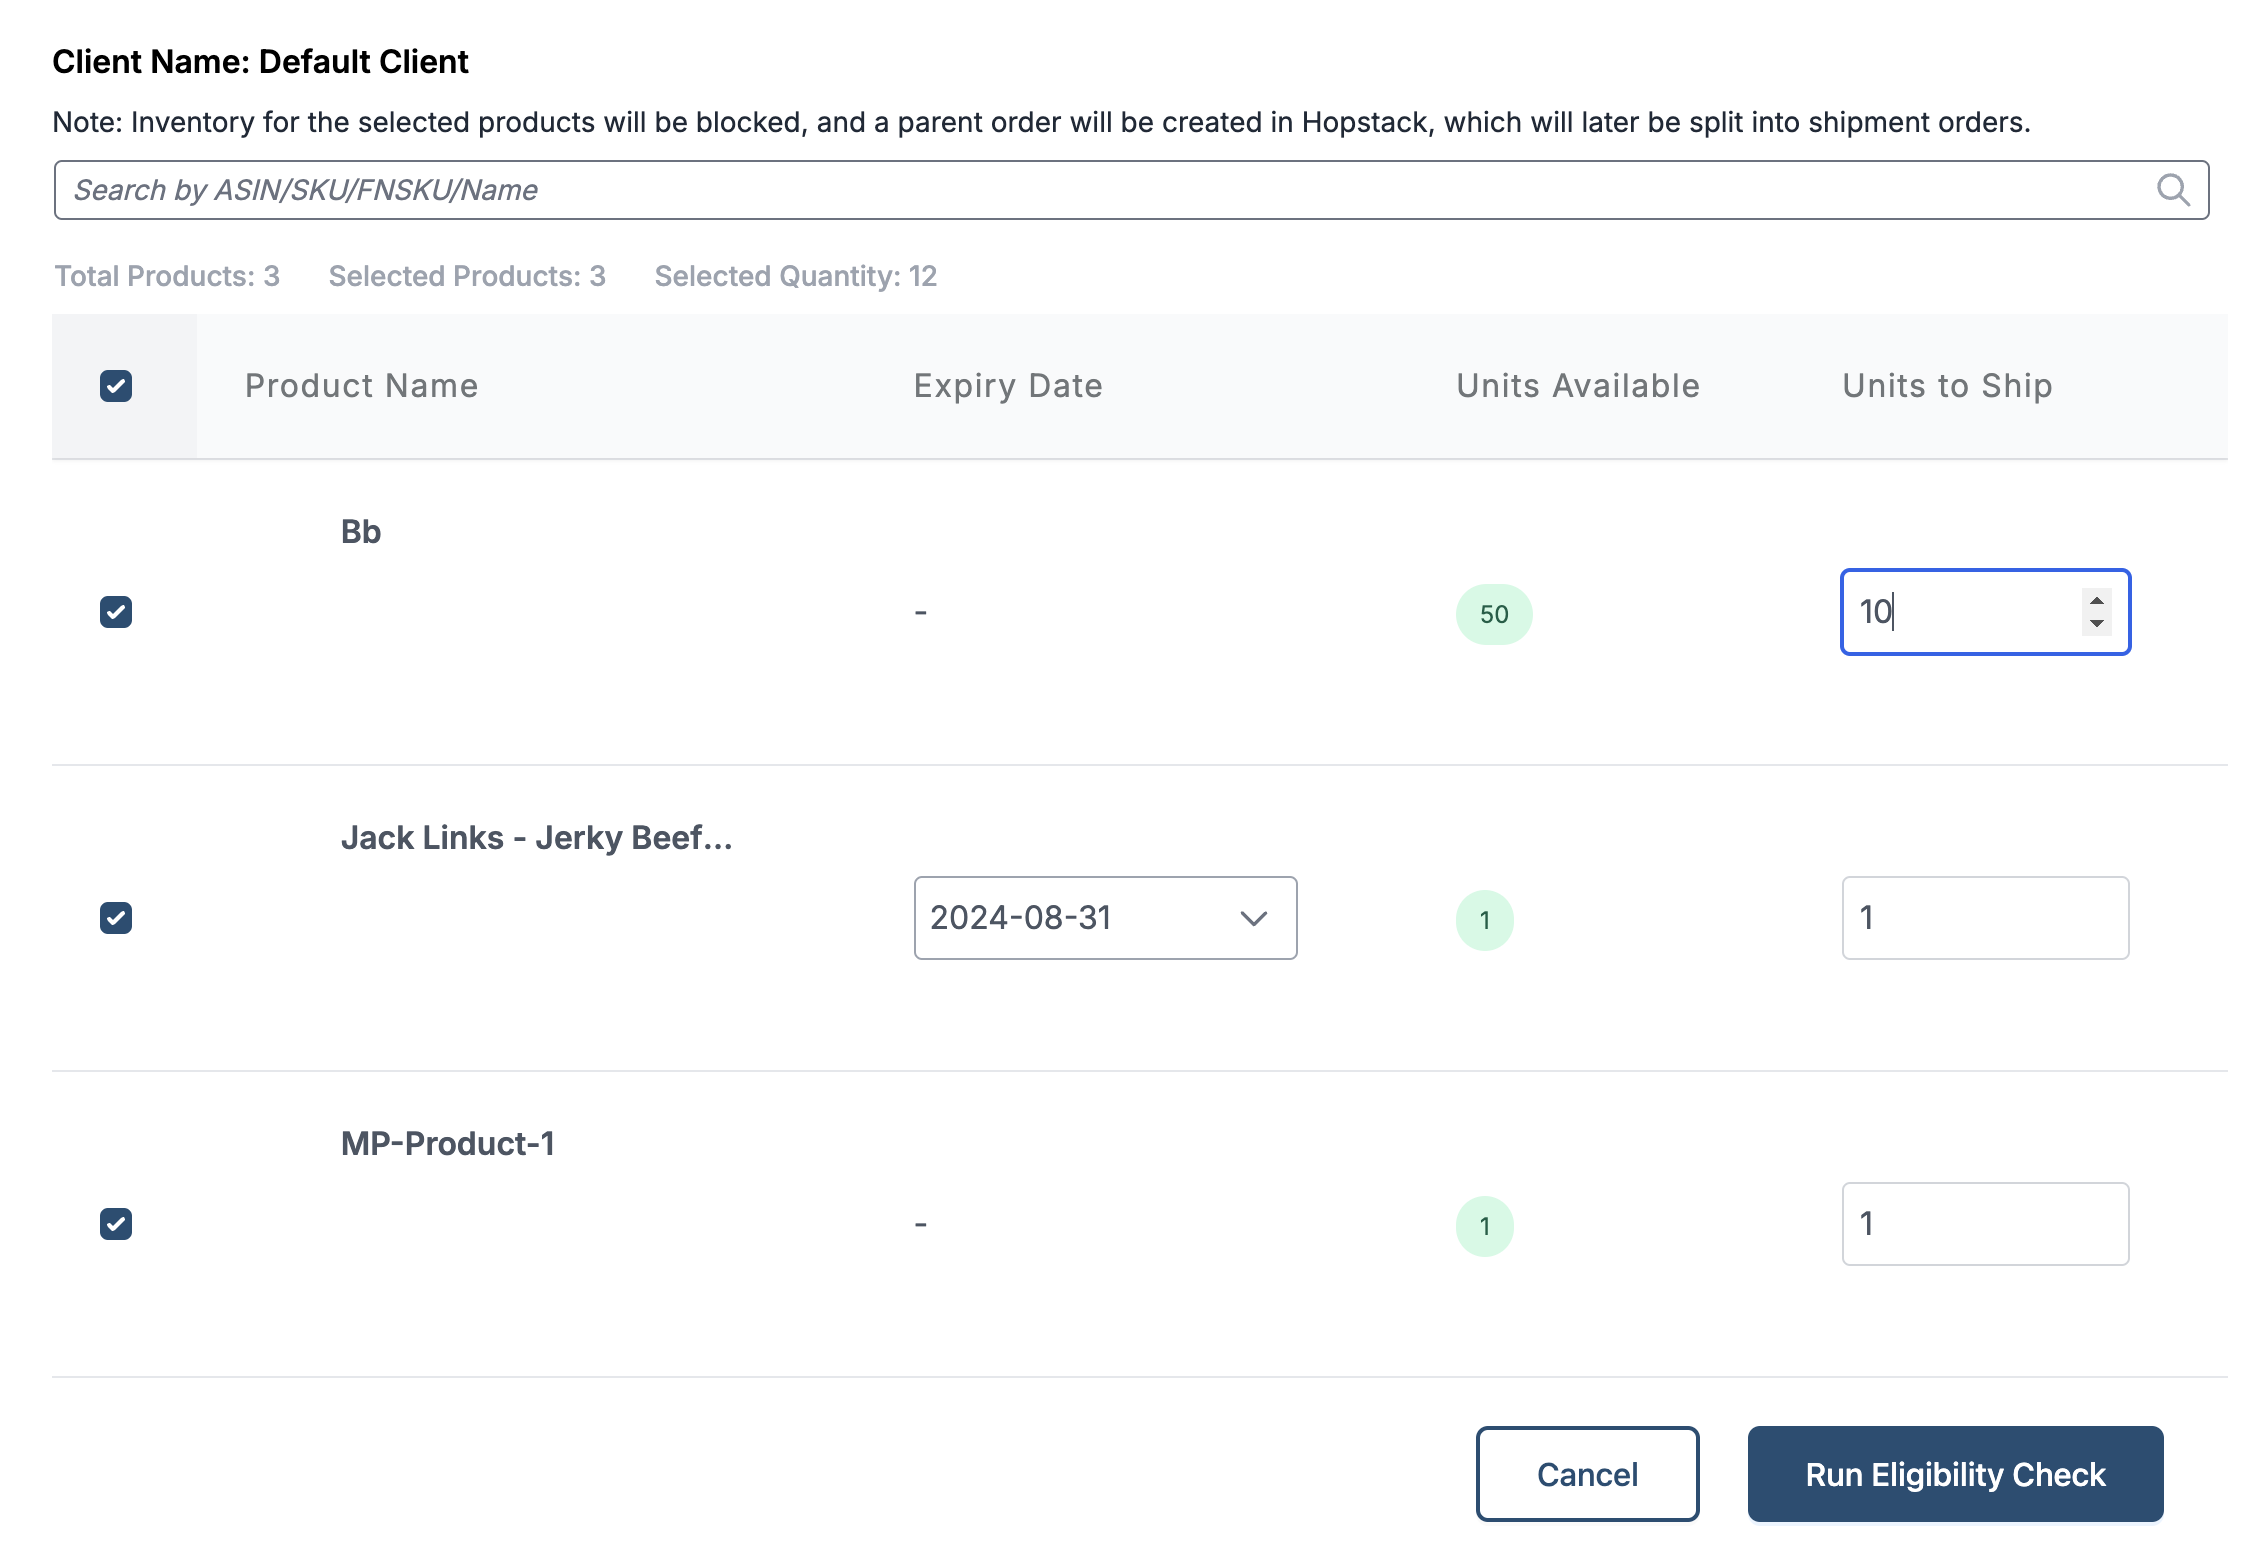
Step 5: Run Eligibility Check
-
Once you’ve edited the product units, click on Run Eligibility Check.
-
This will trigger the eligibility test, ensuring your products meet the requirements for FBA.
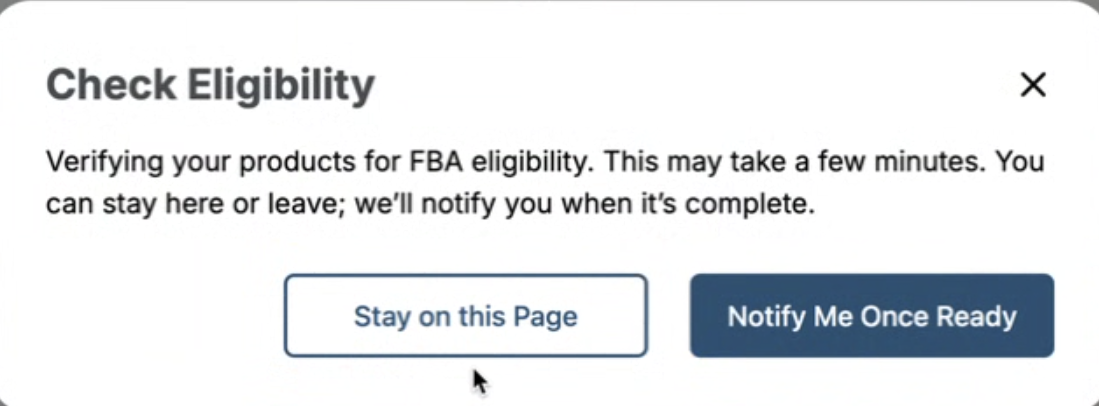
Step 6: Review FBA Eligibility
-
After the eligibility check is complete, review the results to ensure that all products are eligible for FBA shipment. If any products are not eligible, take the necessary steps to resolve any issues.