
The Bulk Upload feature enables users to quickly import large volumes of data into the platform using a supported file template. Instead of creating or updating records individually, users can upload multiple records in a single action.
This feature is available for the following:
-
Order Management
-
Consignments
-
Location Inventory
-
Set up
-
Warehouse Management
-
Client Management
-
User Management
-
Vendor Management
-
Stations Management
-
Tote Management
-
Product Management
-
Consumables Management
-
Steps to Bulk Upload:
Navigate to the section for which you would like to bulk upload.
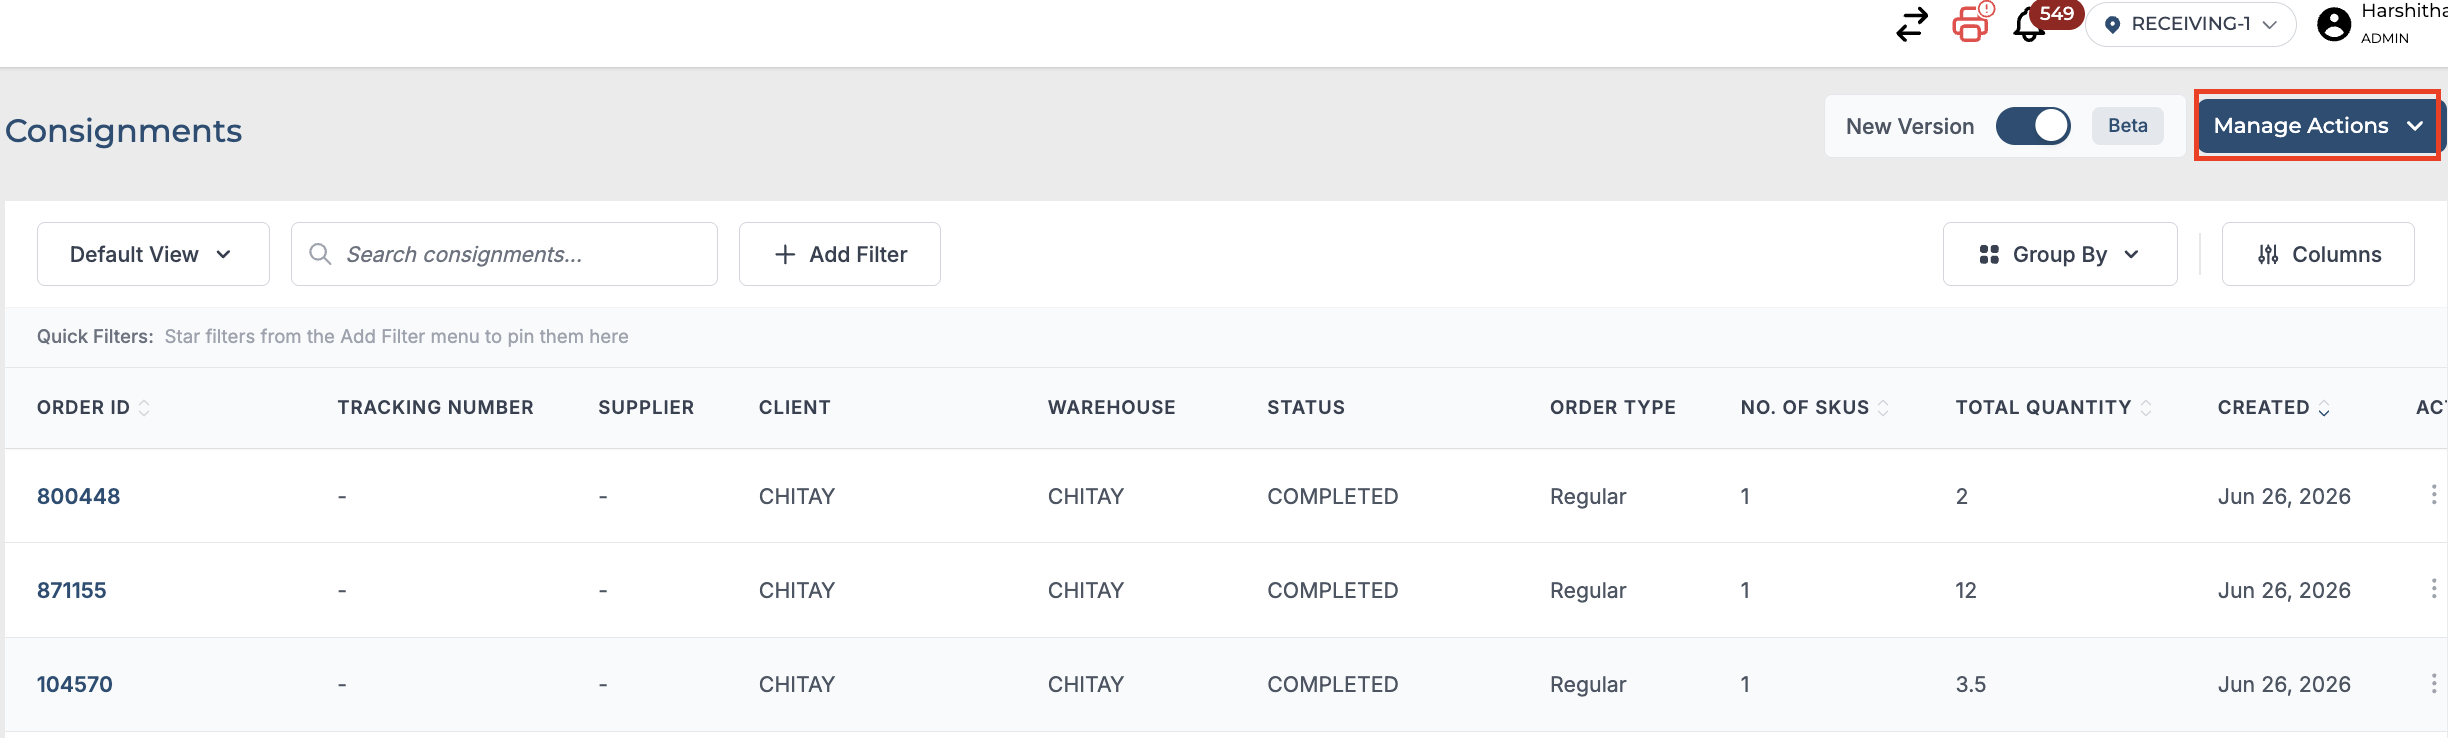
Step 1: Click on Manage Actions.
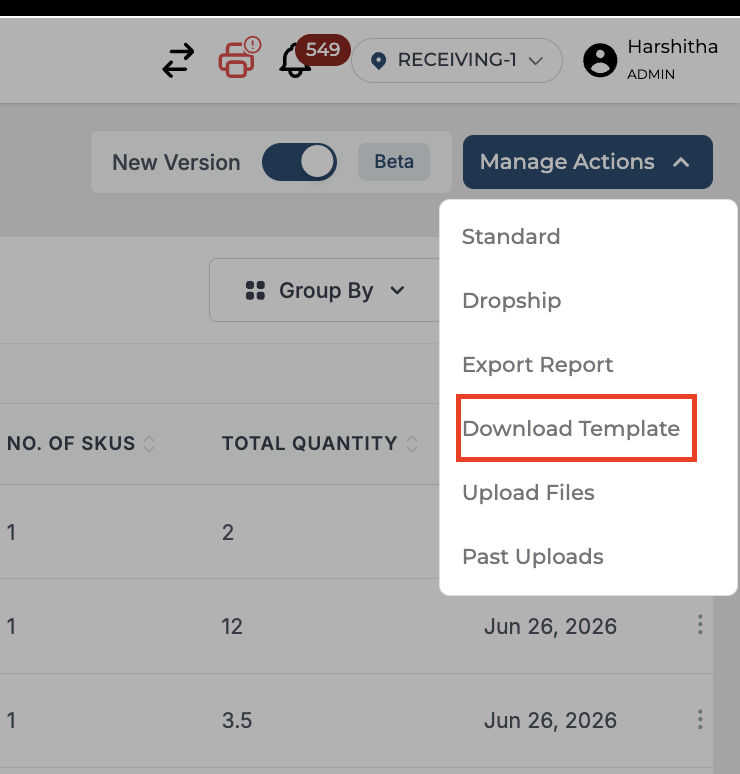
Step 2: Download Template.
Step 3: Fill in the Data in the template.
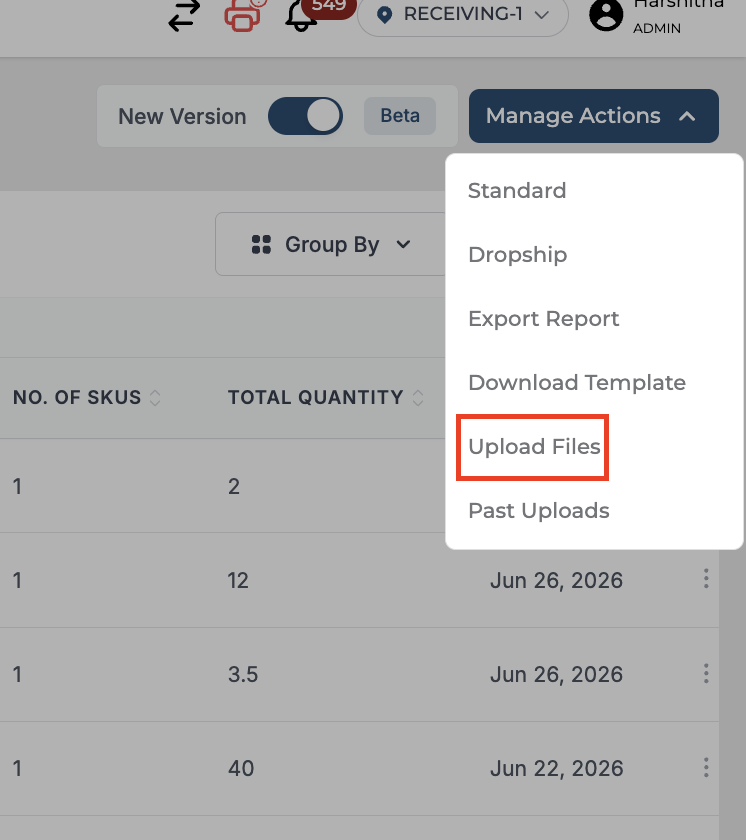
Step 4: Upload File.
Click on Upload Files
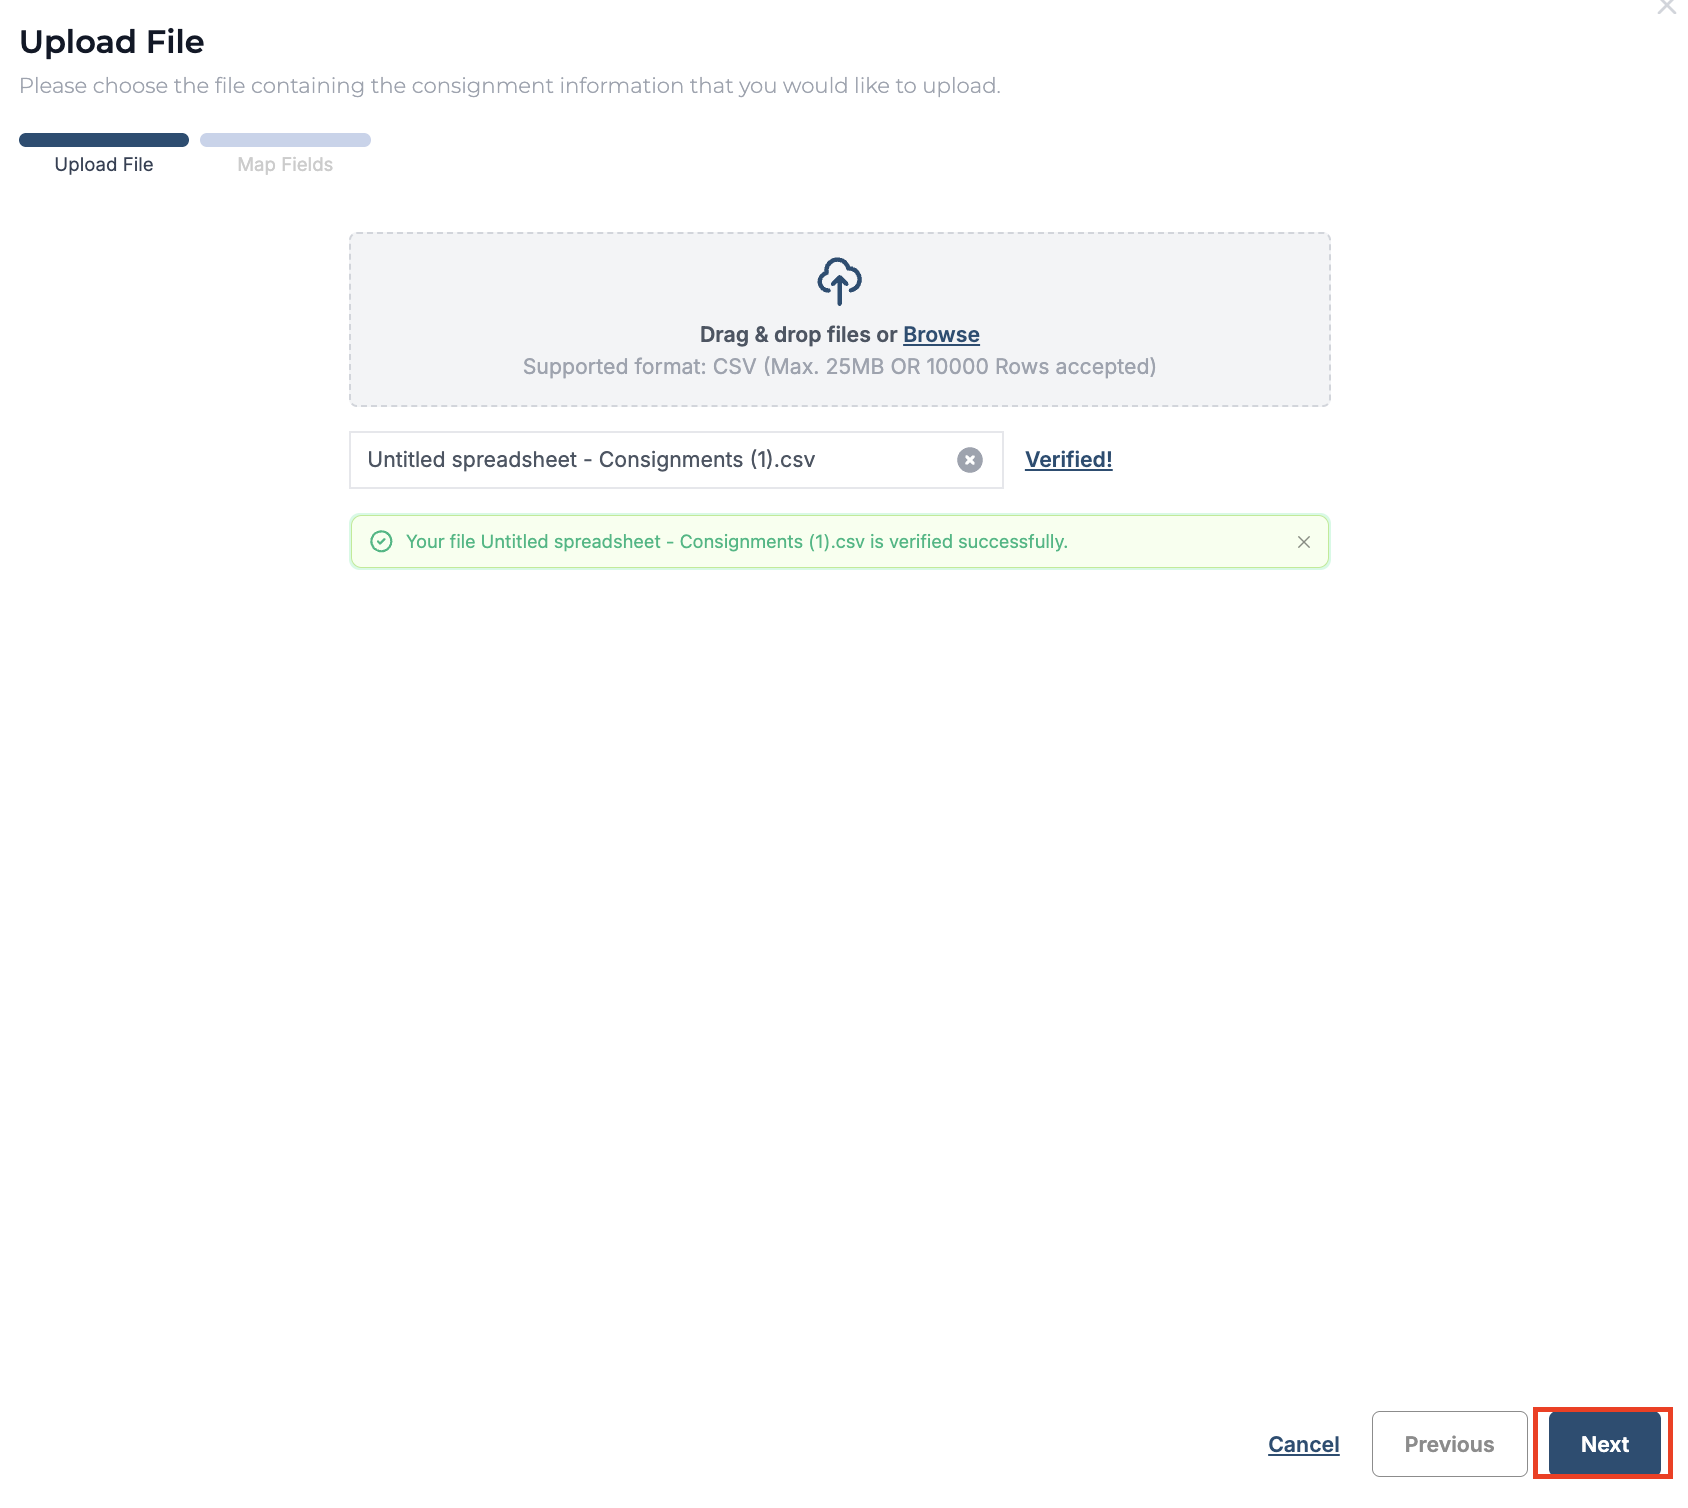
Upload the file and Verify.
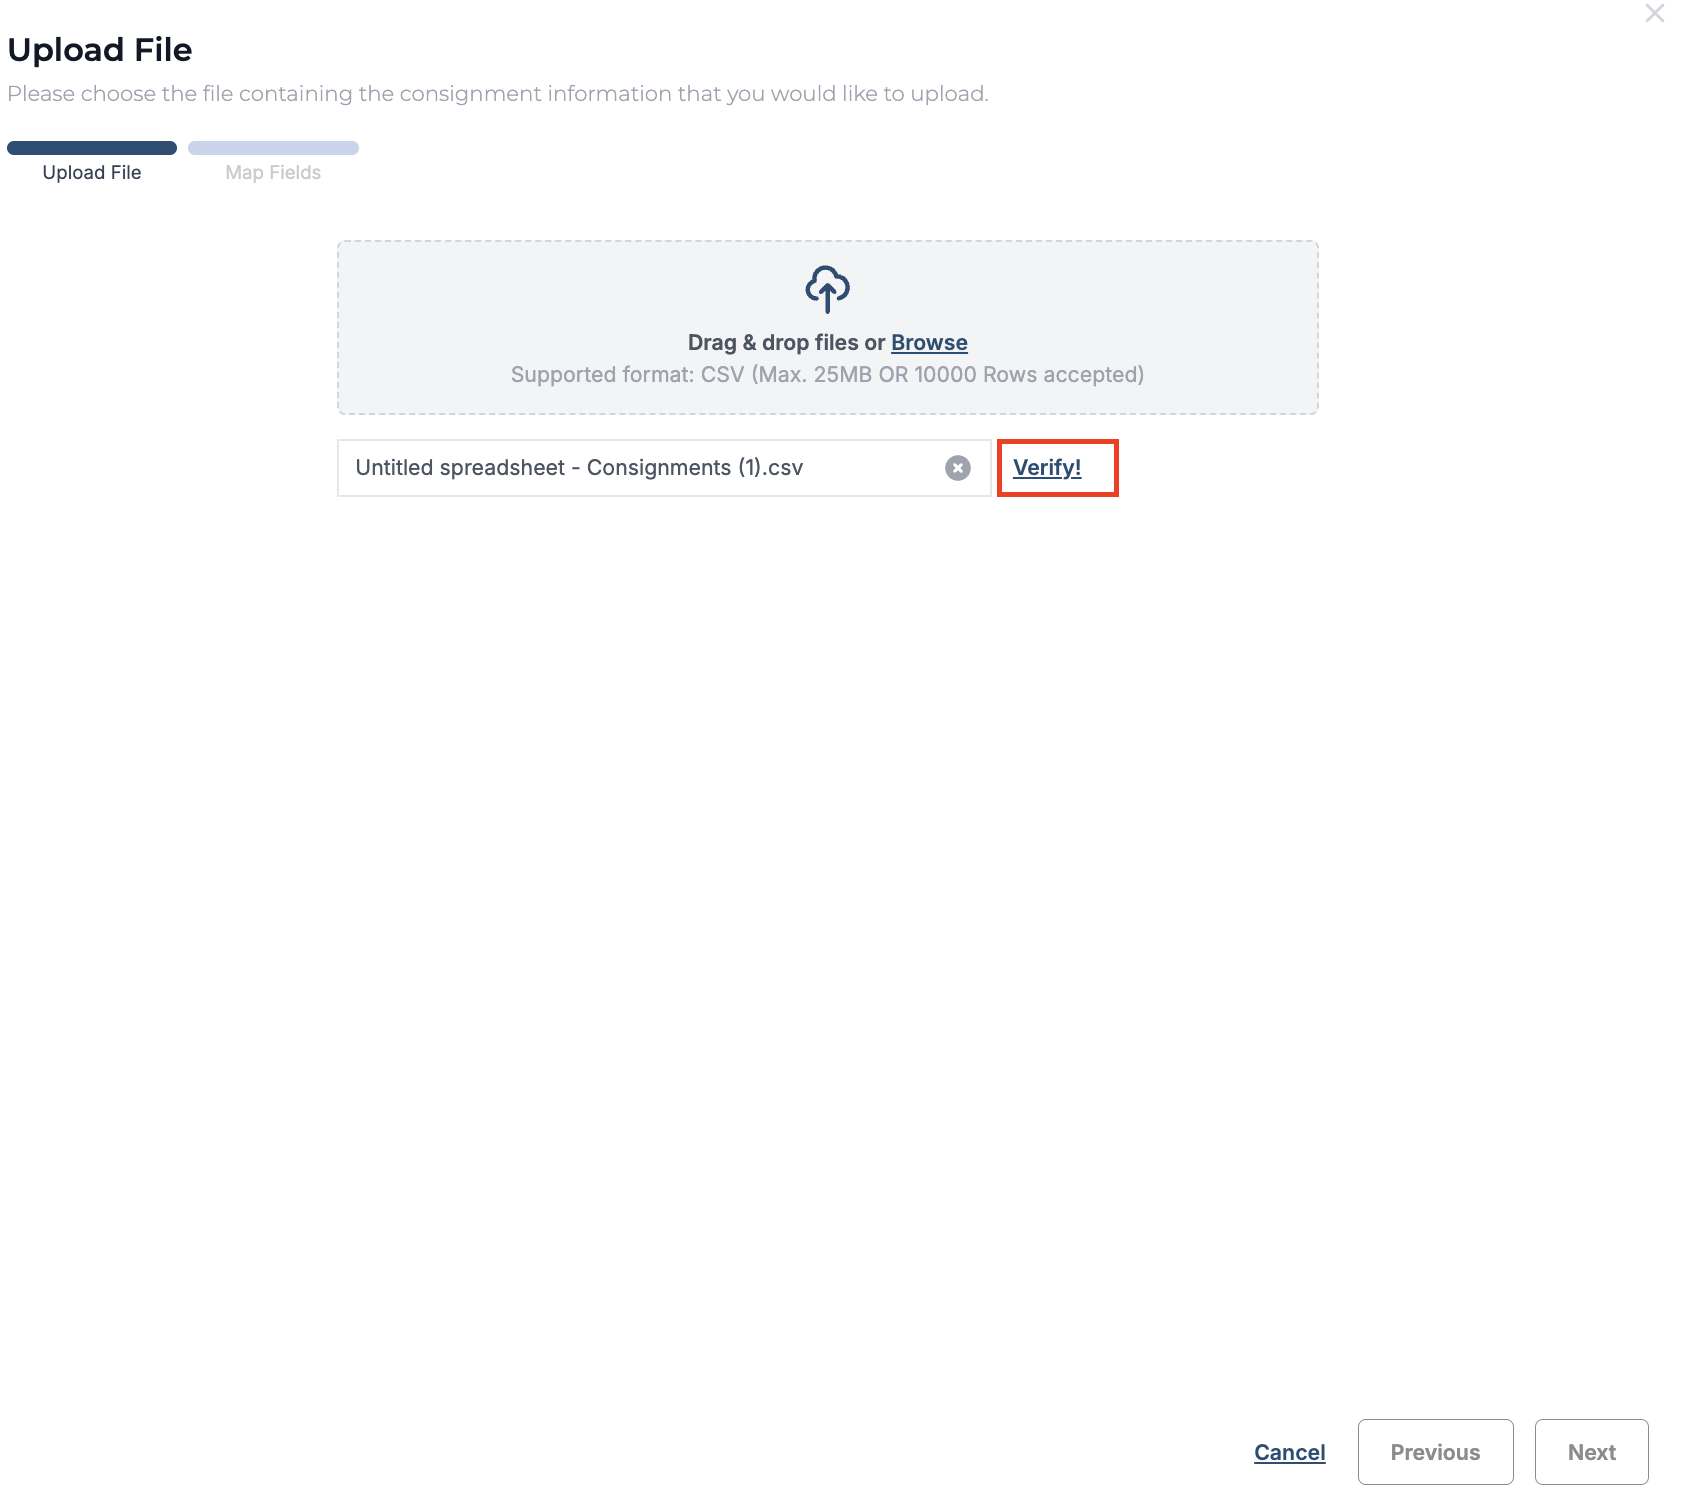
Once the file is verified a notification appears, click on Next.
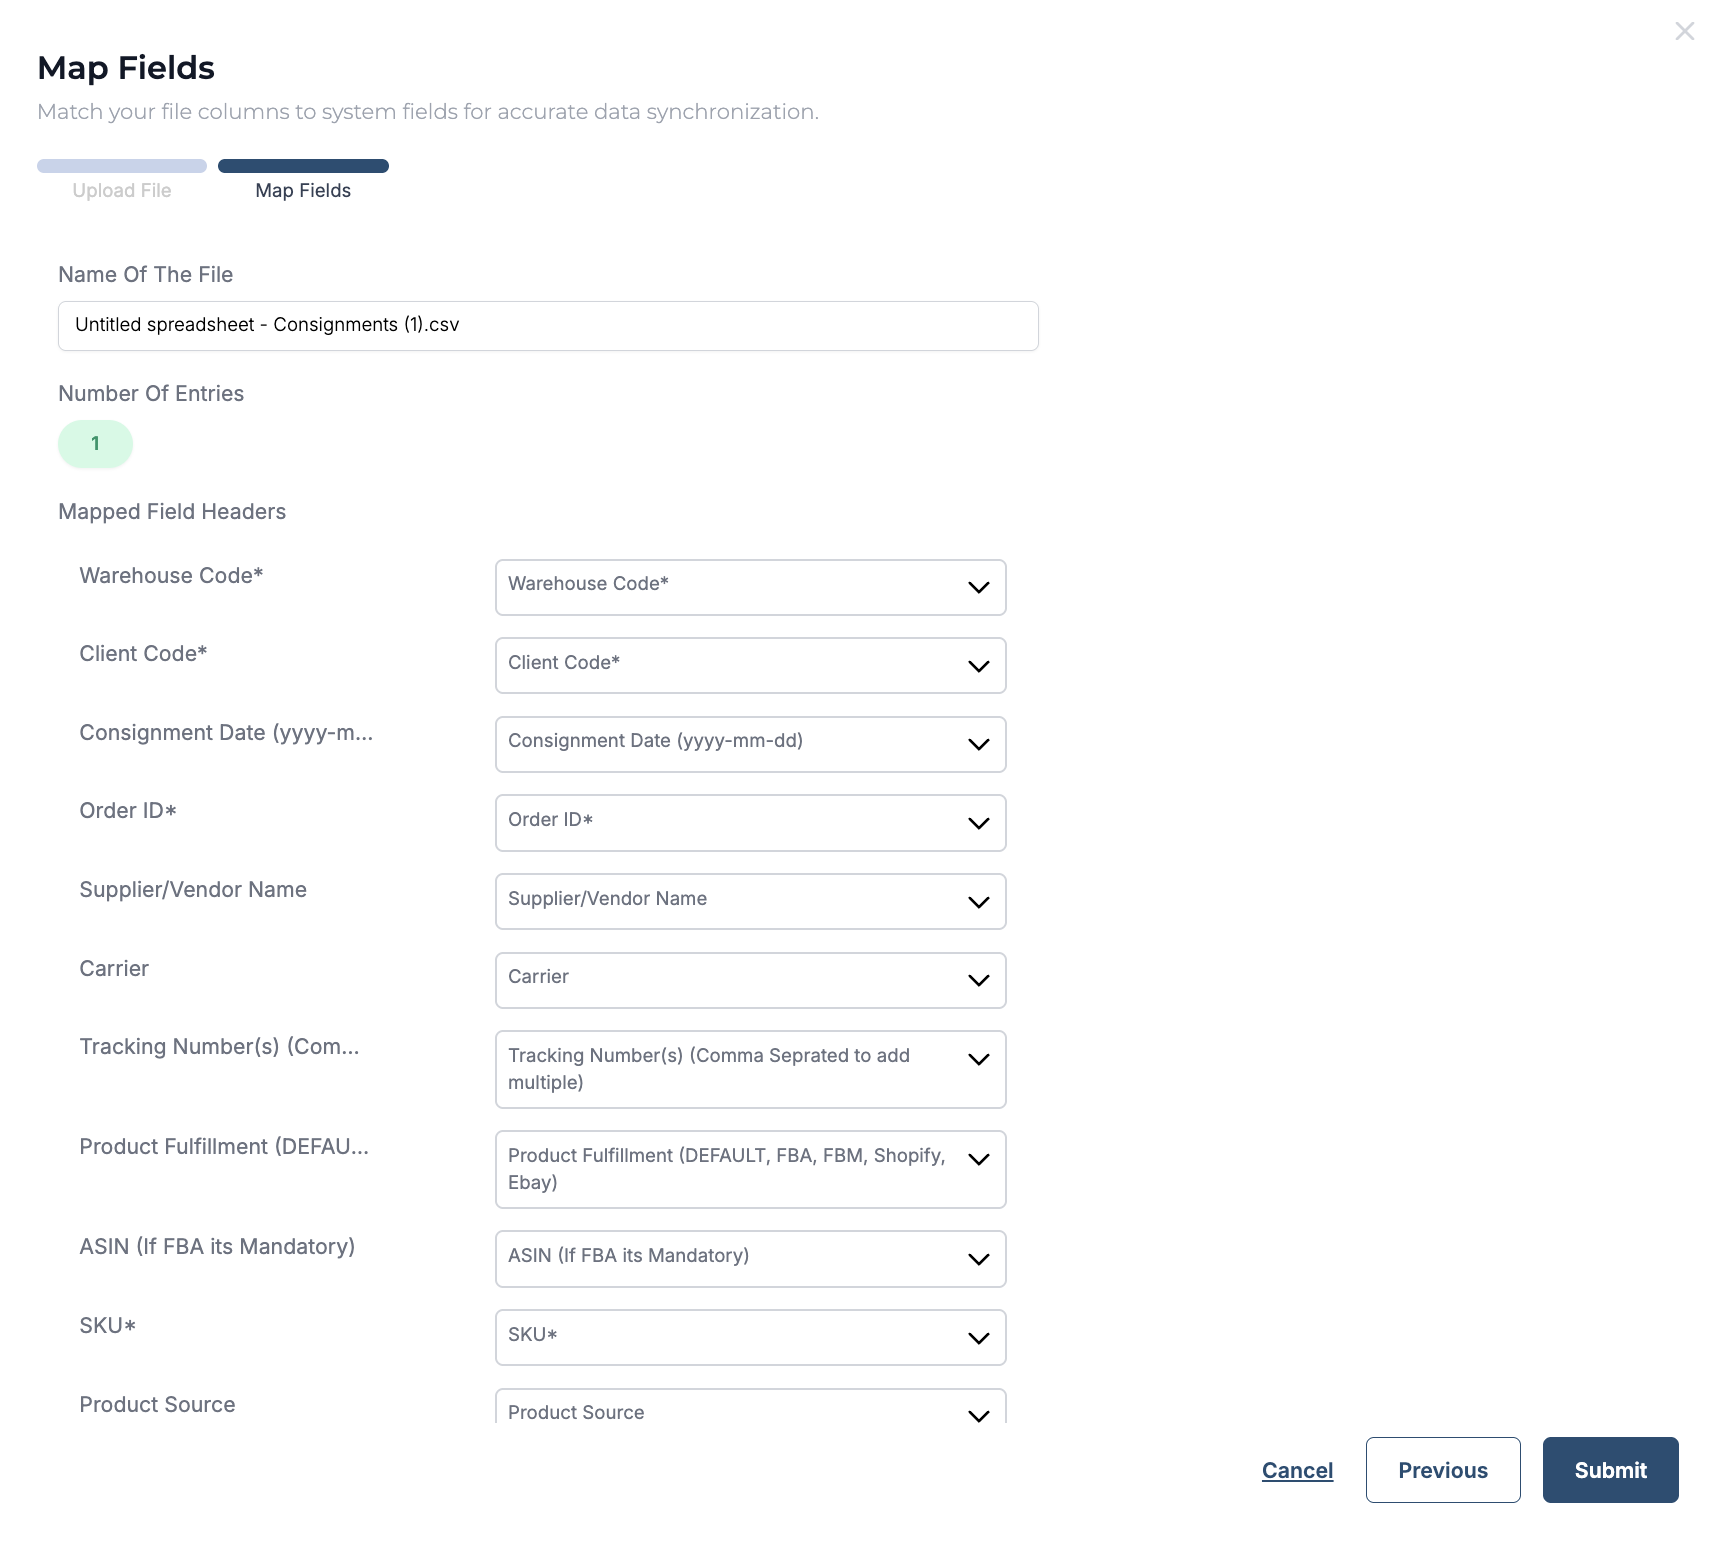
Check the column Mapping and click on Submit.
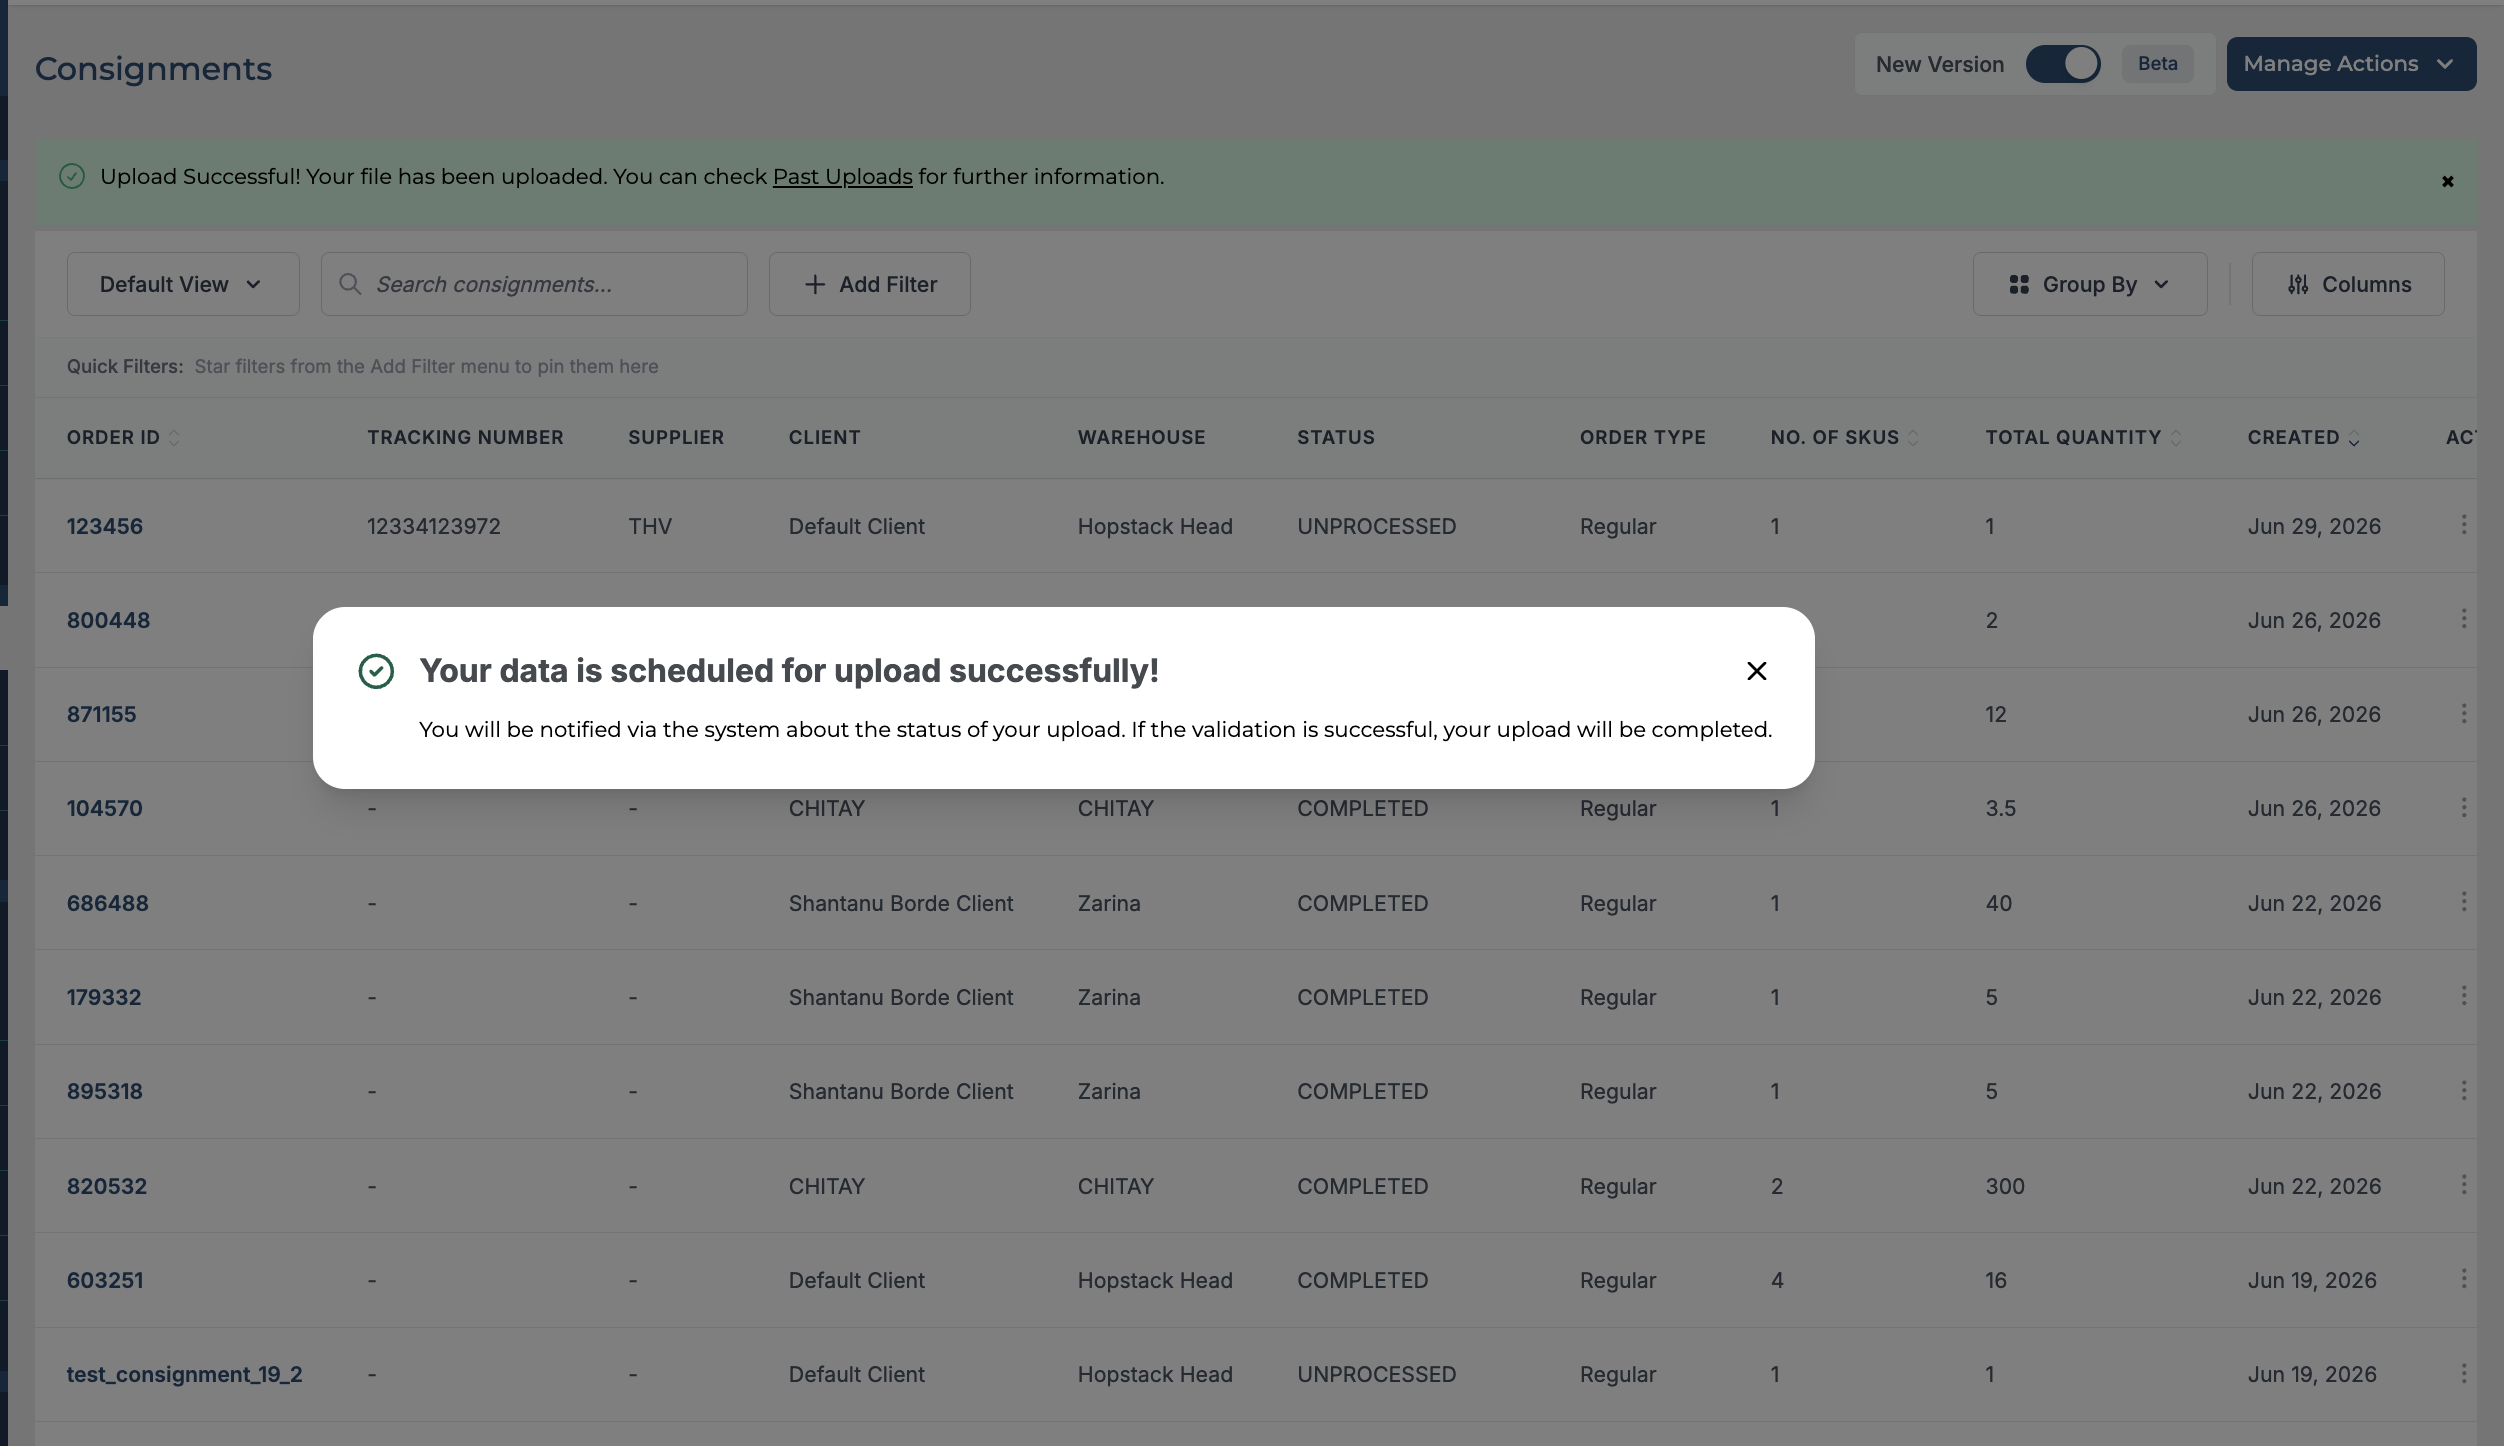
Once the file is uploaded user gets notified that the data is scheduled for Upload.
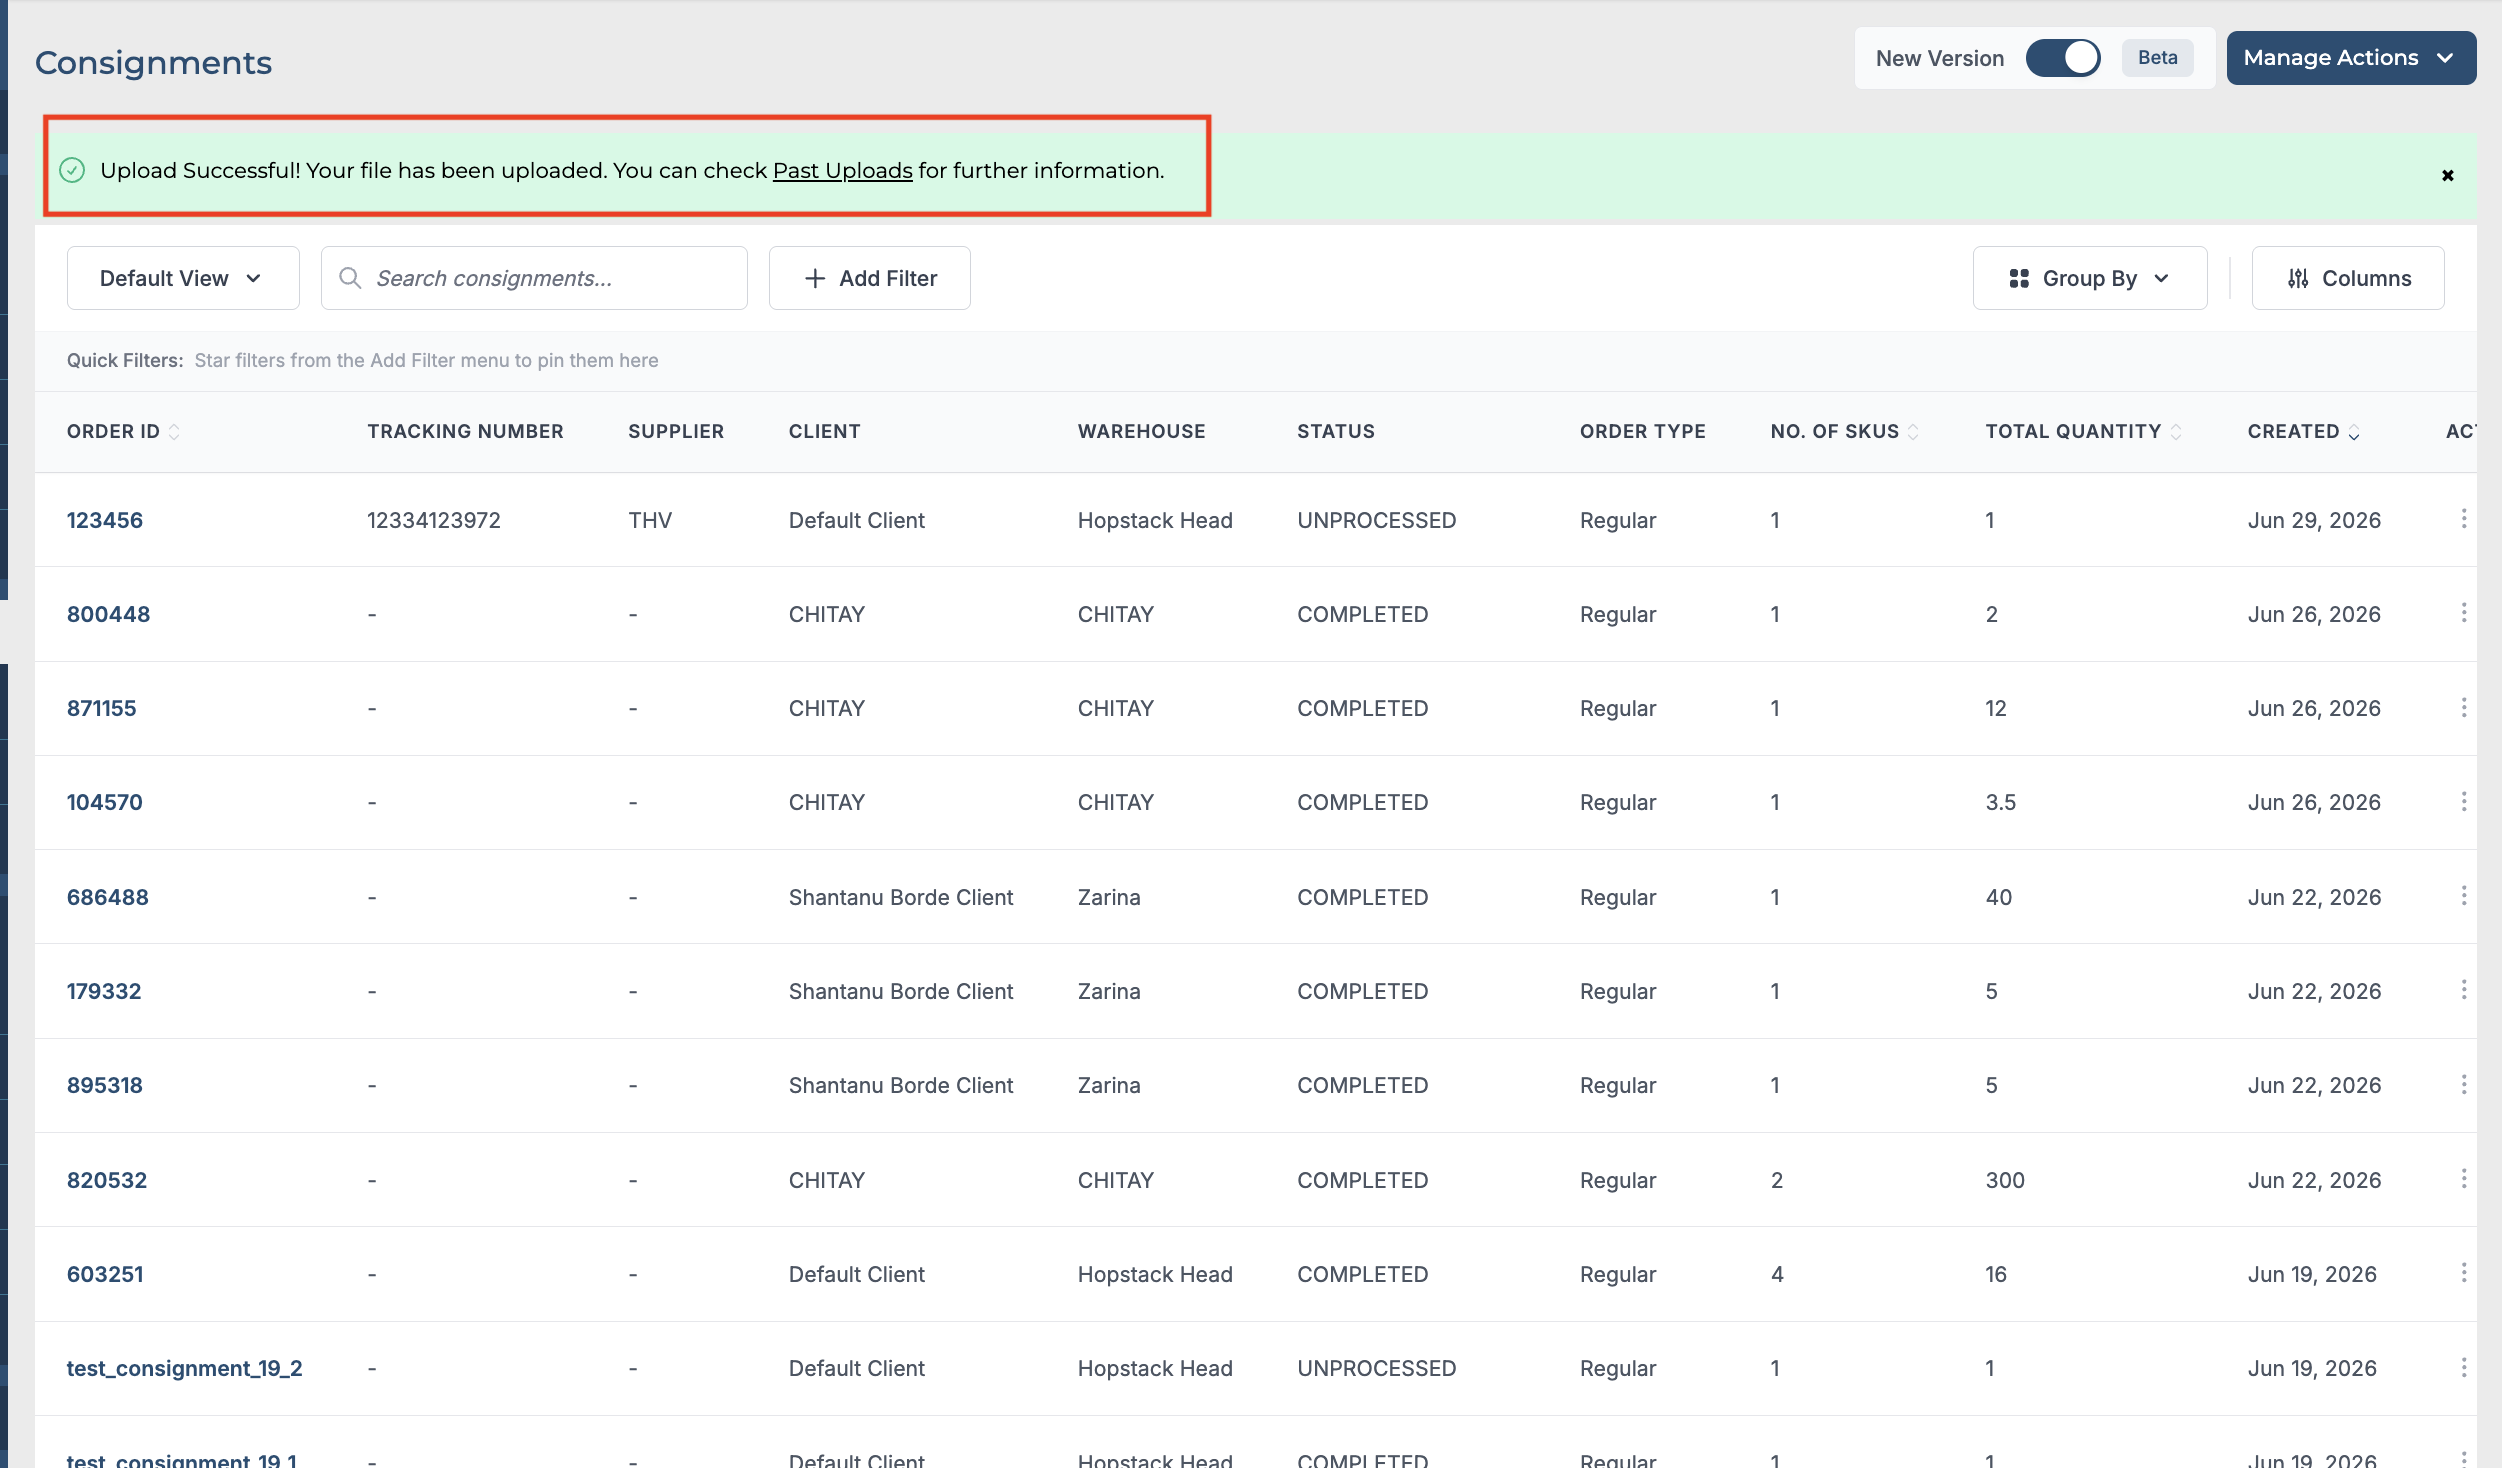
After the upload is successful user gets notified of the upload status like successful or Failed or partially complete.
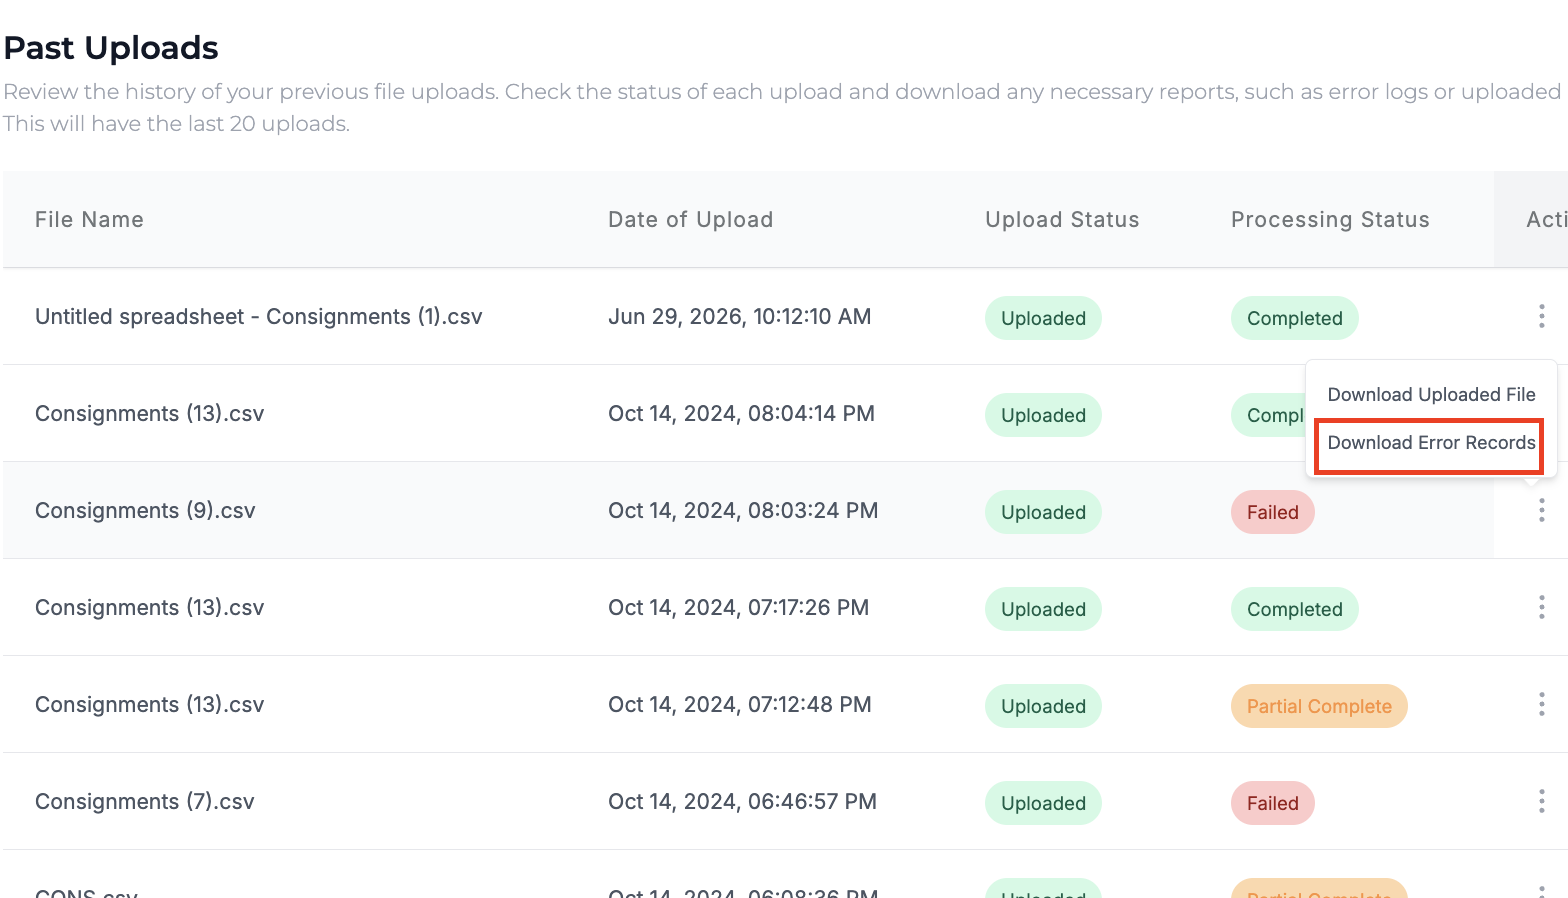
Step 5: To verify upload user can click on Past Uploads under Manage Actions. Past Uploads feature displays the status of Upload. User can also Download the Uploaded File from Action button.
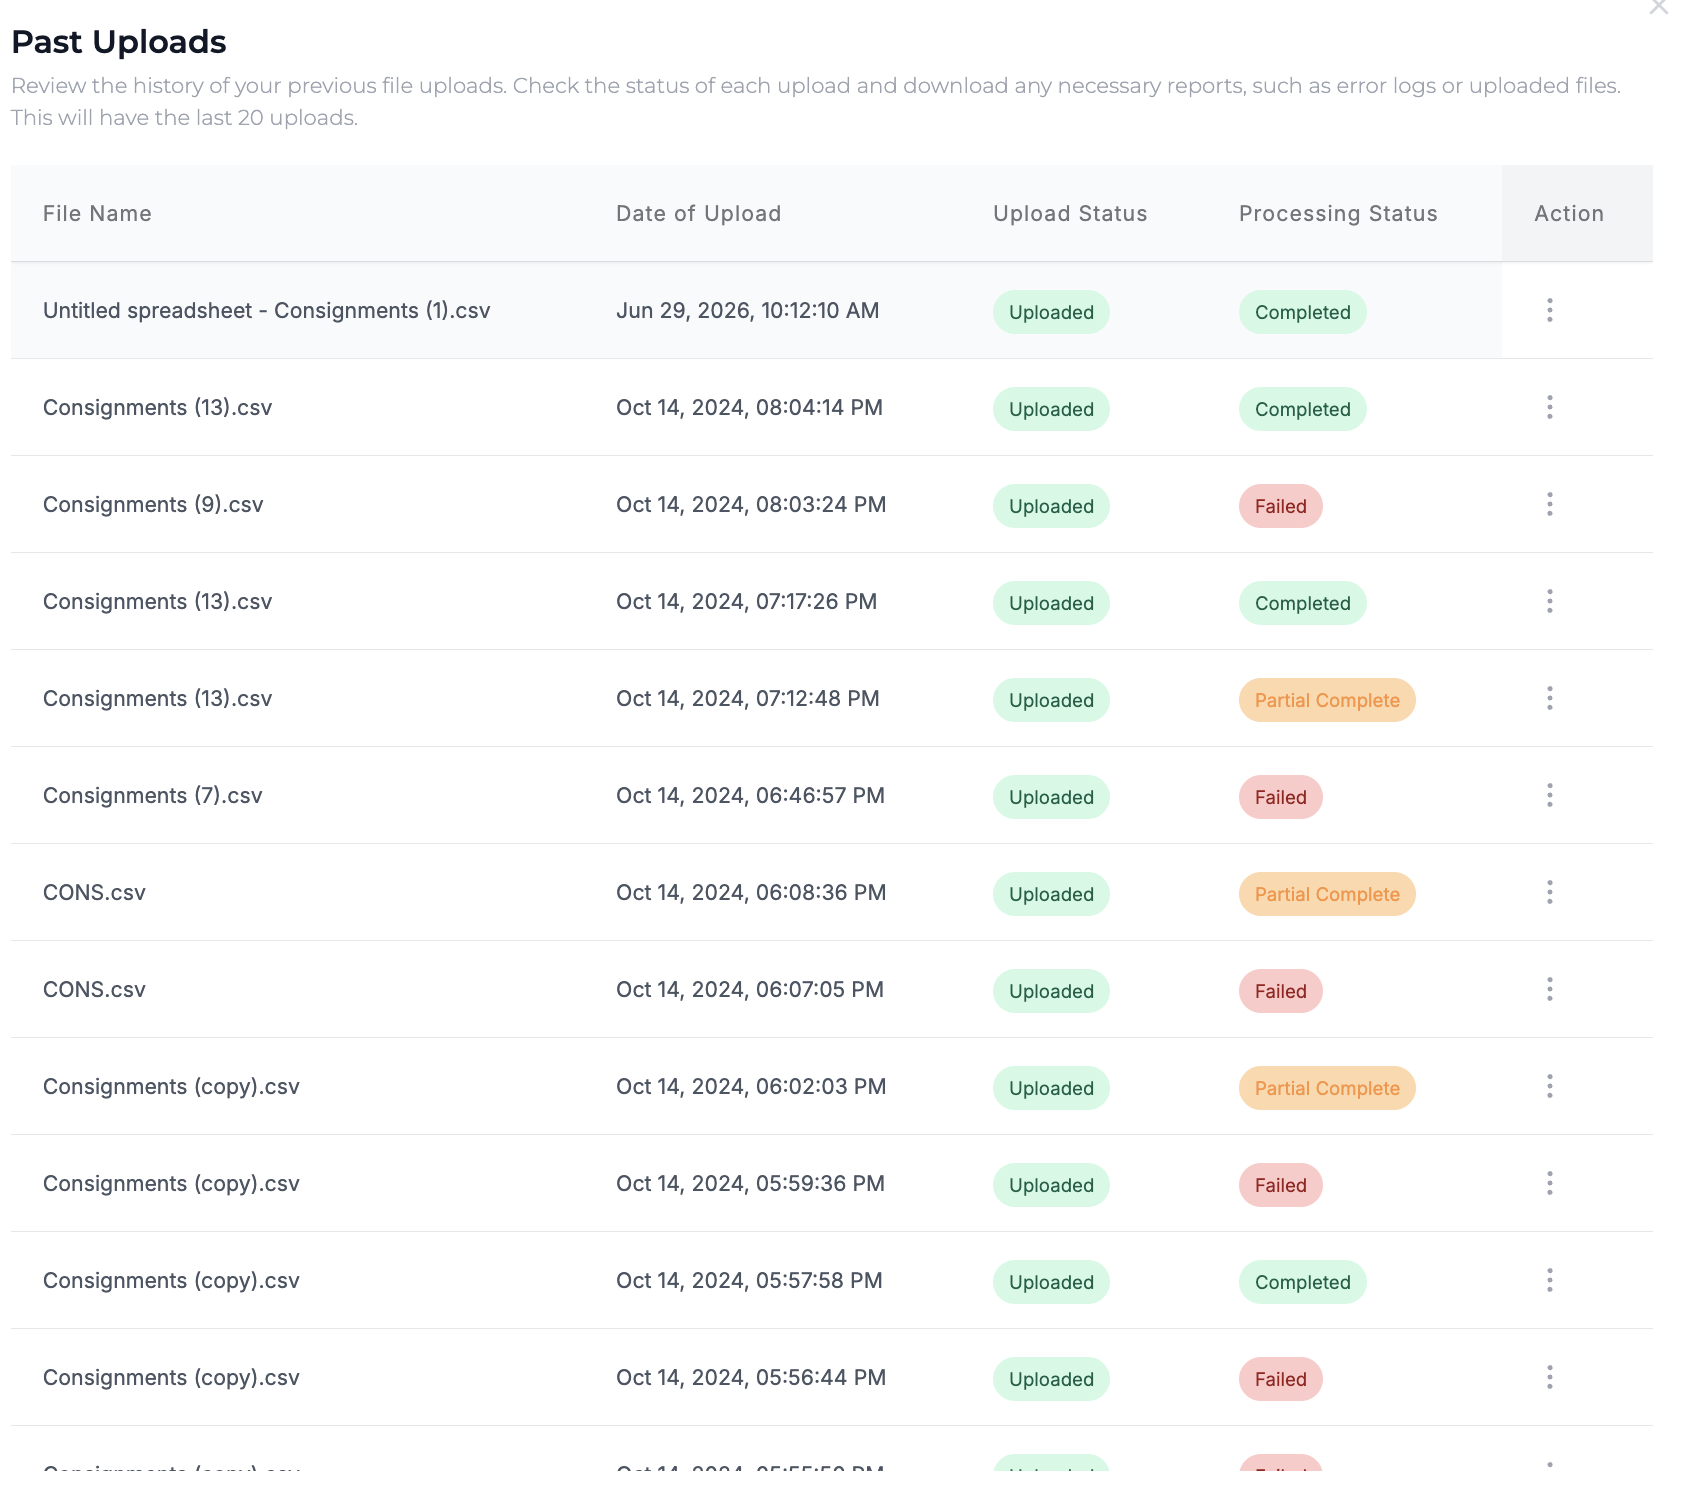
For failed or partially complete (one or more rows failed during upload) uploads, user can also Download Error records. The error records file contains the uploaded data and a Error Message column which clearly explains the error in the row. The user can take corrective action based on Error Message and upload the file again.
The successfully uploaded records are instantly visible on the platform for the user to start working on it.