
This document explains how to access and use the new Location Inventory screen (revamped from SKU Bin Management), filters, grouping options, column customisation, and report export.
Step 1: Access Location Inventory from the Inventory Tab
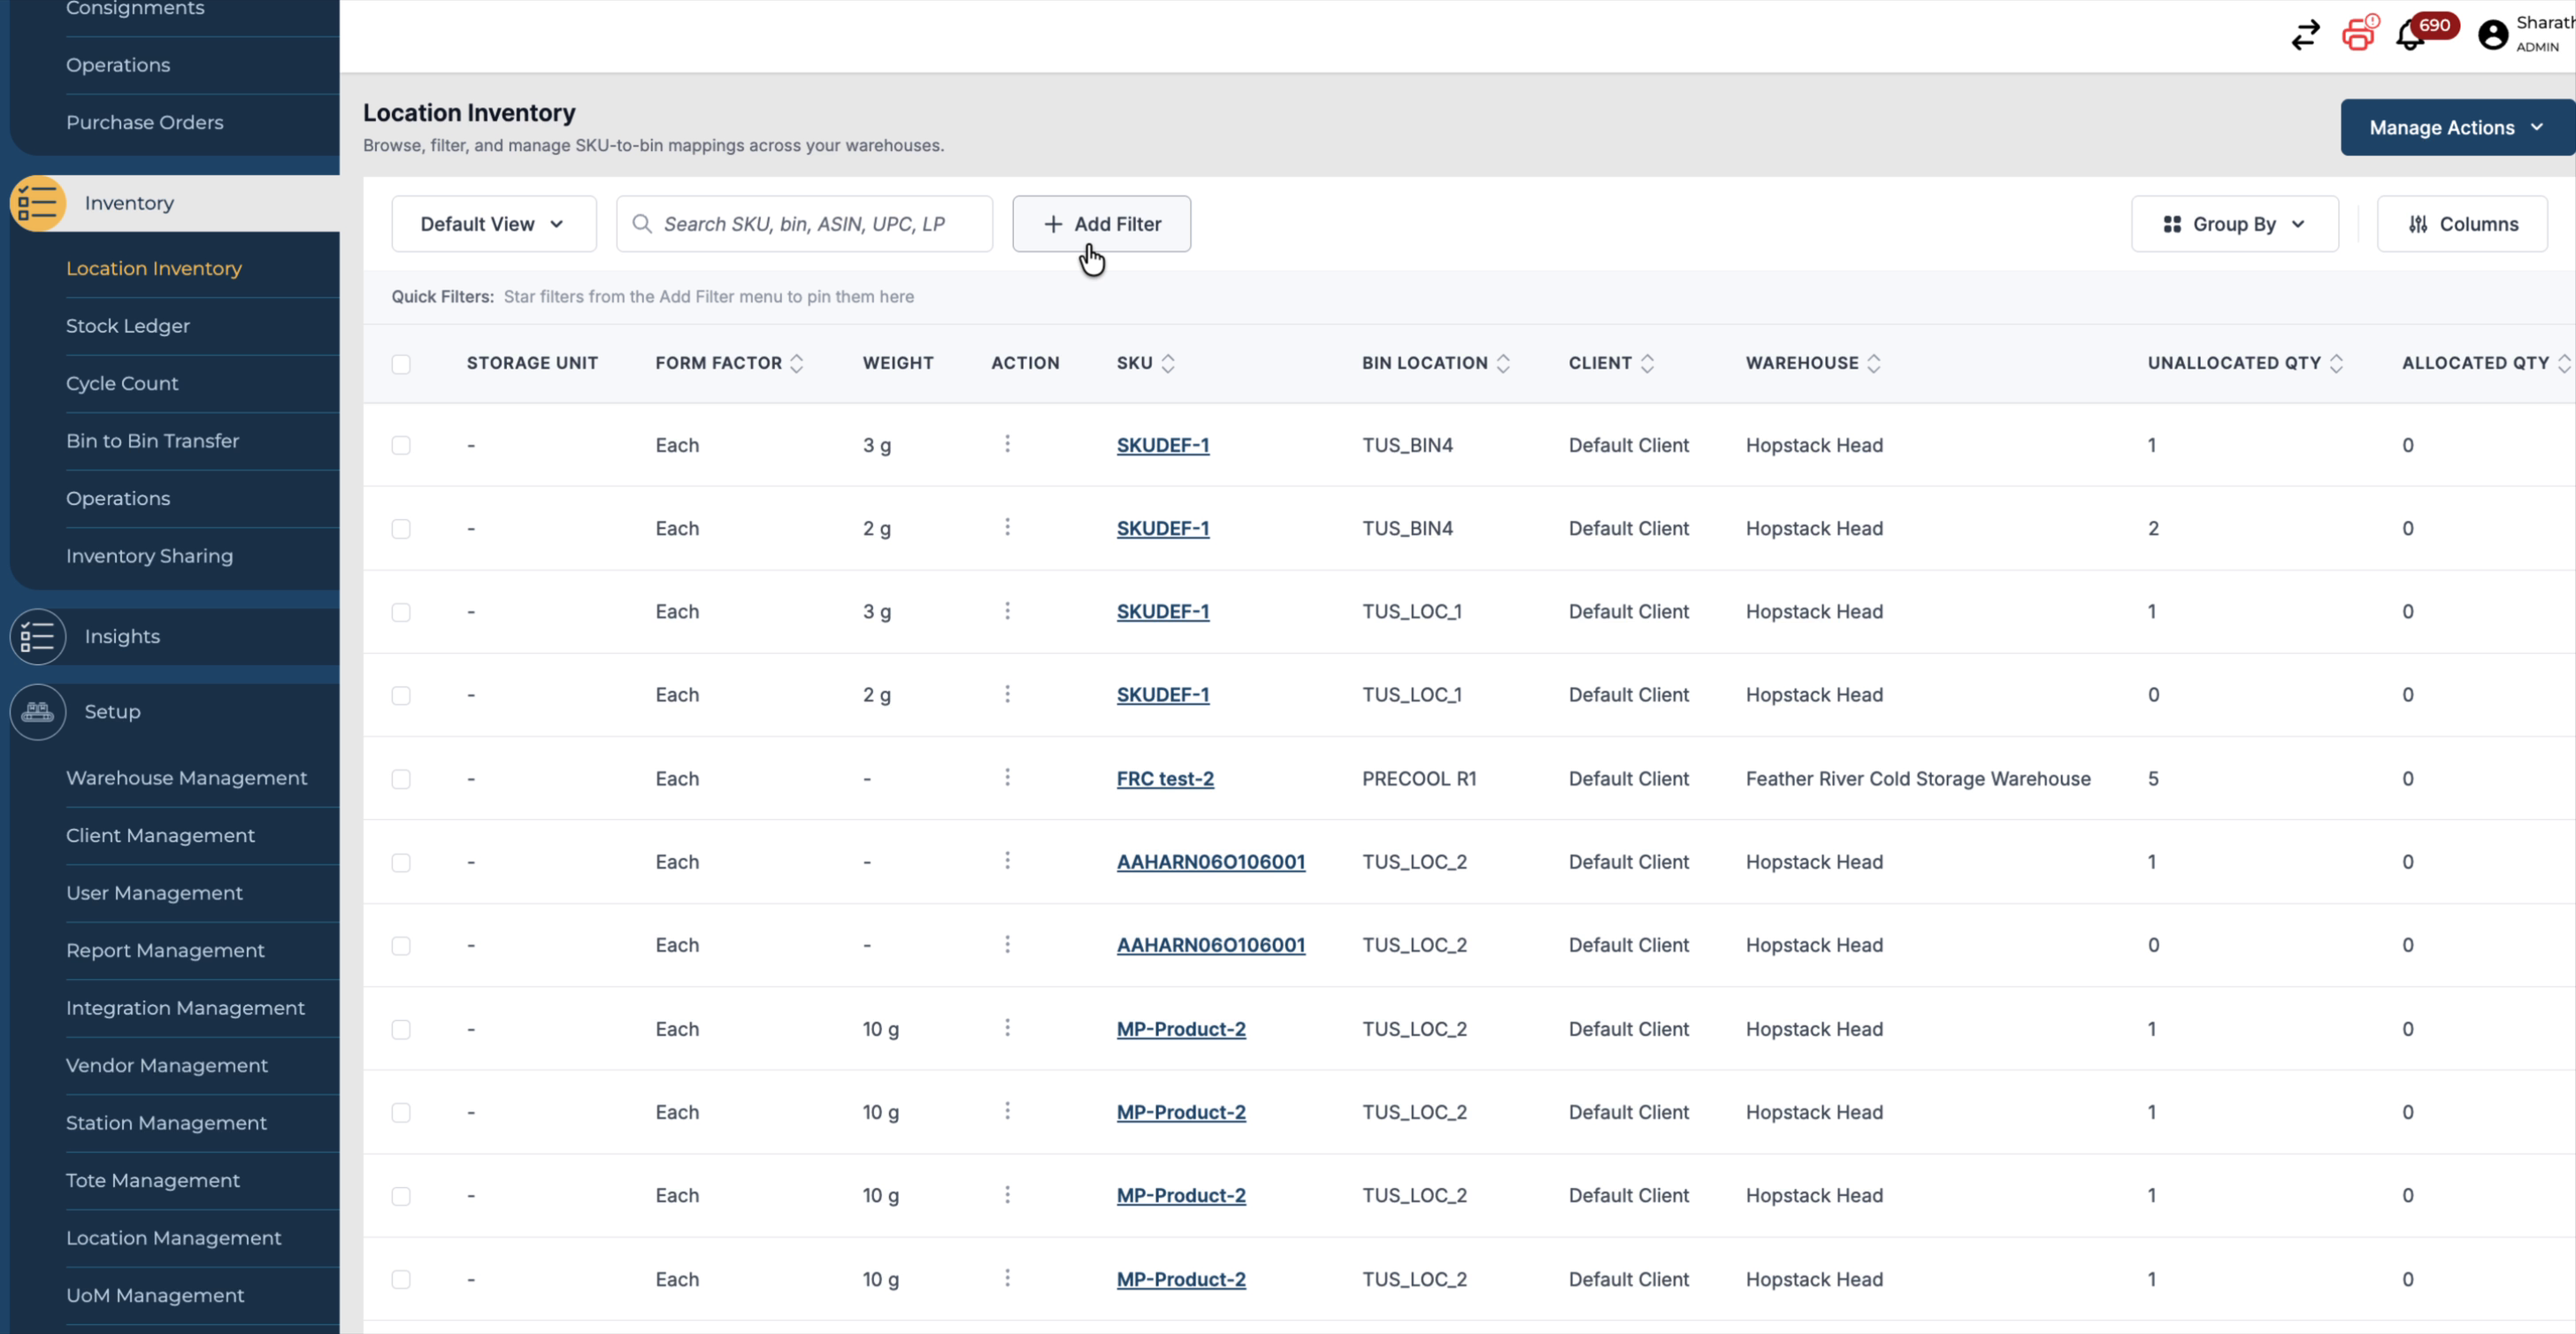
Navigate to the Inventory tab. From there, switch to Location Inventory to view the existing SKU Bin entries in the new interface. This will load the default Location Inventory screen, where you can begin working with your stock and location data.
Step 2: Use Stock Status and System Location Filters
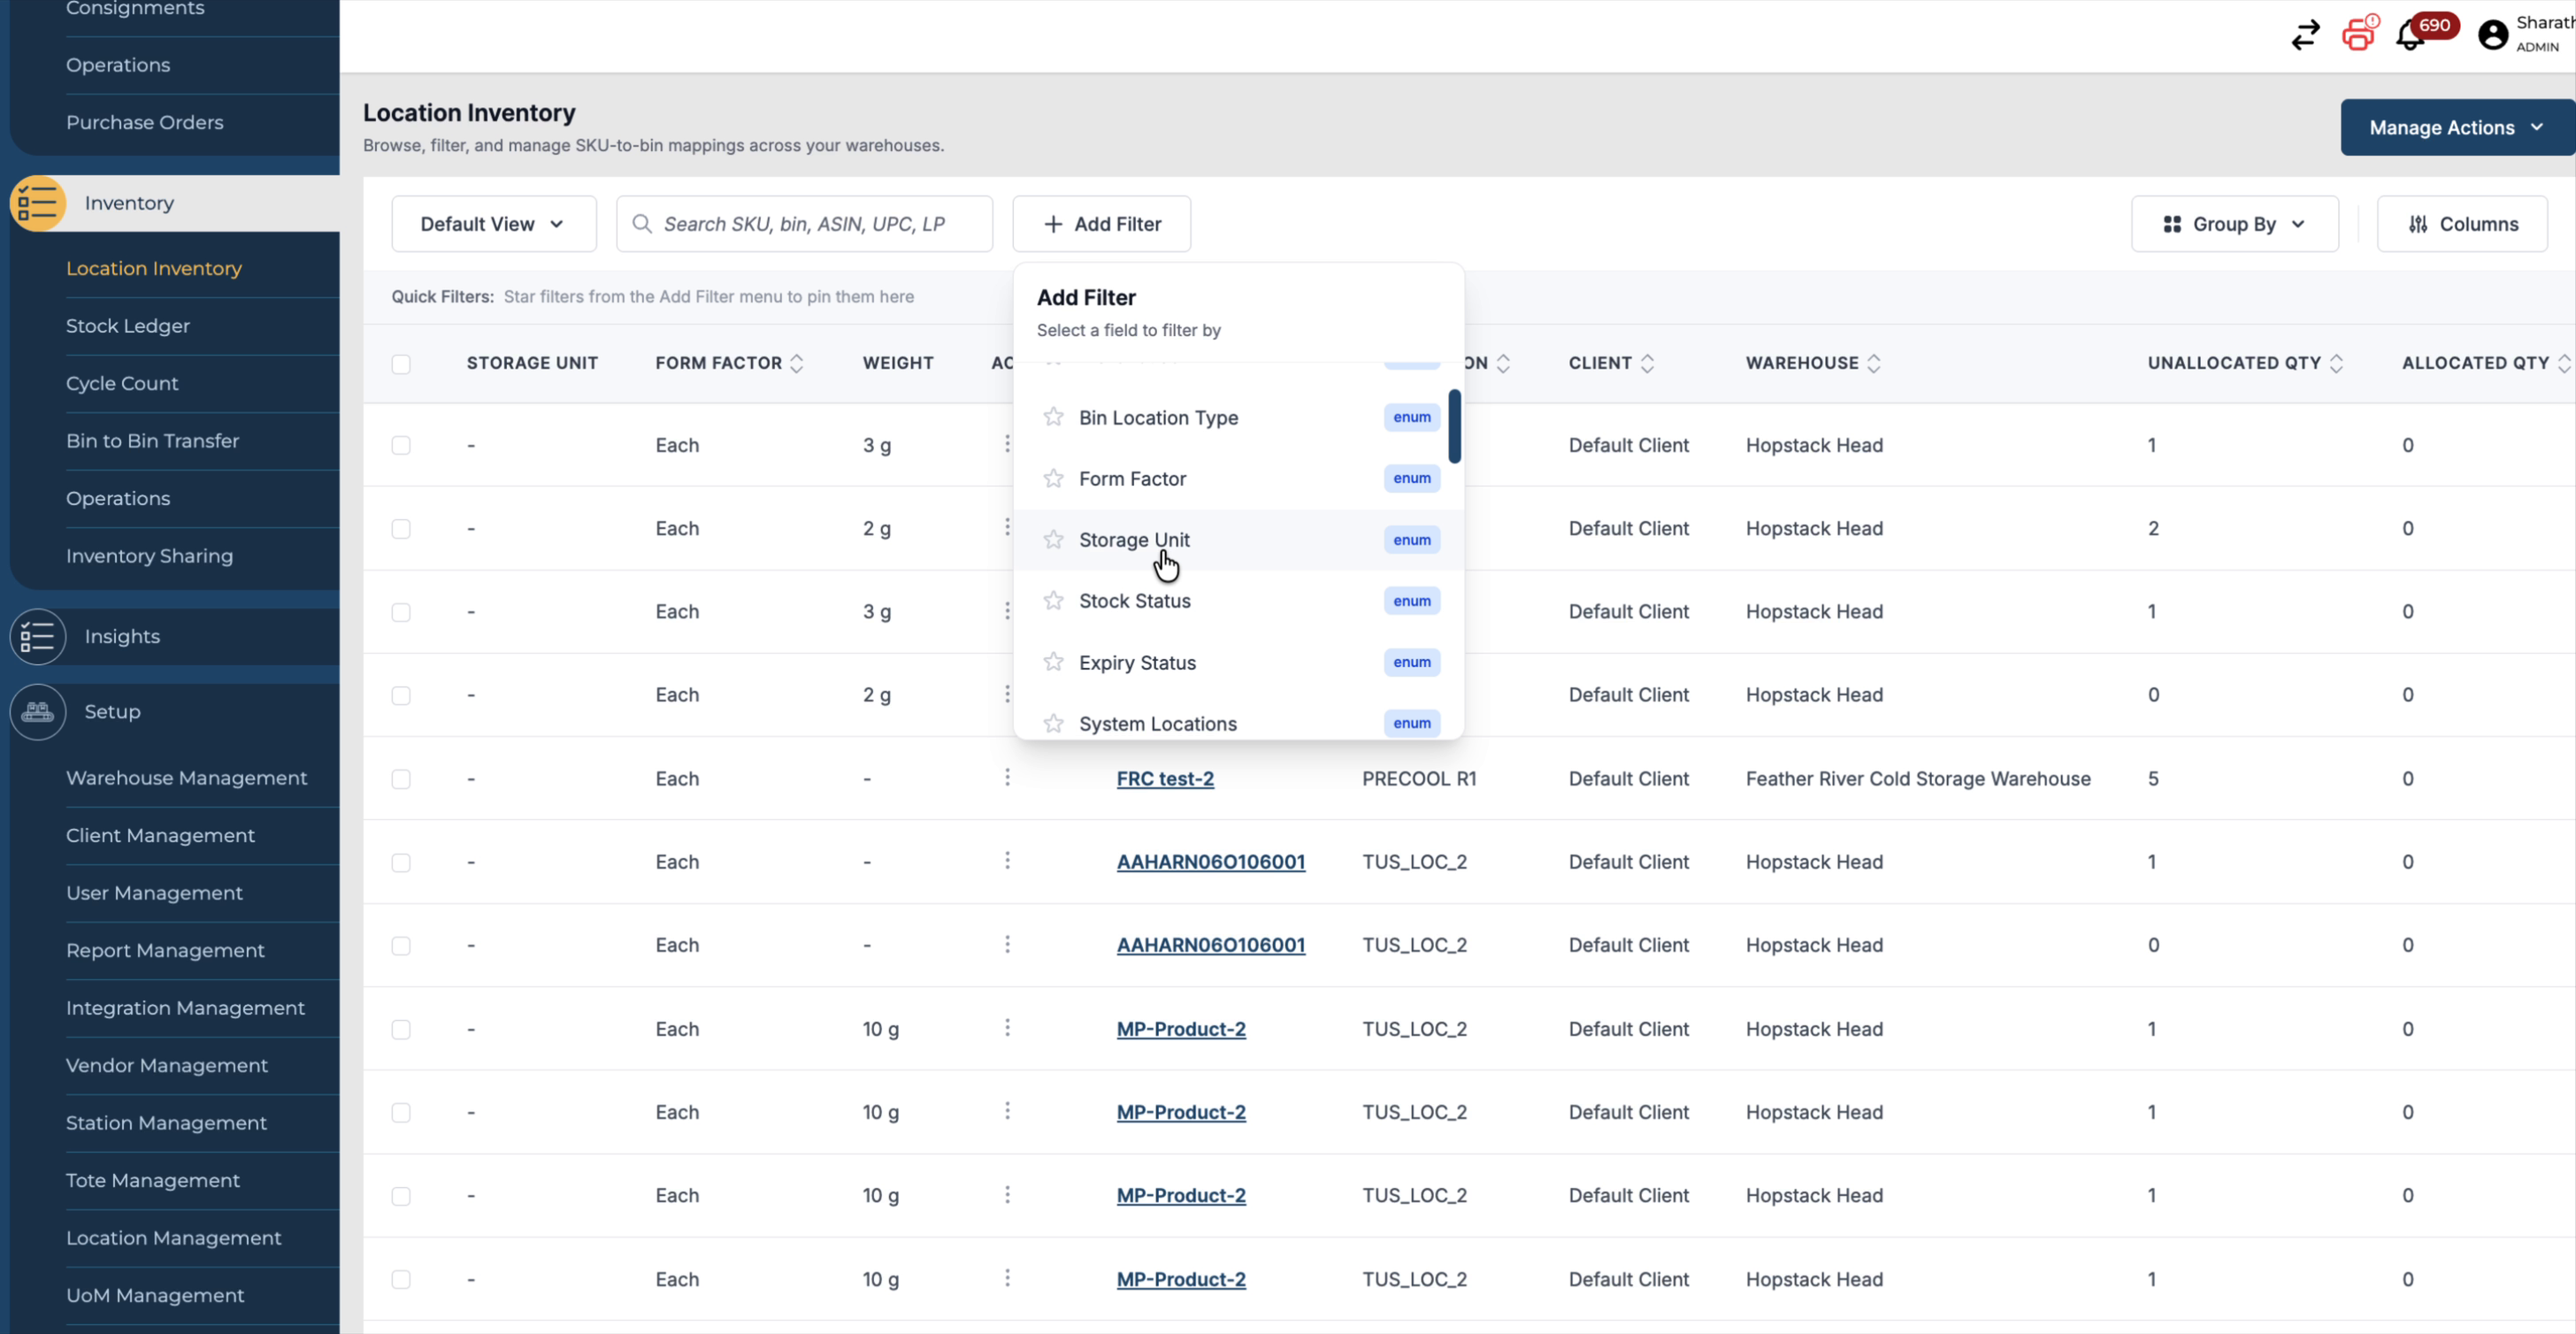
On the Location Inventory screen, use the filter panel to narrow down the data:
-
Apply the Stock Status filter to show only:
-
Has products,
-
Empty locations.
-
-
Use the System Location filter if you want to include only system-defined locations in your results.

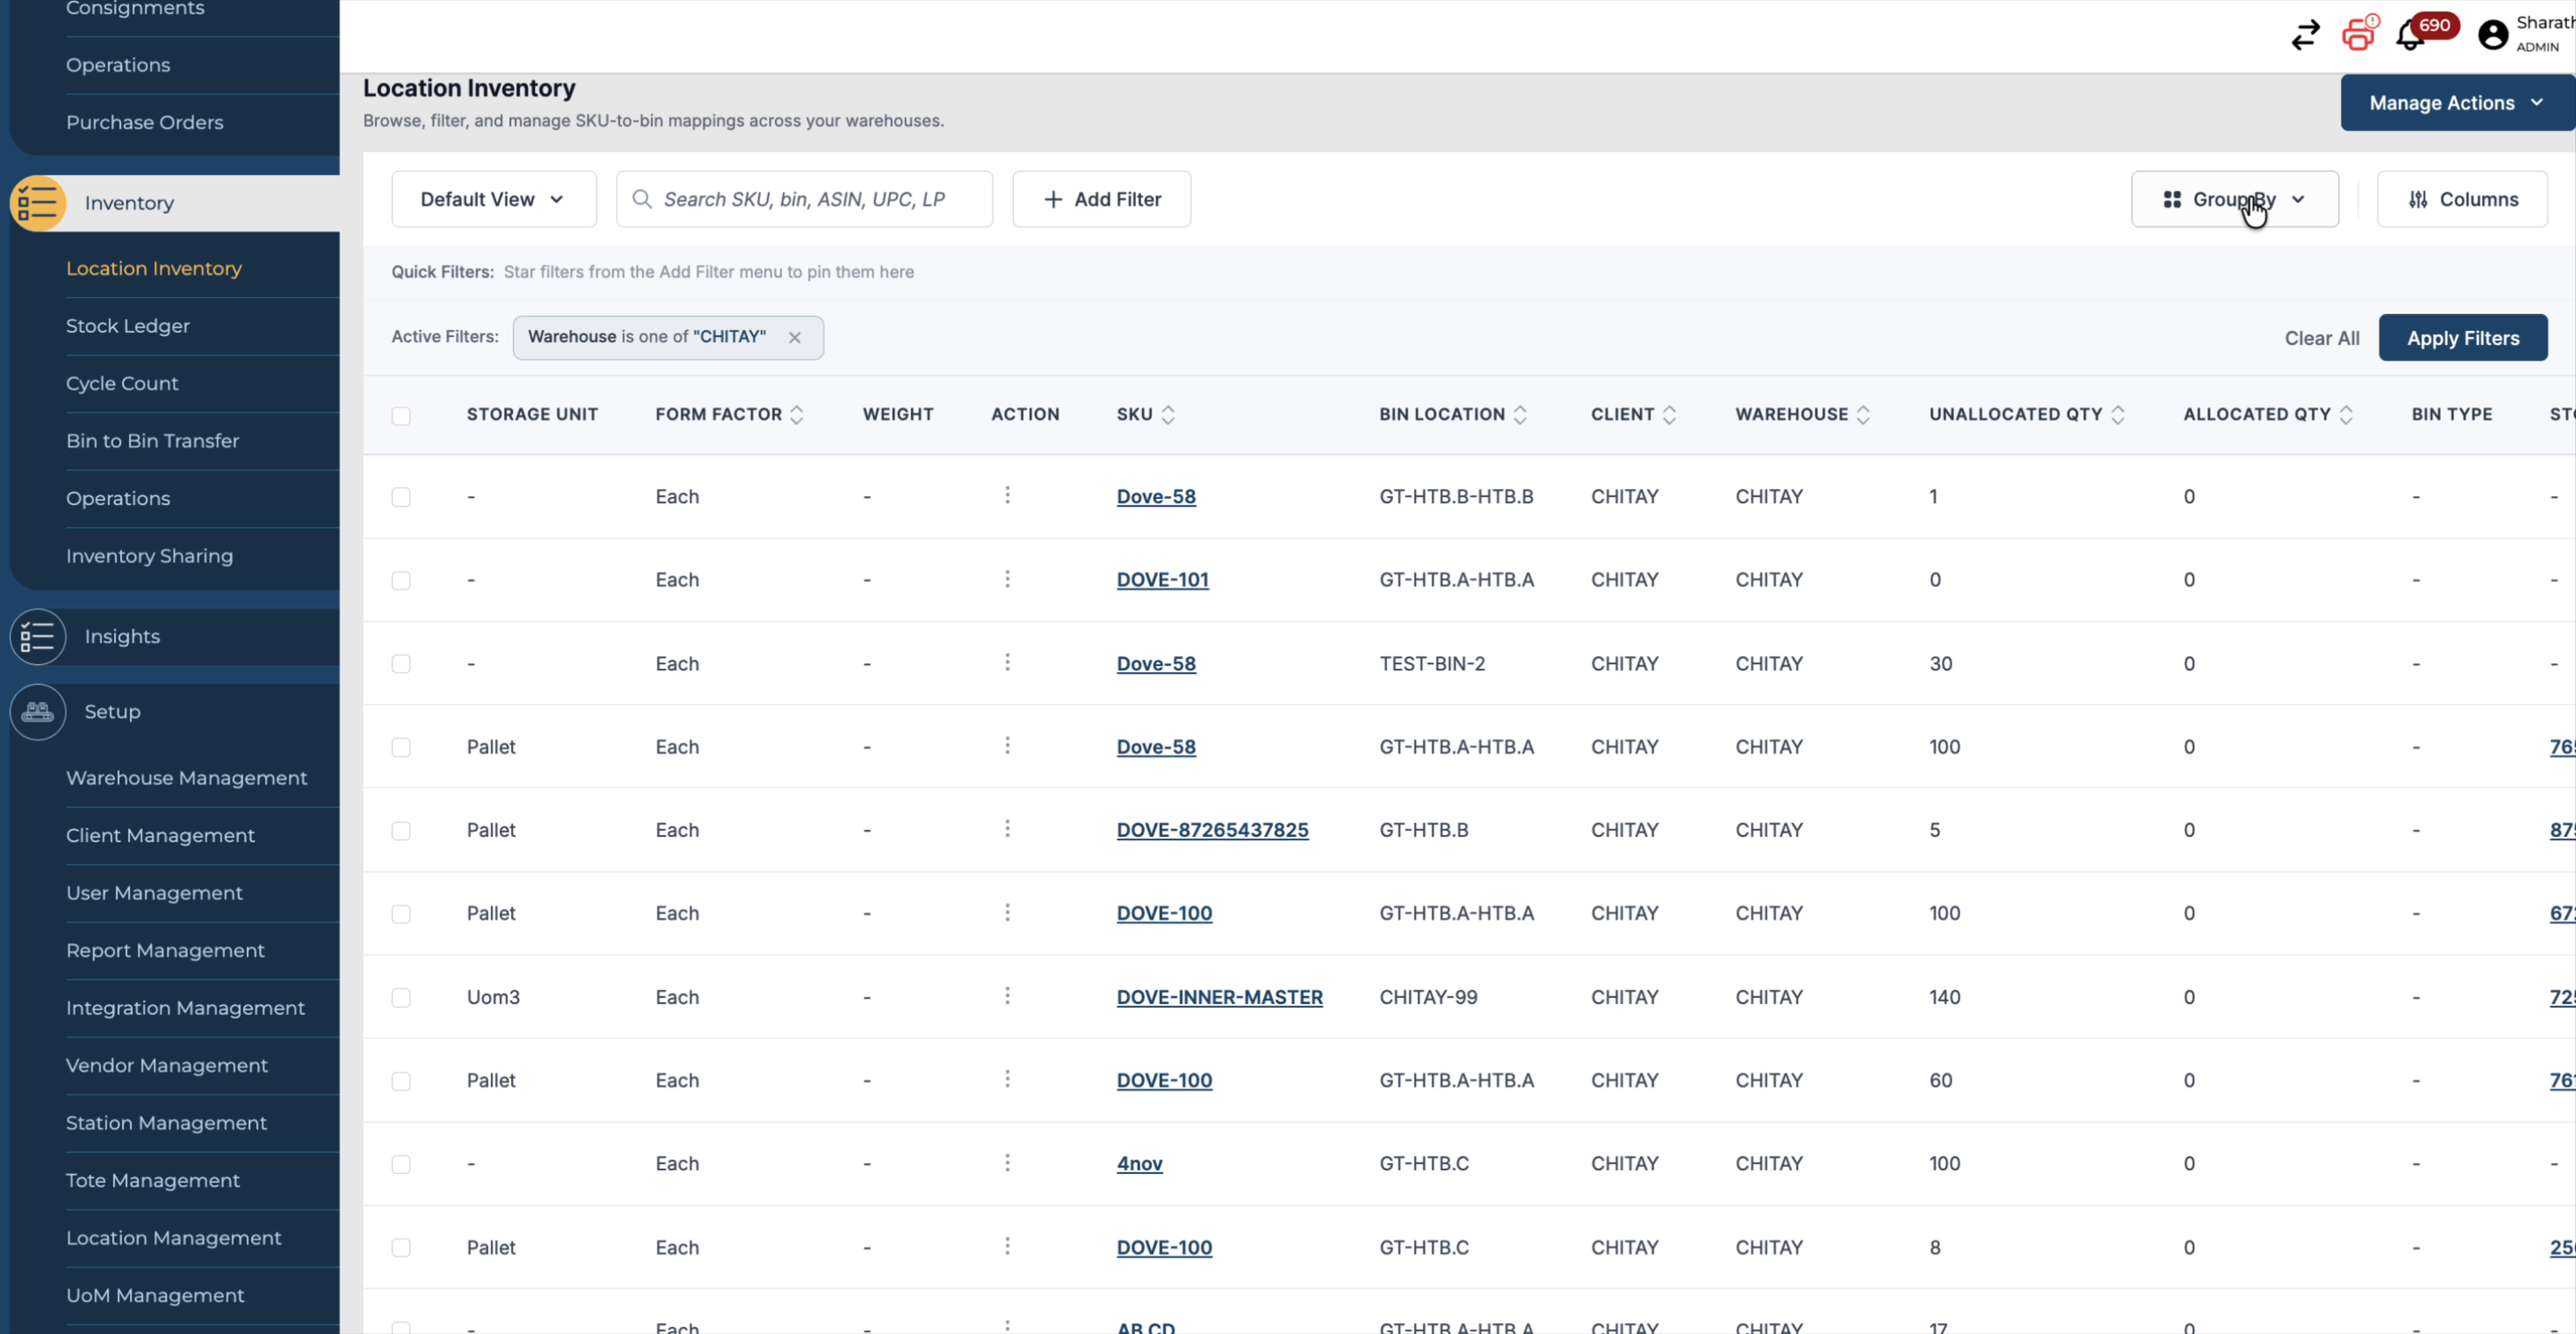
Step 3: Apply Additional Filters (Warehouse, Client, Expiry, and More)
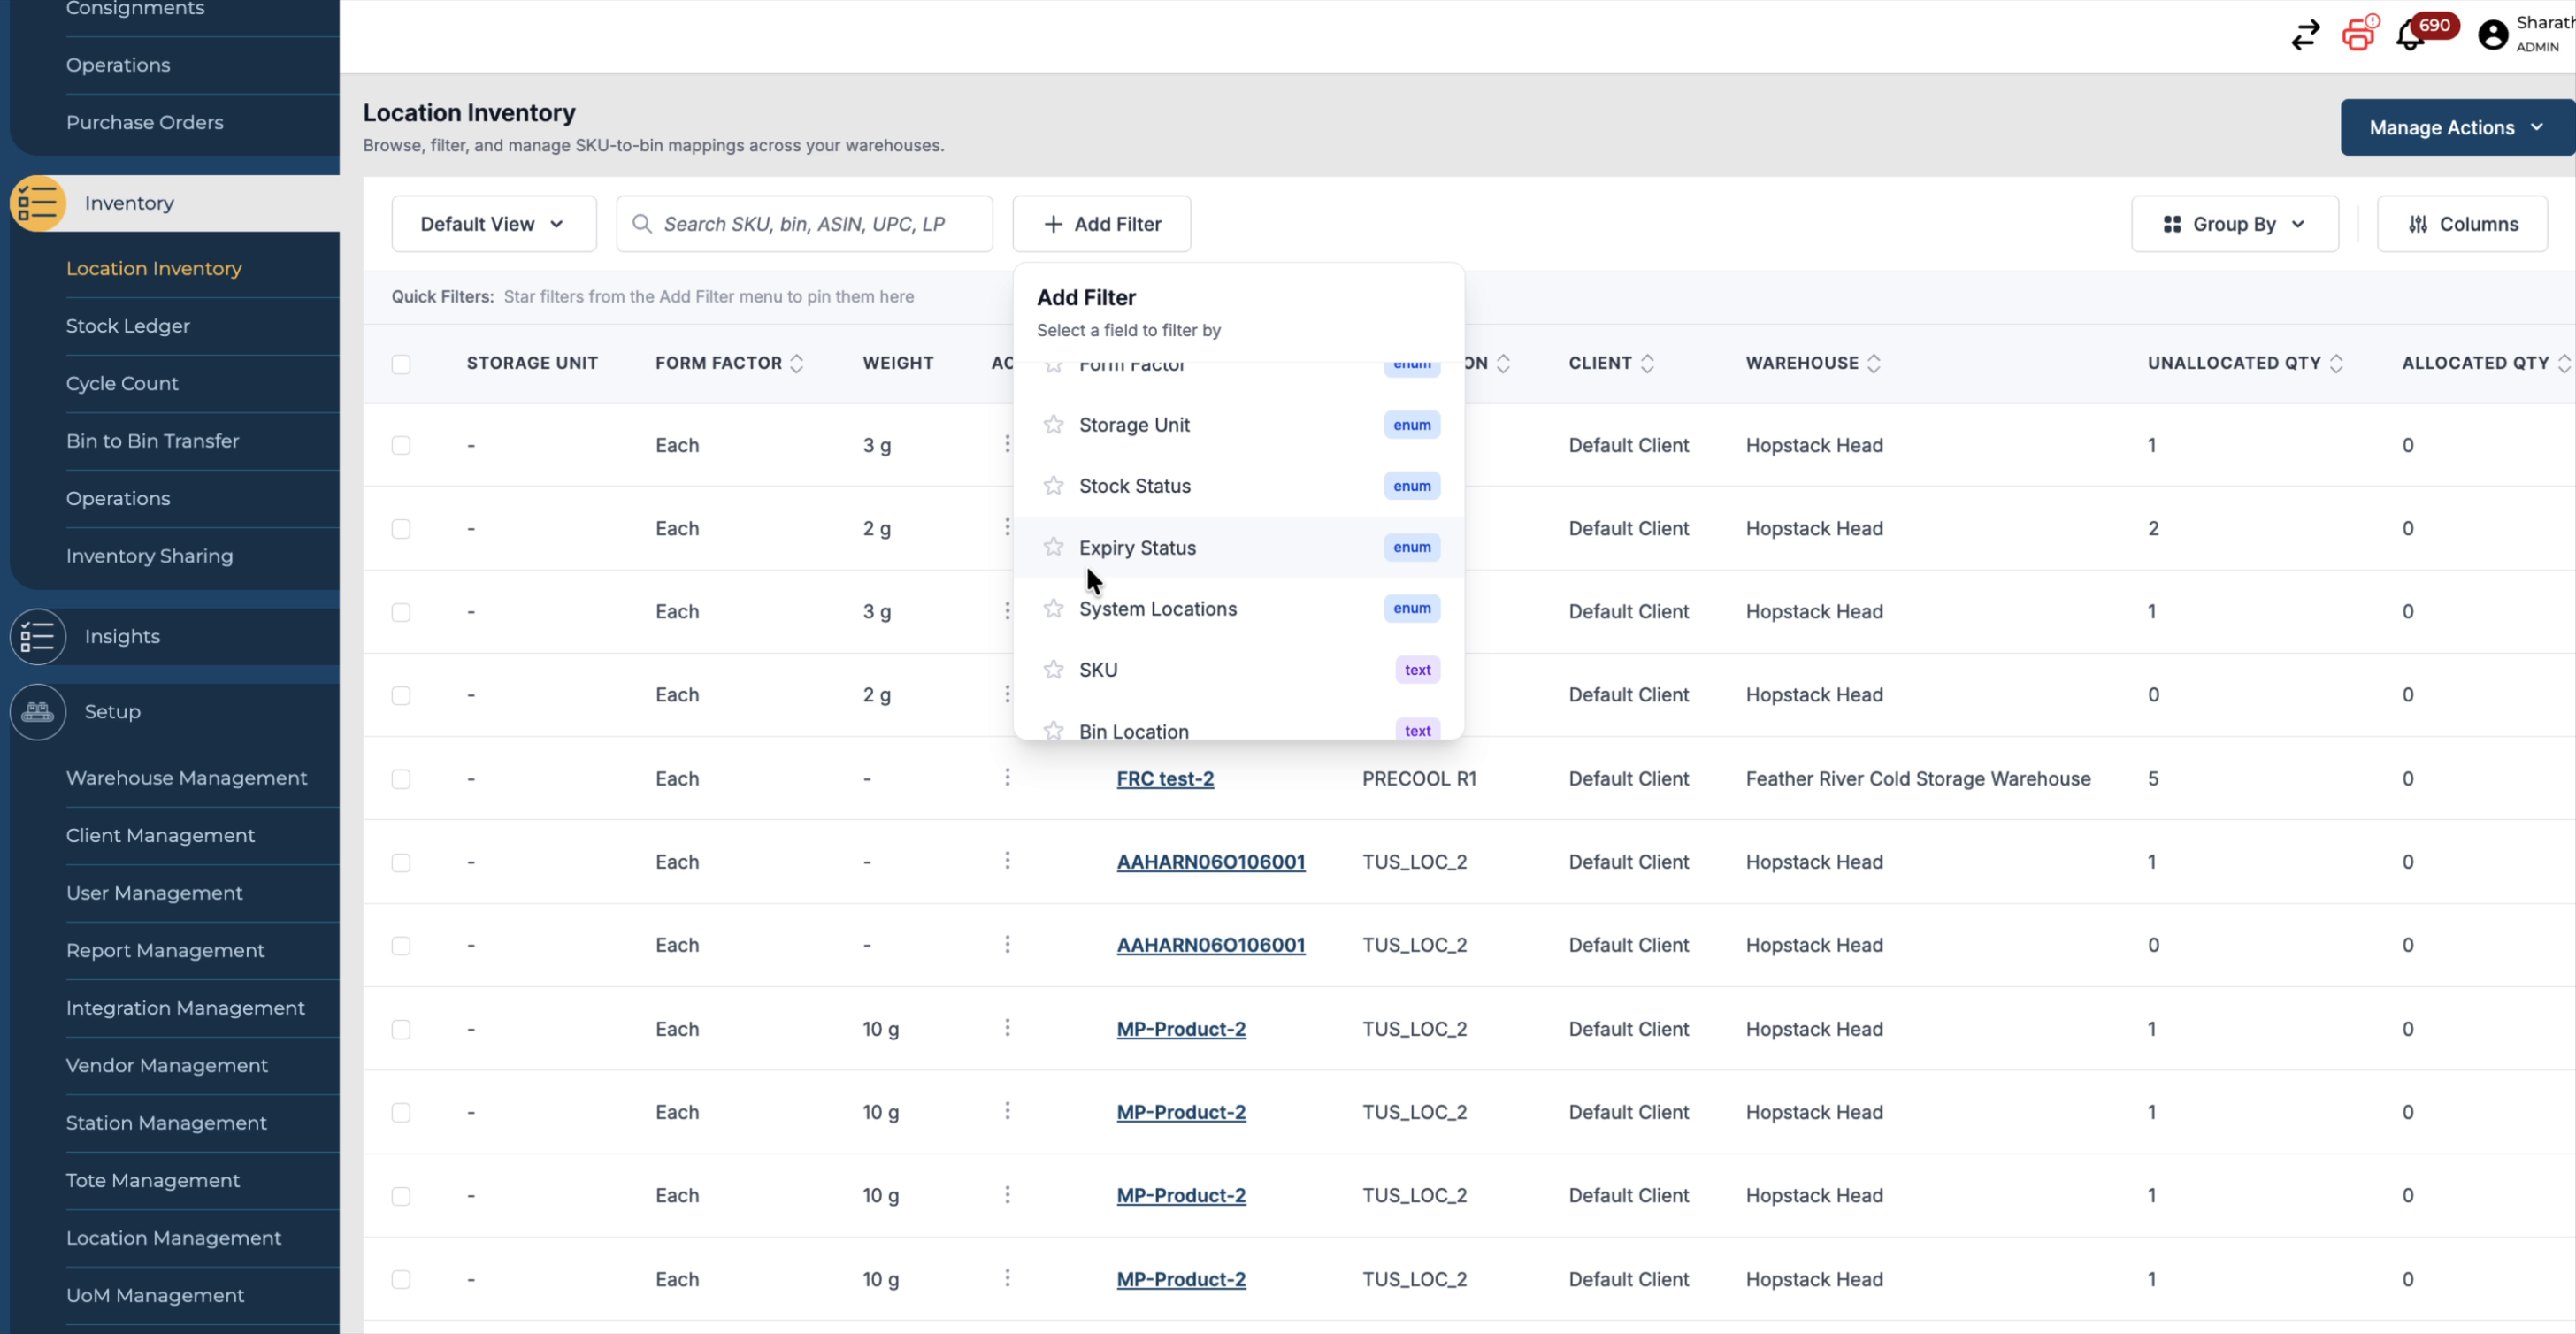
Further refine your inventory view using the additional filters available:
-
Warehouse
-
Client
-
Bin Location
-
Form Factor
-
Storage Unit
-
Expiry Status – filter for expired or non-expired products as needed.
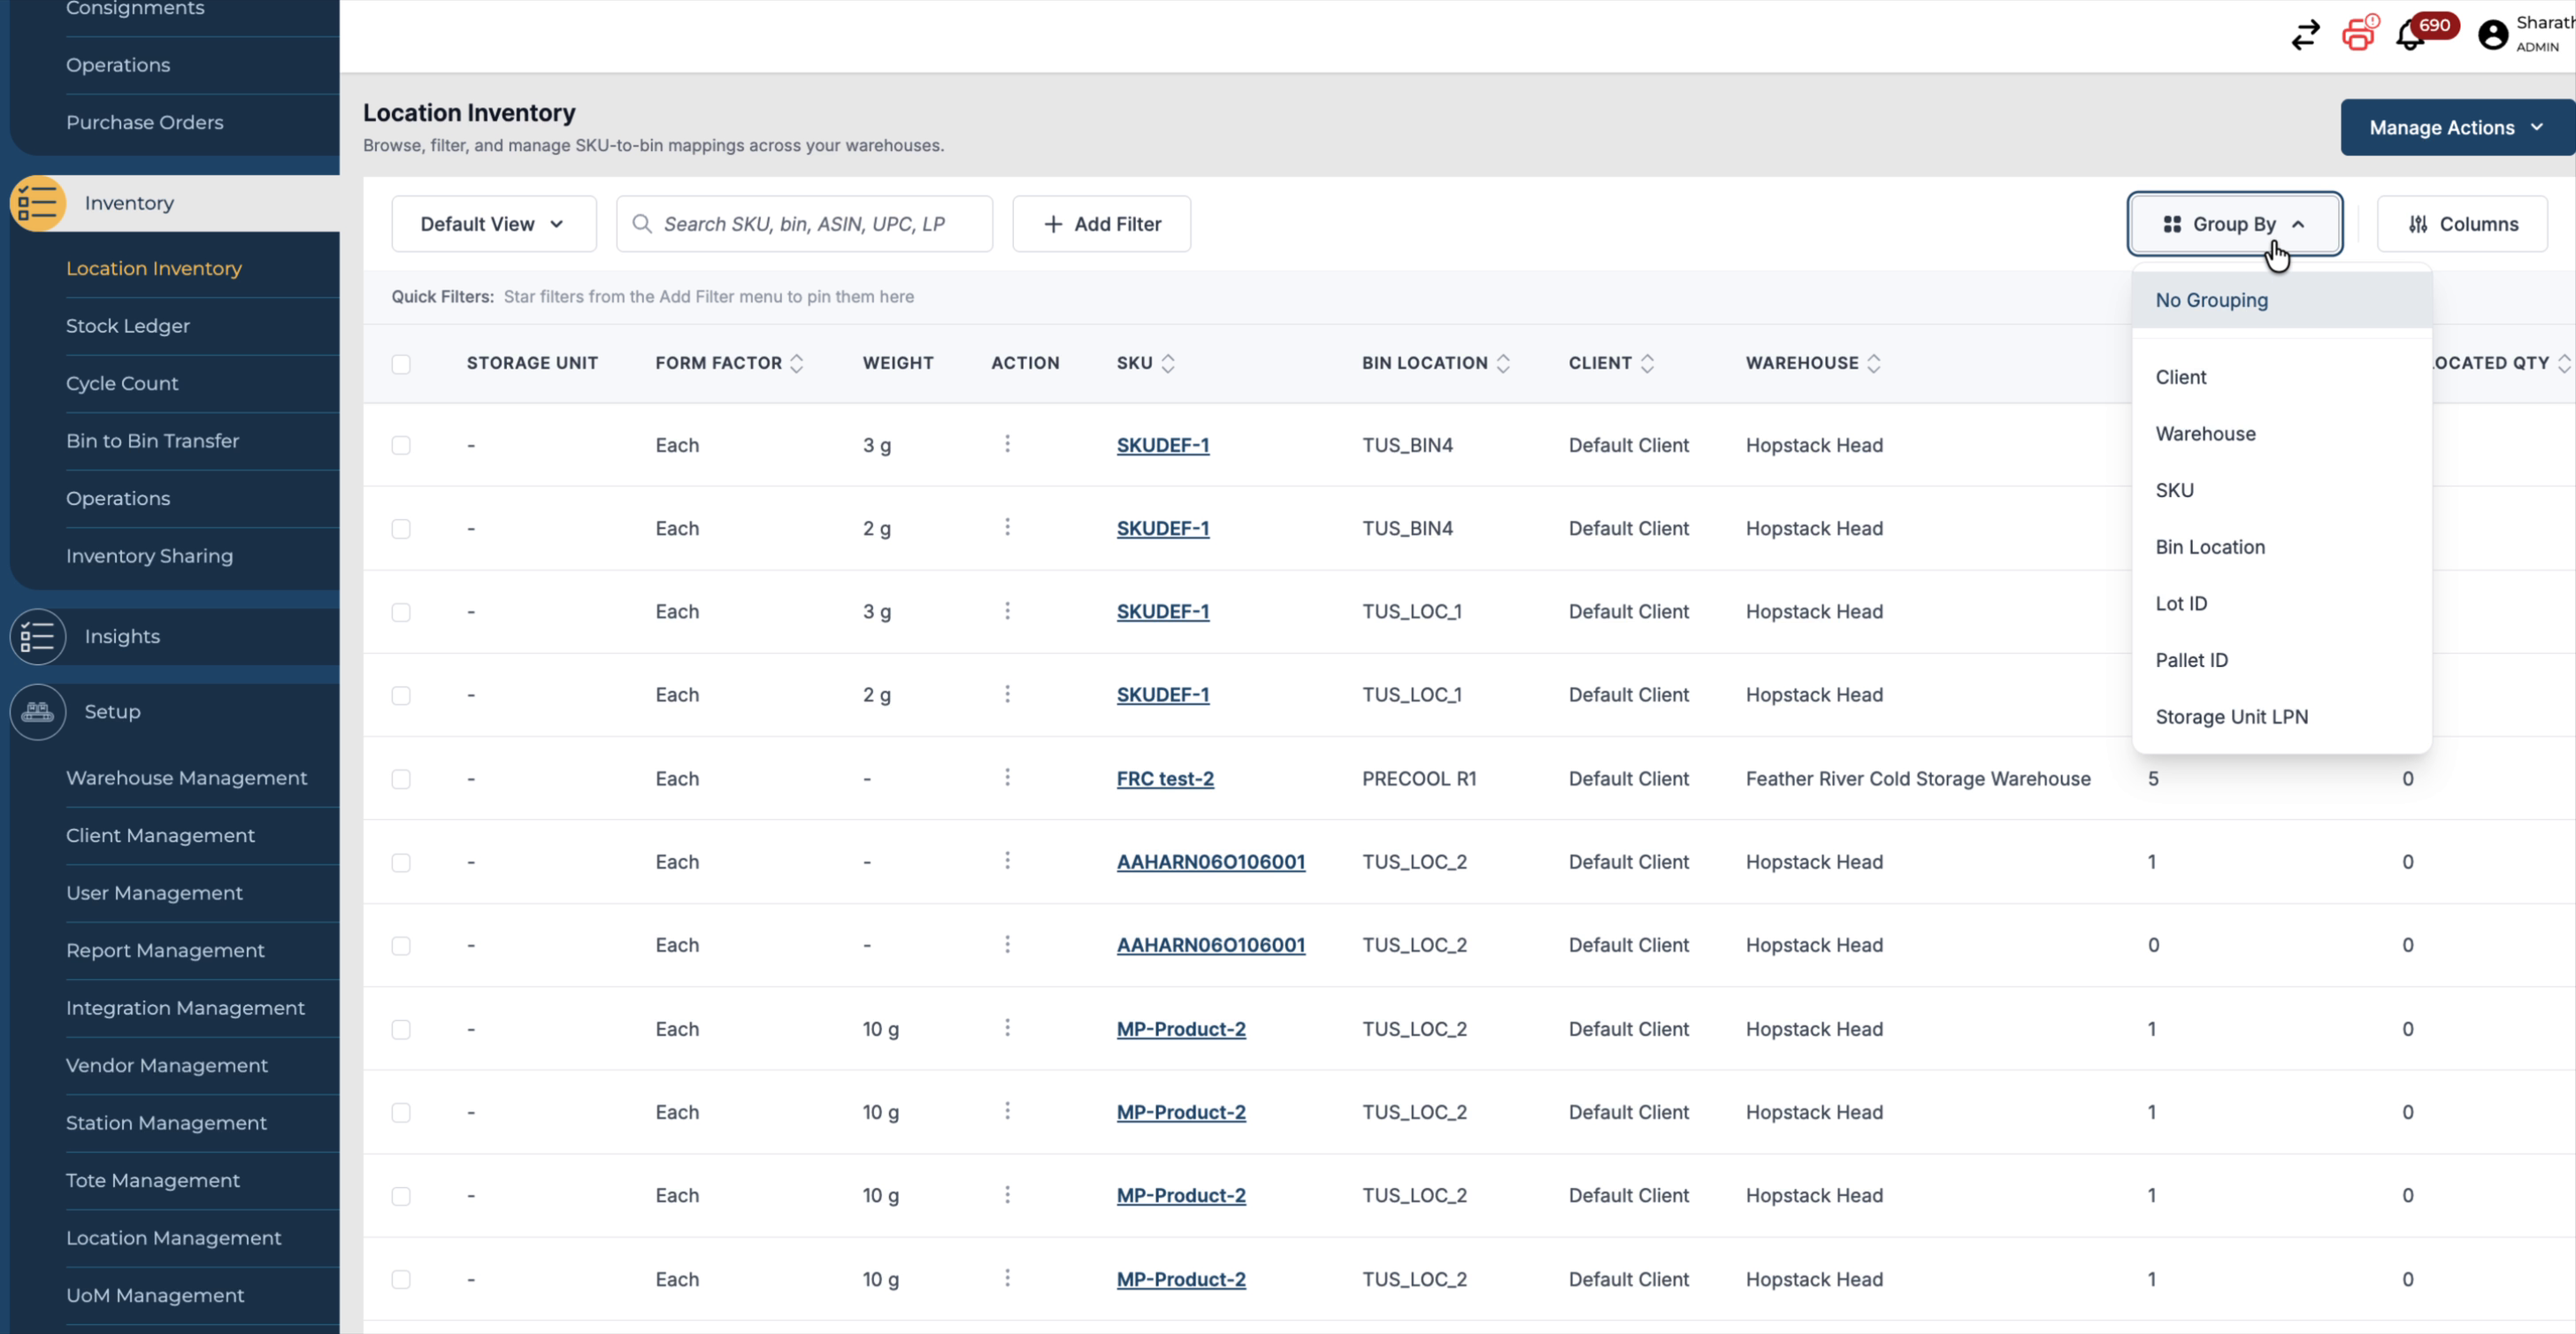
Step 4: Group Inventory Snapshots
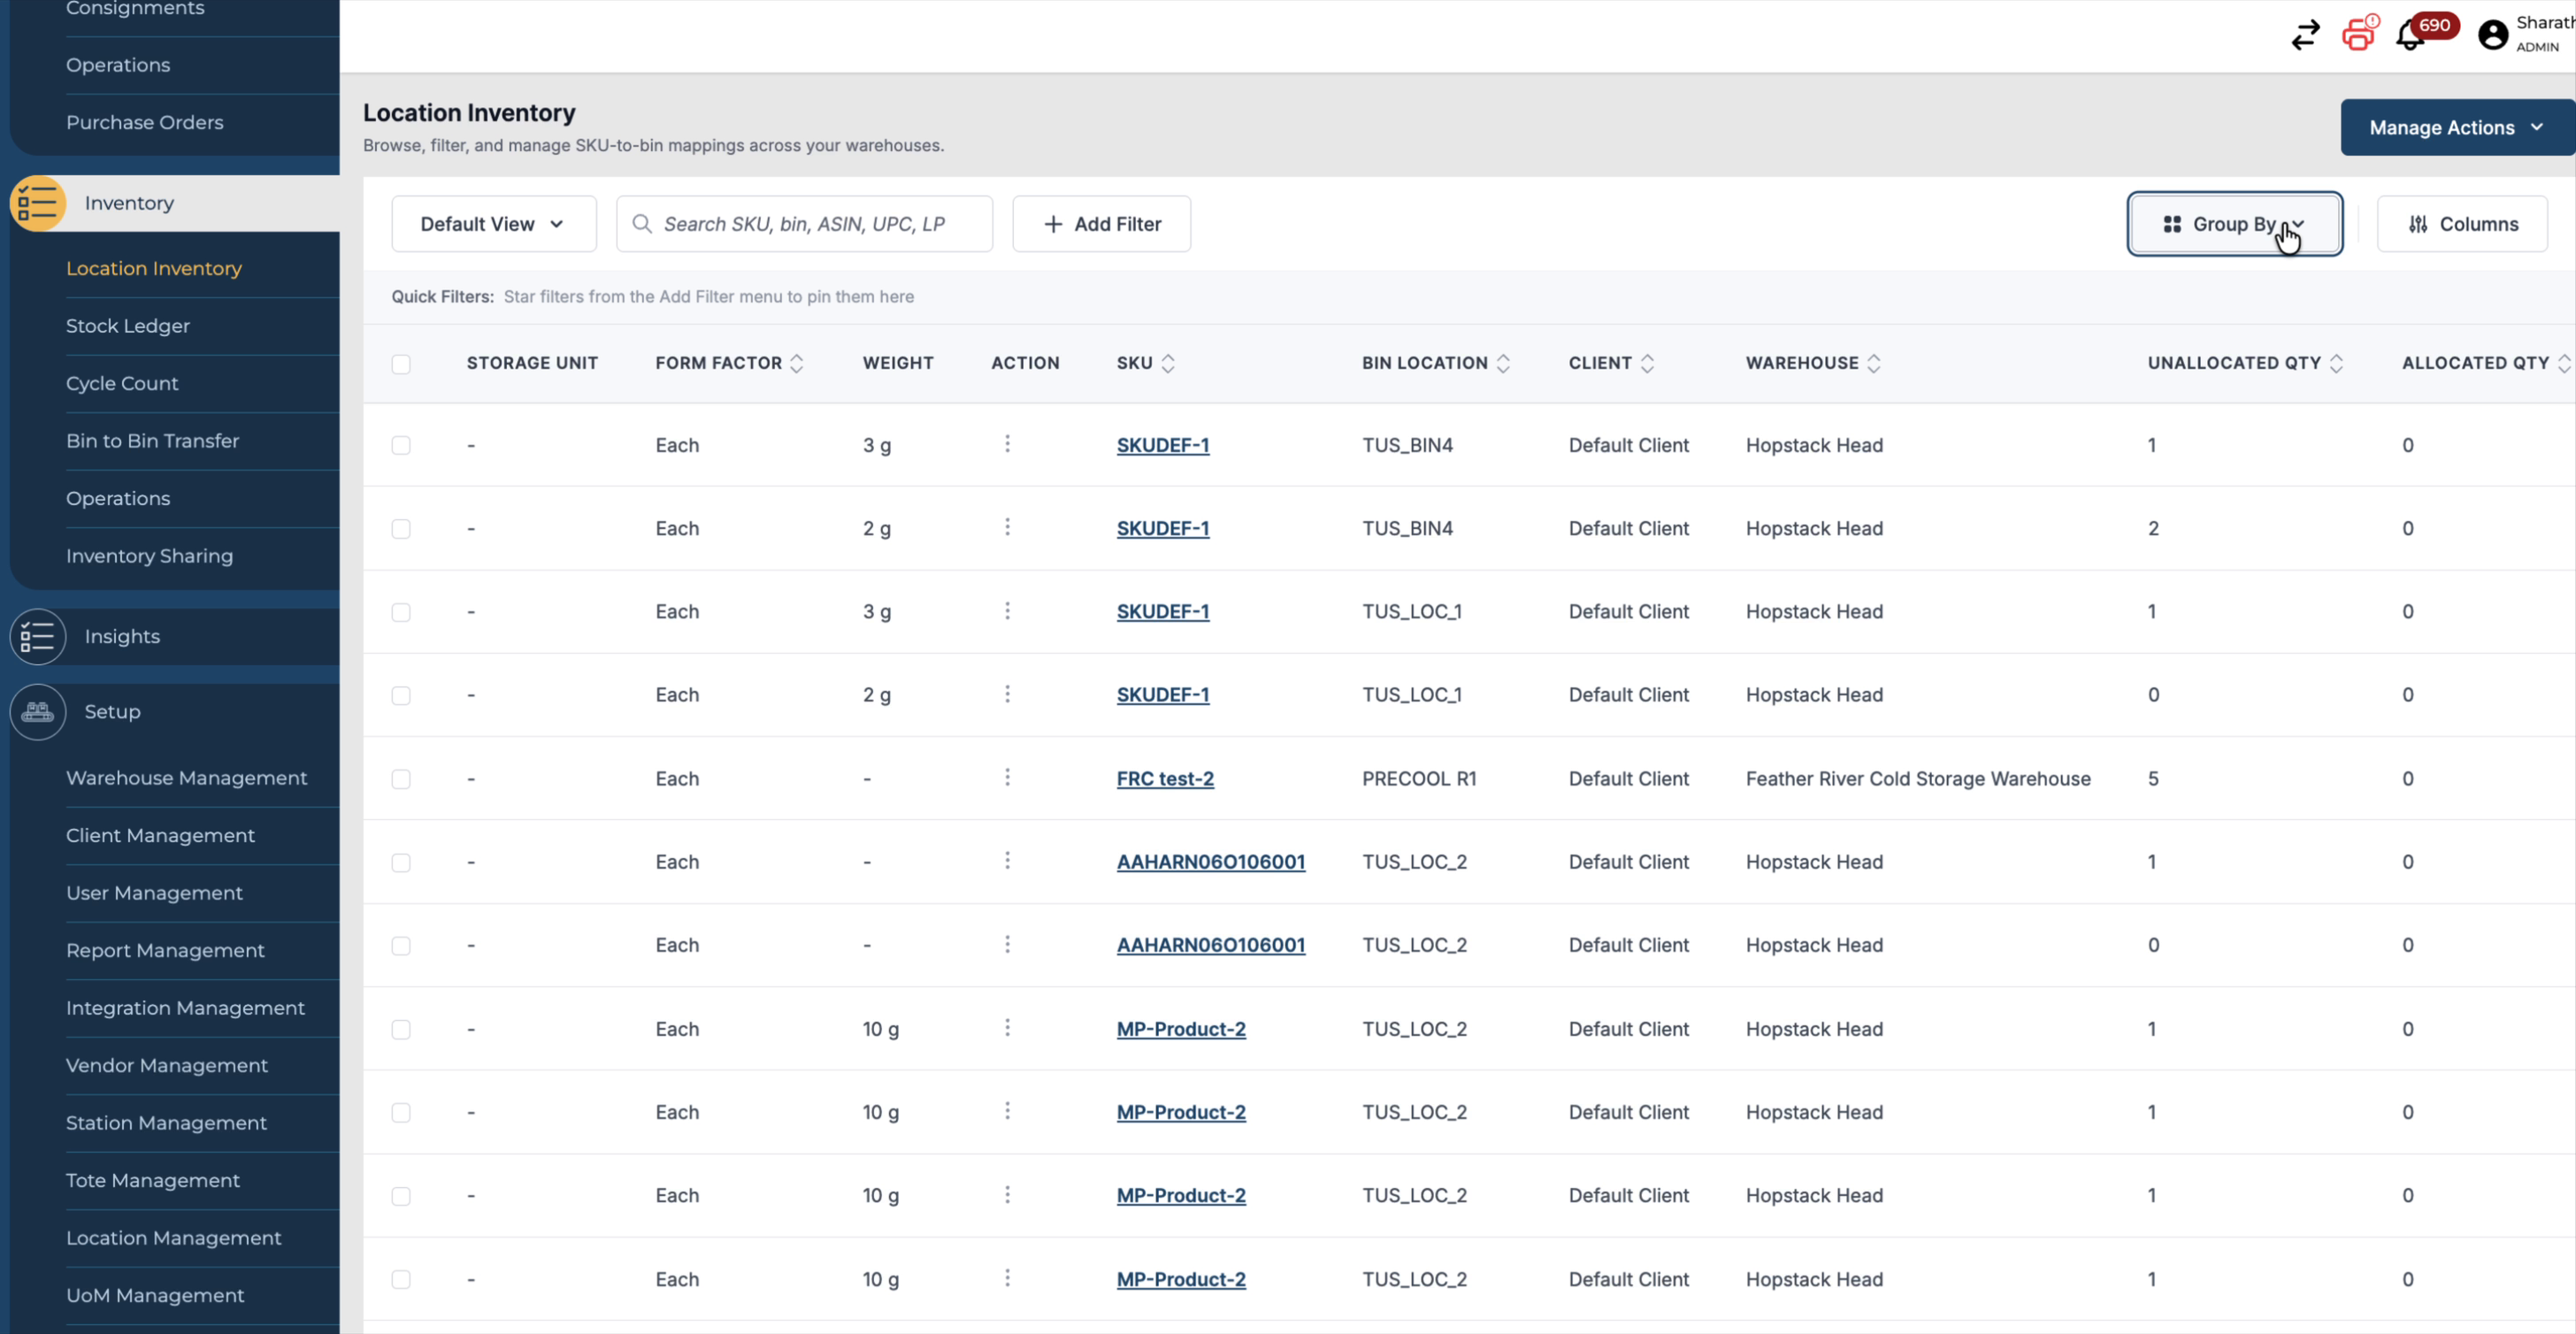
Use the Group By functionality to summarise and analyse inventory:
-
Open the Group By options in Location Inventory.
-
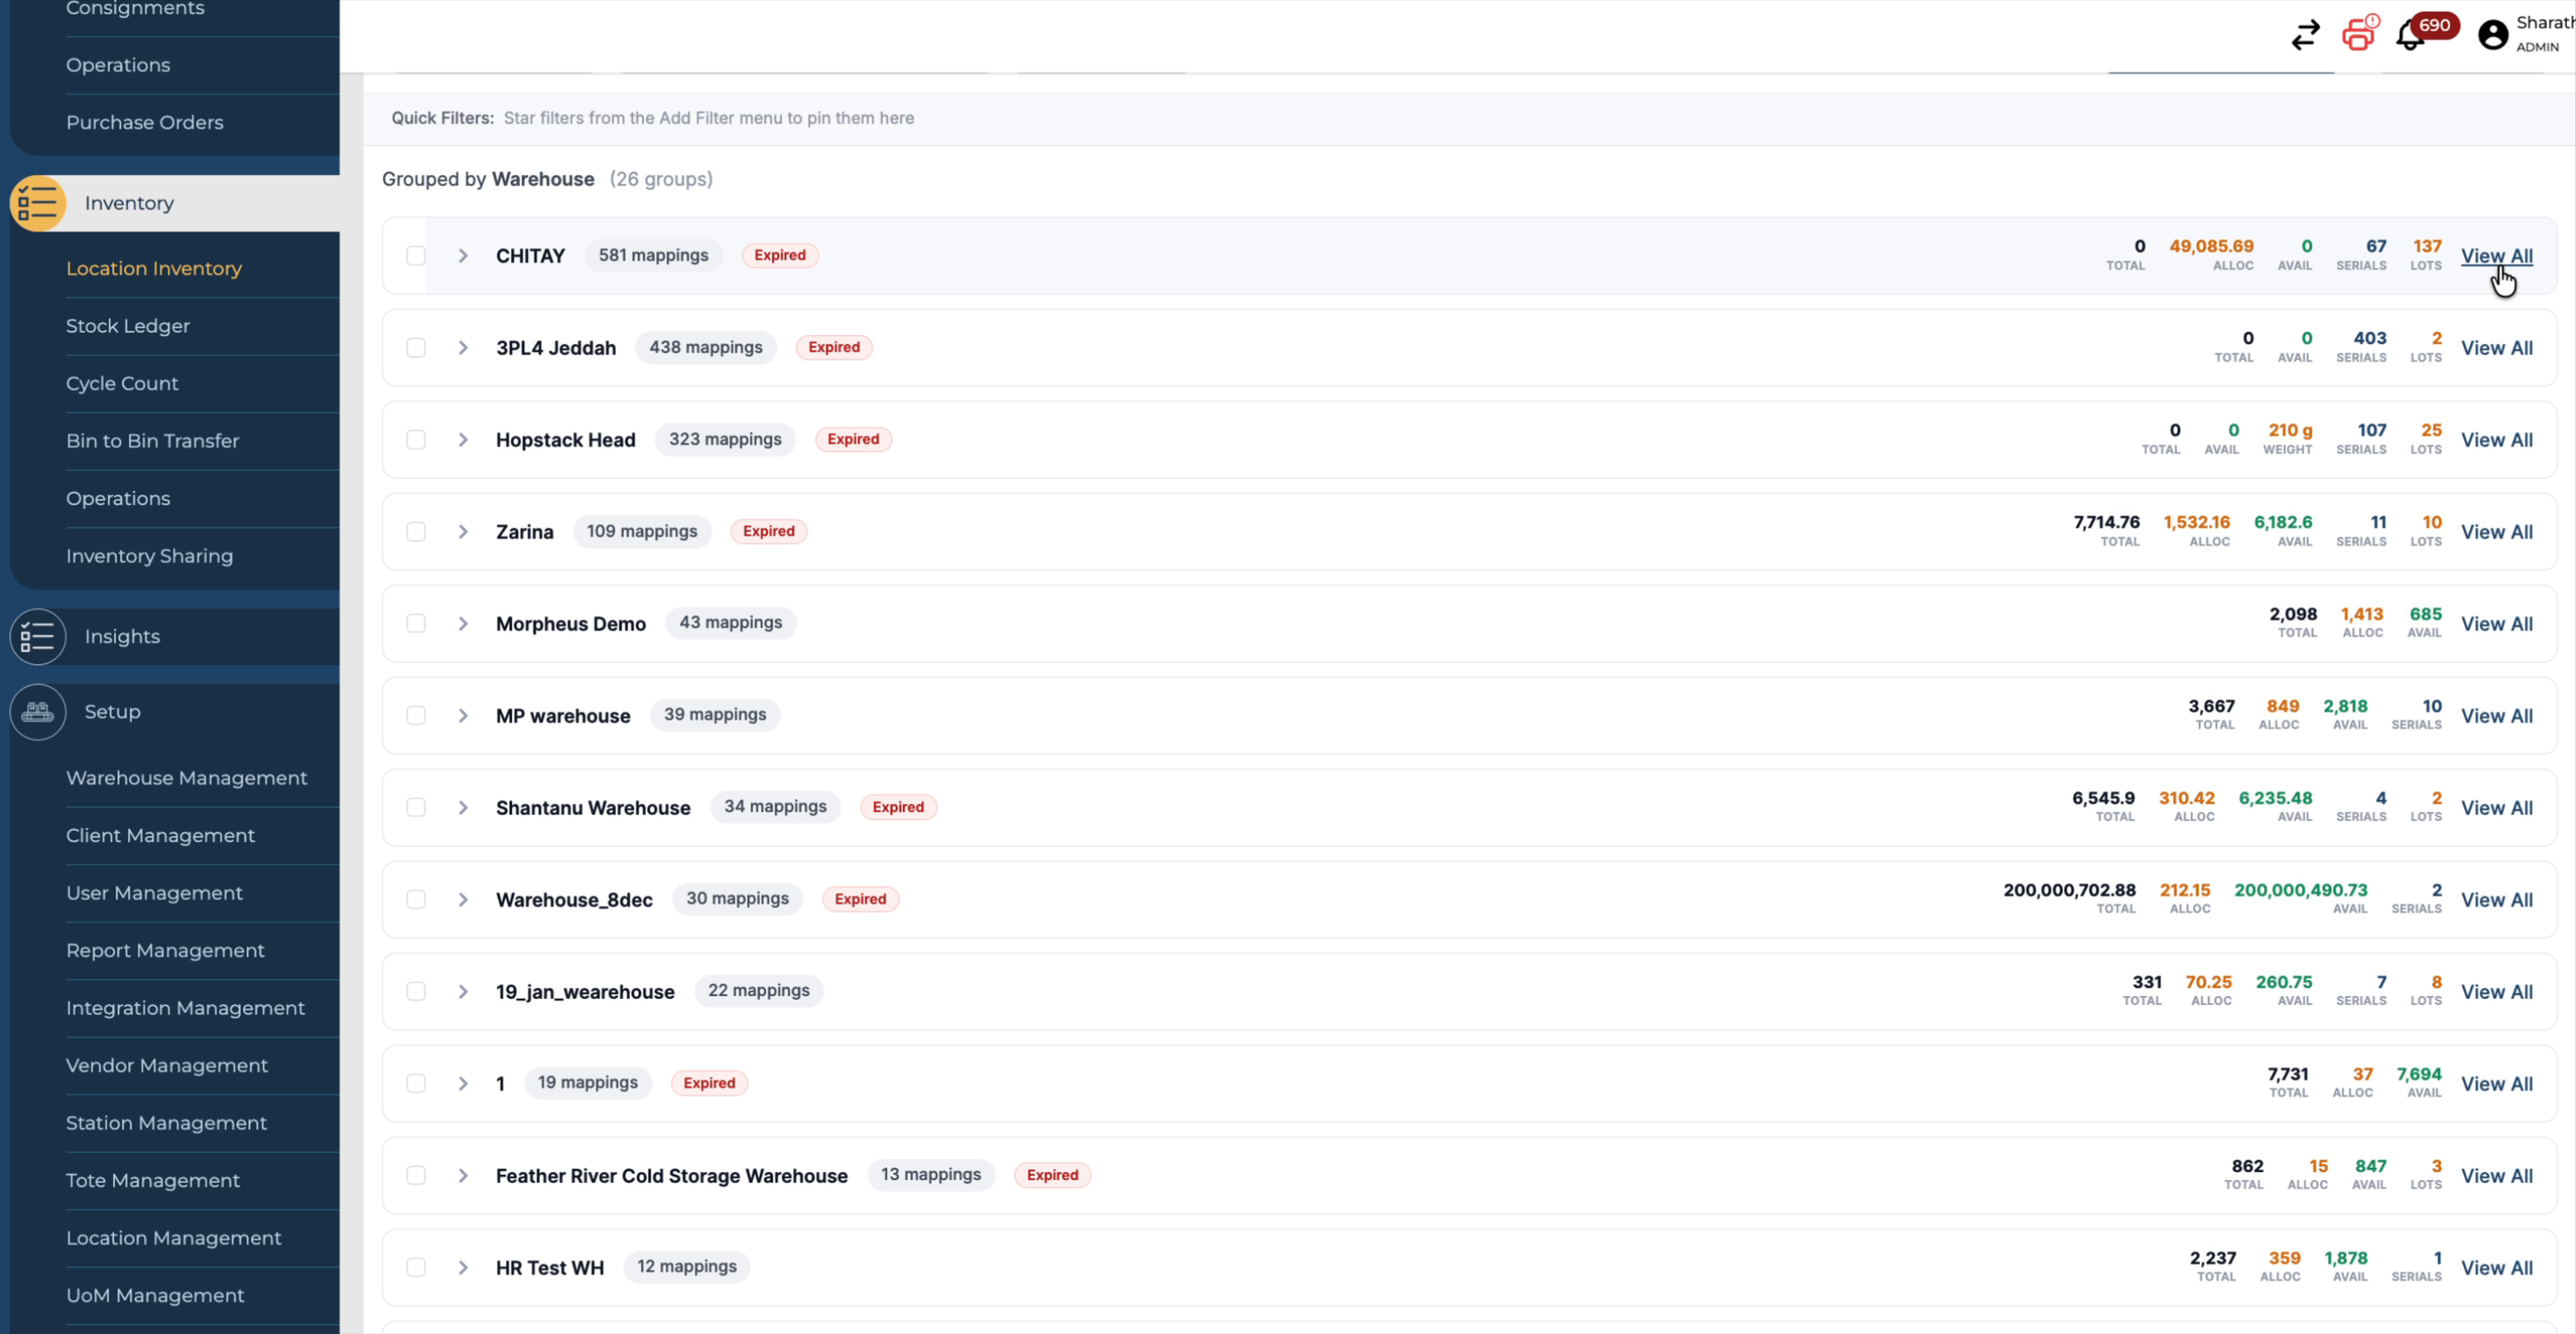
Choose Warehouse to group inventory by warehouse and see an inventory snapshot for each one.
In this grouped view, you can see details such as allocated quantity, serial numbers, and weight for each warehouse. To focus on a specific warehouse, click View All for that warehouse to see only that warehouse’s inventory snapshot.
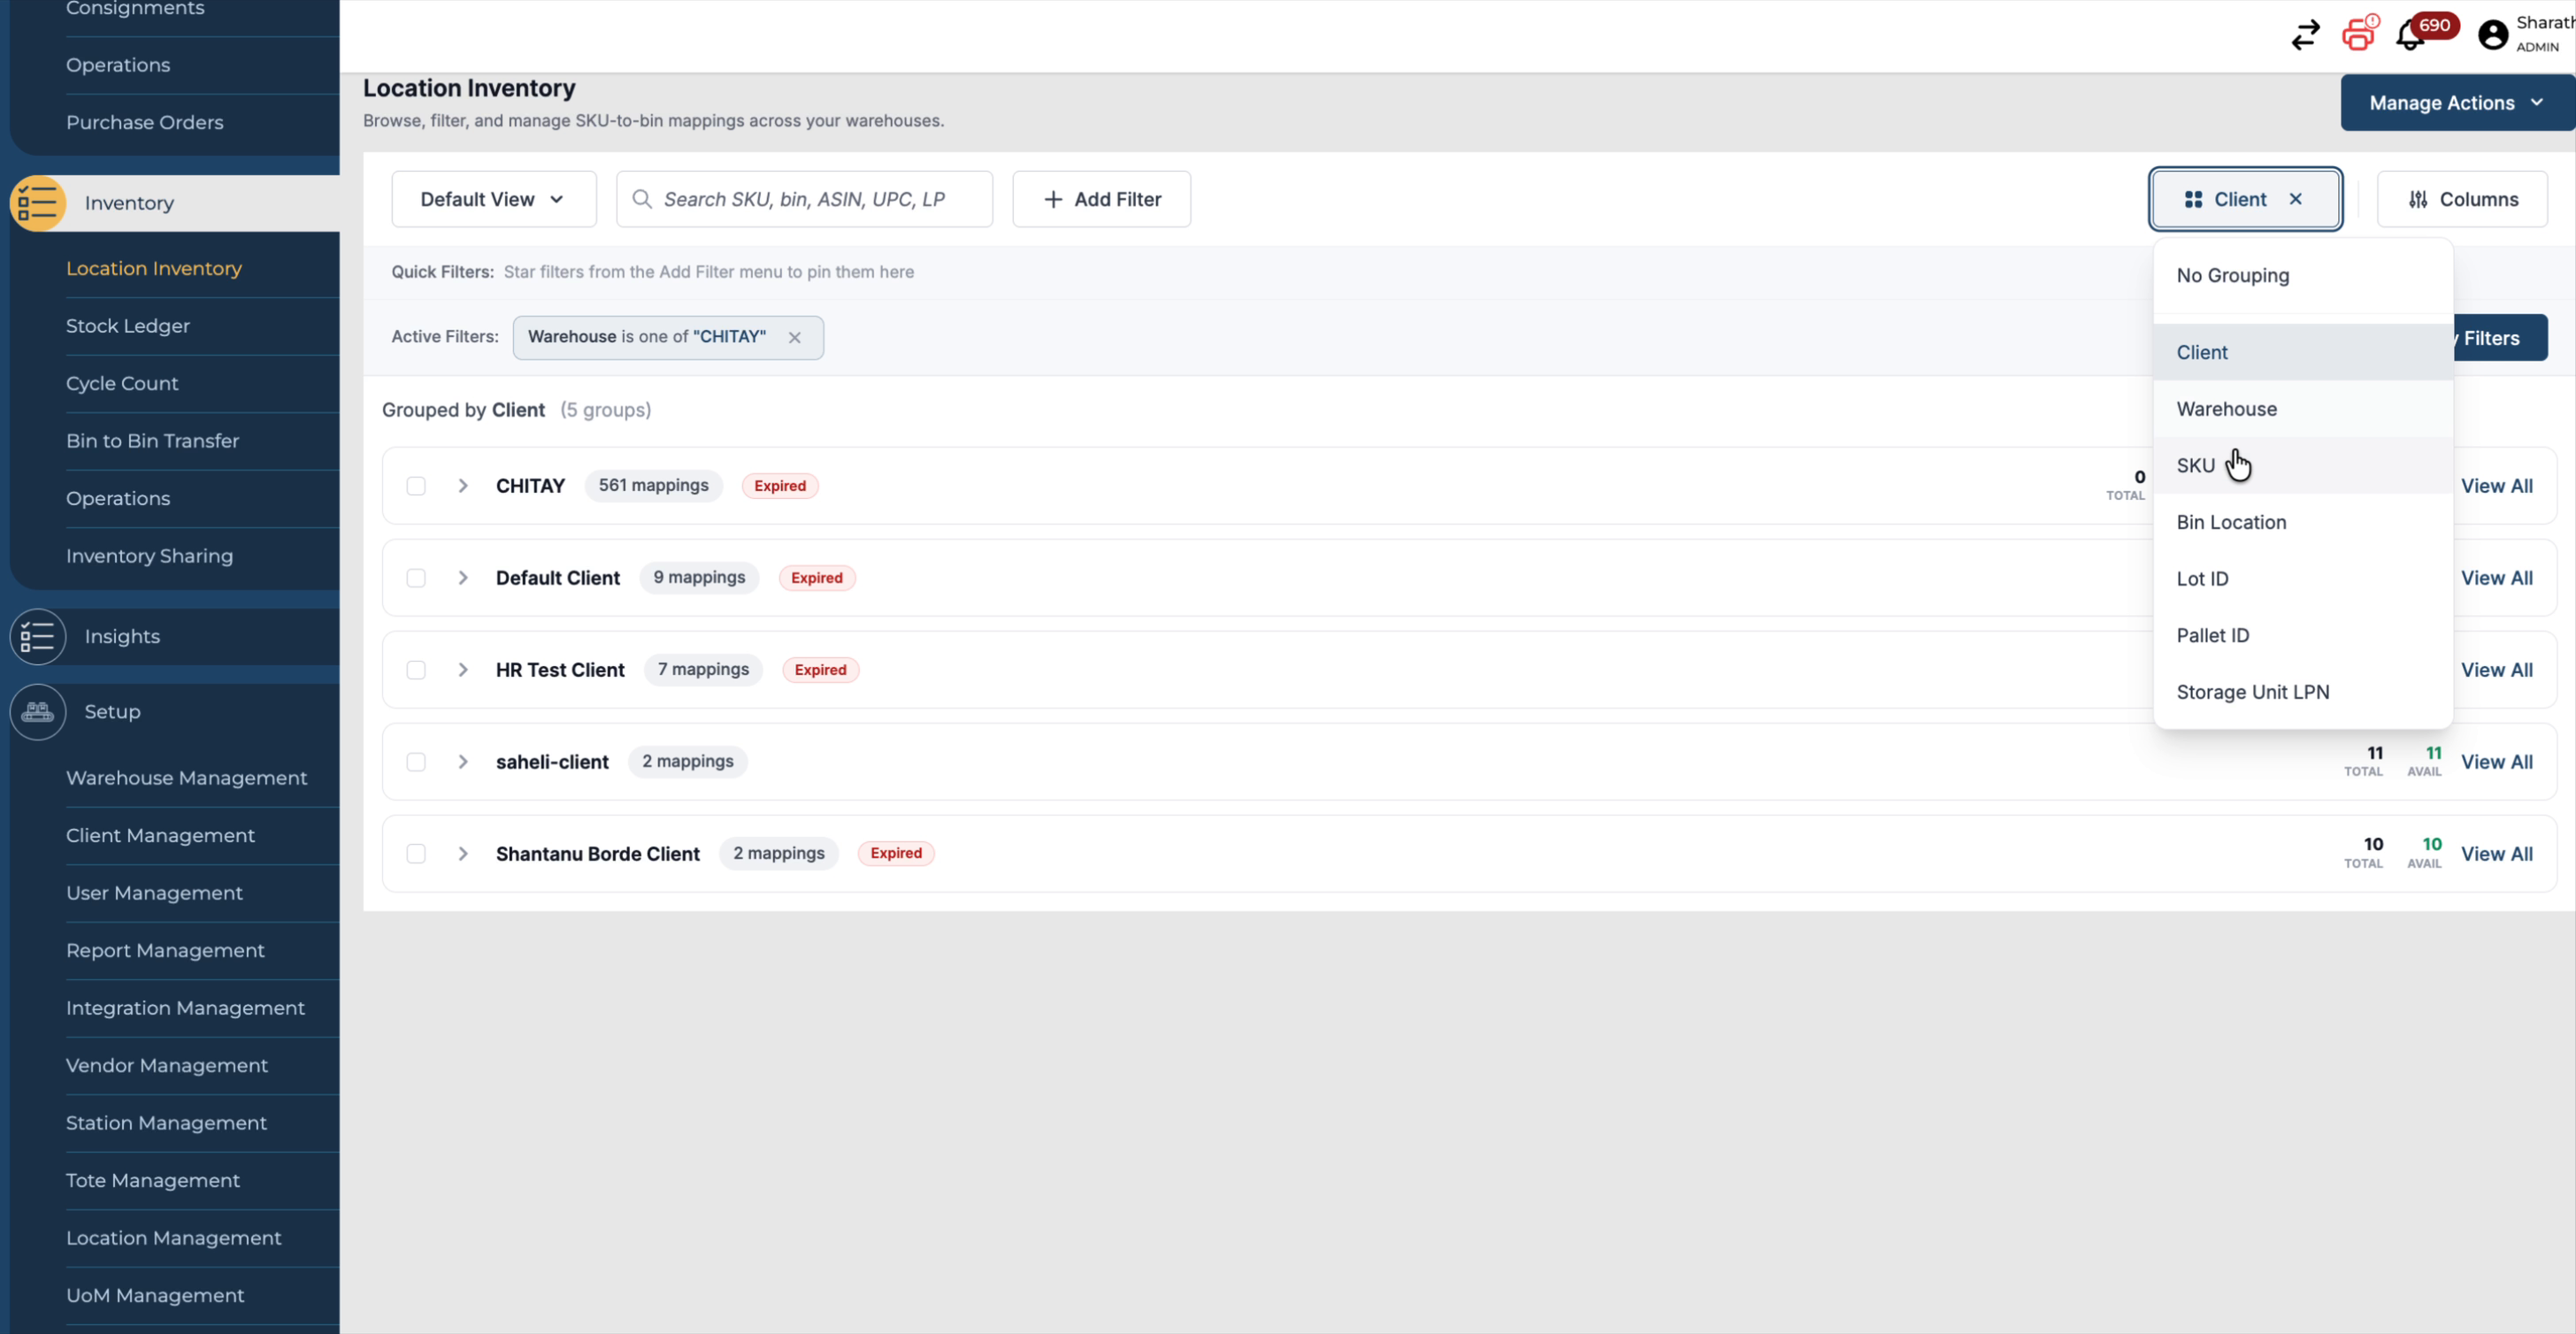
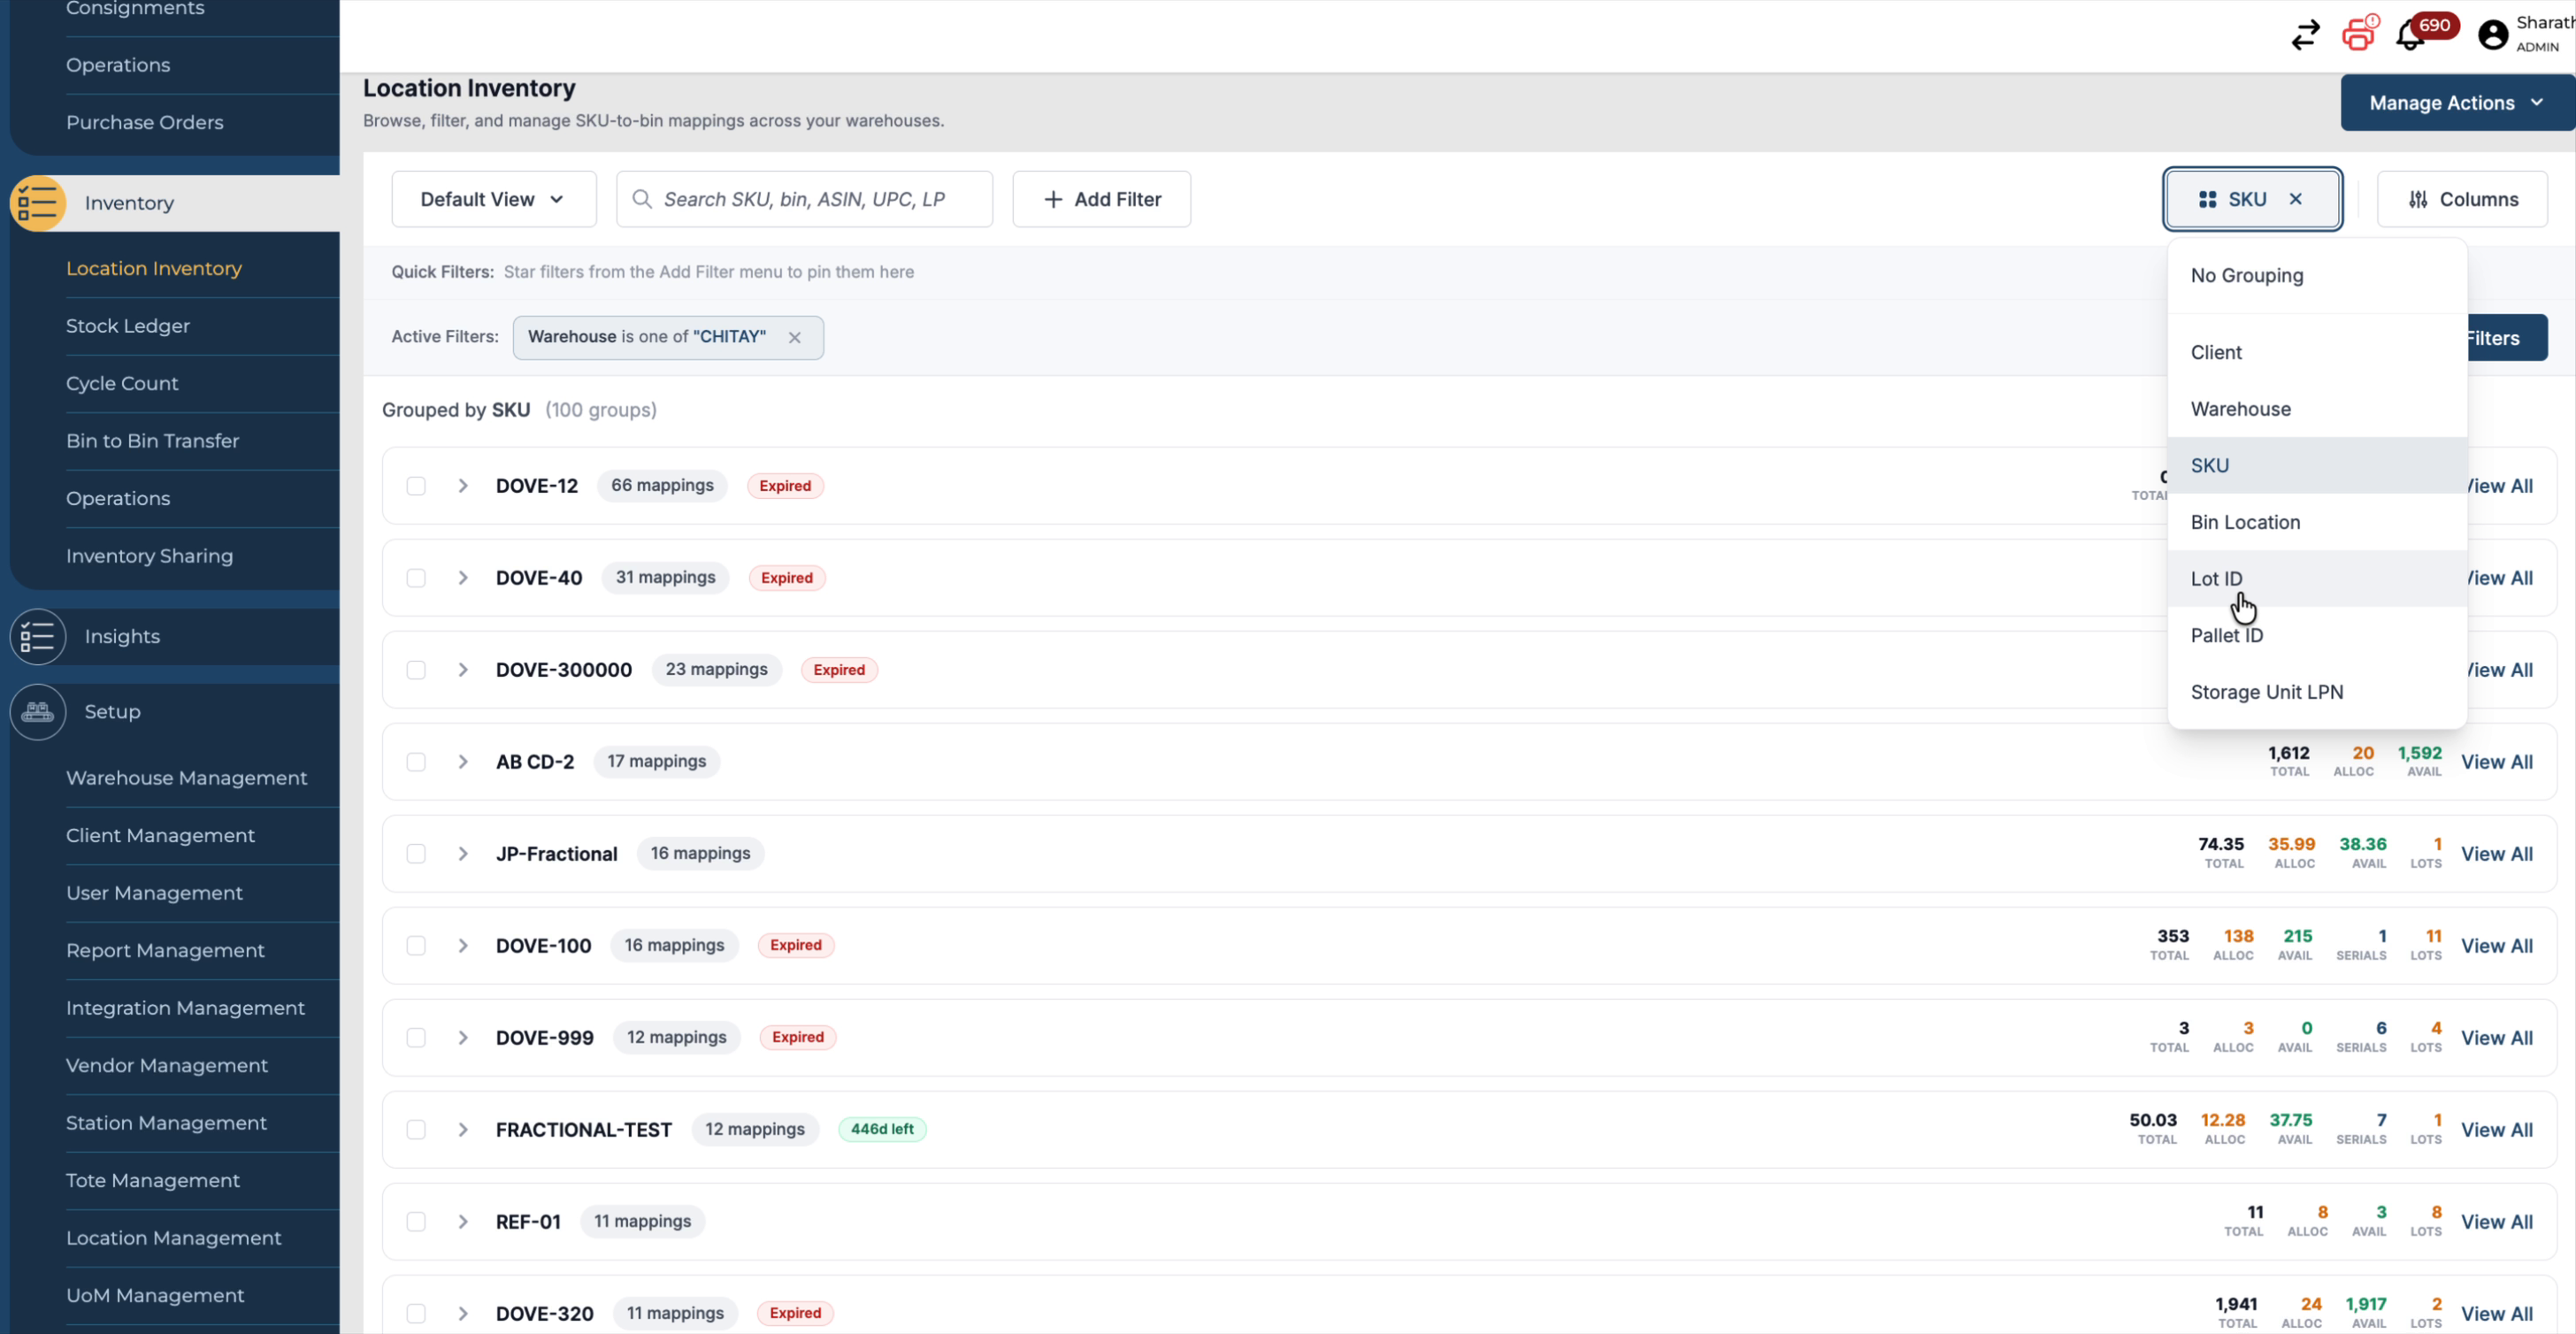
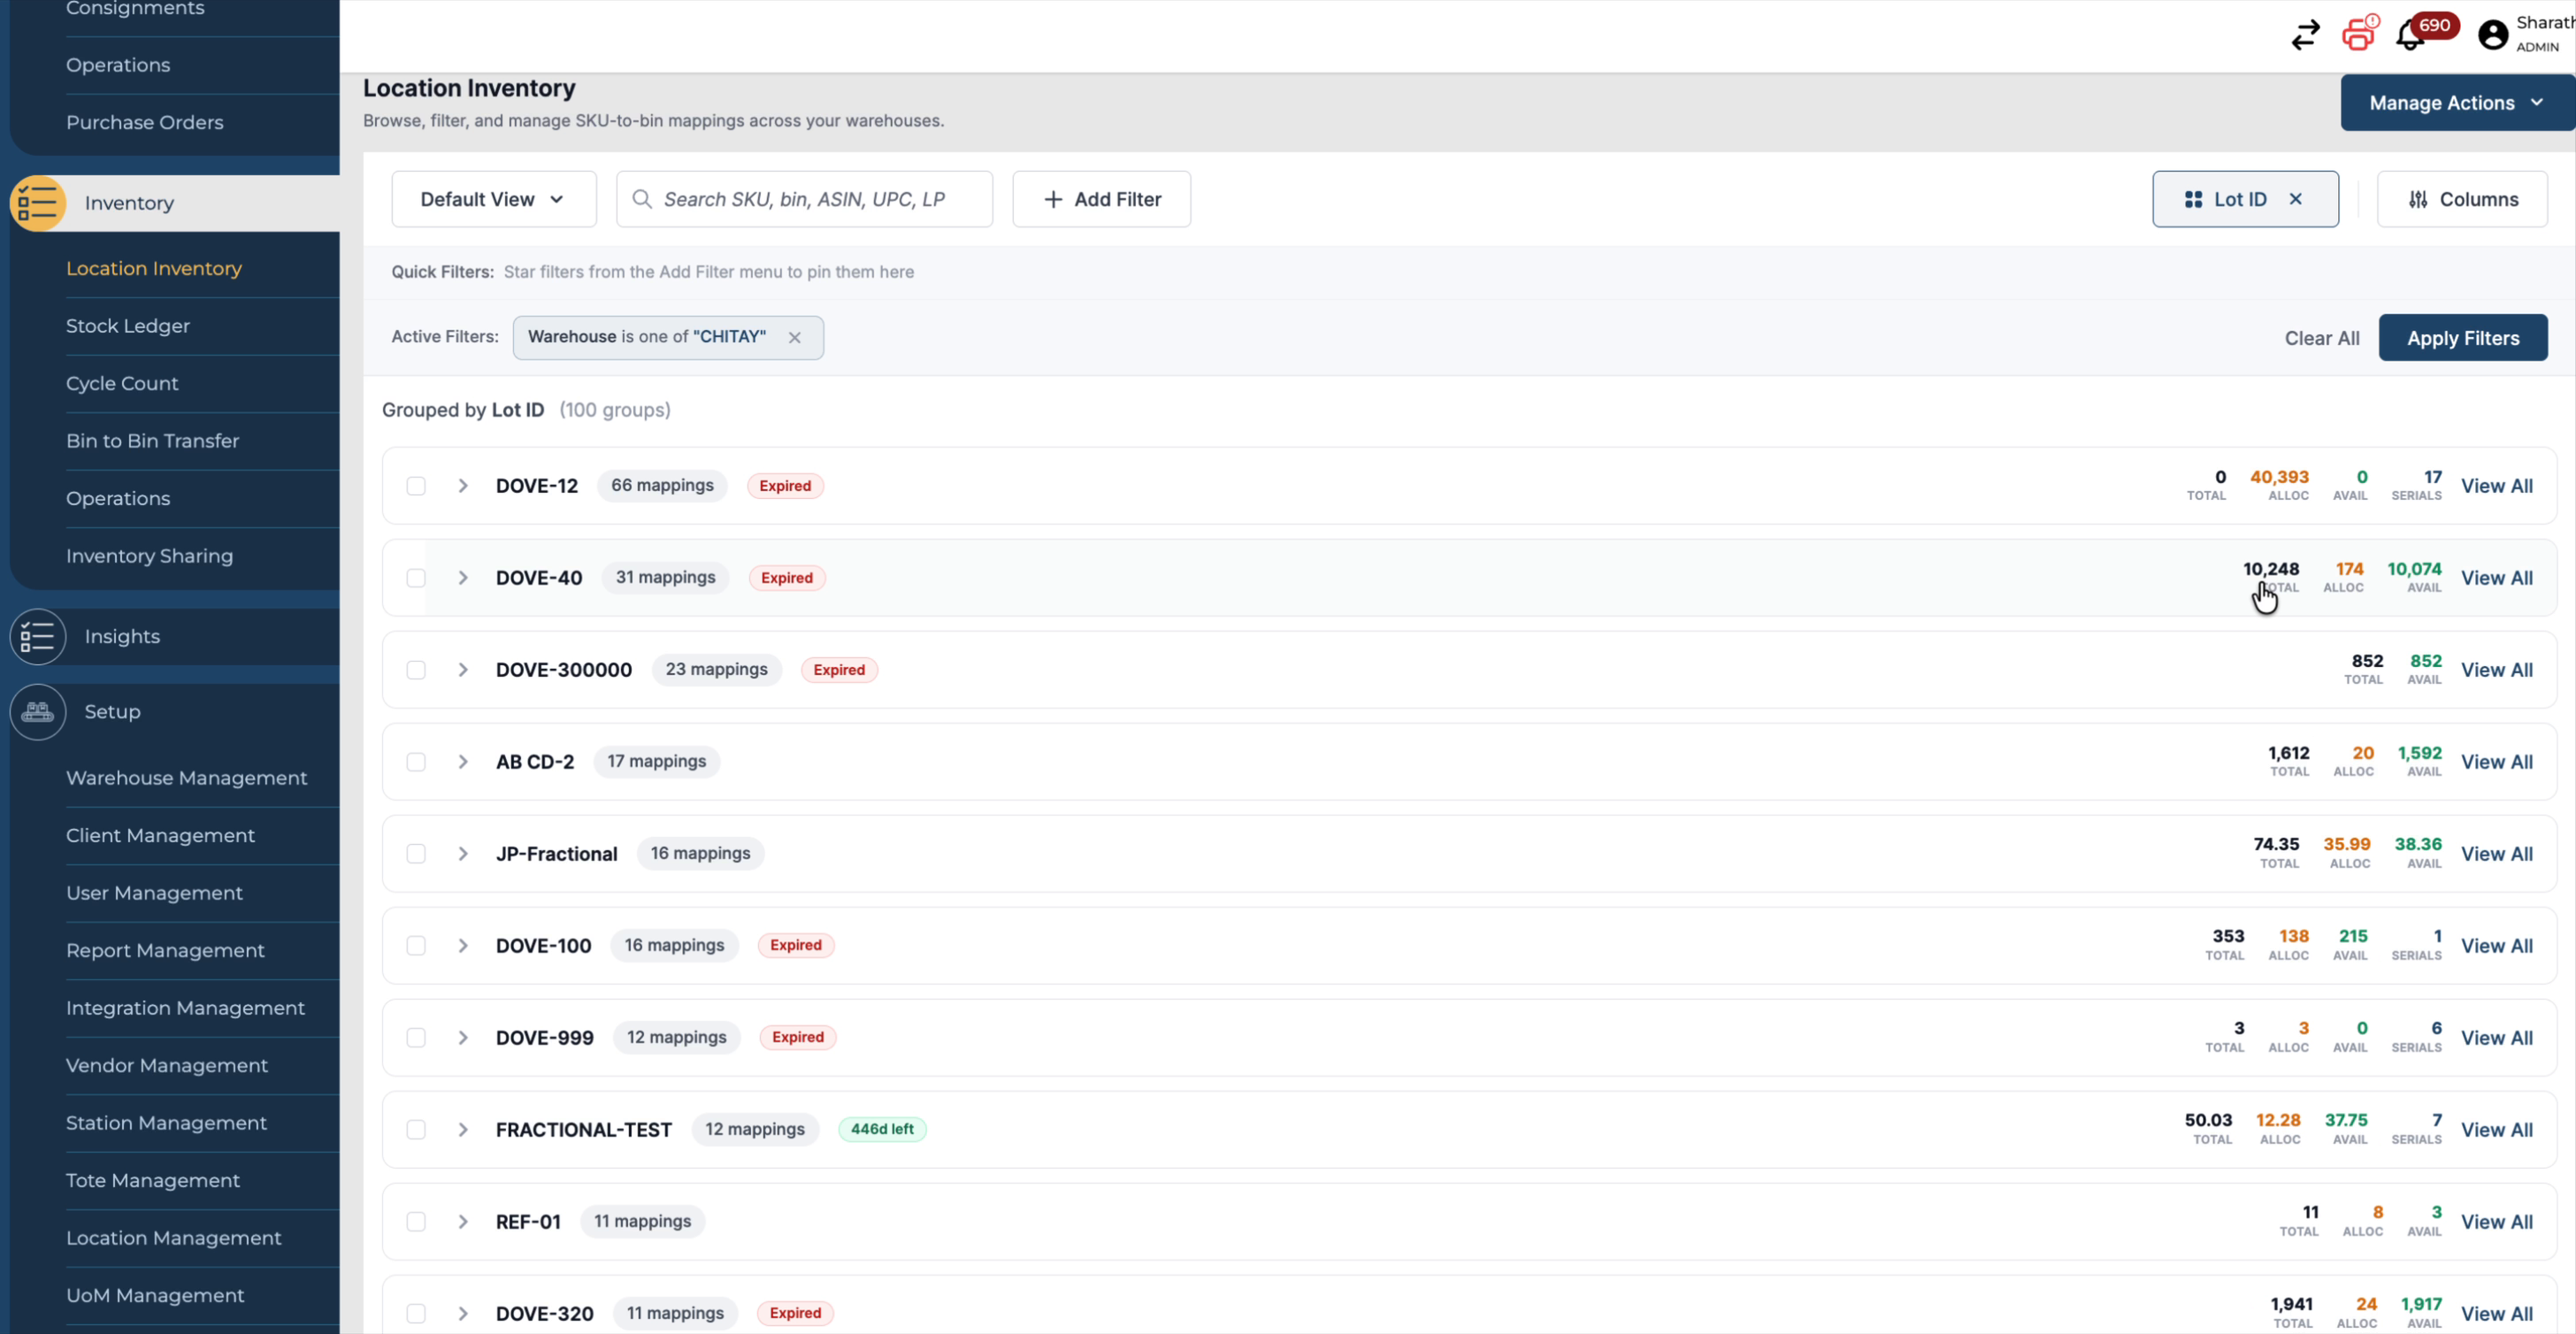
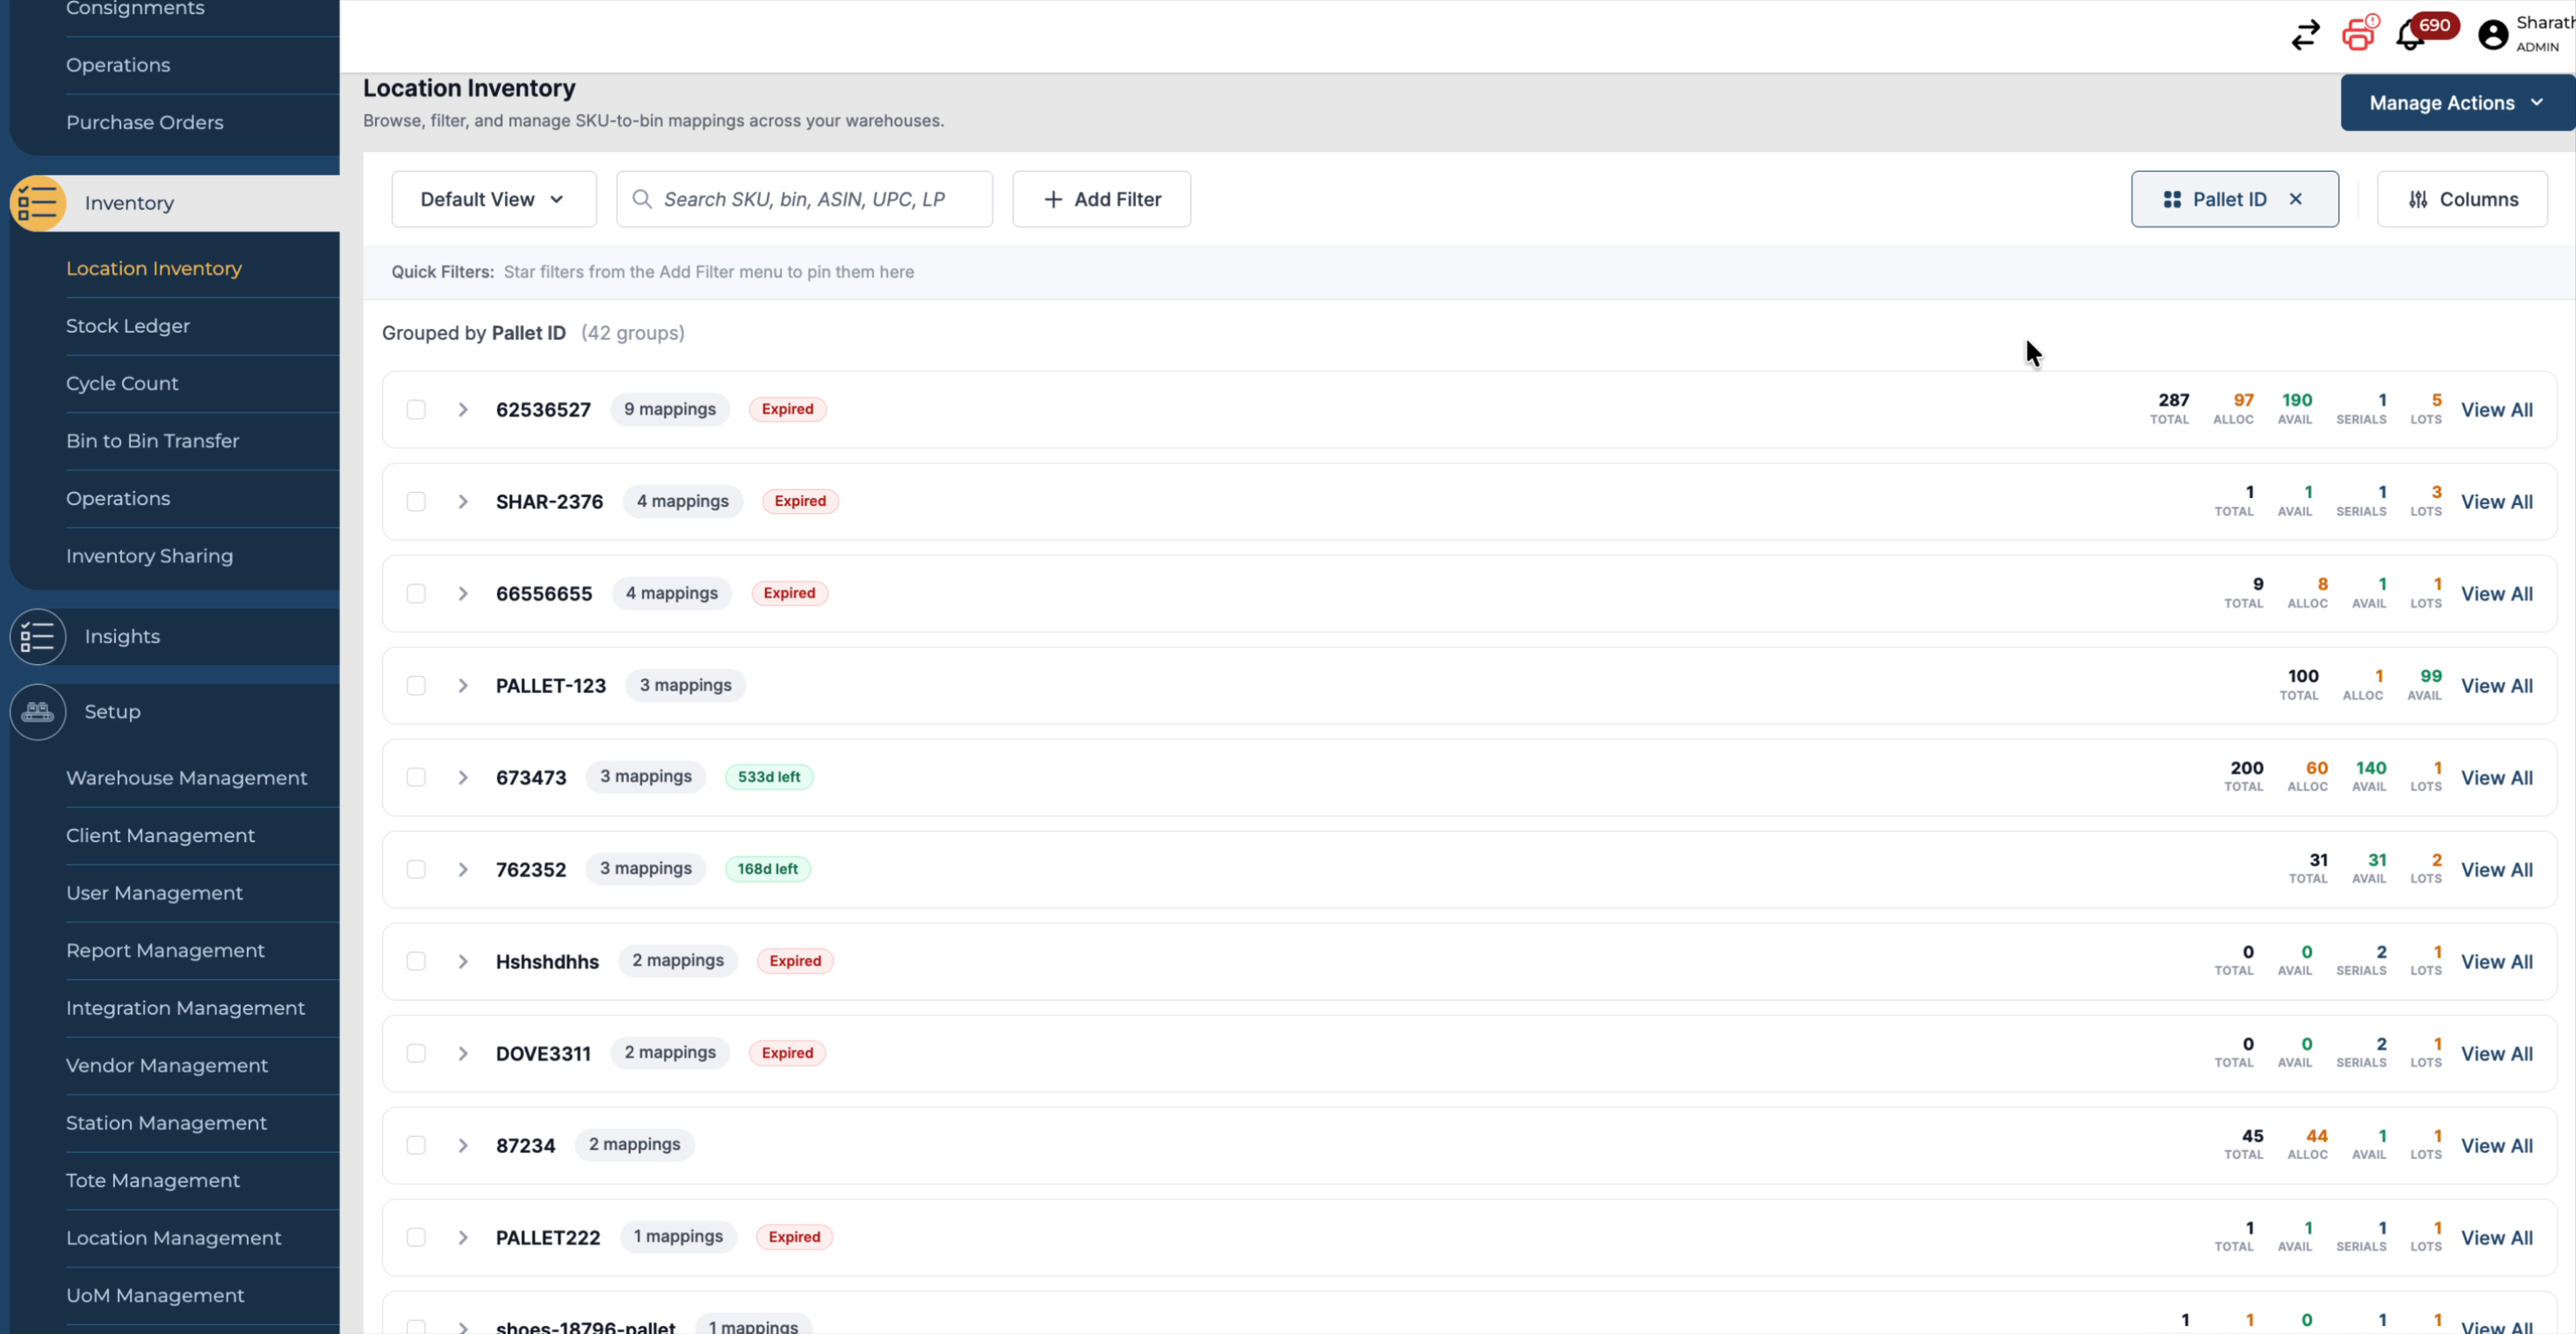
Step 5: Group by Client, SKU, Lot ID, or Pallet ID
You can also group the inventory by other key attributes:
-
Client – group the data by client to see client-specific inventory snapshots.
-
SKU – group by SKU to view inventory organized per product.
-
Lot ID – group by lot ID to track inventory at the lot level.
-
Pallet ID – group by pallet ID to review pallet-based inventory.
If you want to clear all grouping and filters and return to the standard, ungrouped view, click the cancel/clear icon. This resets the screen back to the default Location Inventory layout.
Step 6: Rearrange and Customise Columns
Customise how data is displayed using the column settings:
-
Open the Columns configuration.
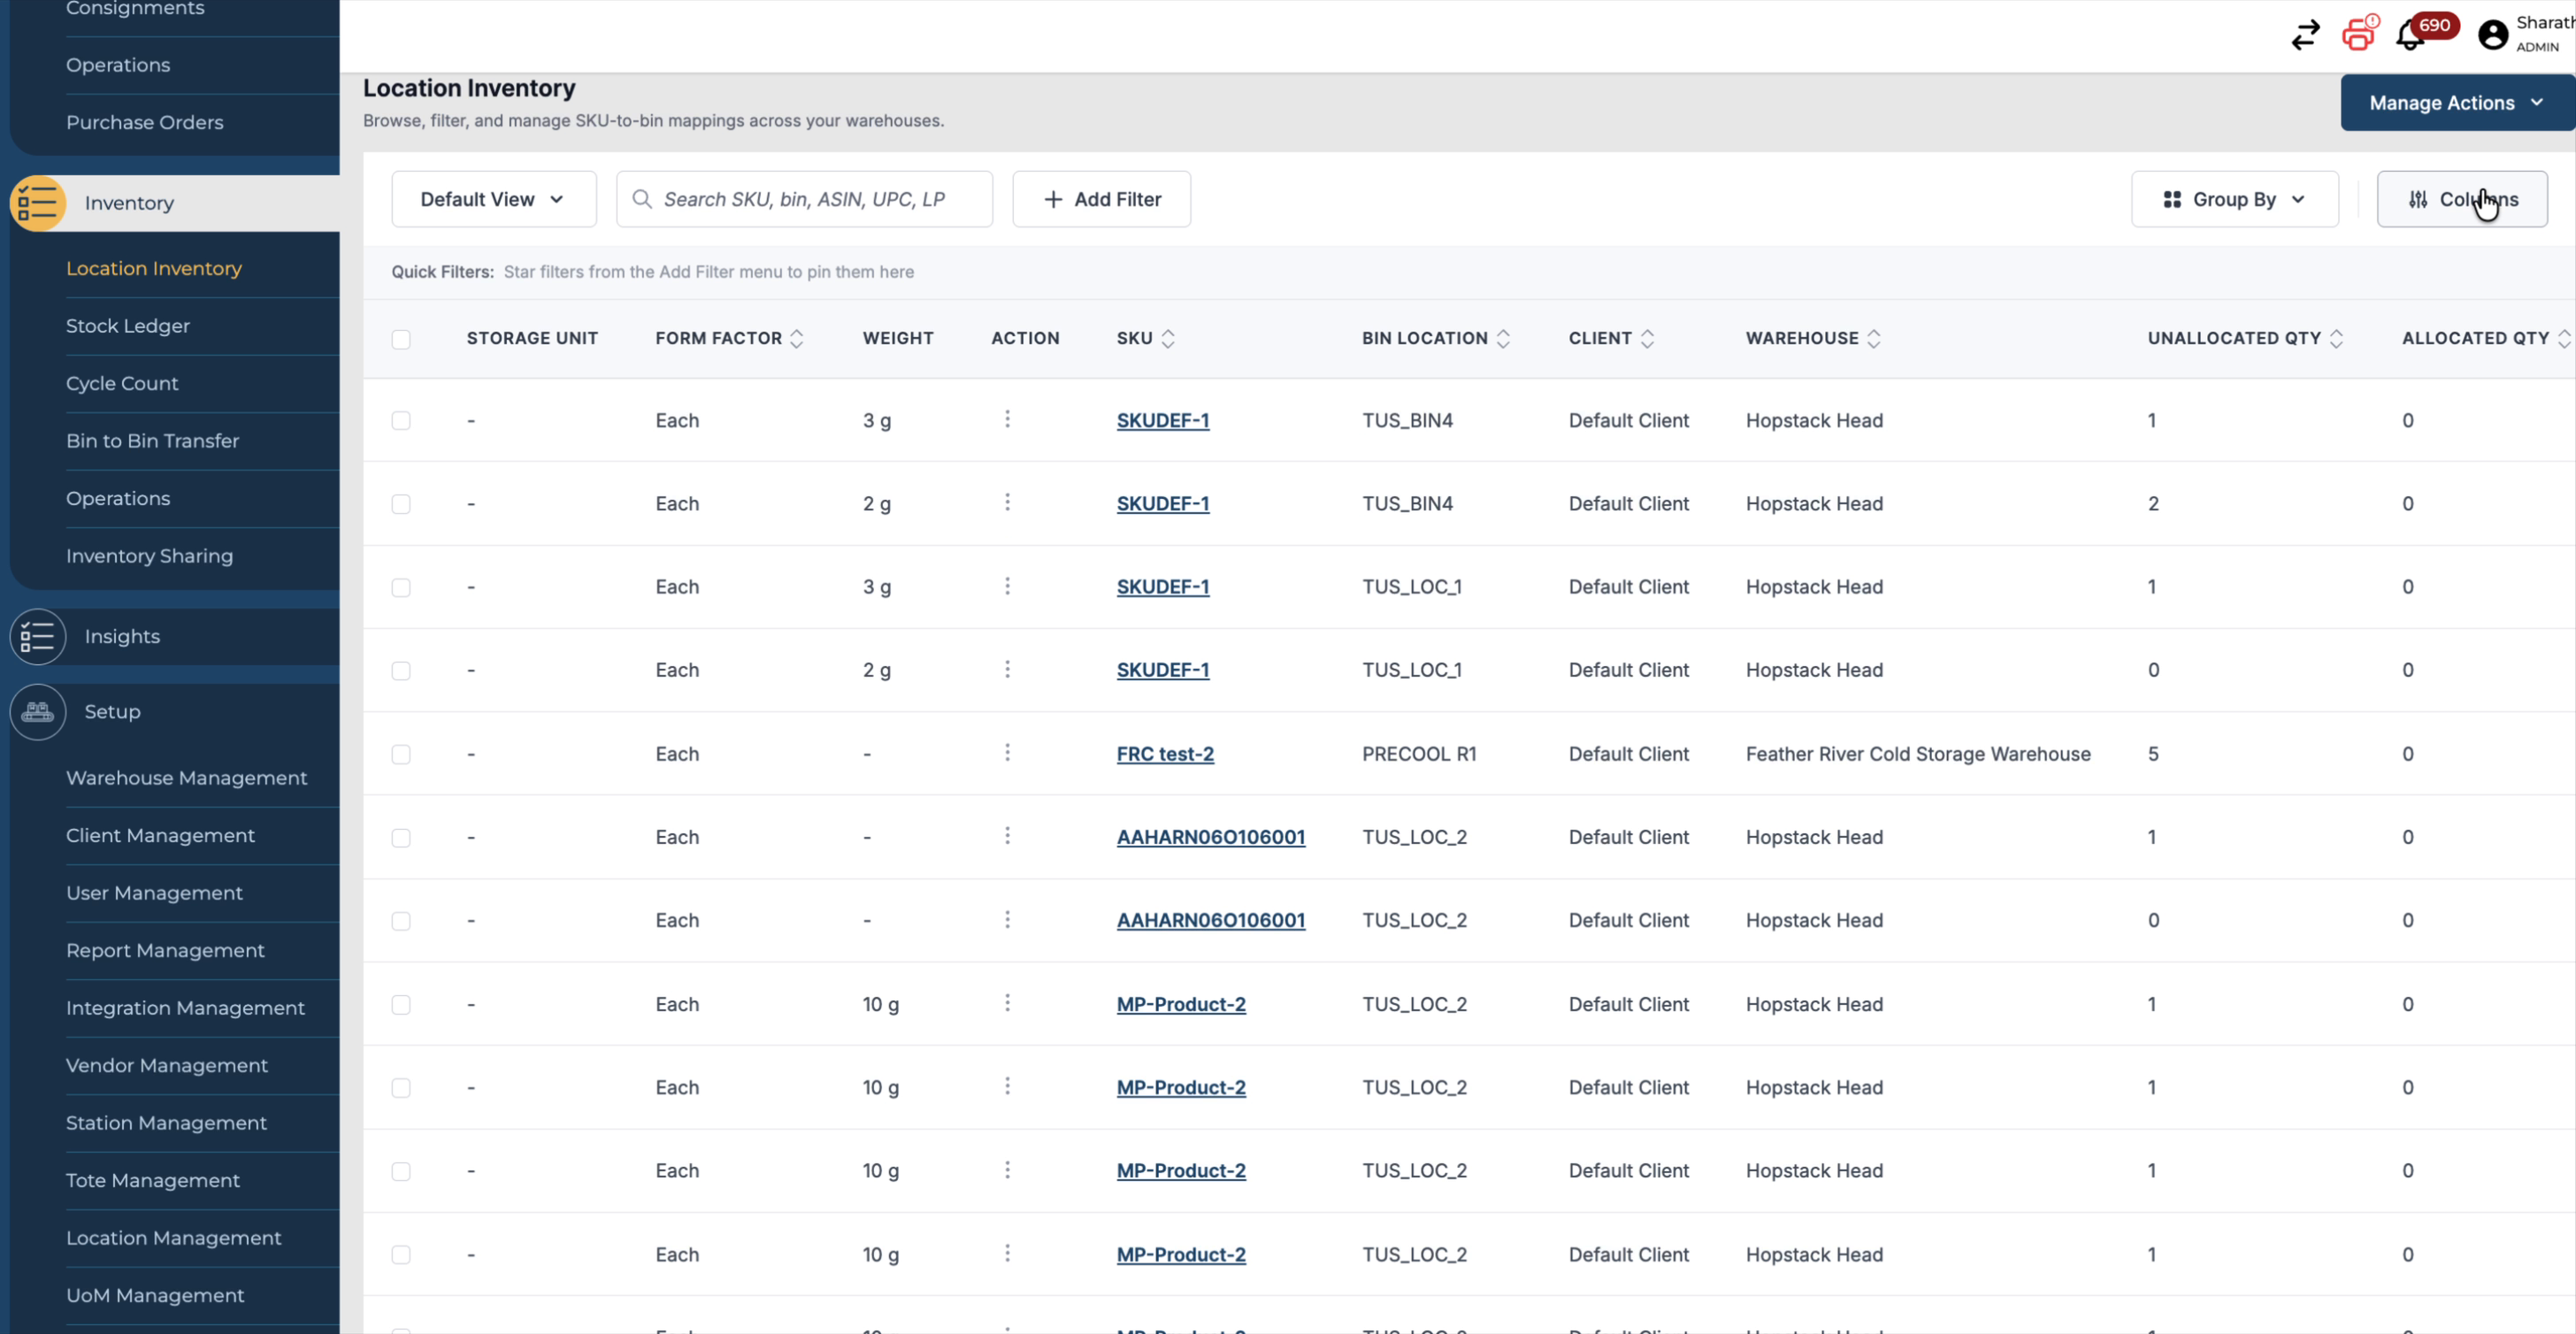
-
Rearrange columns by:
-
-
Using the Move to Top option
-
Dragging and dropping columns into your preferred order.
-
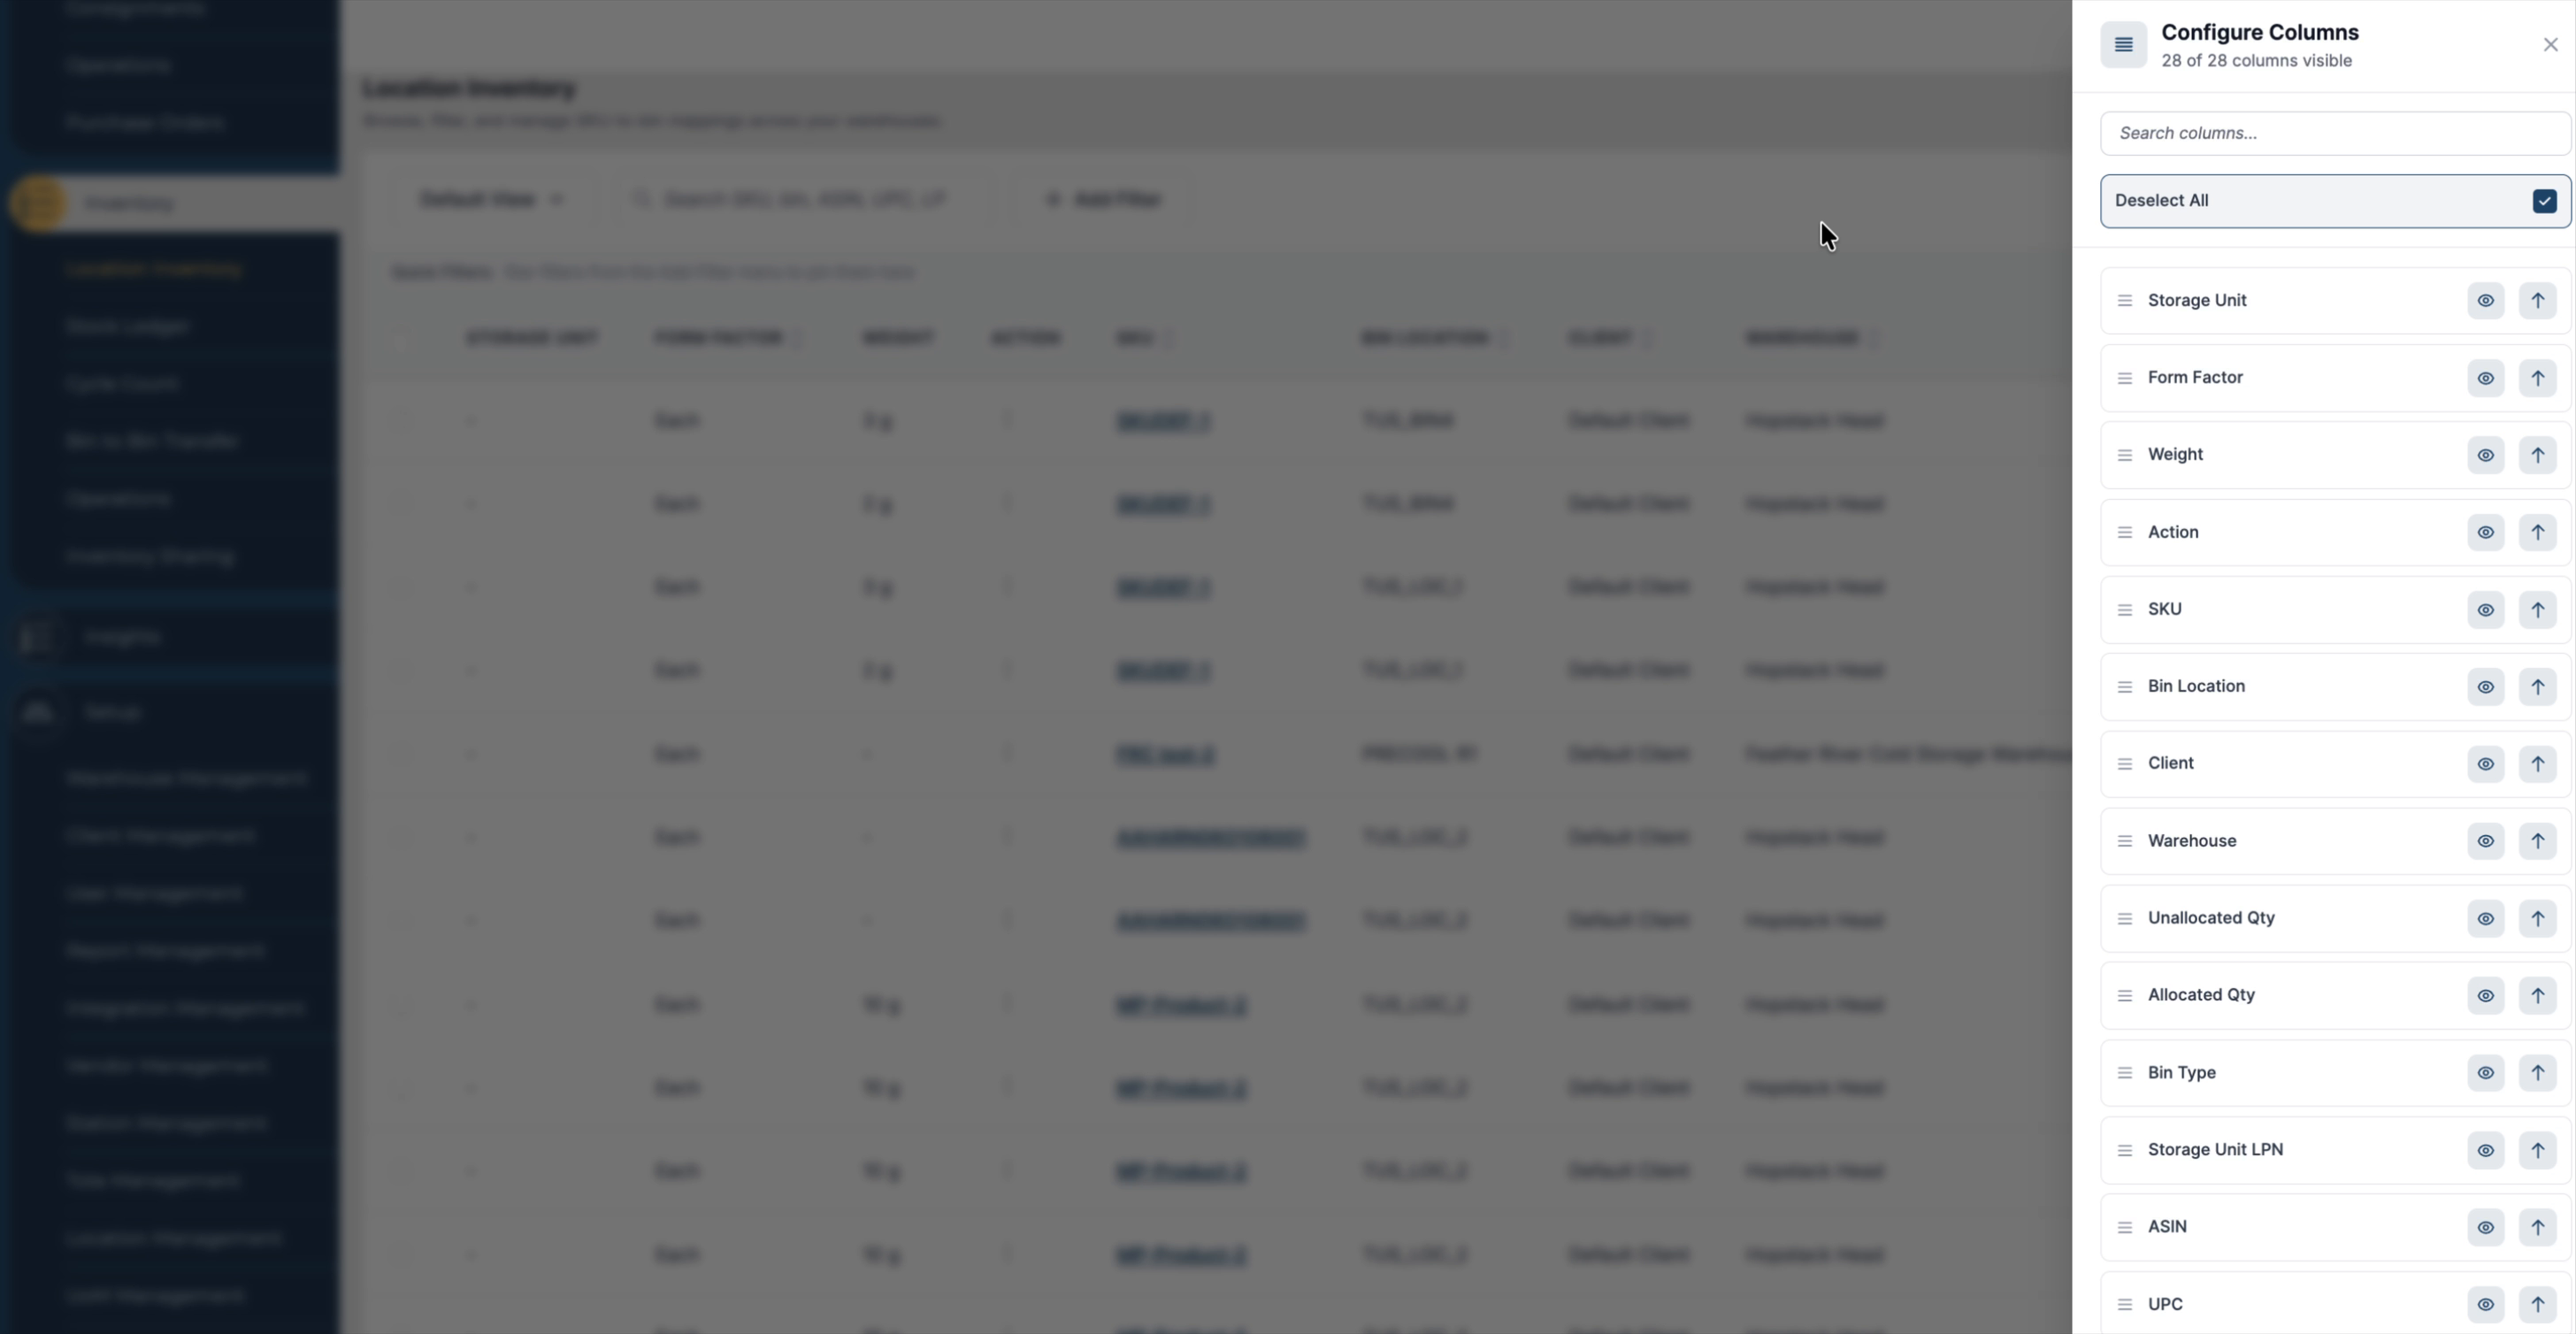
For example, if you want the Client column to appear first, drag it to the top of the list. When finished, press Esc or click anywhere outside the configuration panel. The grid will automatically adjust to reflect your new column order.
Step 7: Export the Location Inventory Report
To extract the data for reporting or analysis:
-
Click on Manage Action.
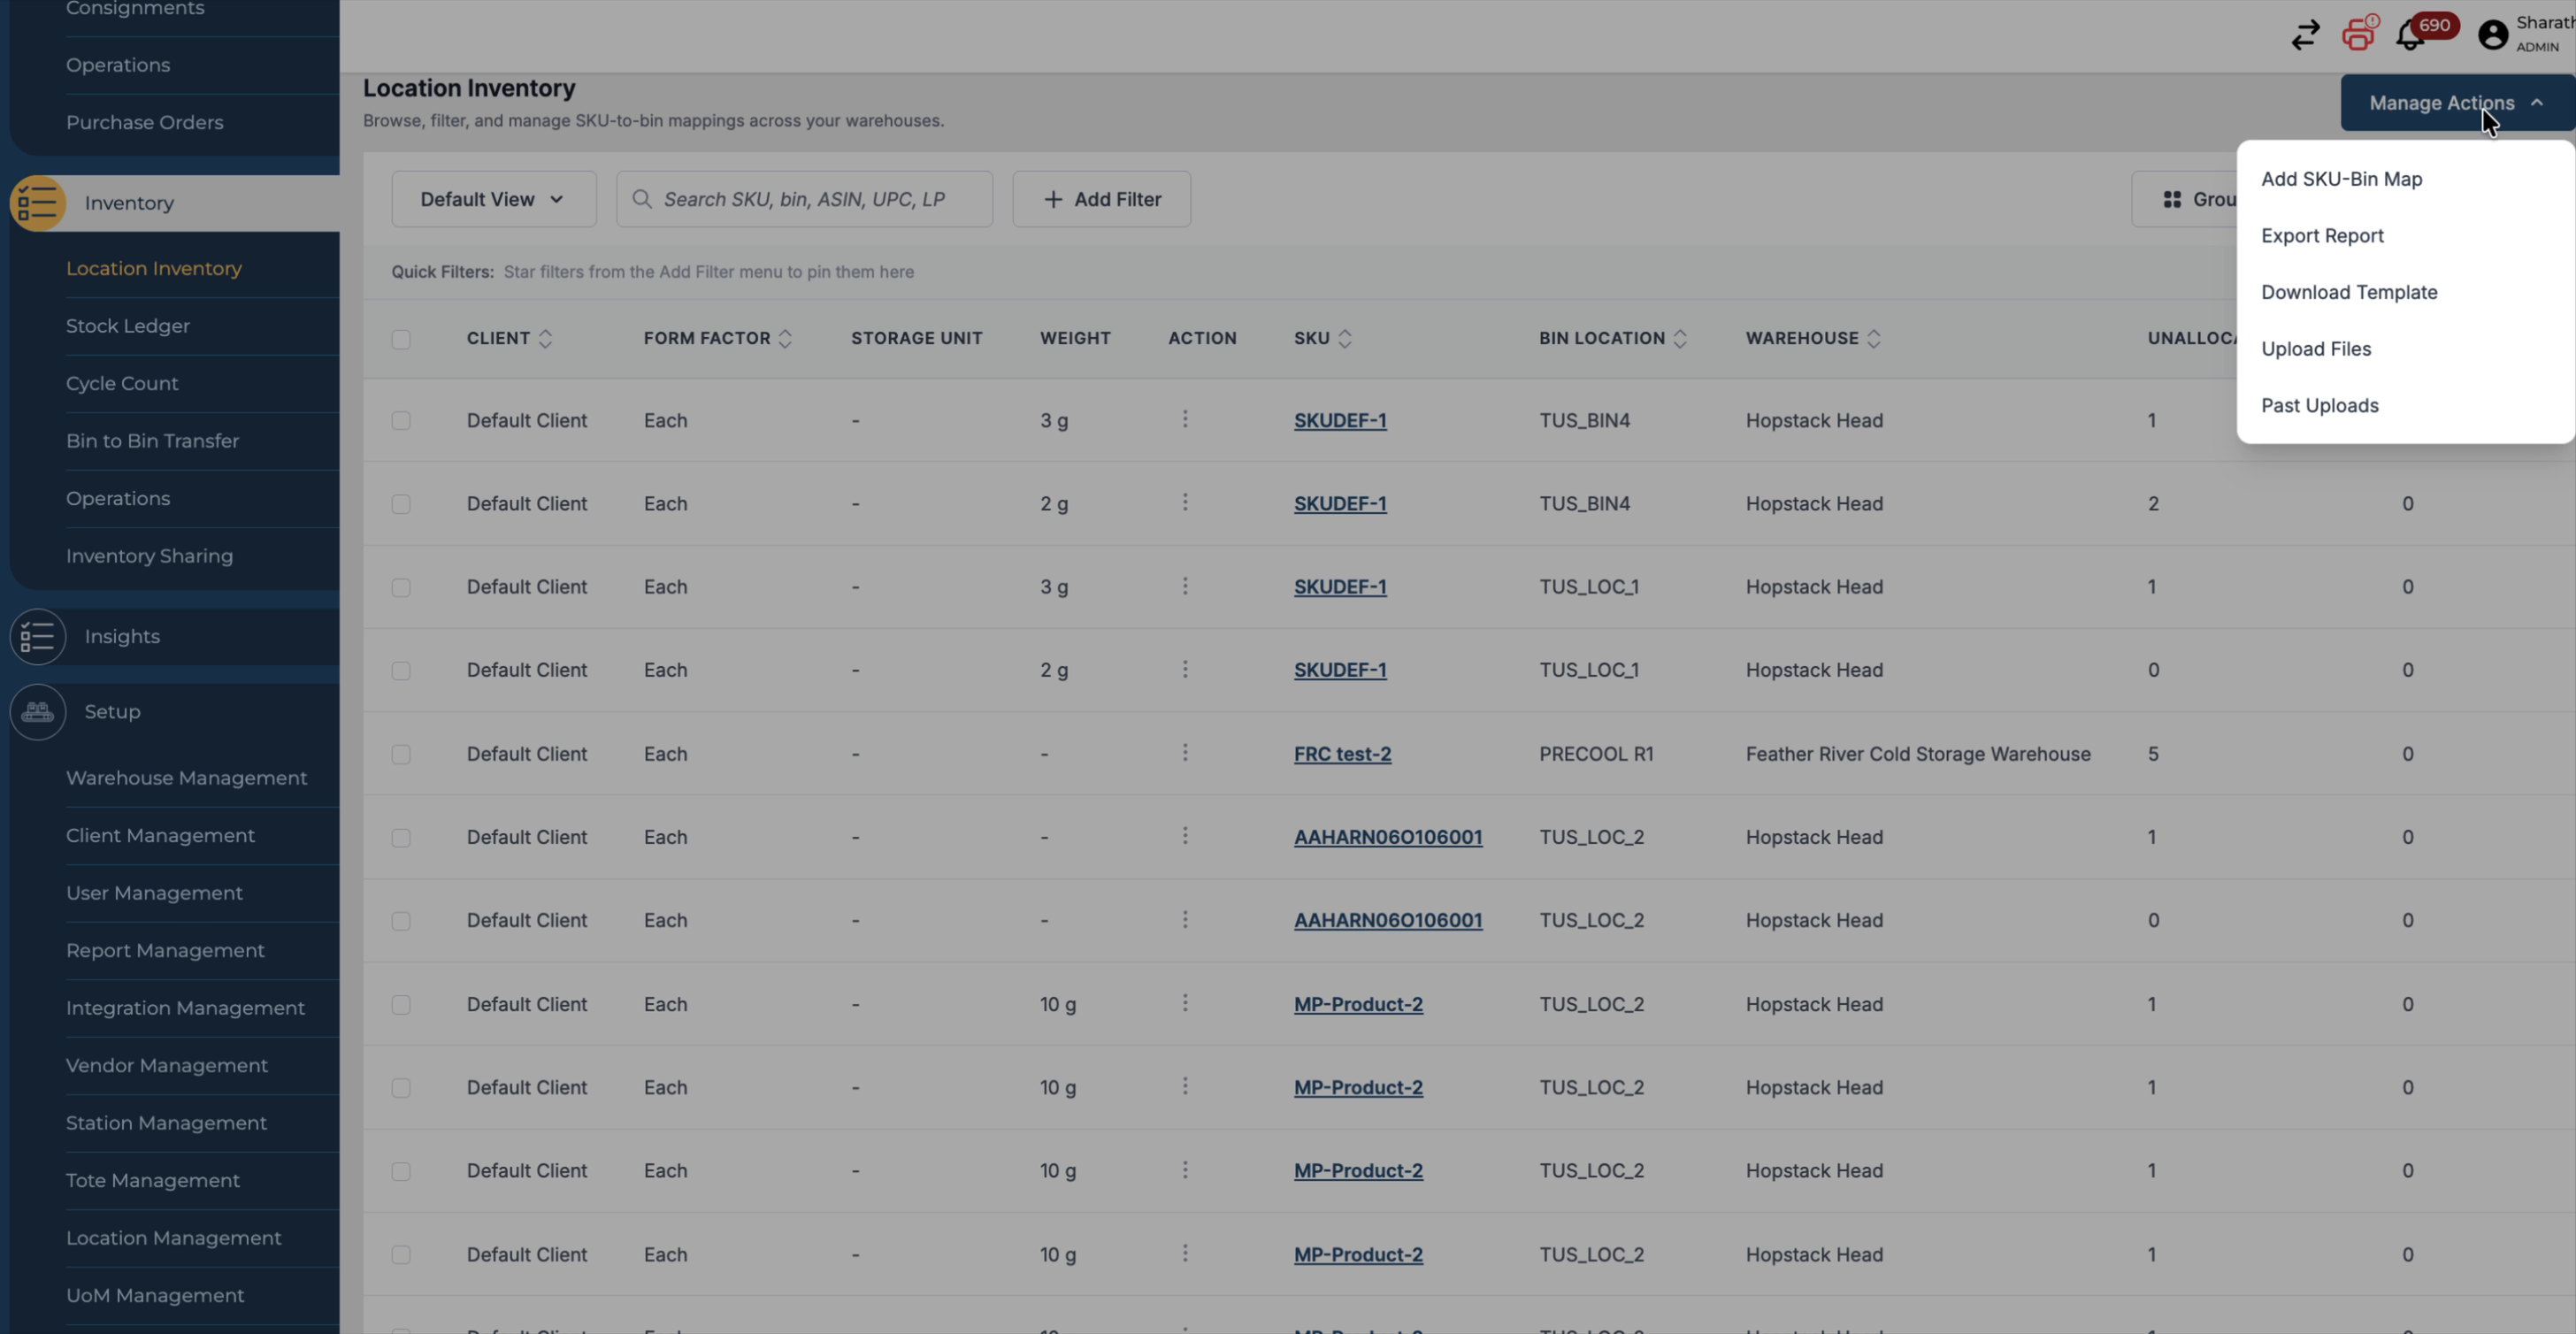
-
Choose the appropriate Export option to download the Location Inventory report in the desired format.