
Navigate to the Hopstack Dashboard
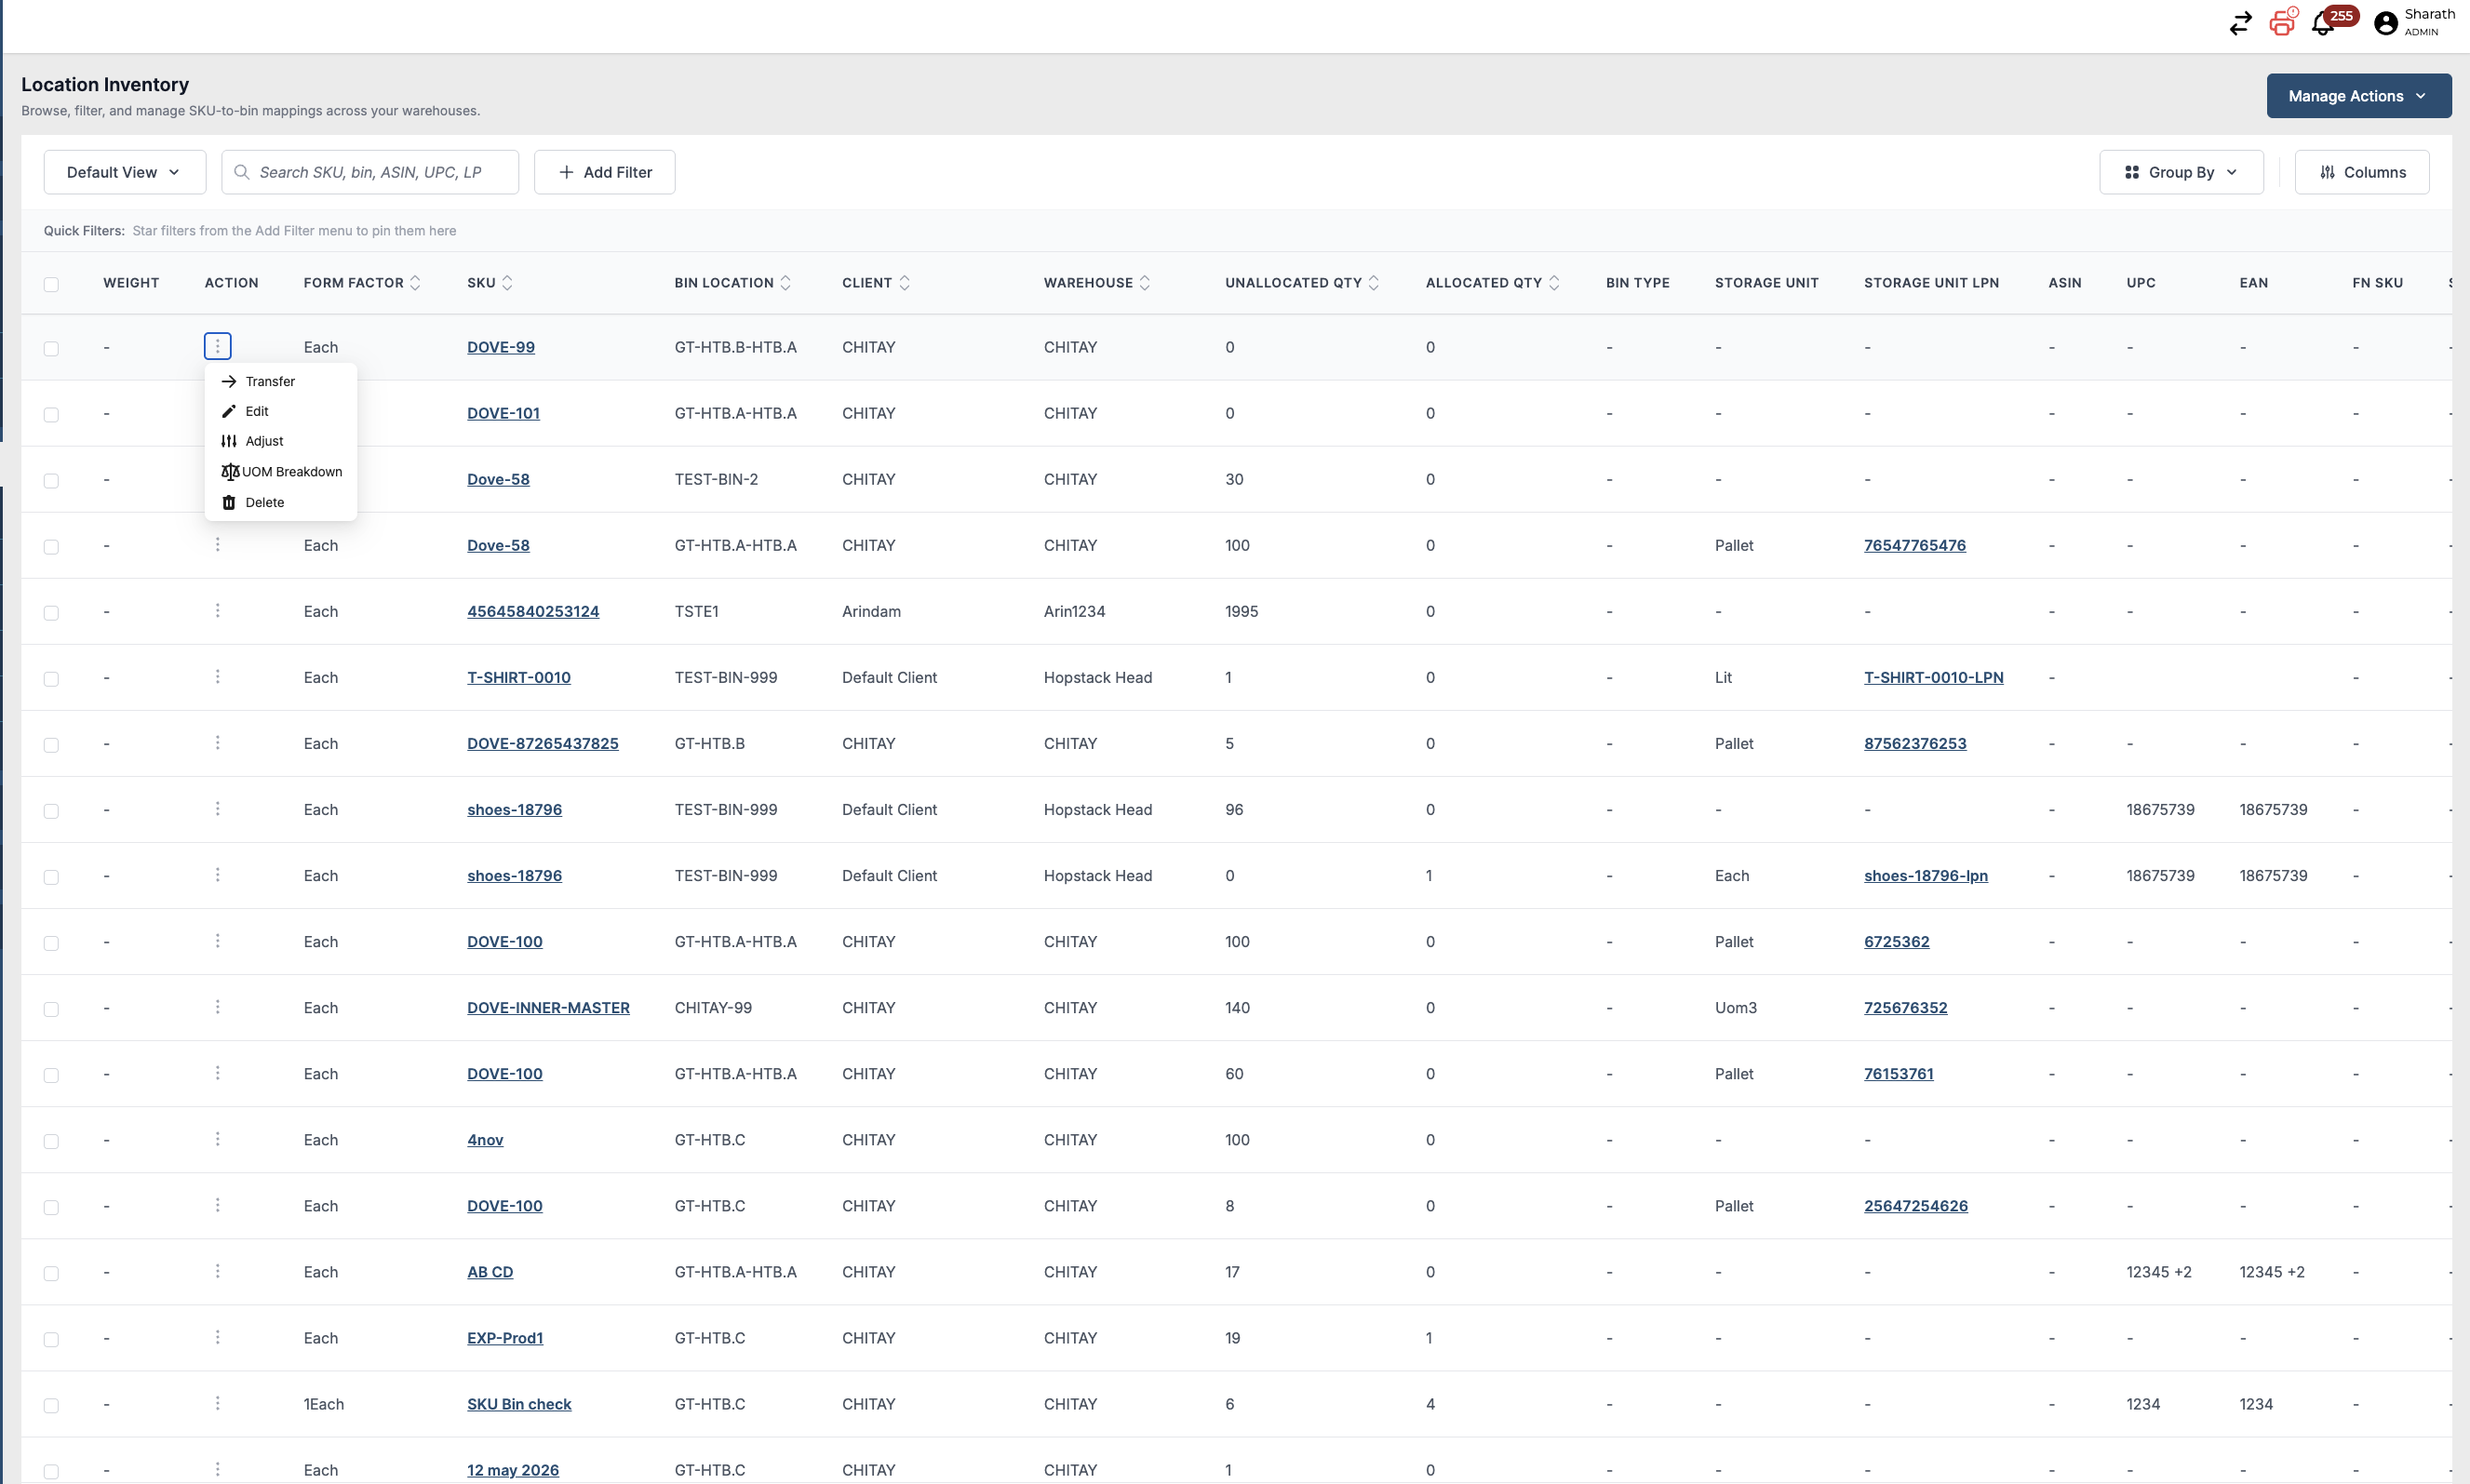
Click on the action icon to edit the Location Inventory.
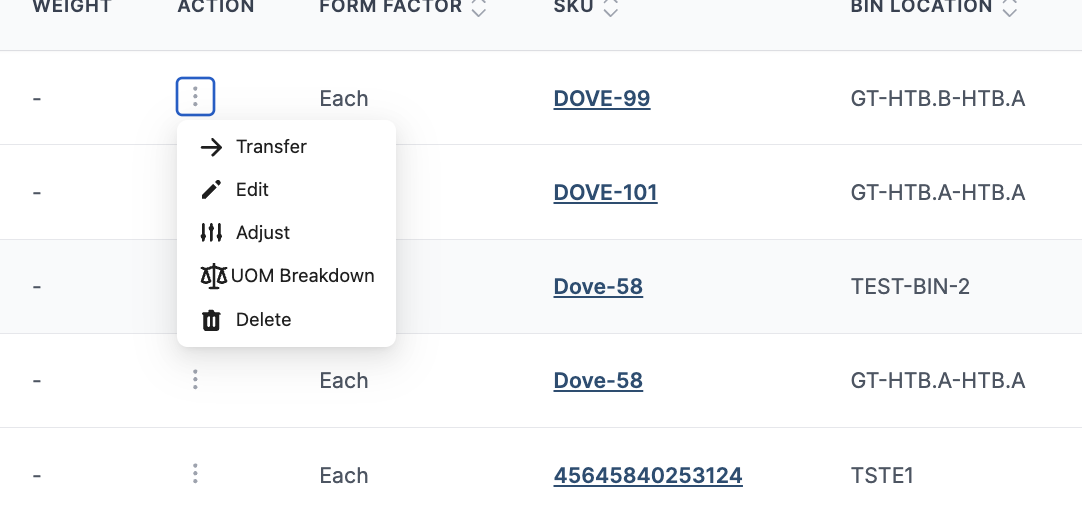
Click on the pen icon
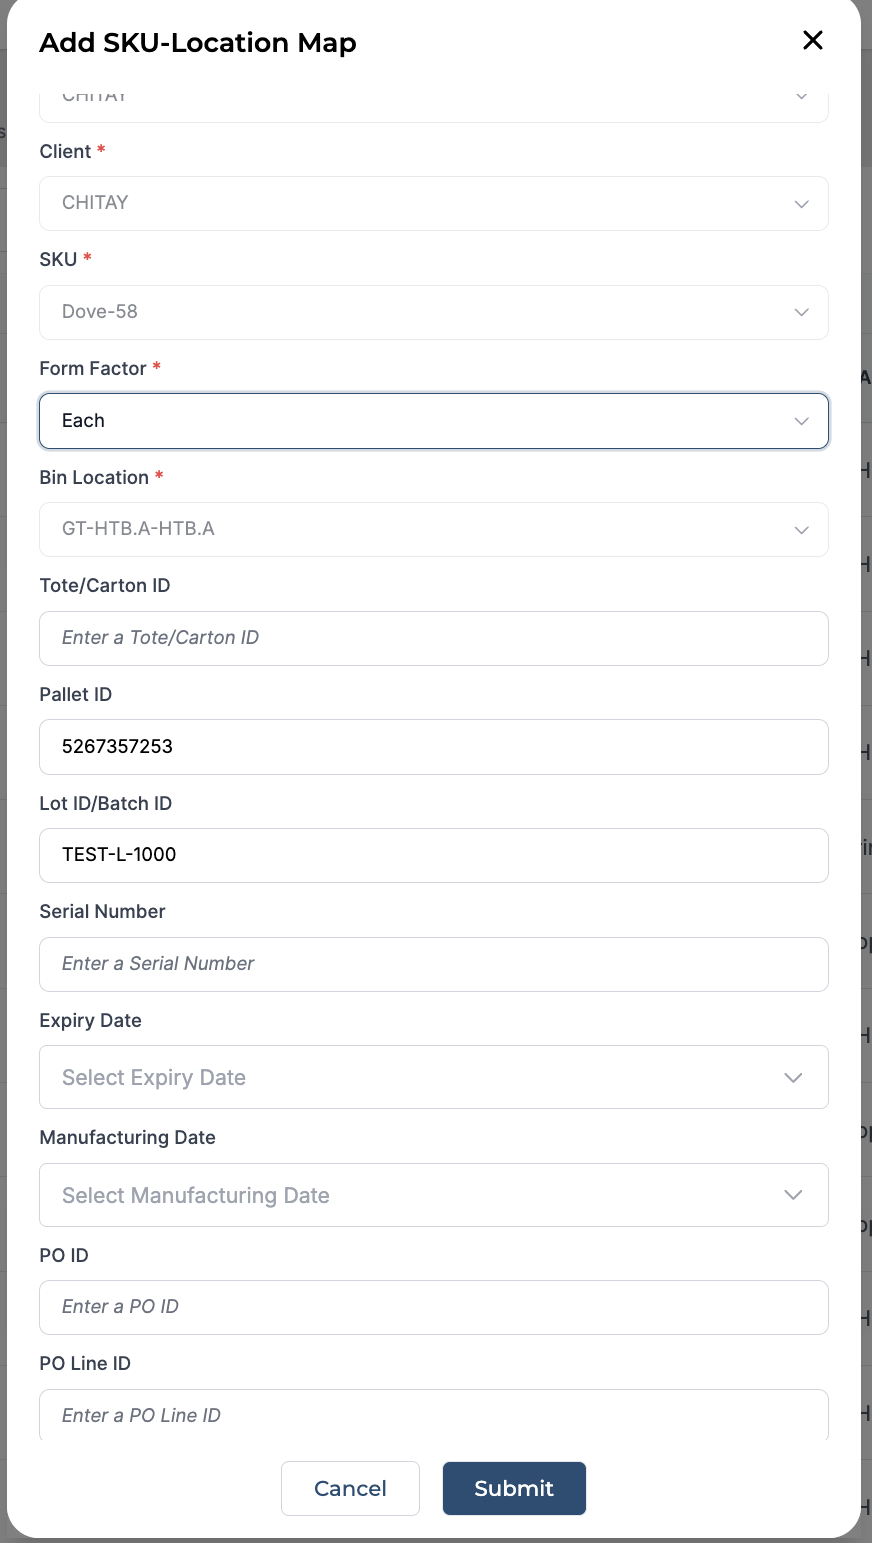
Edit the details as your requirements in the pop-up dialog box.
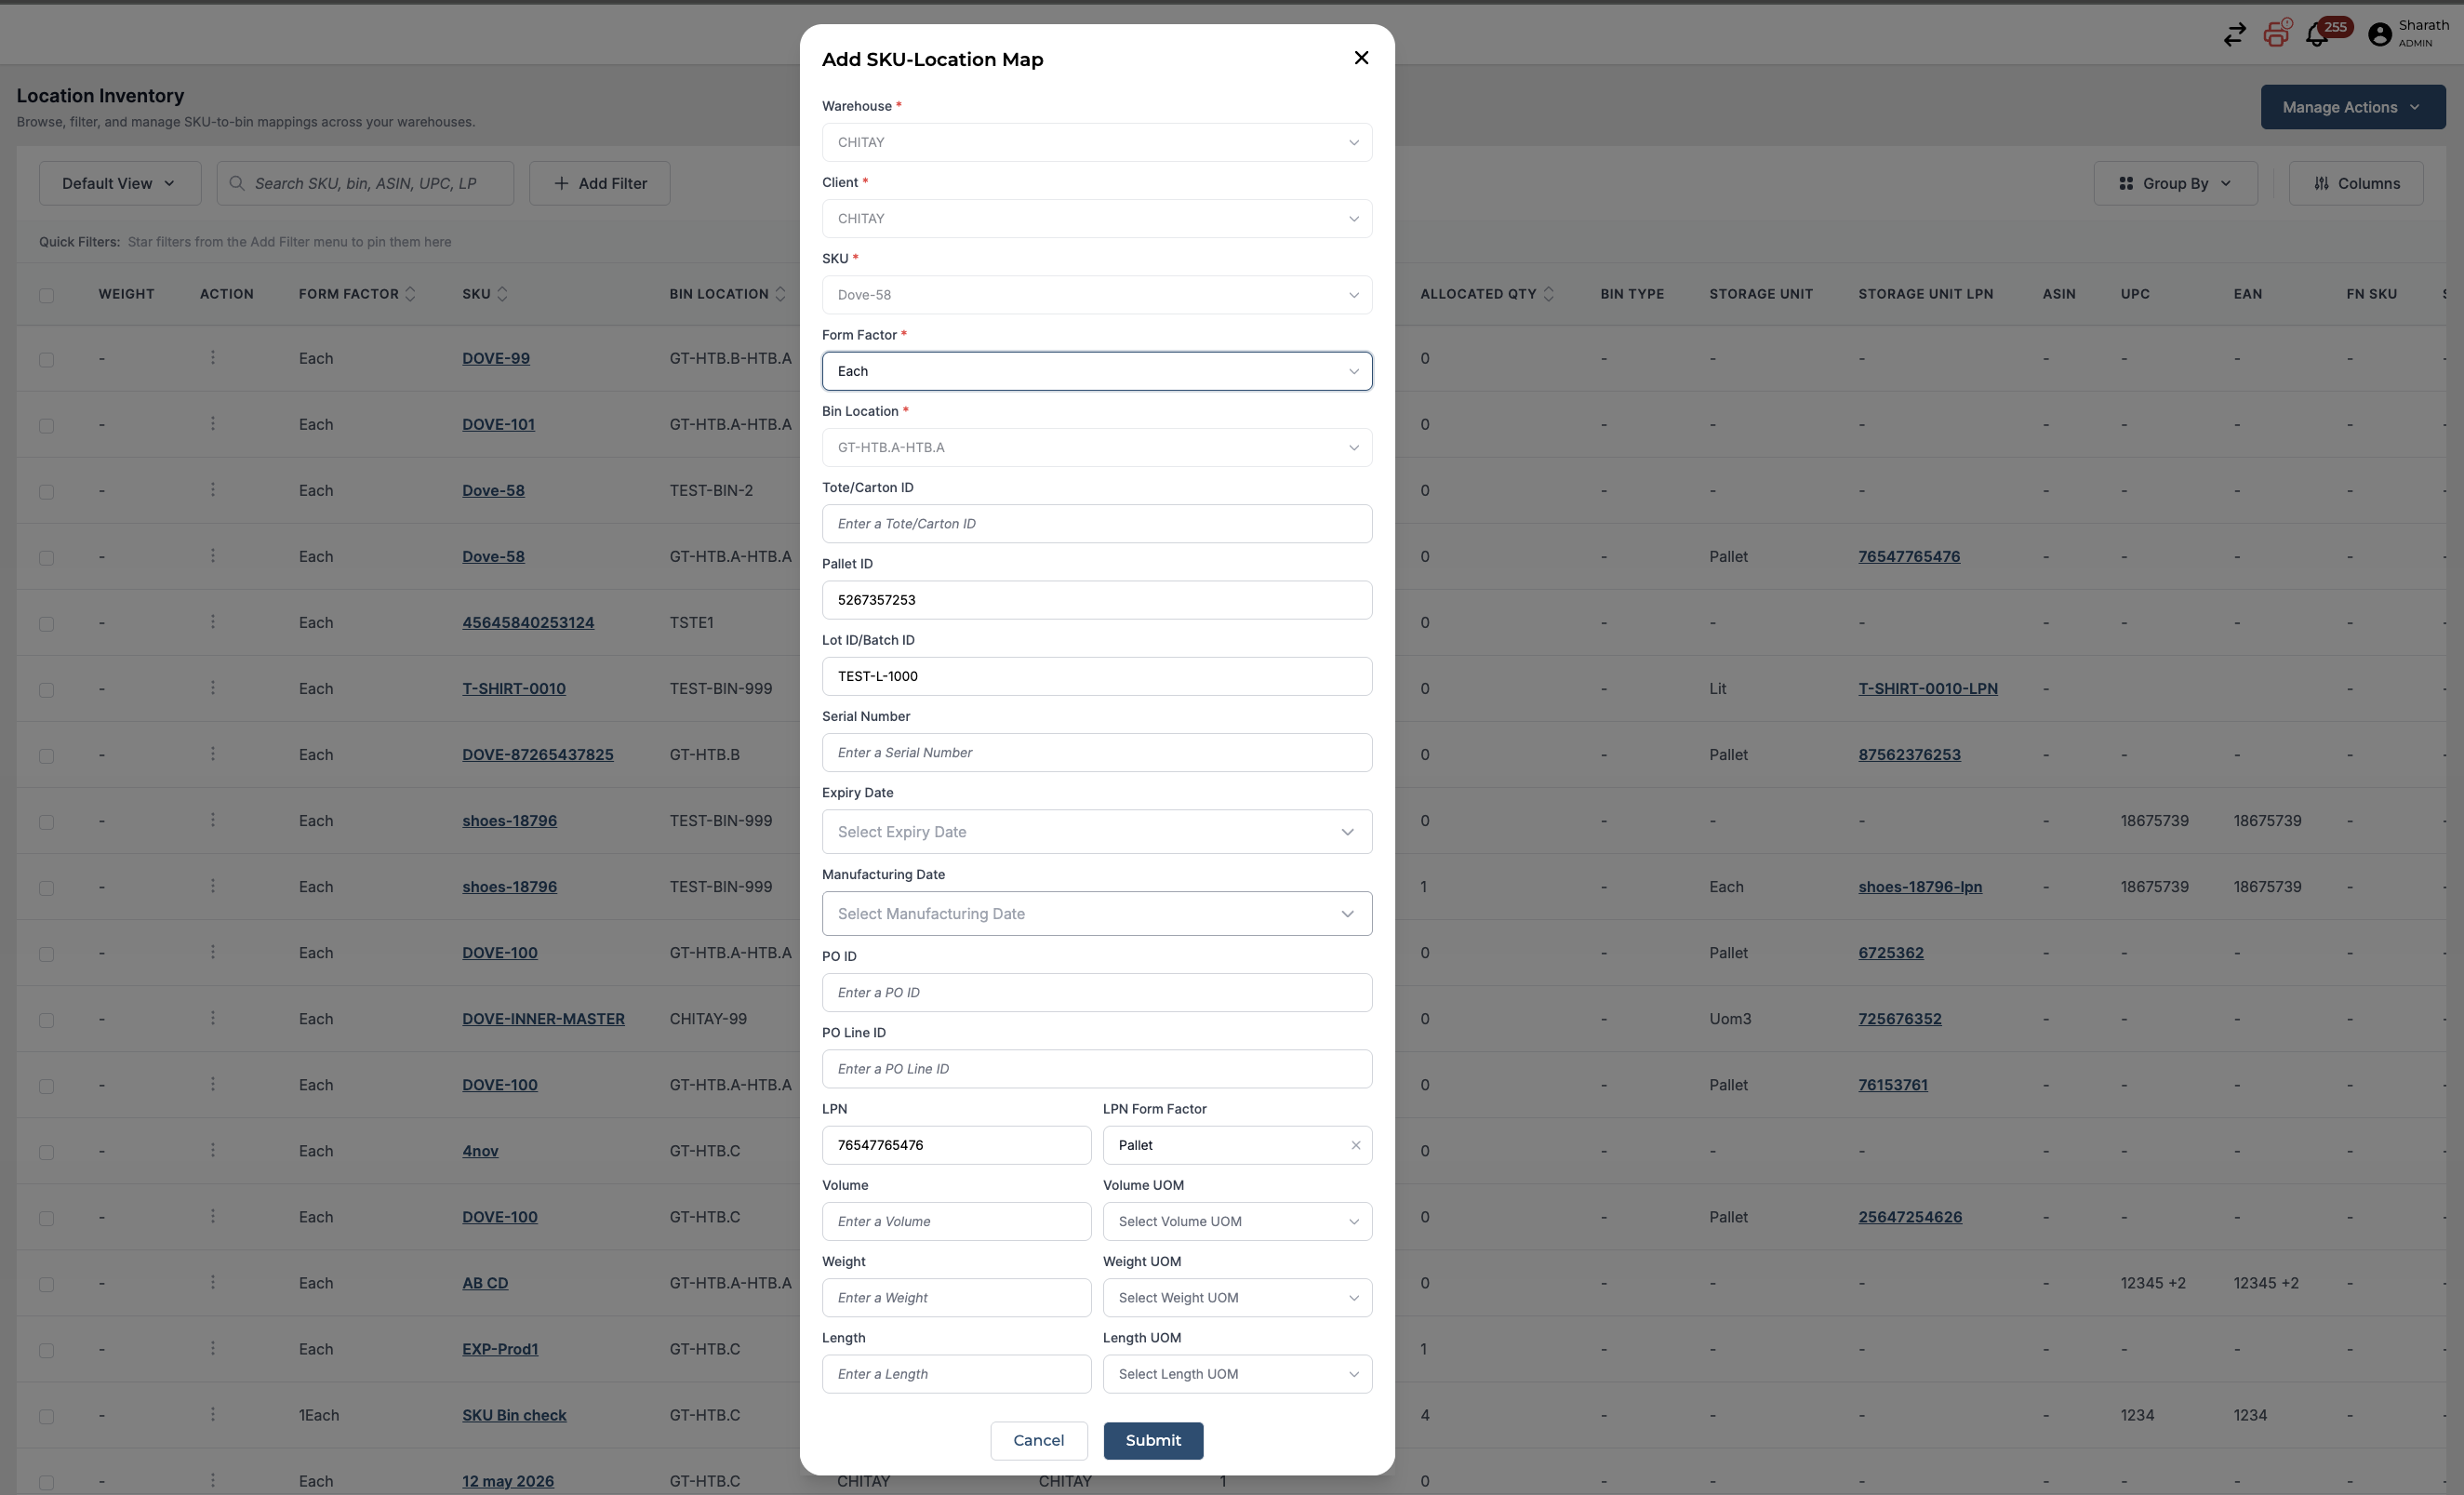
After verifying the details you have entered, click on the "Submit" button.
Tip: You can click on the cancel button to cancel the editing process.
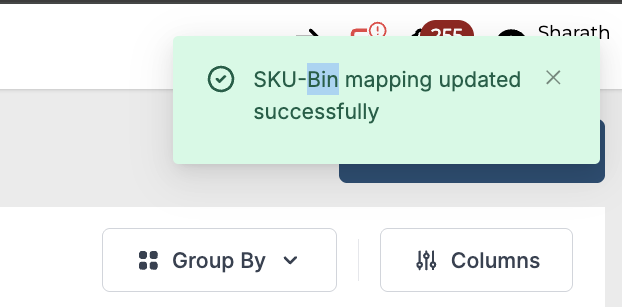
Once submitted, the platform will show the "SKU-Bin mapping updated successfully" message confirming the edit.
Tip: In order to delete an SKU-Bin Map, you need to update the stock and make it zero. The following steps need to be performed before proceeding with deletion.
Click on the button next to the edit button against the SKU-Bin map you want to update/edit/delete.
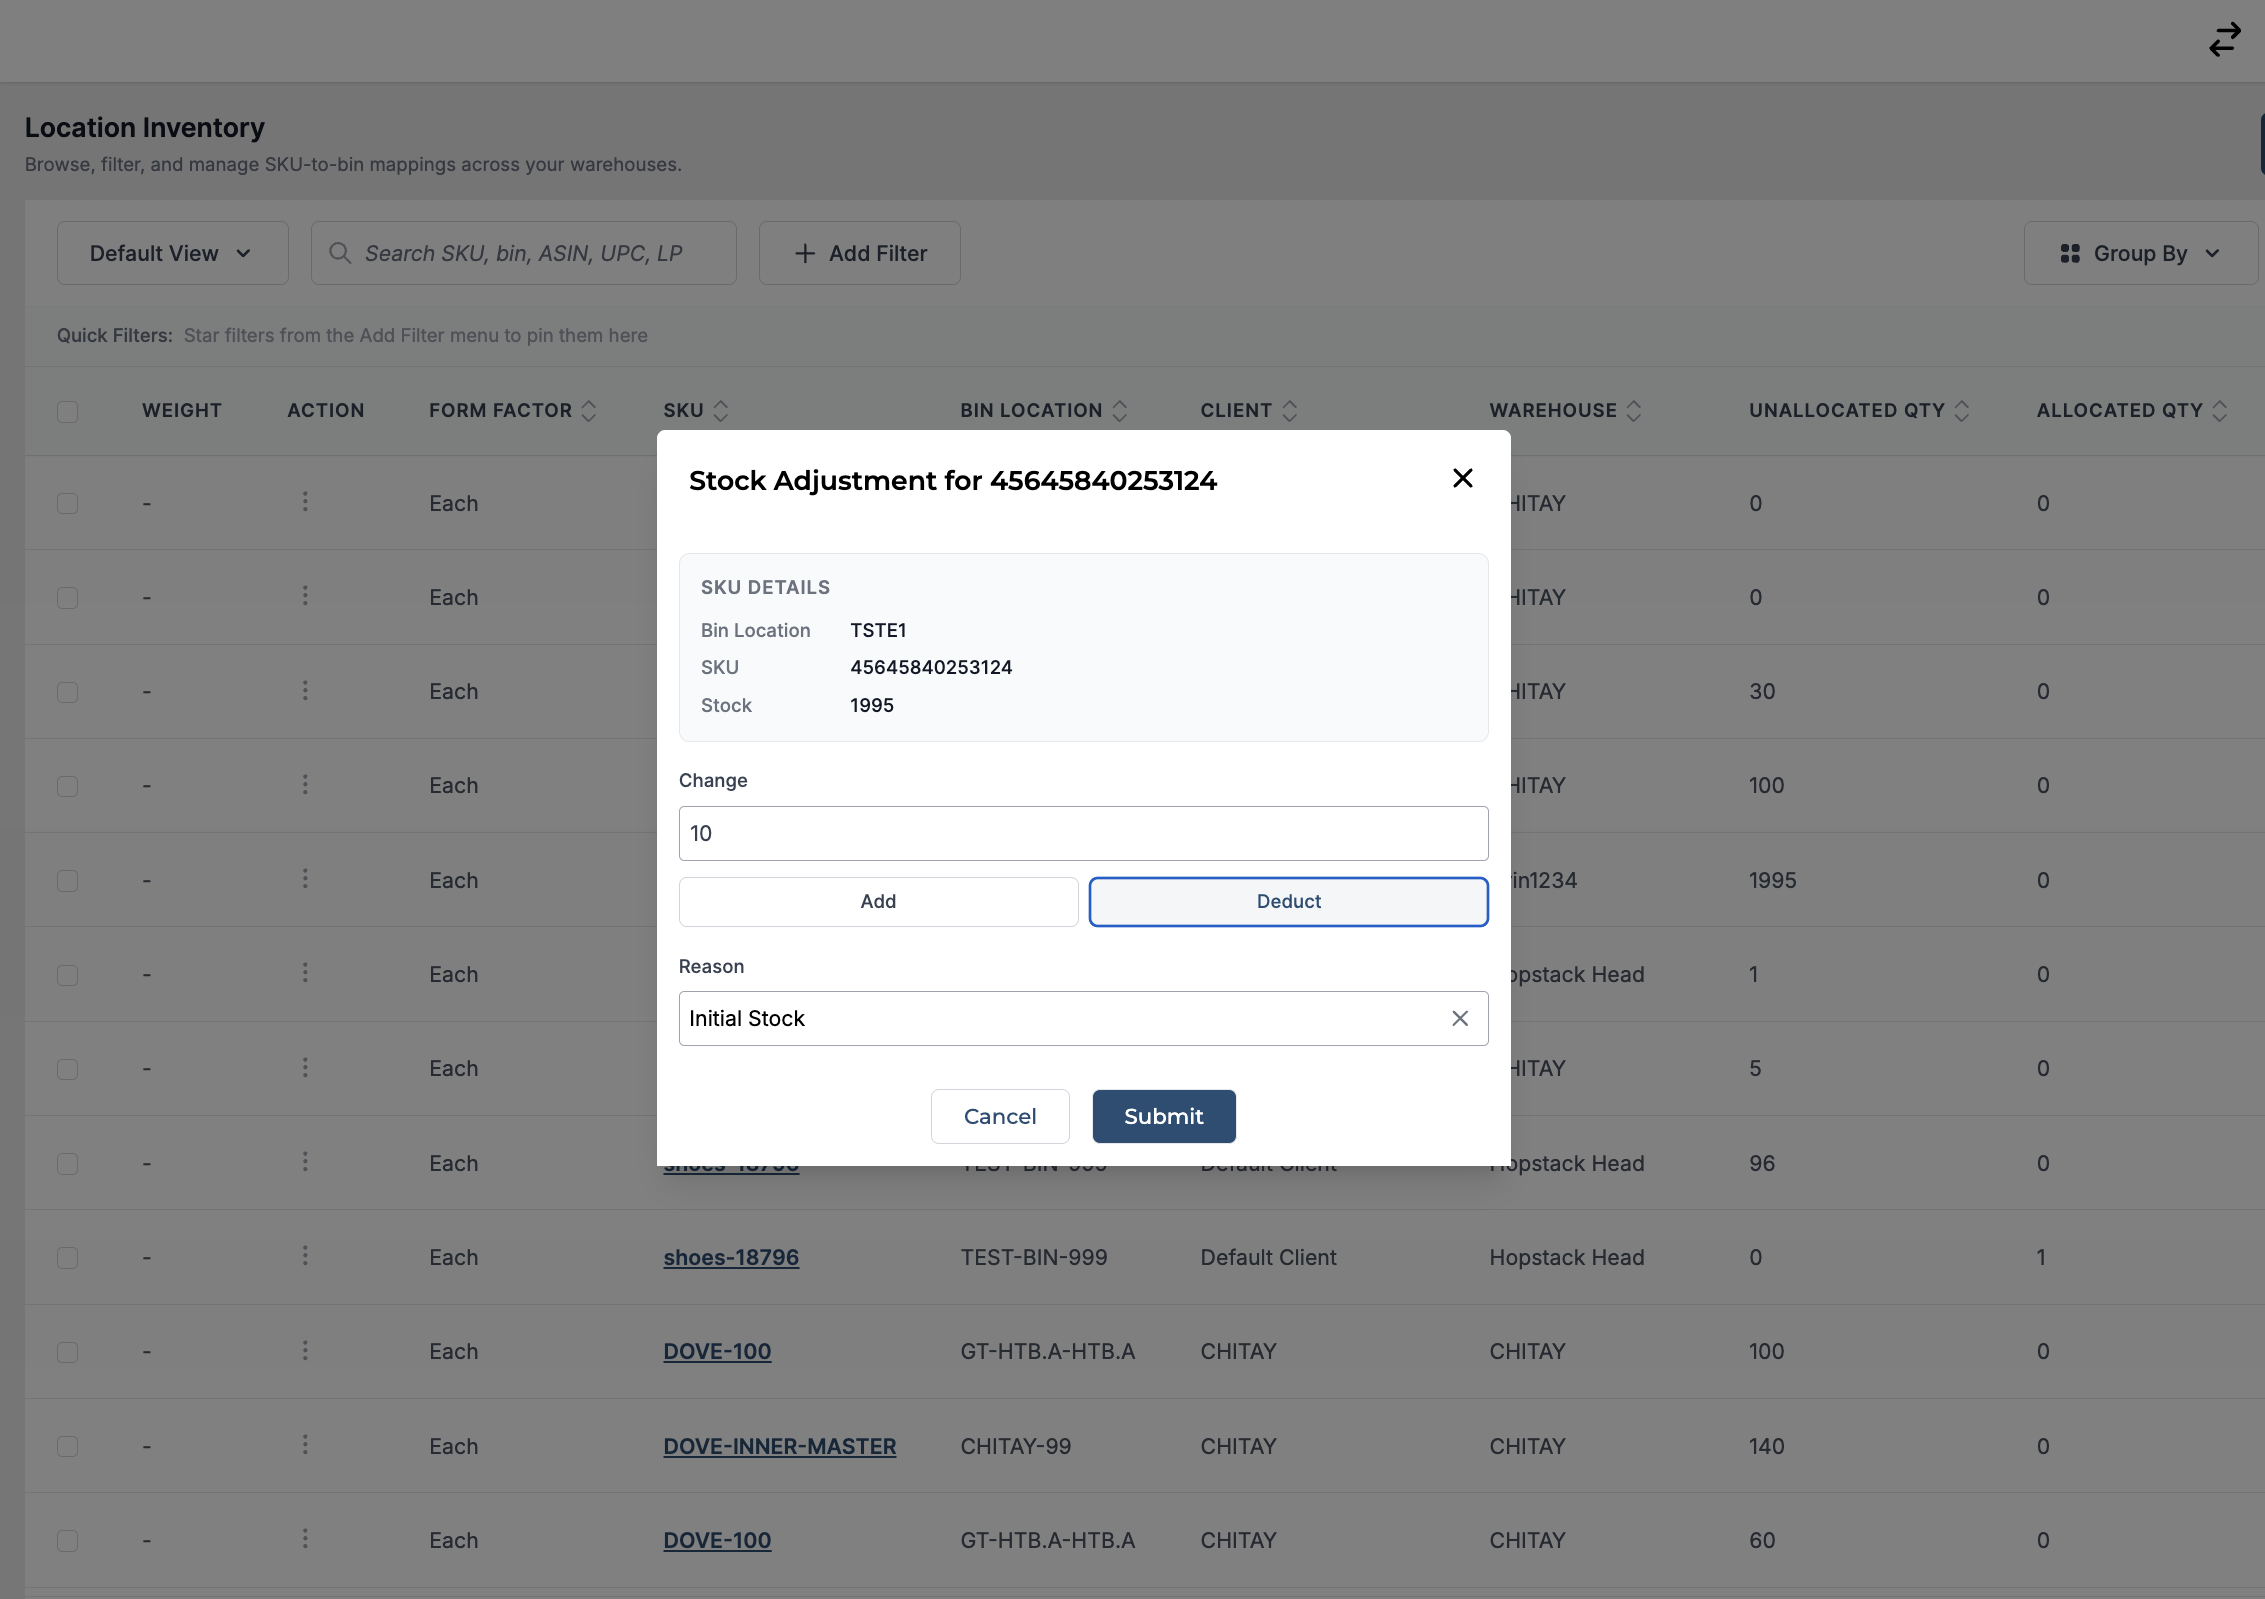
Now in the pop-up, you can either add or deduct the stock and provide the reason for it by selecting the appropriate reason from the drop-down menu.
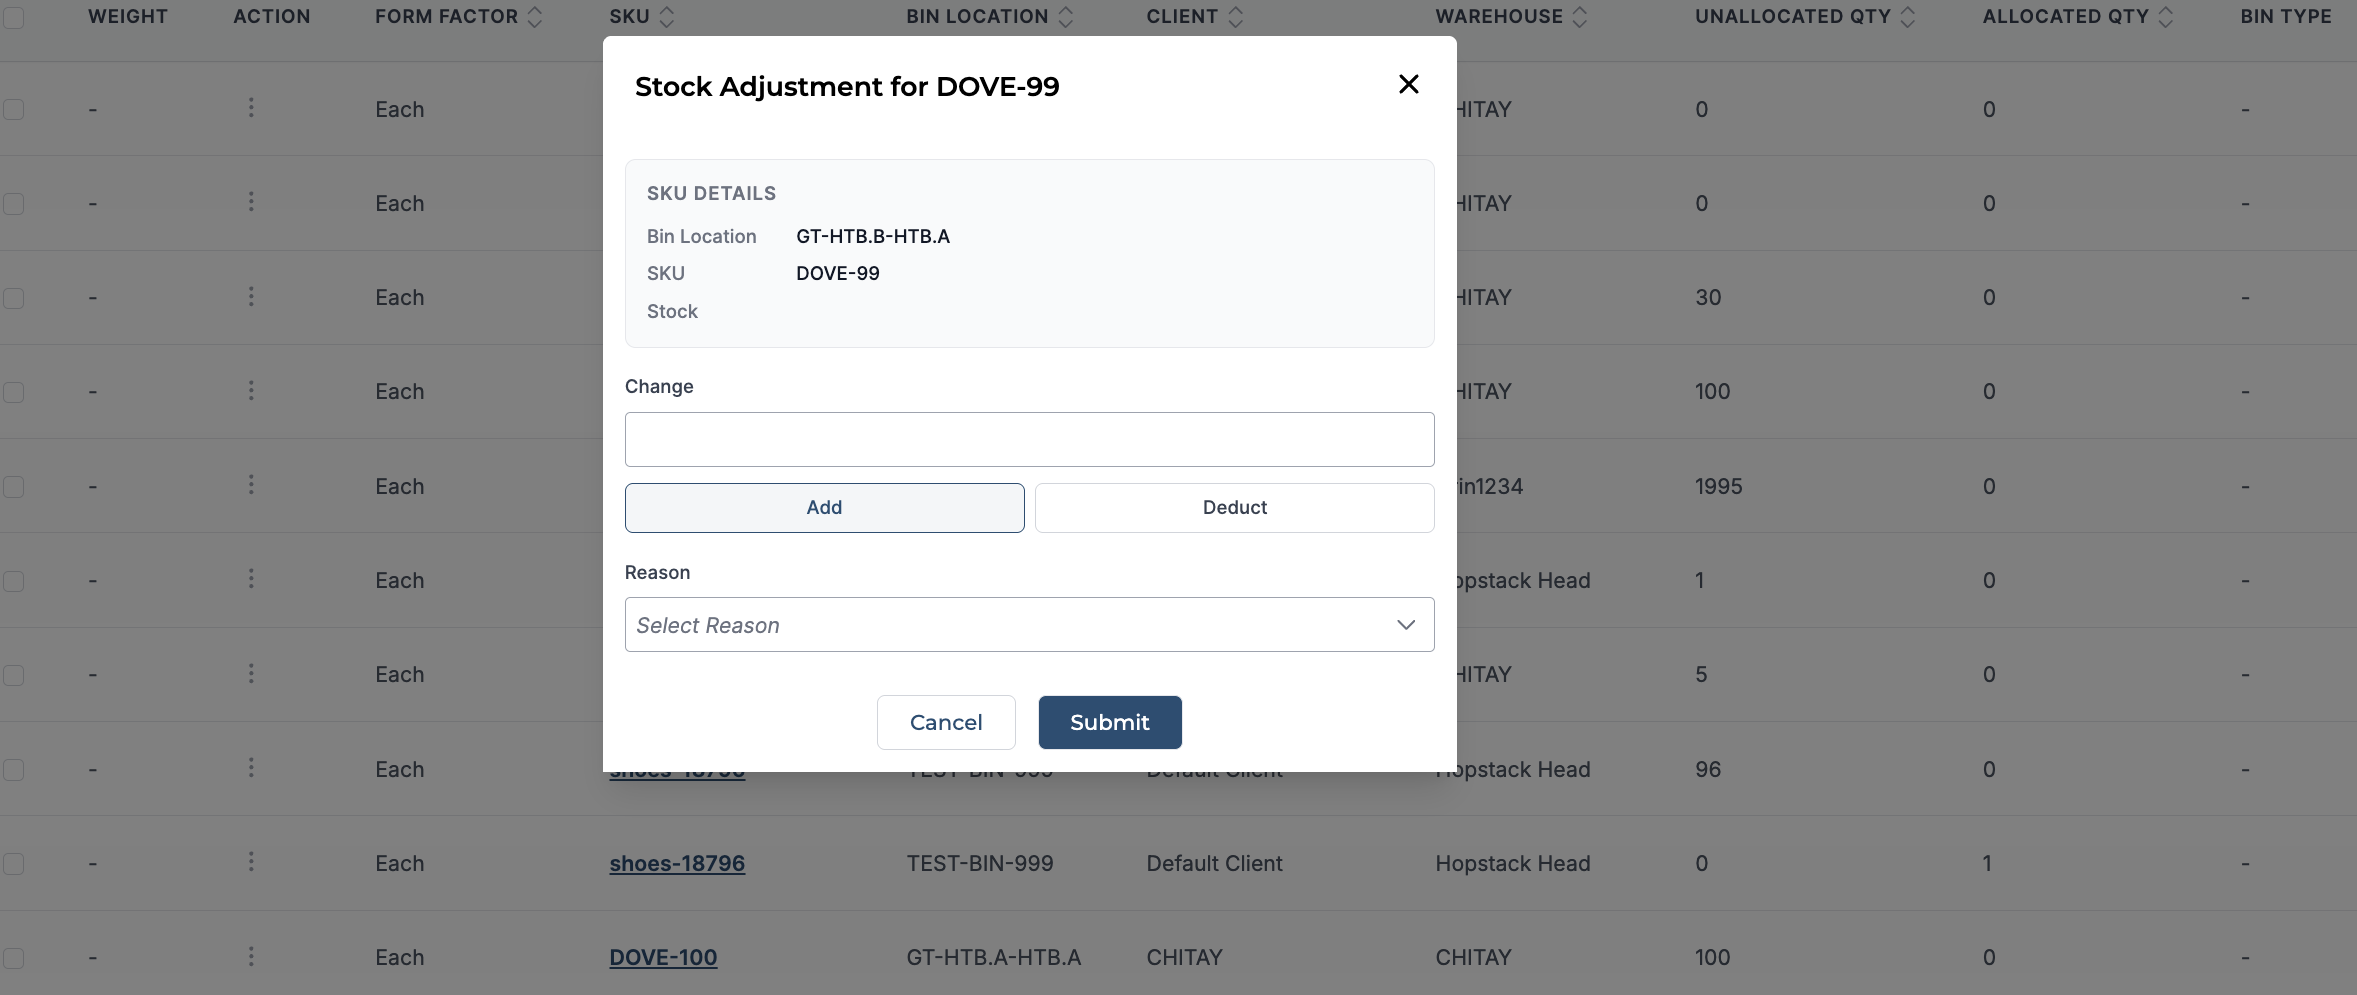
Tip: In order to delete the mapping, check the stock count in the pop-up itself and subtract that. For instance, if the stock count is 2 then you need to write "-2" to make the stock count 0.
If you are selecting "Other" from the drop-down menu, you need to write the reason for it.
Click on the submit button after reviewing the details to submit the change.
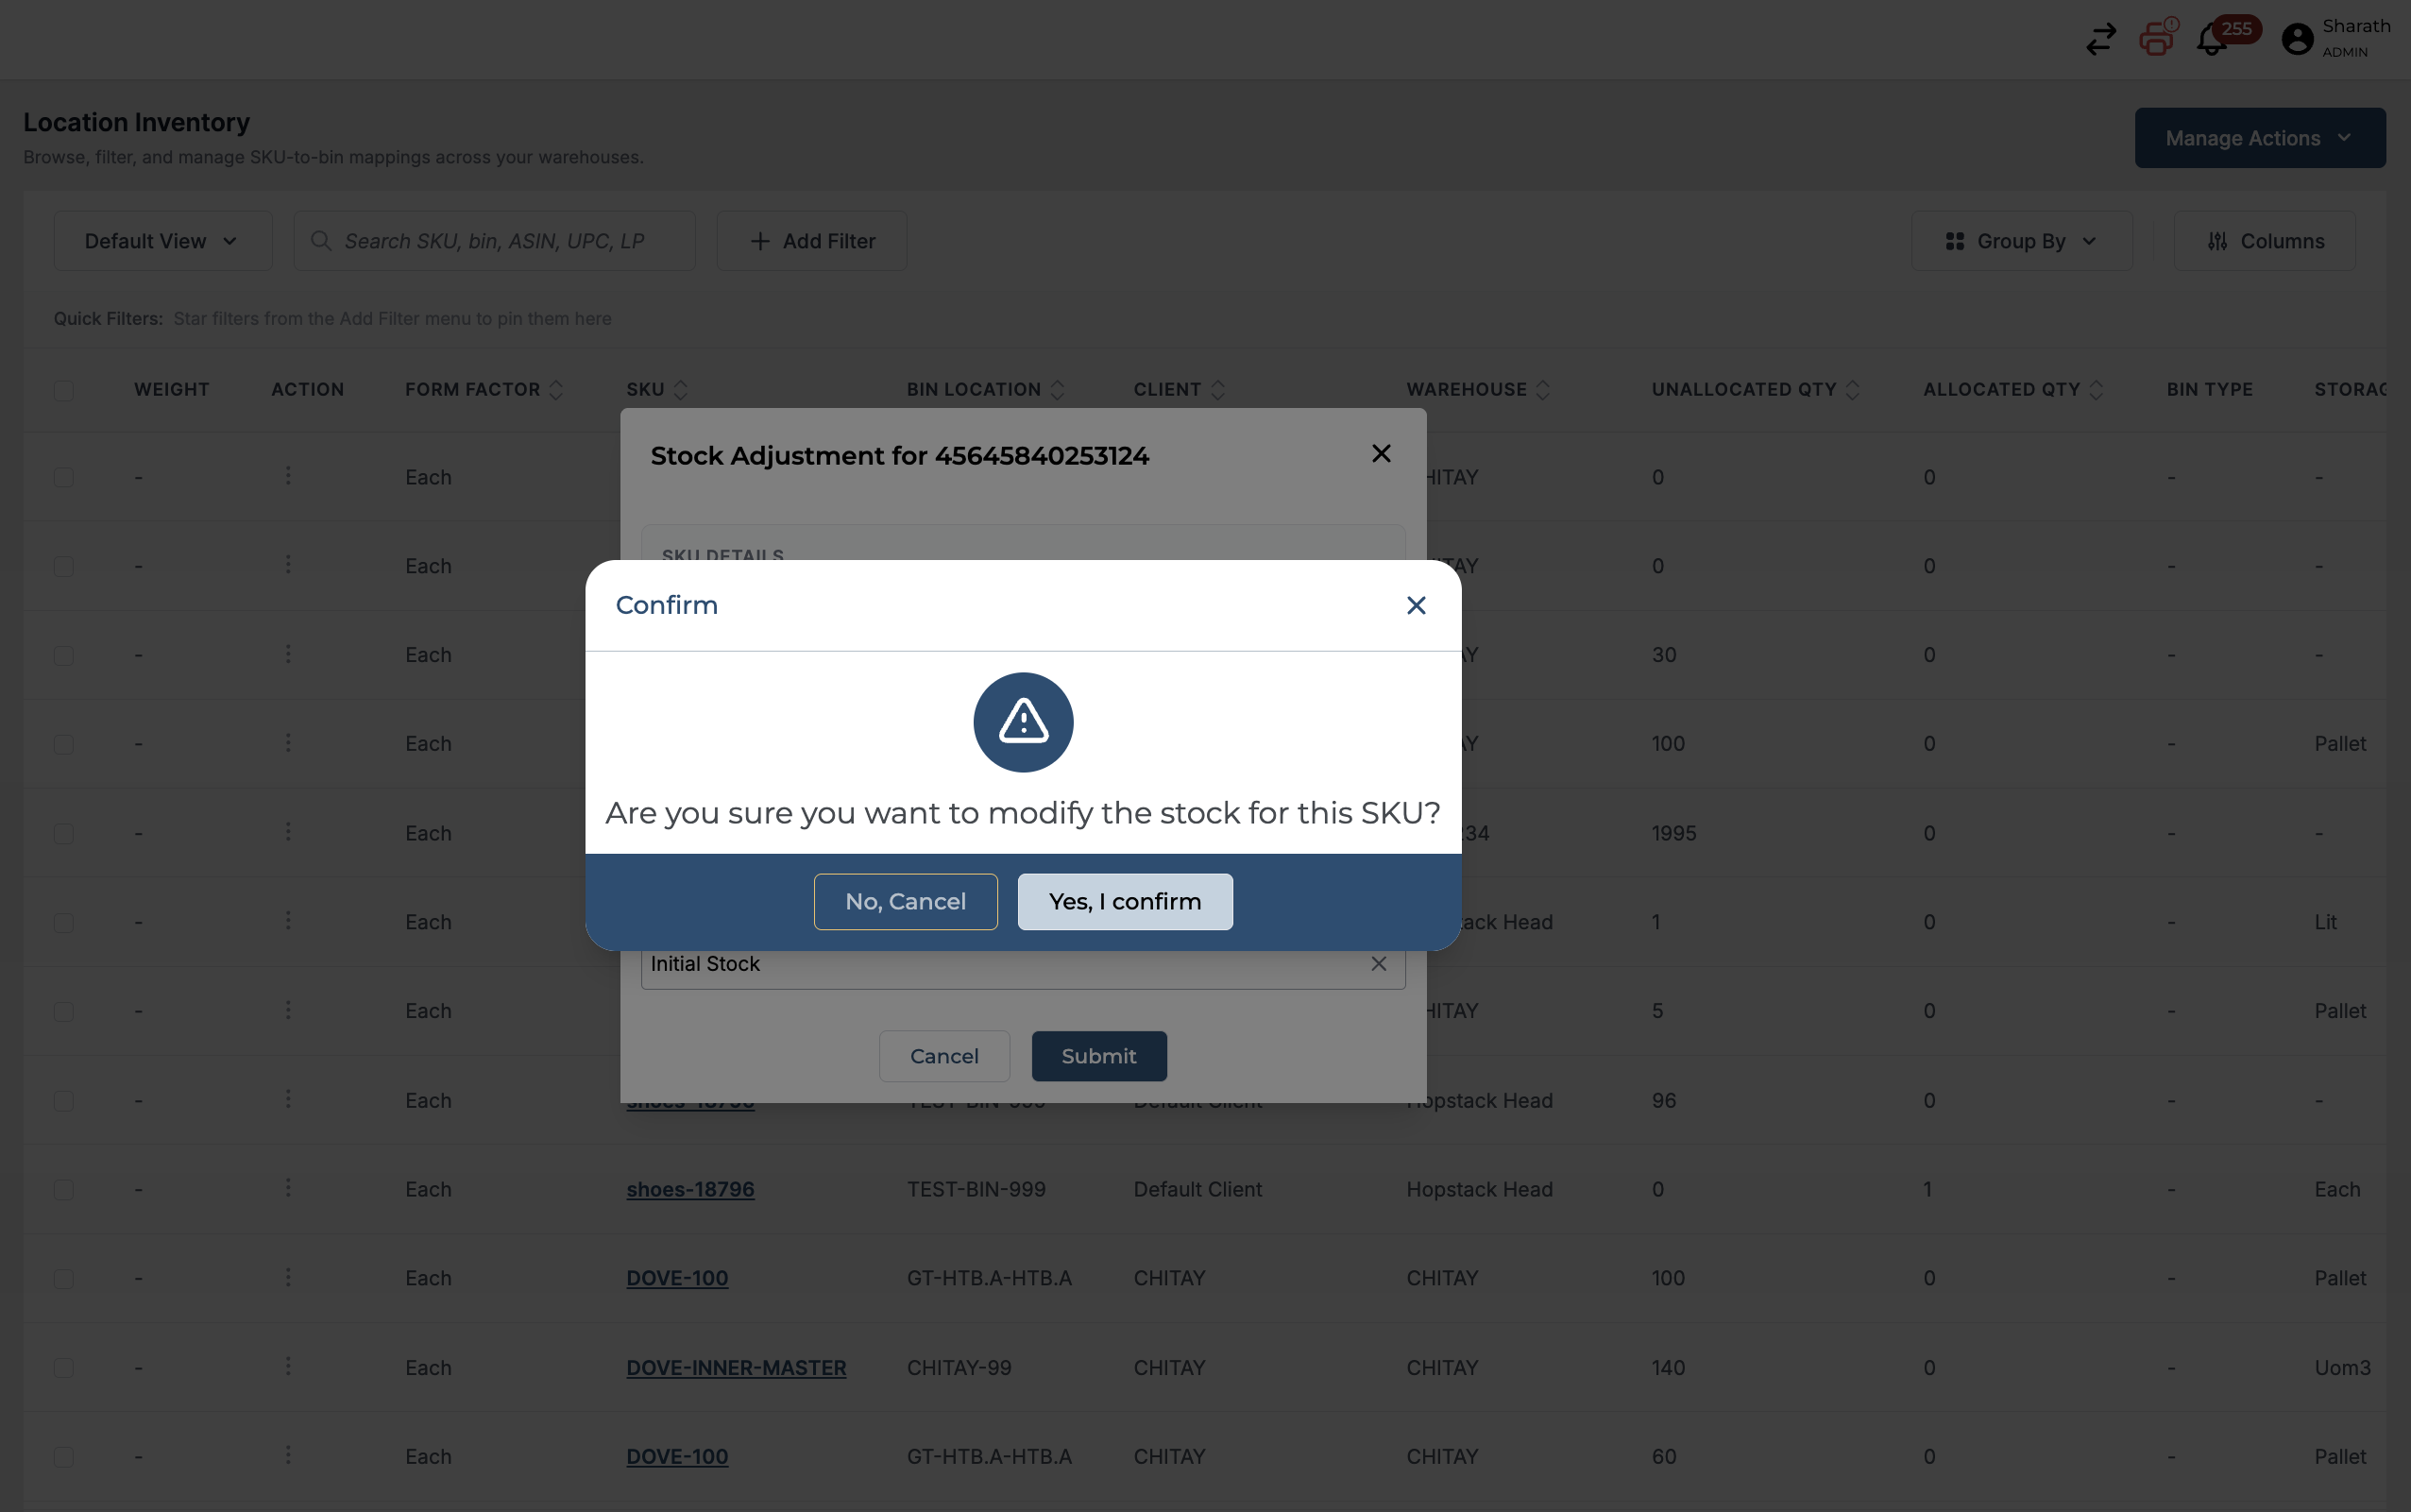
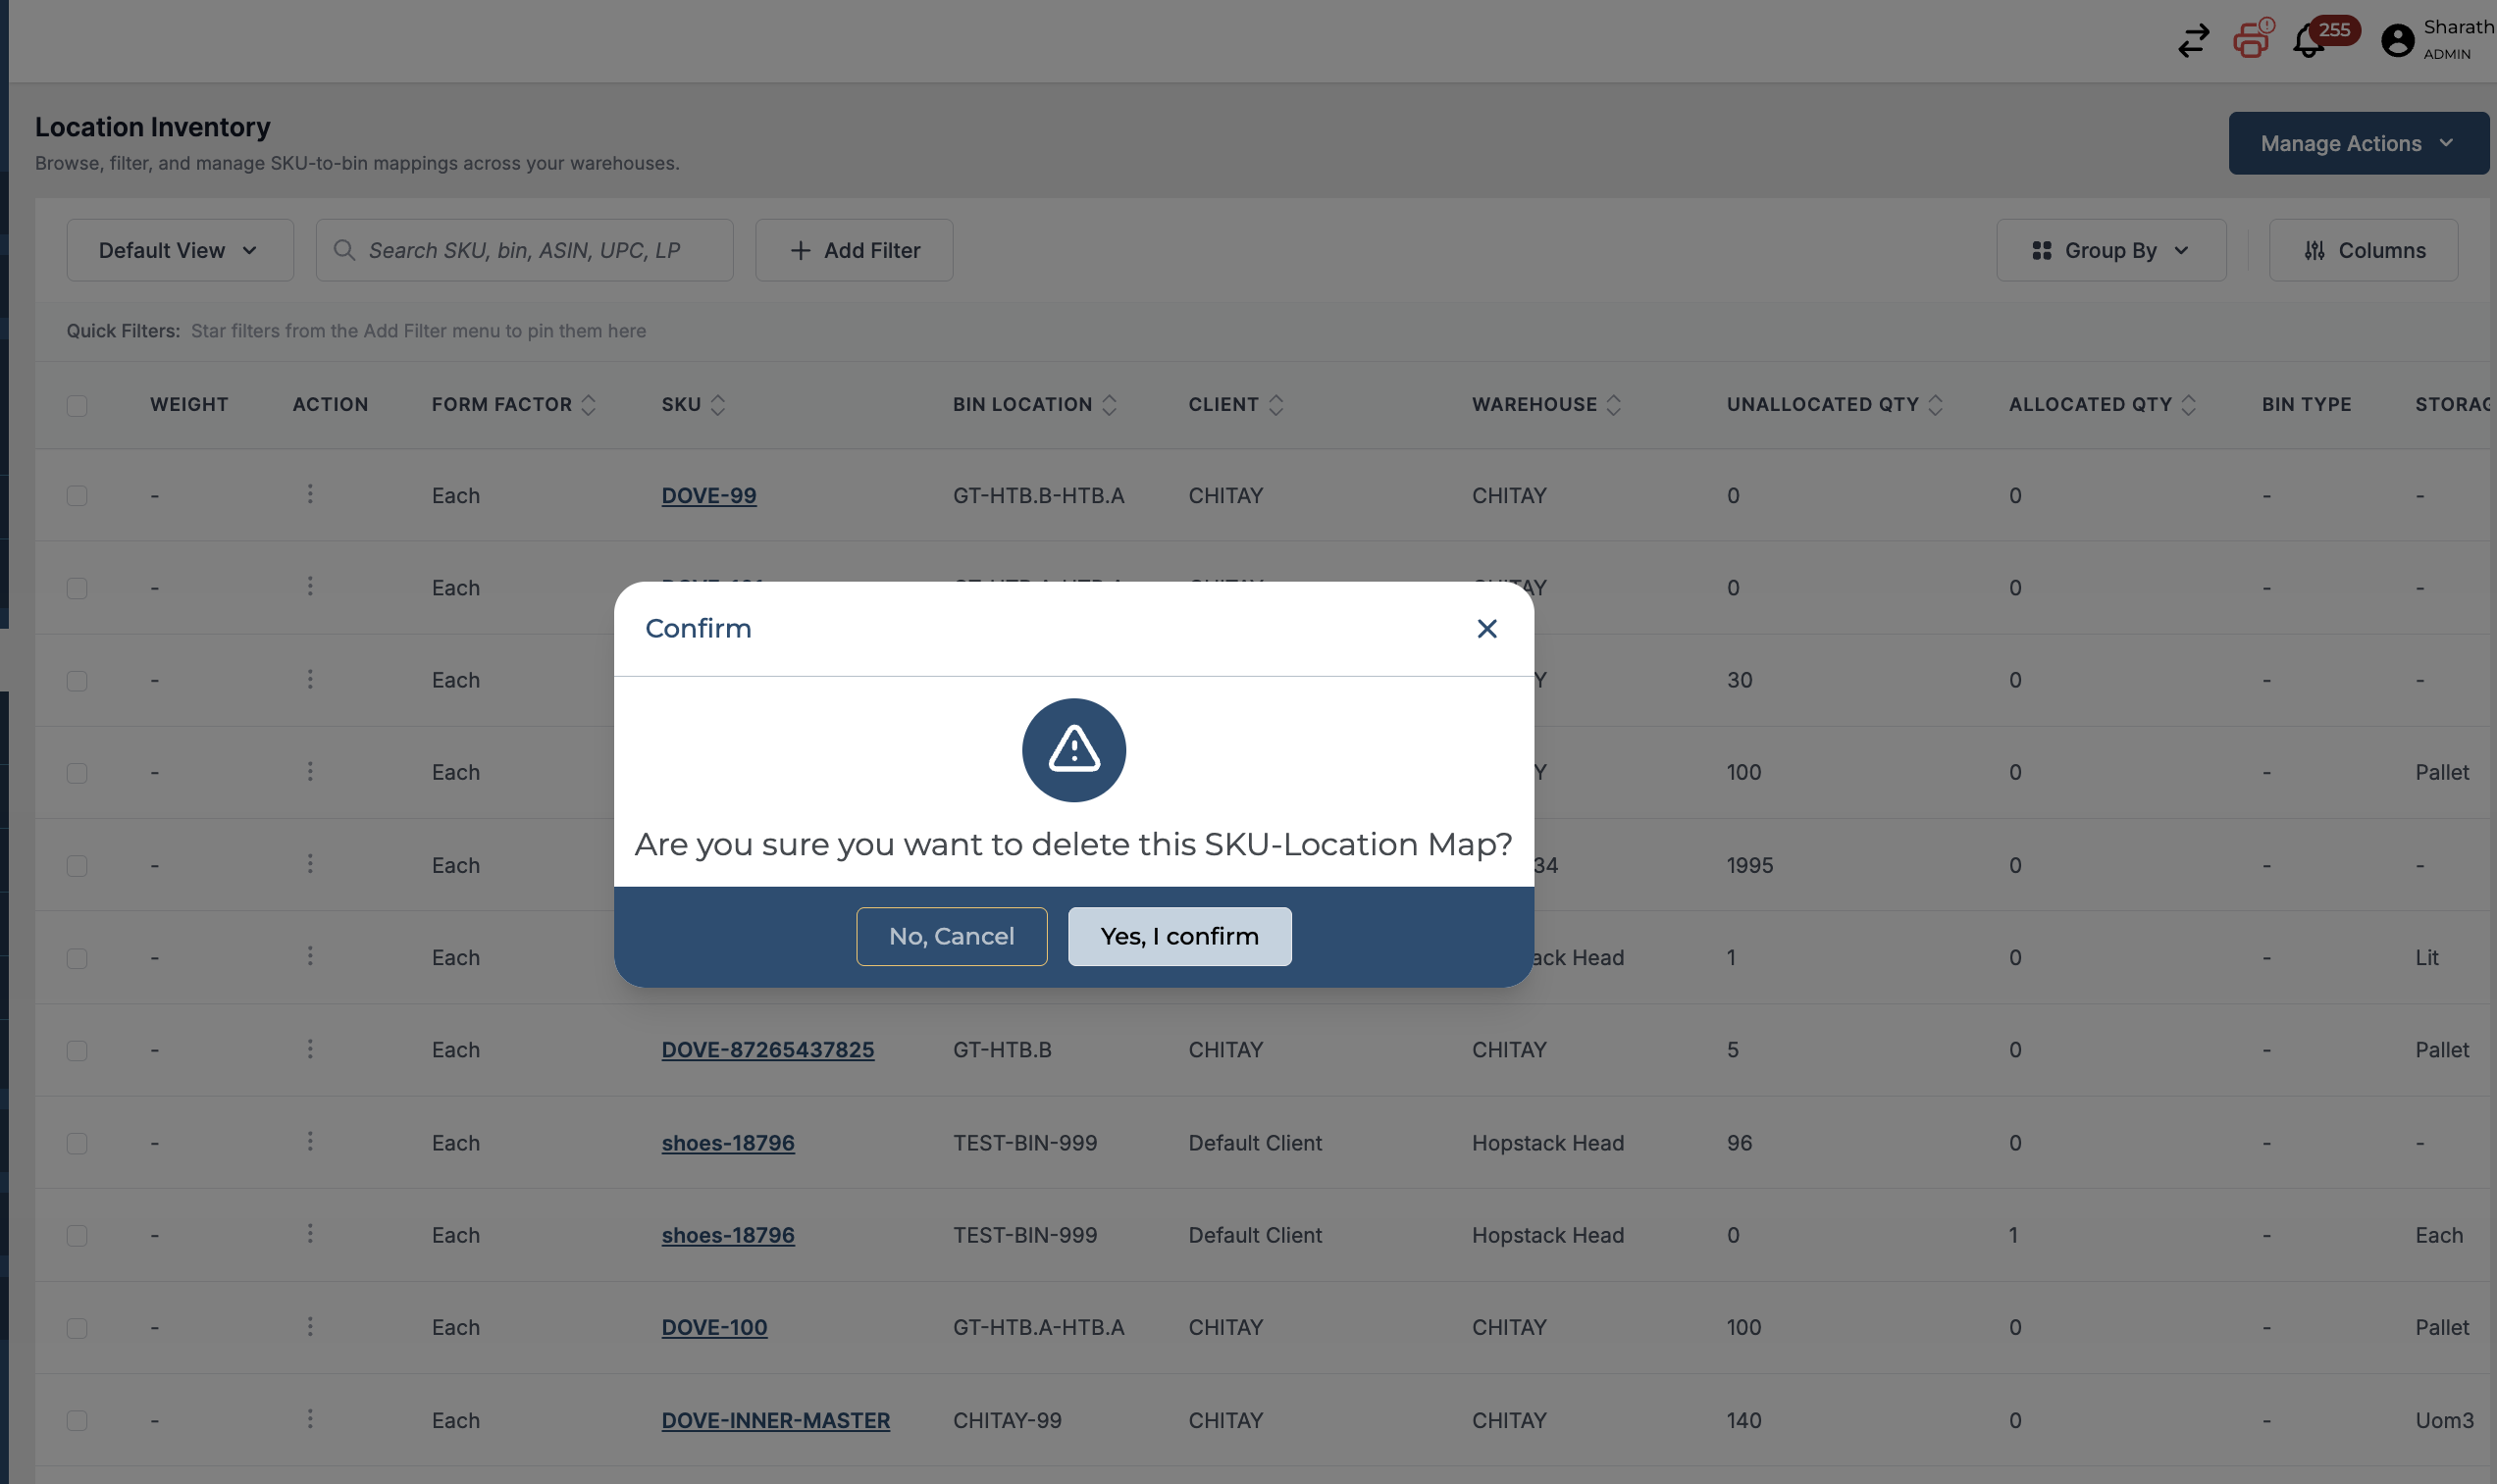
Click on the "Yes, I confirm" button.
Click on the bucket icon to delete the SKU-Bin Map.
Click on the "Yes, I confirm" button to delete.
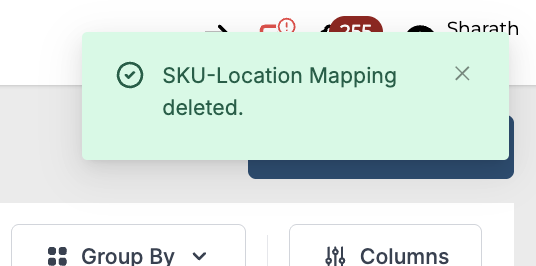
The "SKU-Location Mapping deleted." message confirms the deletion.
Please note now you should be able to search the mapping by following these terms:
1. SKU
2. Location
3. LPN