
-
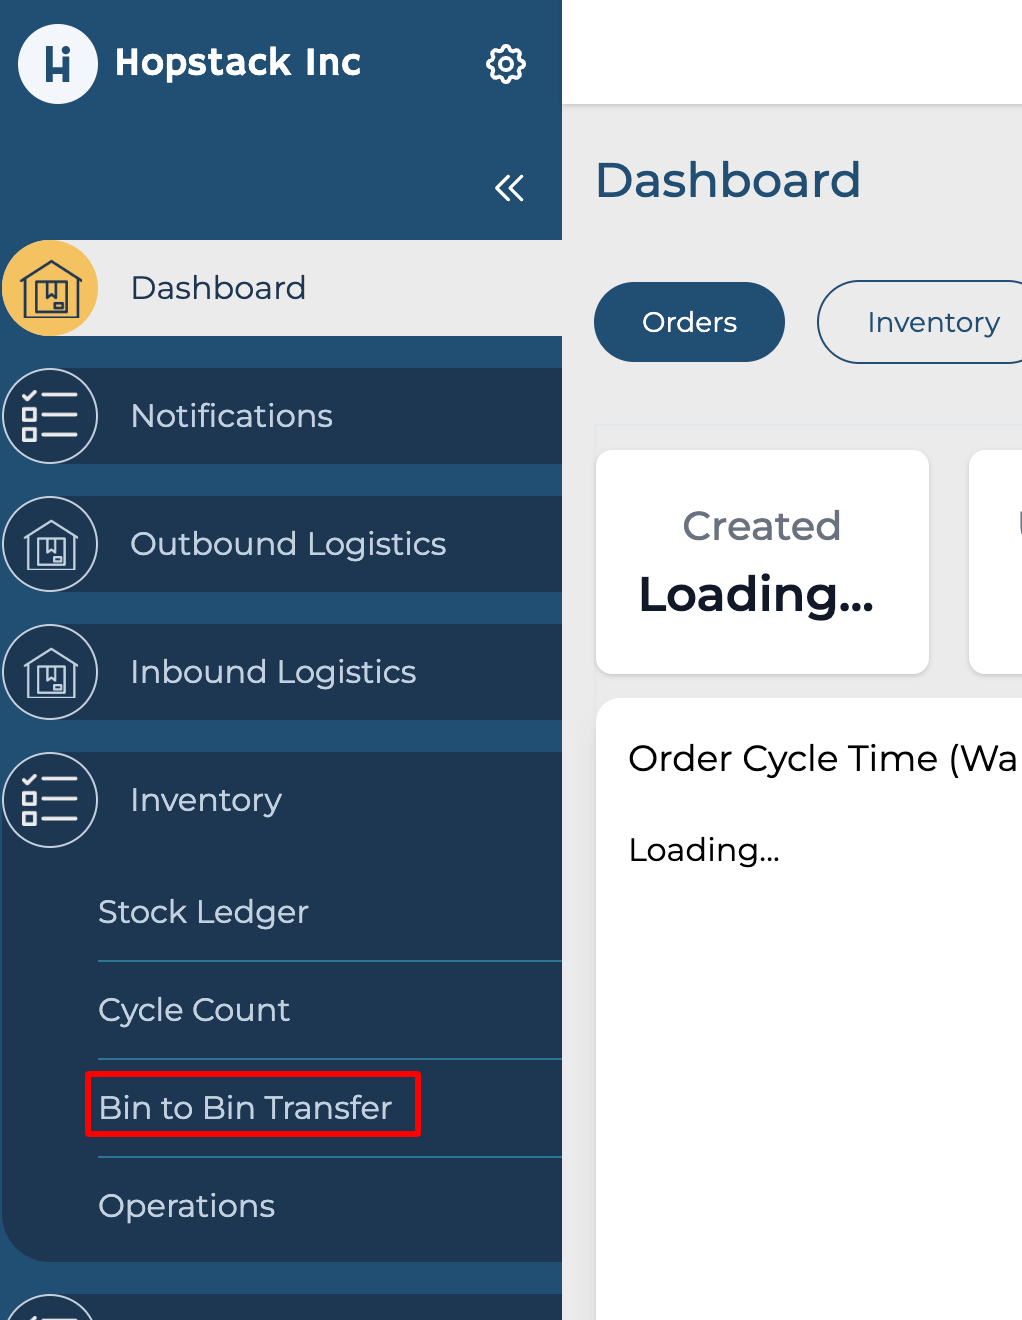
Navigate to the Hopstack Platform.
-
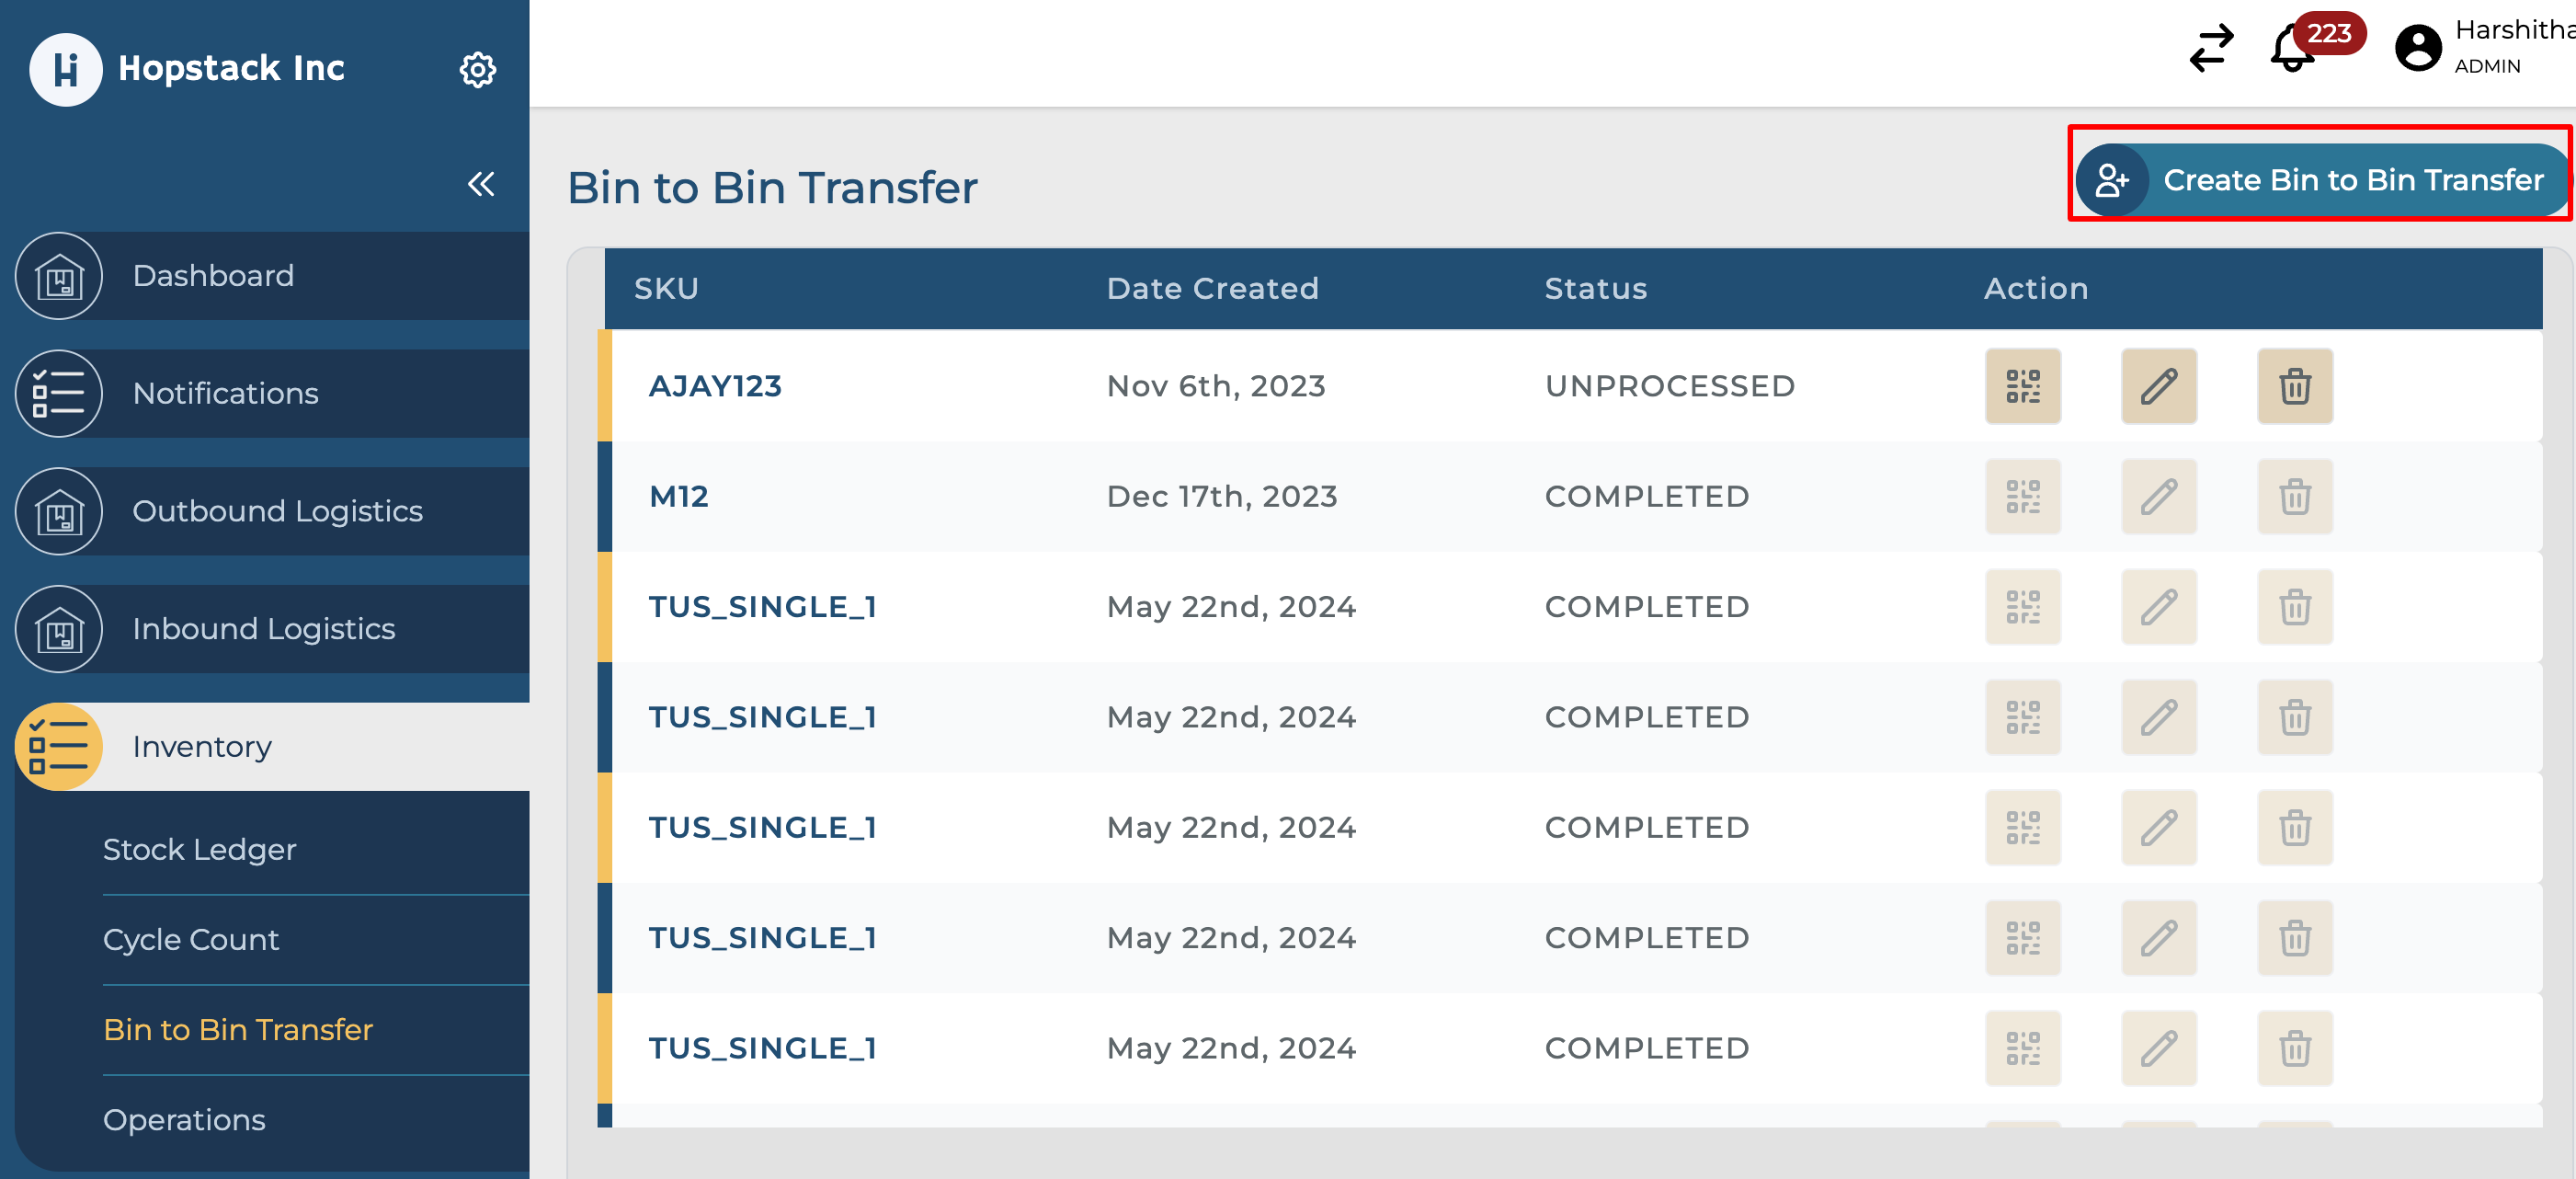
Click on the "Bin to Bin Transfer" option under Inventory from the side menu.
-
Click on the "Create Bin to Bin Transfer" button to start creating the transfer plan.
-
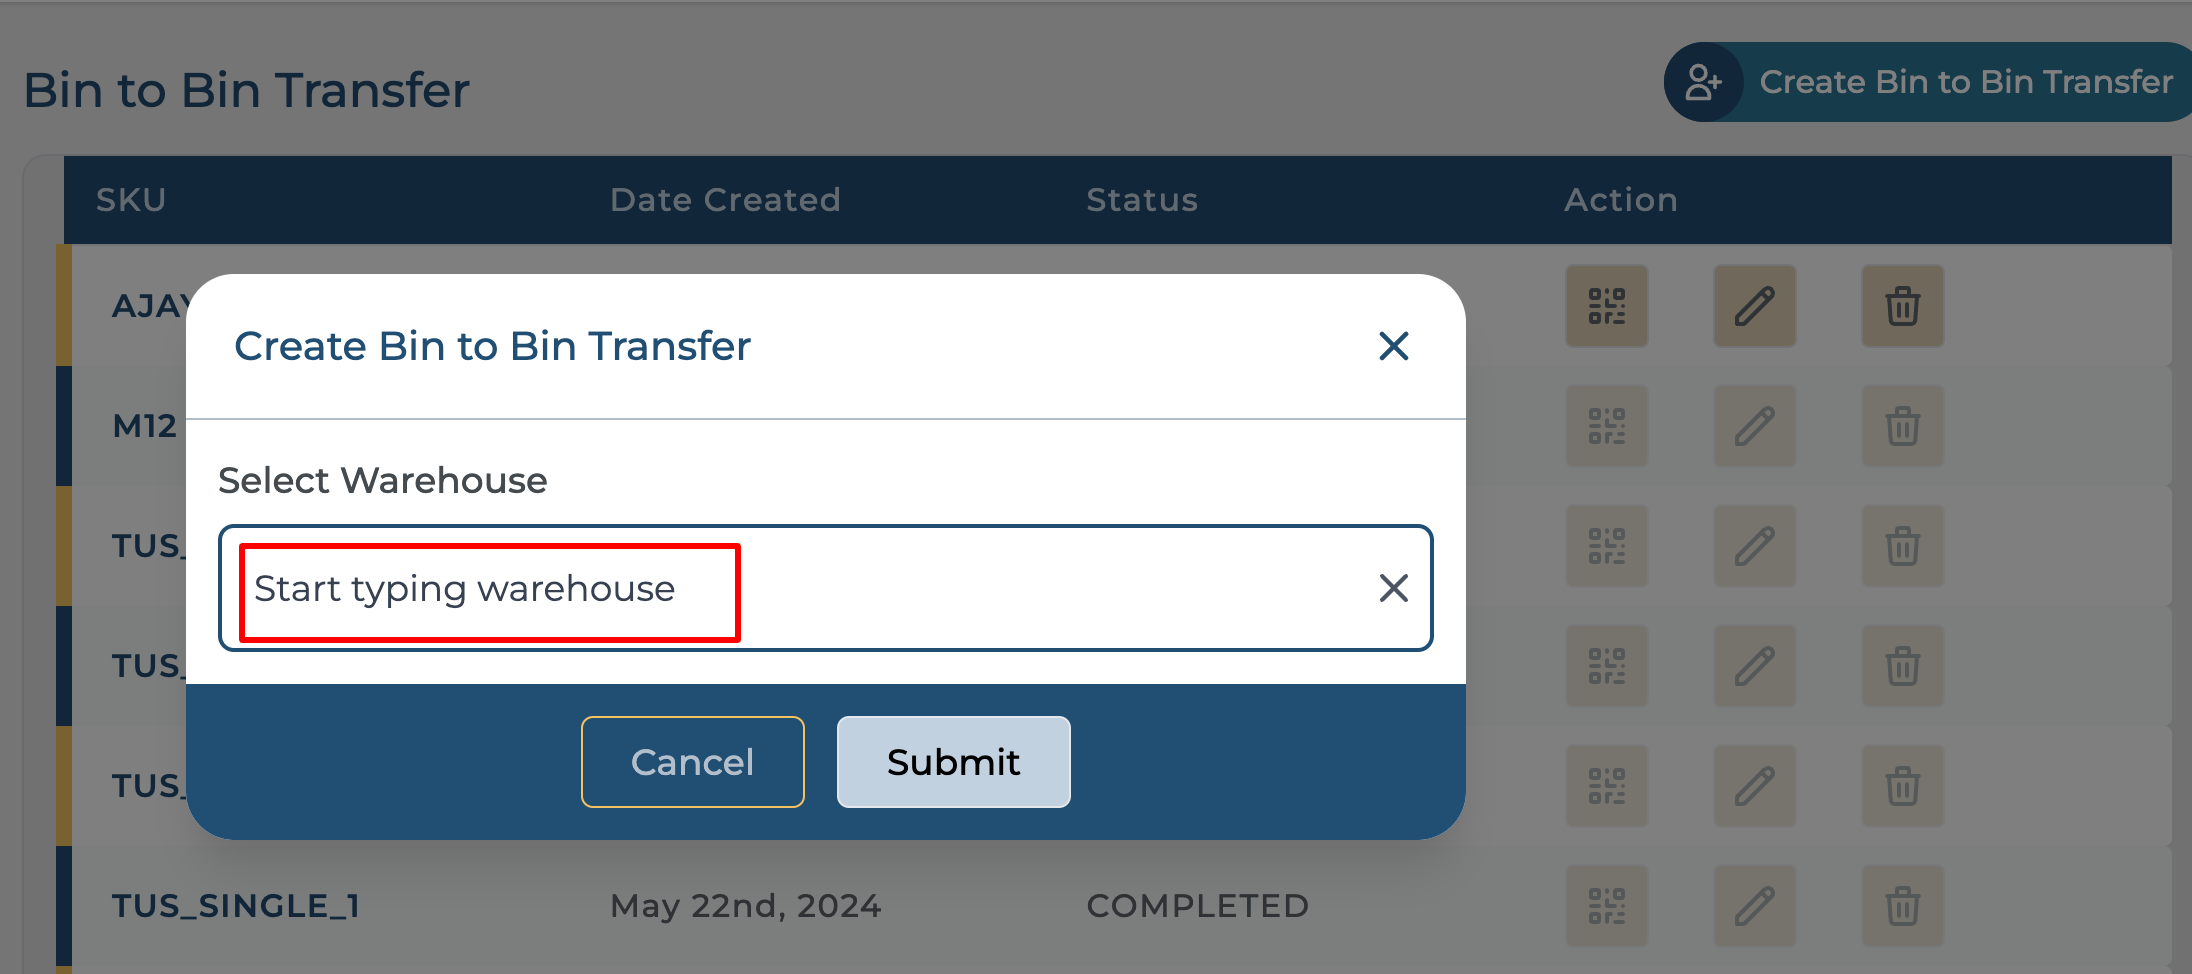
In the pop-up, click on the "Select Warehouse" dropdown menu to select the desired warehouse from where the stock needs to be transferred.
-
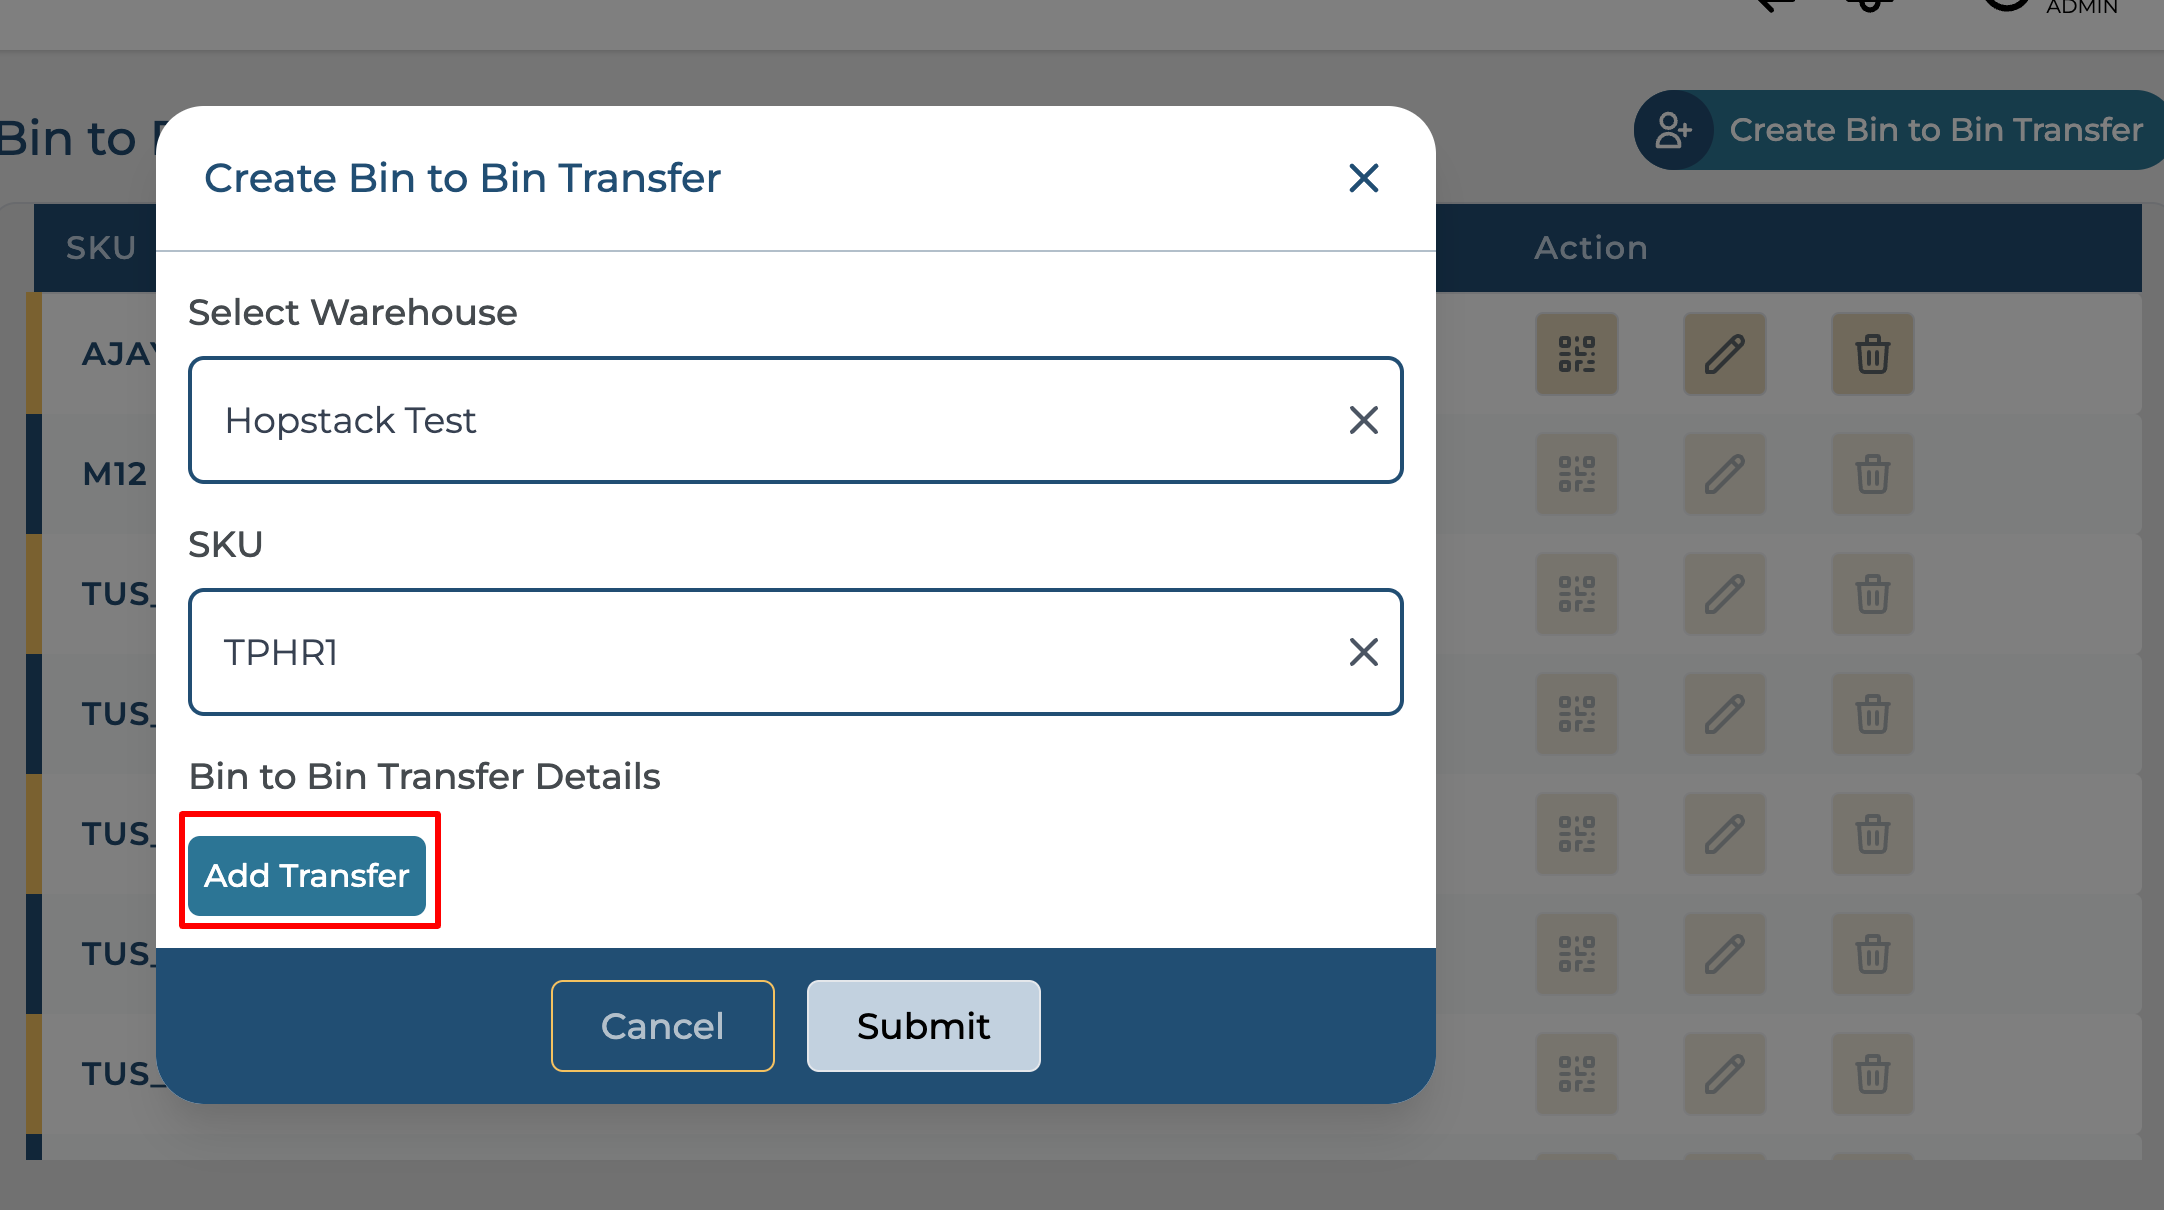
Click on the "SKU" field to search for the SKU you want to transfer.
-
Entering an SKU that doesn't exist will give a "No Bin Locations found!" error. Click cancel.

-
-
Click on the "Add Transfer" button to add the bin to bin transfer details.
-
Select the "From" and "To" bin locations from the dropdown menus.
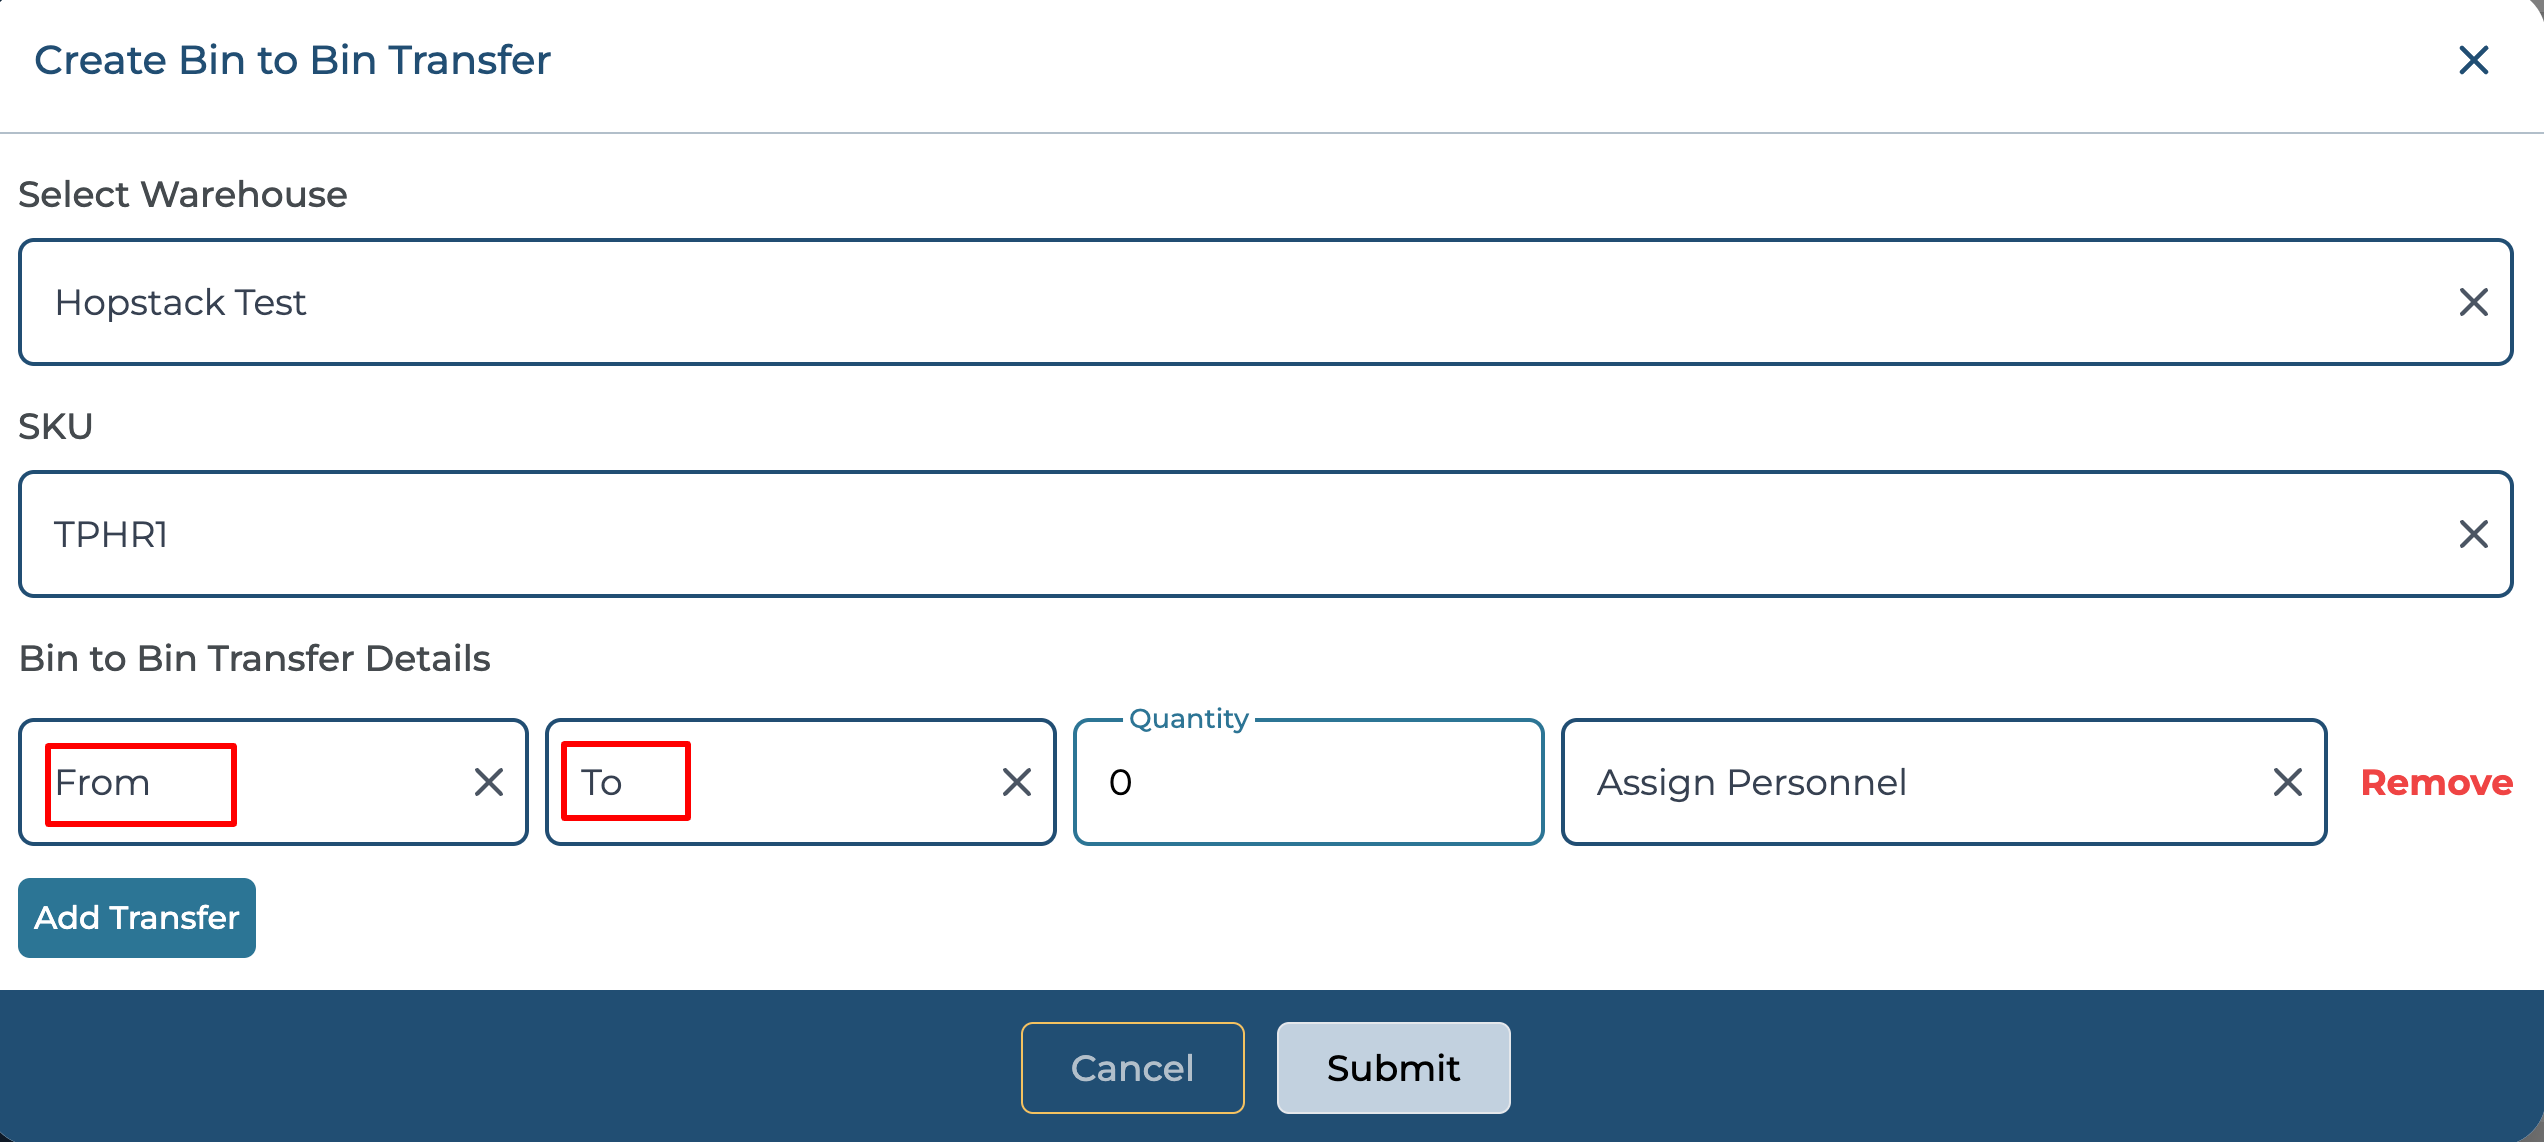
-
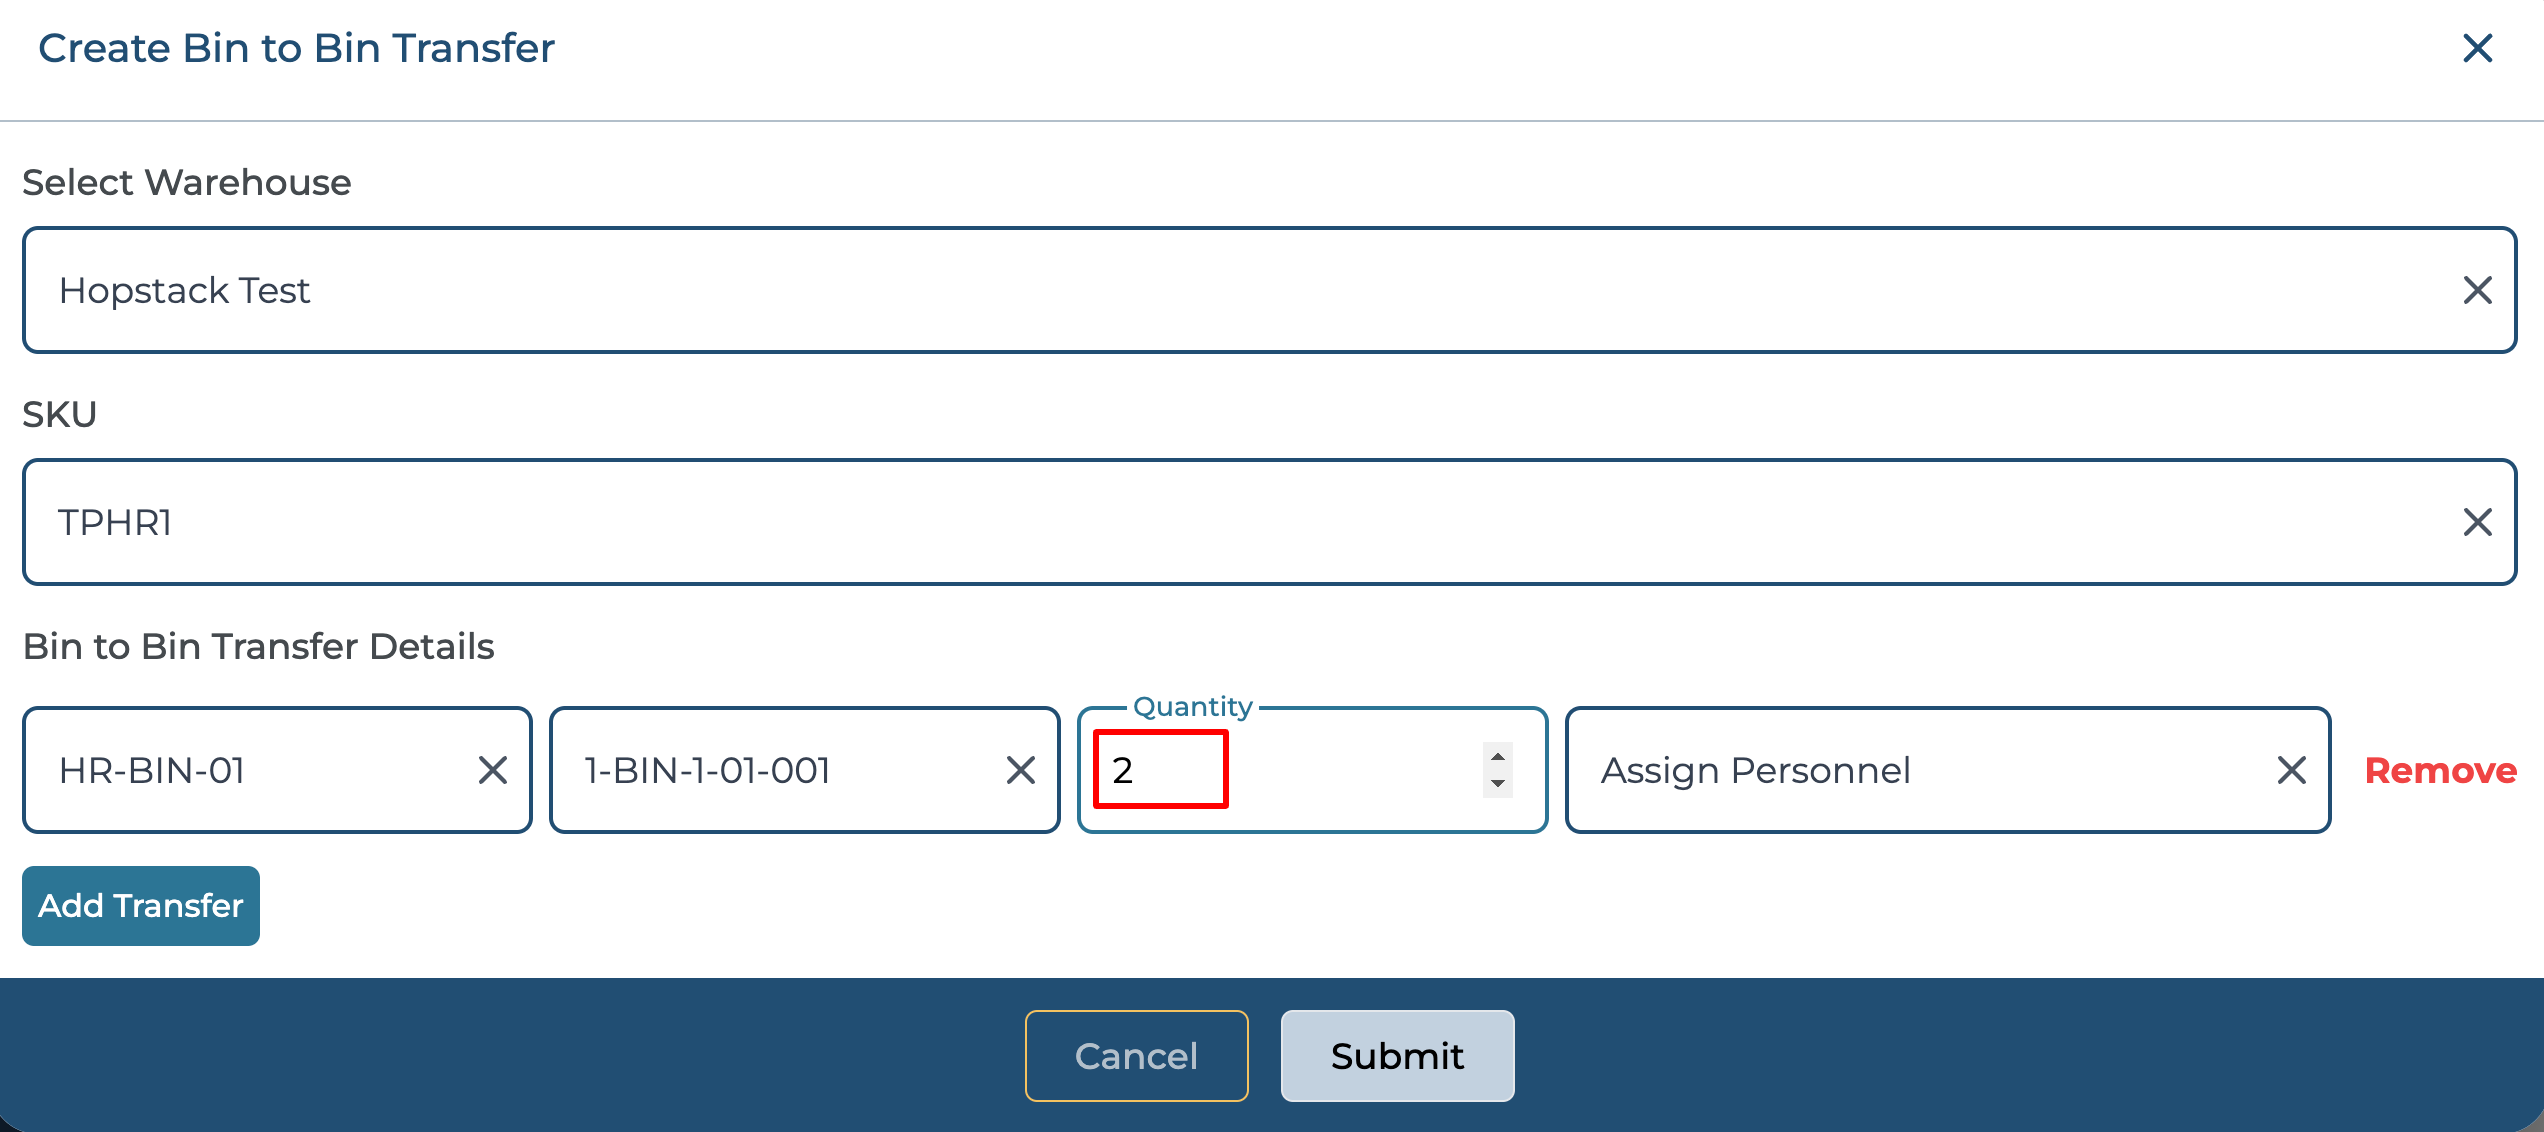
Click the "Quantity" field. Select the quantity to be transferred.
-
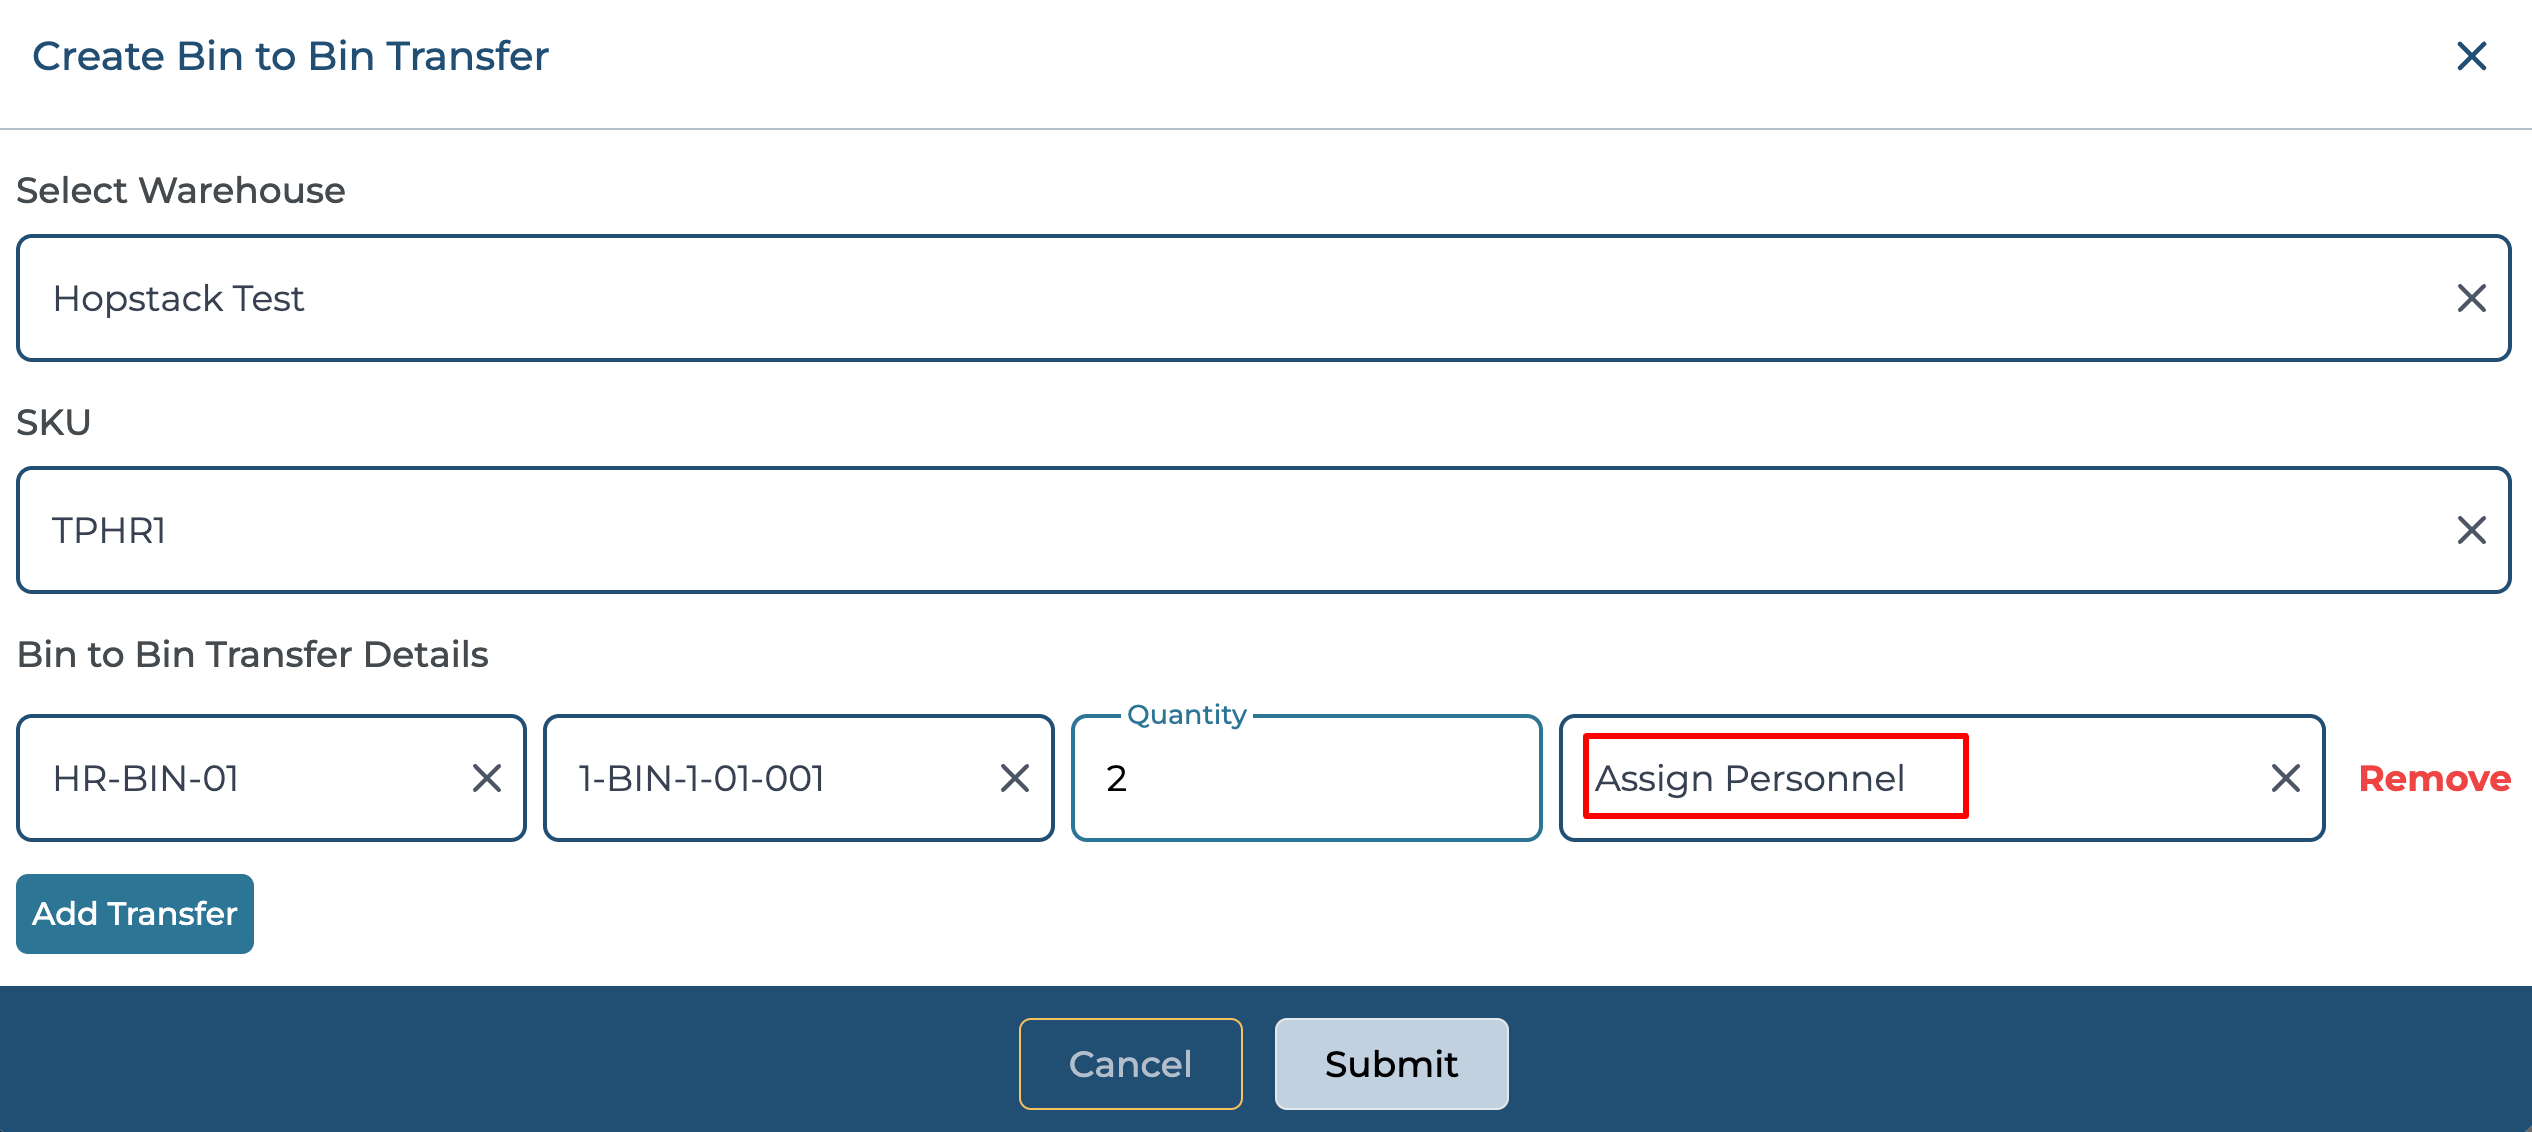
Select the assigned personnel from the dropdown menu.
-
Click the Add transfer button to create more transfer plans for the same SKU.

-
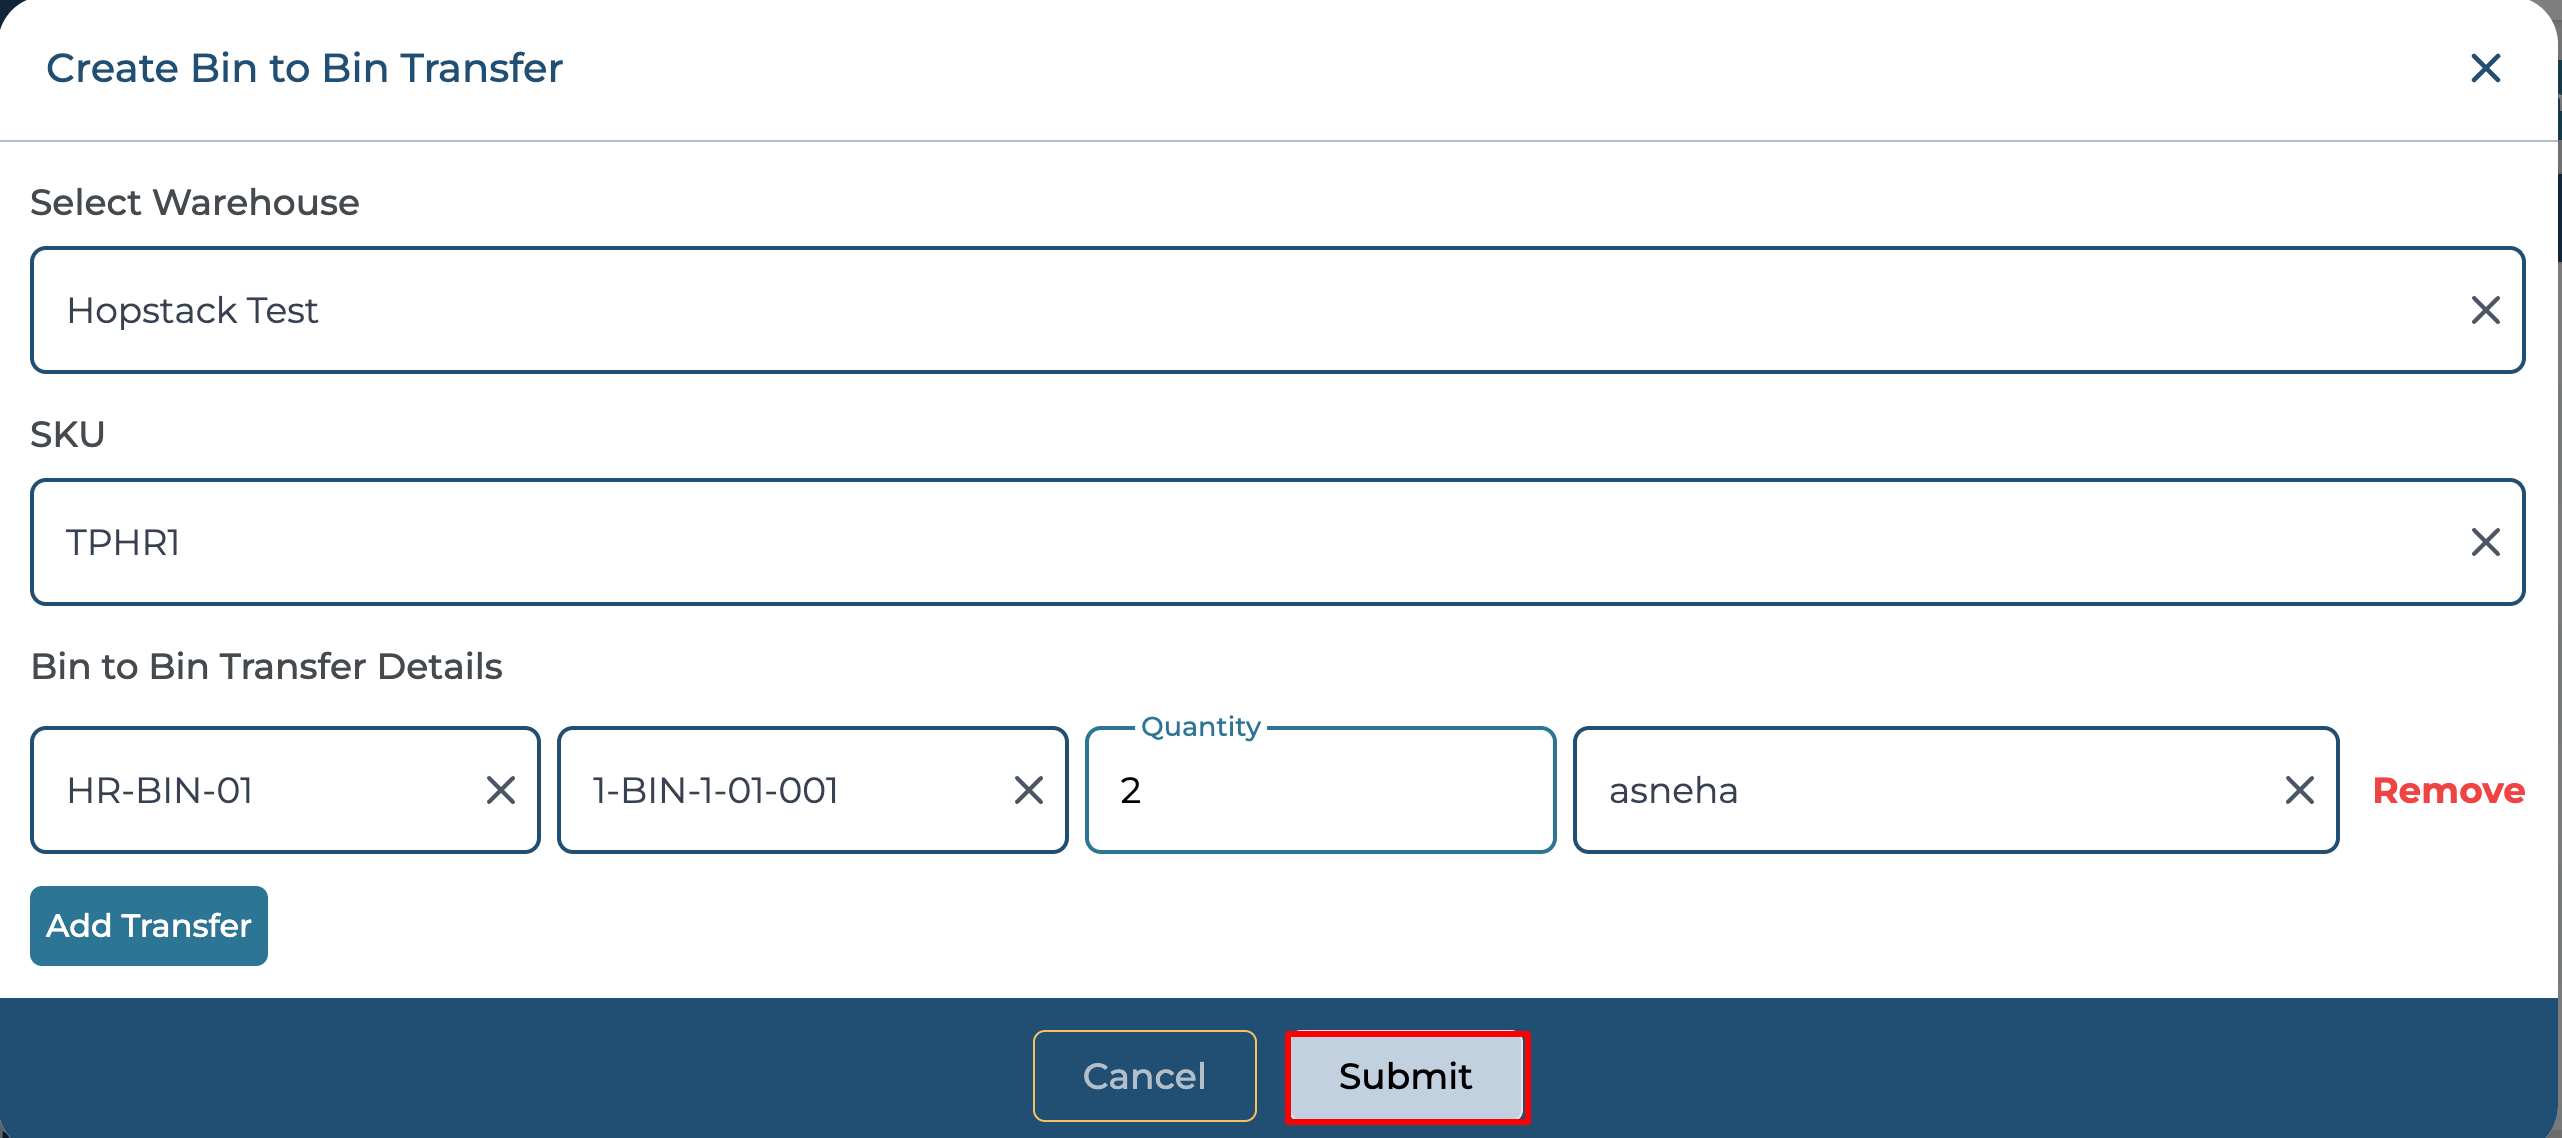
Click on the "Submit" button.
-
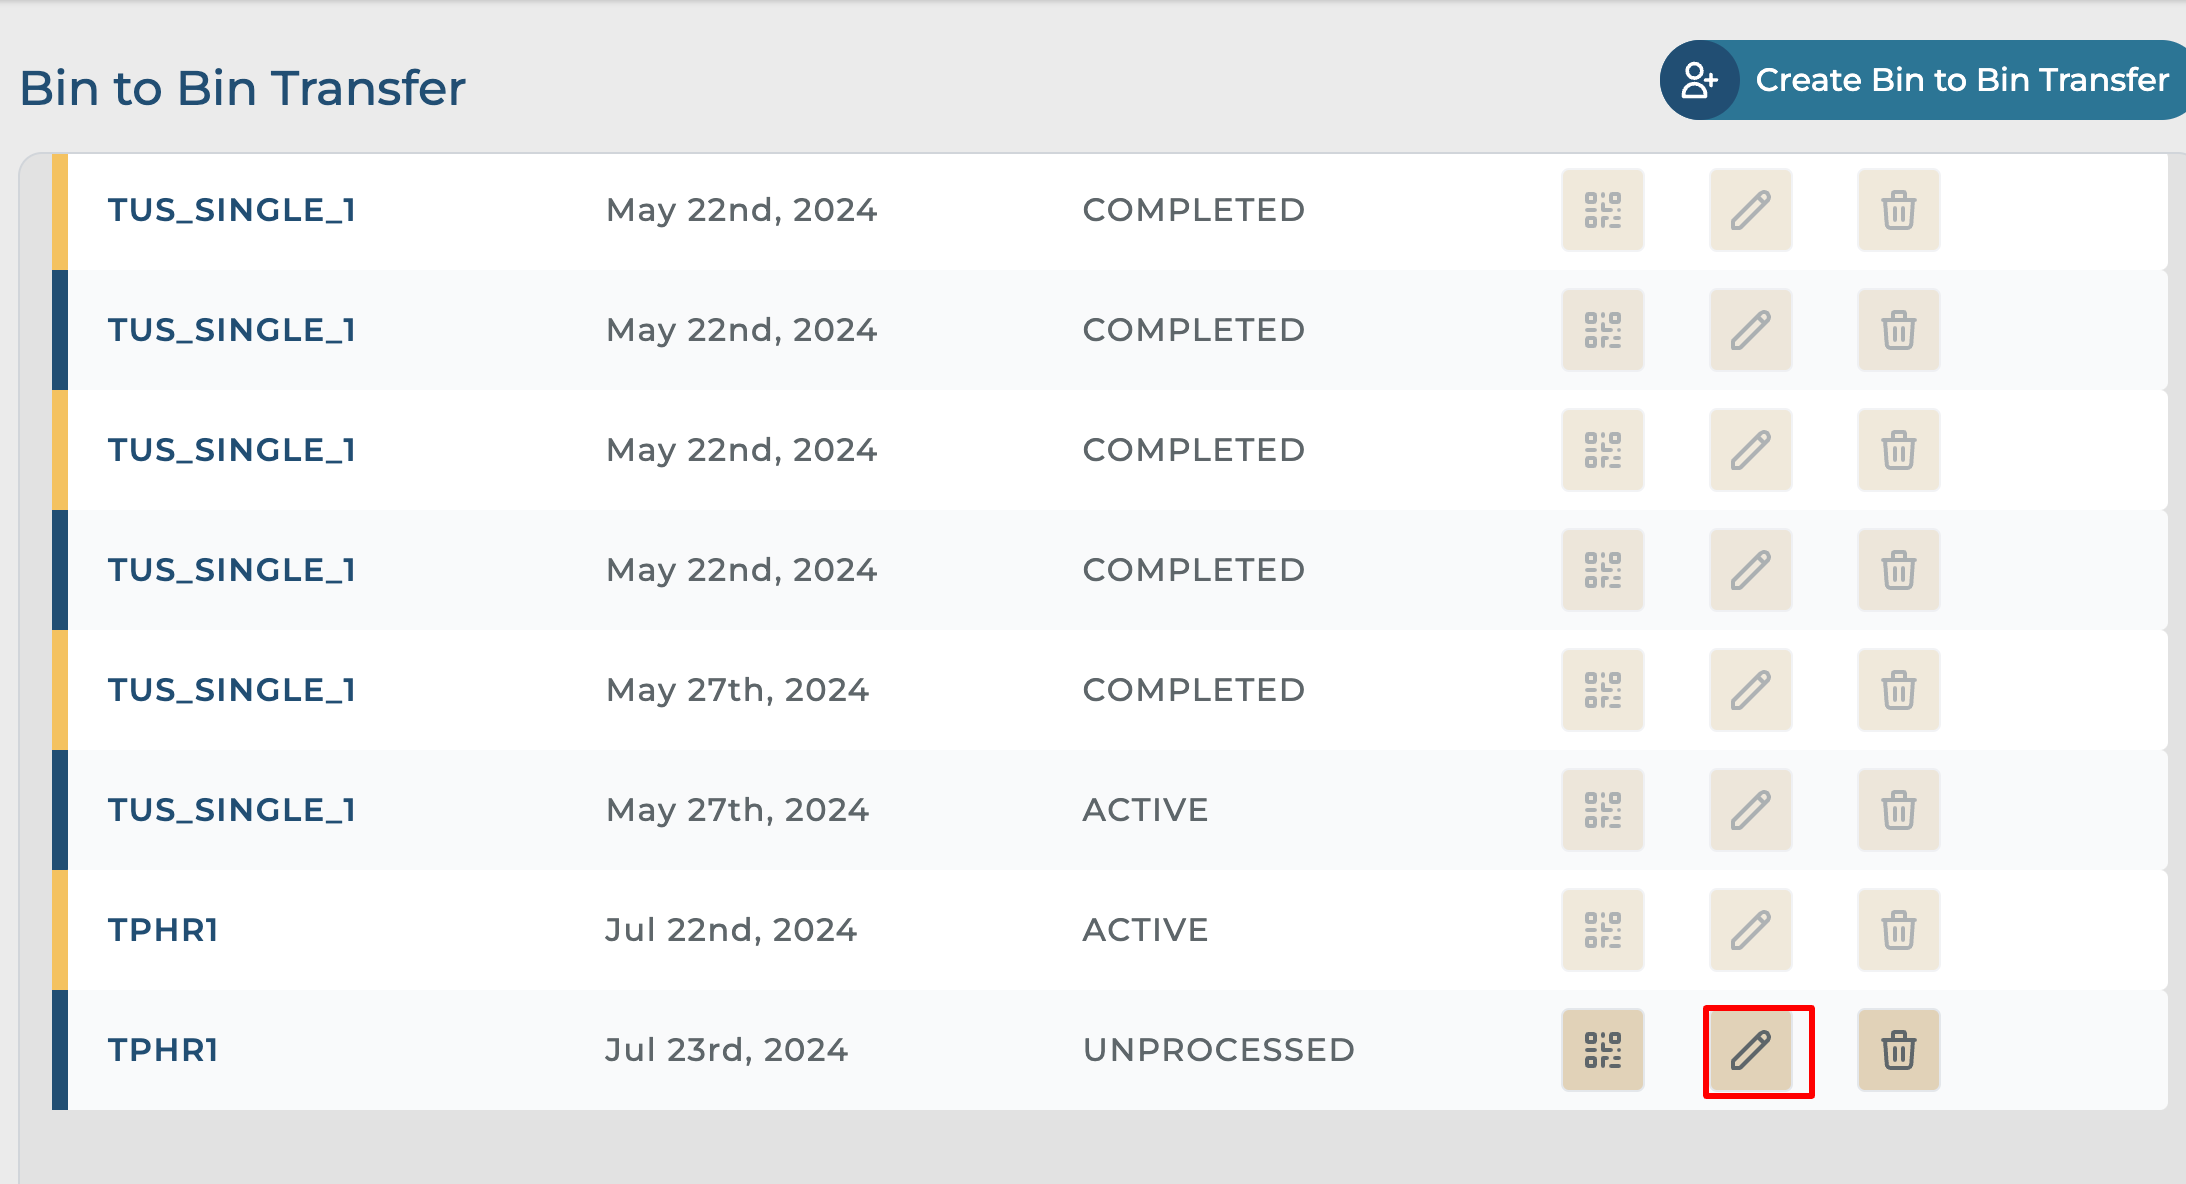
Click the pencil icon to edit the transfer plan.
-
After editing is done, click on the "Submit" button.
-
Click the bucket icon to delete the plan.

-
Click on the "Yes, I confirm" button to proceed with the deletion.
-
Alternatively, you can click on the "No, cancel" button to cancel the deletion process.
-
Note: You can only edit/delete the plan as long as the plan has not been initiated.