This document explains the revamped item picking flow in the Hopstack app from a picker’s perspective. It covers selecting a warehouse and batch, handling totes and bins, scanning products (including when barcodes are not scannable), viewing pick summaries, and confirming drop-off at the packing station.
Step 1: Select Warehouse and Retrieve a Batch
-
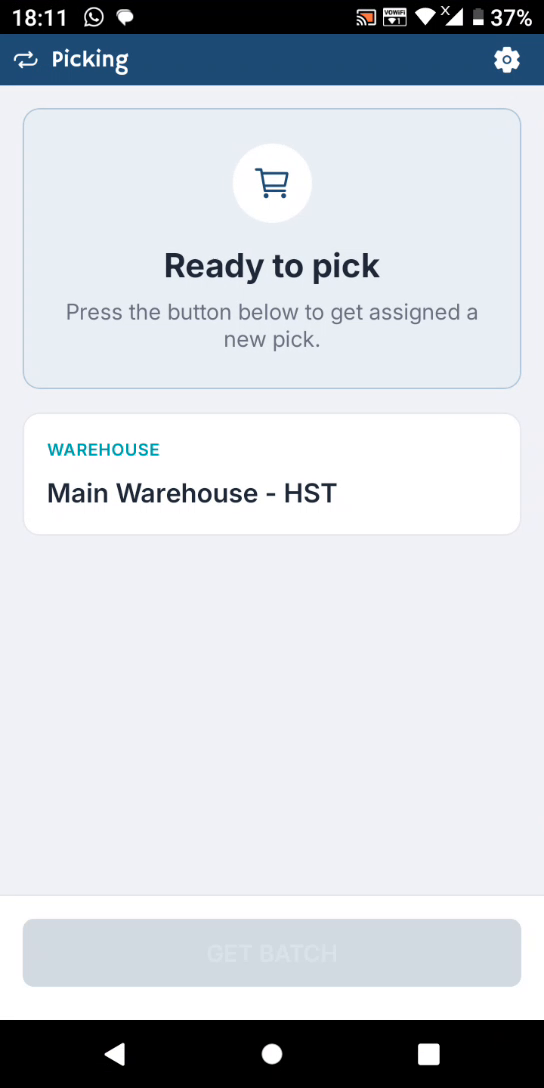
Open the Hopstack app and navigate to the Picking workflow.
-
On the new picking screen, select the warehouse:
-
If you have multiple warehouses, use the “Tap to switch” option to choose the correct warehouse.
-
If you have only one warehouse, it will be preselected.
-
-
Tap Get Batch to retrieve the picking batch assigned to you.
Step 2: Review Batch Summary and Handle the Tote
-
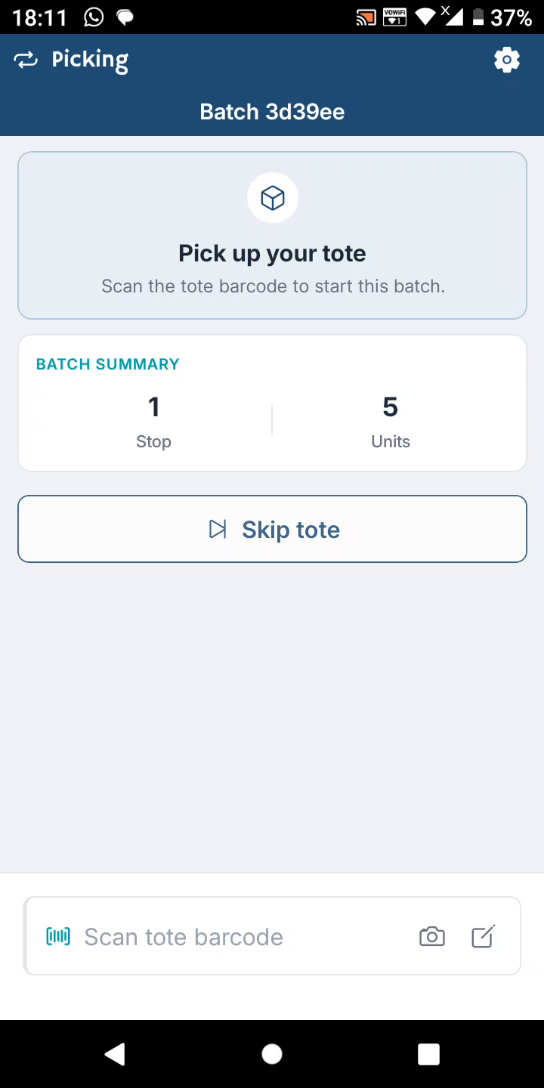
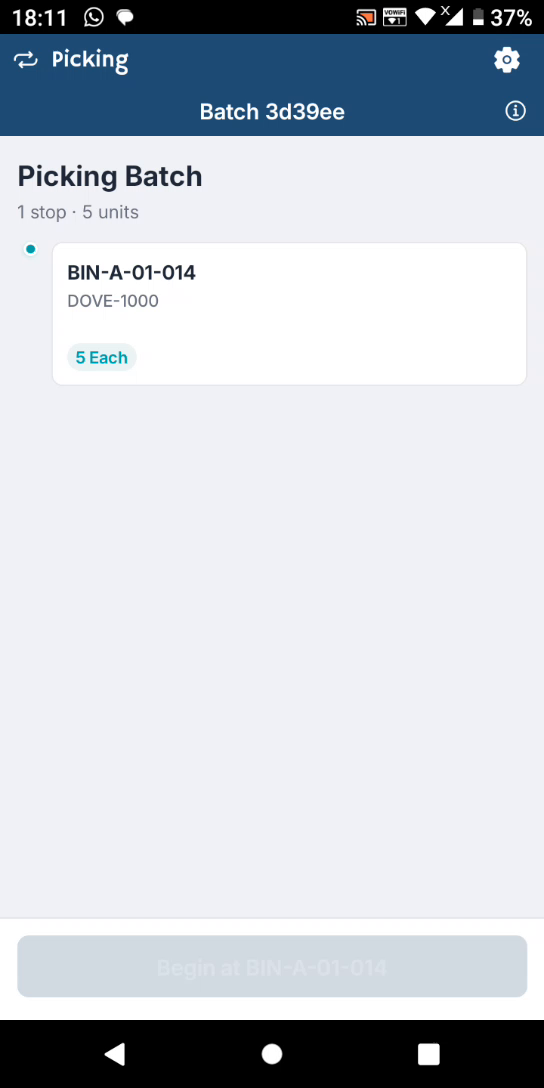
After fetching the batch, review the batch summary:
-
You will see the batch details and the “Pick your tote” prompt.
-
The summary shows the number of “stops” (locations/bins) you must visit and the quantity to pick at each.
-
Example: “1 stop” means going to one bin to pick a specified number of units.
-
Multiple stops (e.g., 3 or 4 stops) indicate multiple bins to visit.
-
-
-
Decide how to proceed with the tote:
-
You can scan the tote to associate it with this batch, or
-
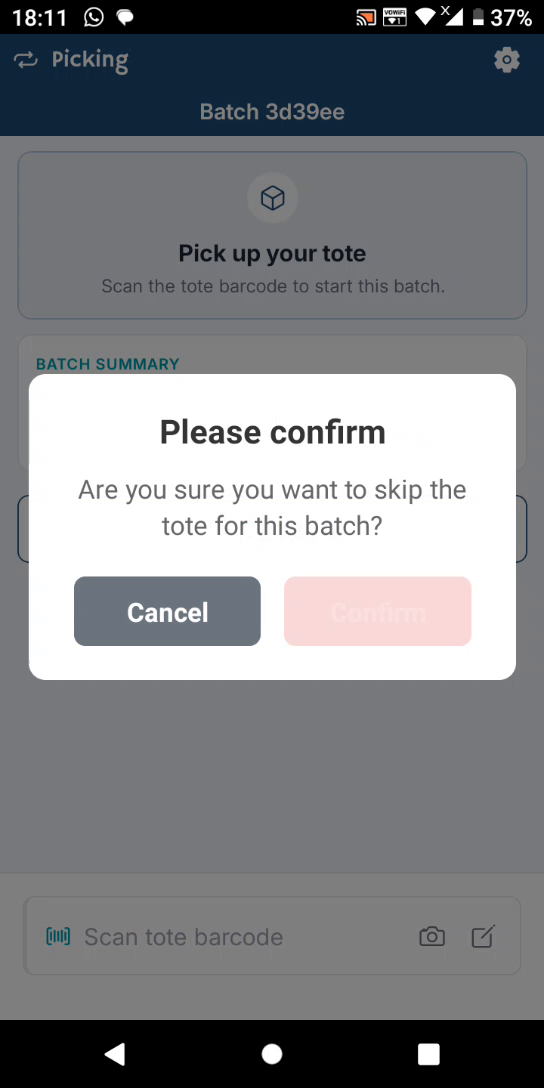
You can skip the tote if needed.
-
-
If you choose to skip the tote, confirm the action when prompted.
Step 3: Scan the Bin and Manage Bin Issues
-
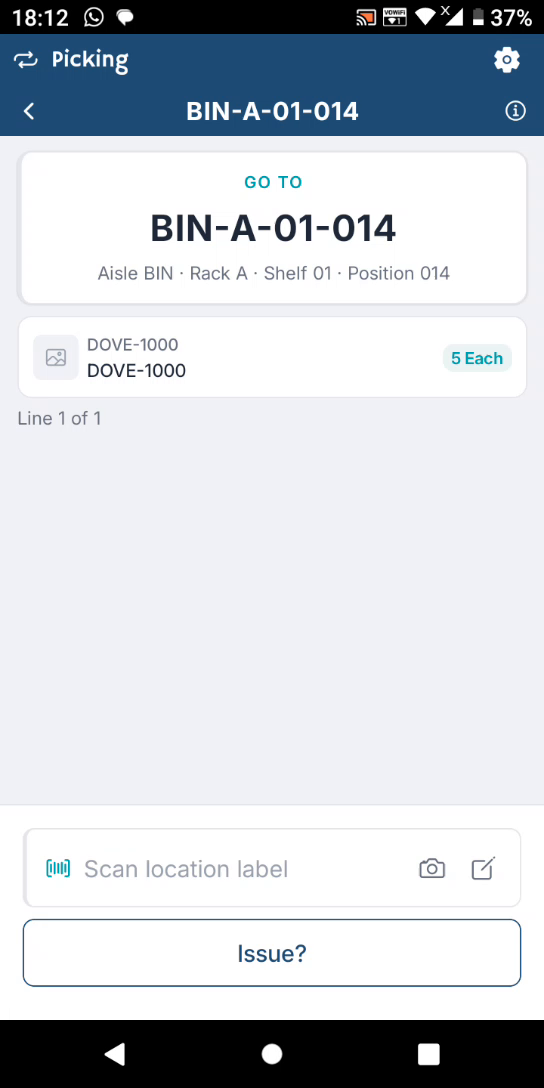
Proceed to the indicated bin location and scan the bin barcode to start picking from that bin.
-
If you have any issues with the bin, tap Issue:
-
Options may include:
-
Bin label is missing
-
Bin label is damaged
-
Select the appropriate issue or choose to skip this stop if you cannot pick from this bin.
-
-
If the bin is available and scannable, scan the bin barcode to confirm the location.
-
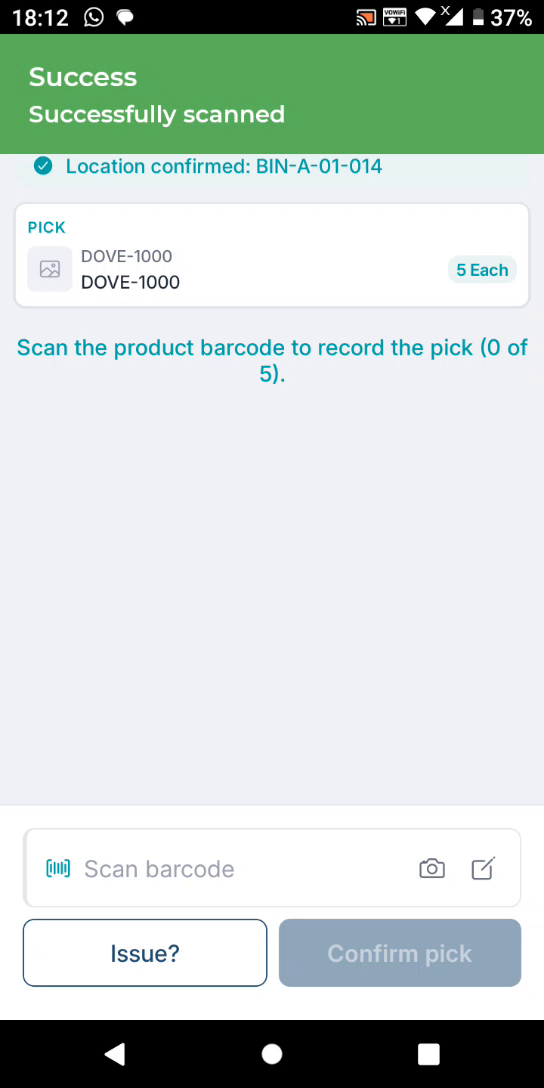
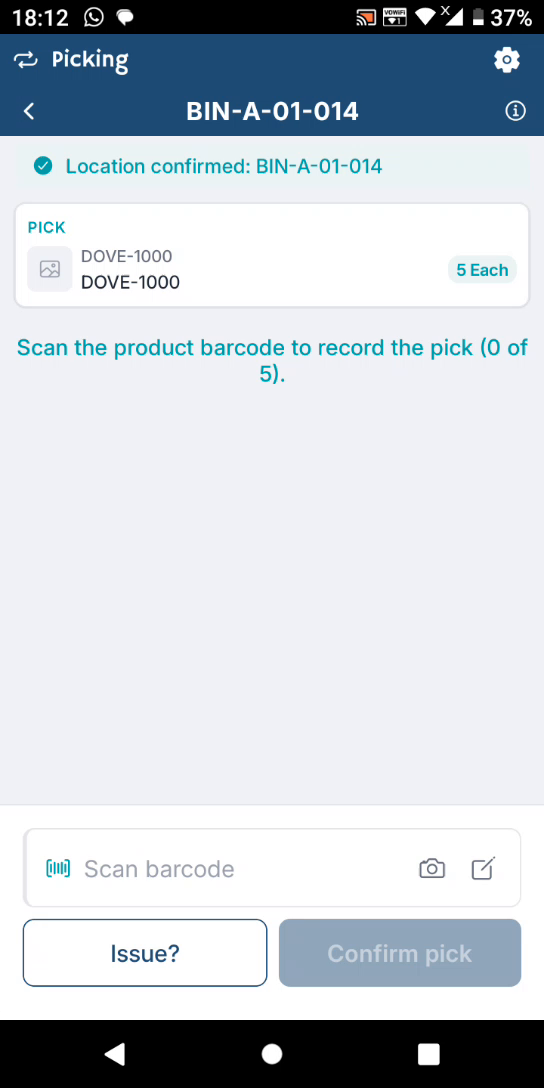
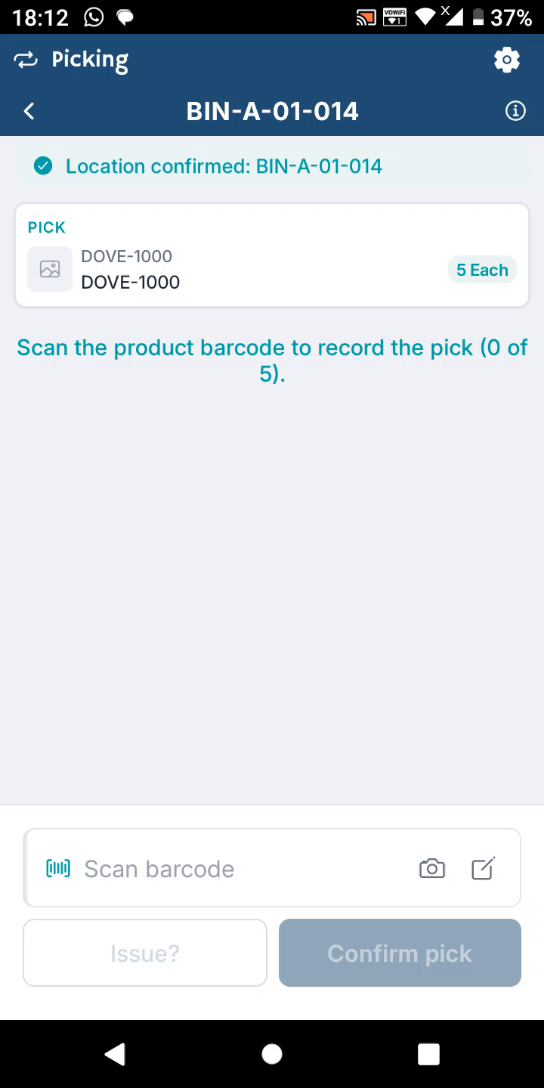
Once scanned successfully, the app will confirm that you are at the correct bin location.
Step 4: Scan the Product or Report Product Barcode Issues
-
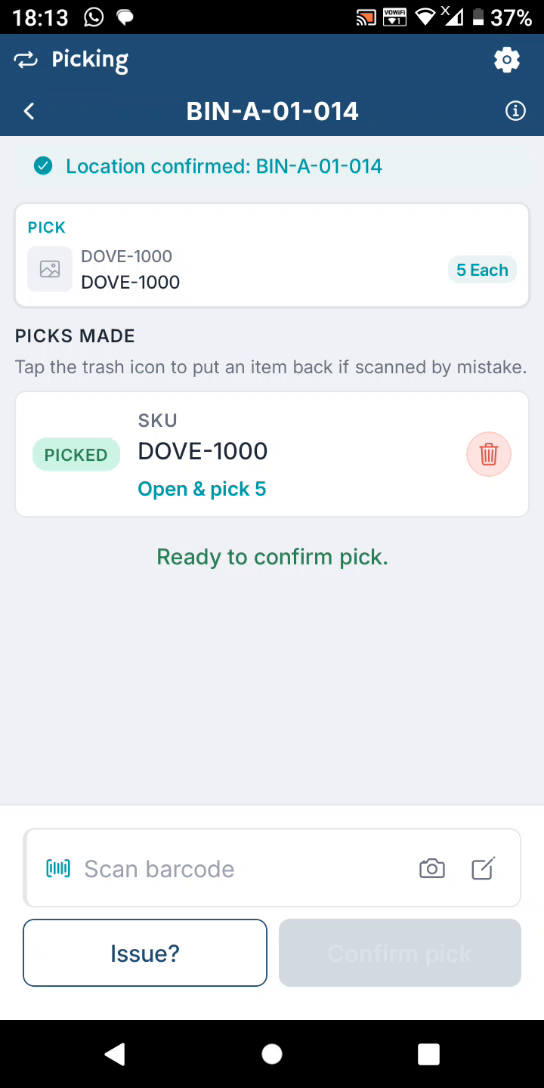
At the confirmed bin, scan the product barcode to pick items.
-
If there are no identifiers like expiry dates to capture, you only need to scan the product itself.
-
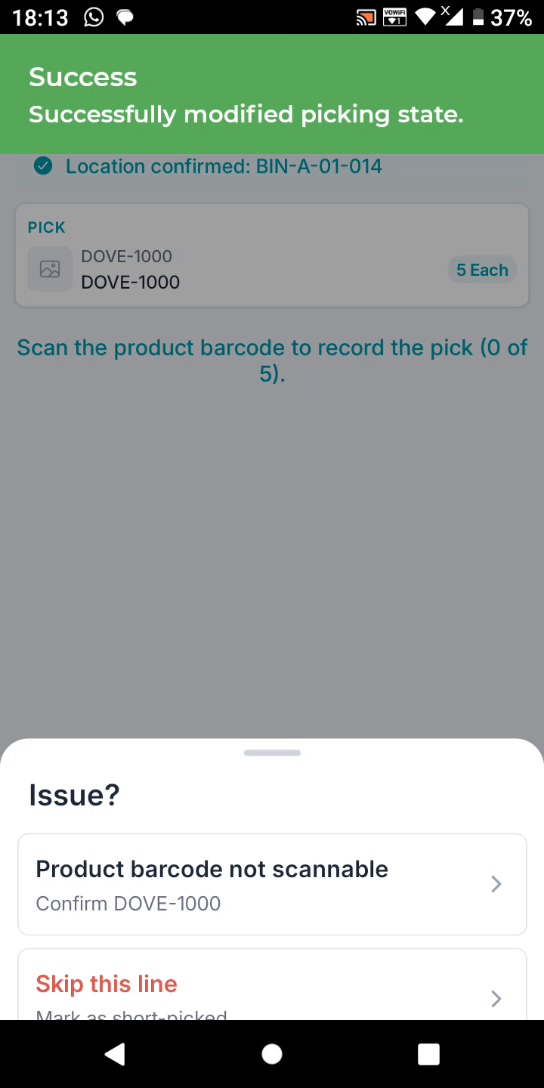
If you cannot scan the product barcode, tap Issue:
-
Select the option indicating the product barcode is not scannable.
-
When you select that the barcode is not scannable, the app will allow you to proceed to the next step without manual data entry, where possible.
-
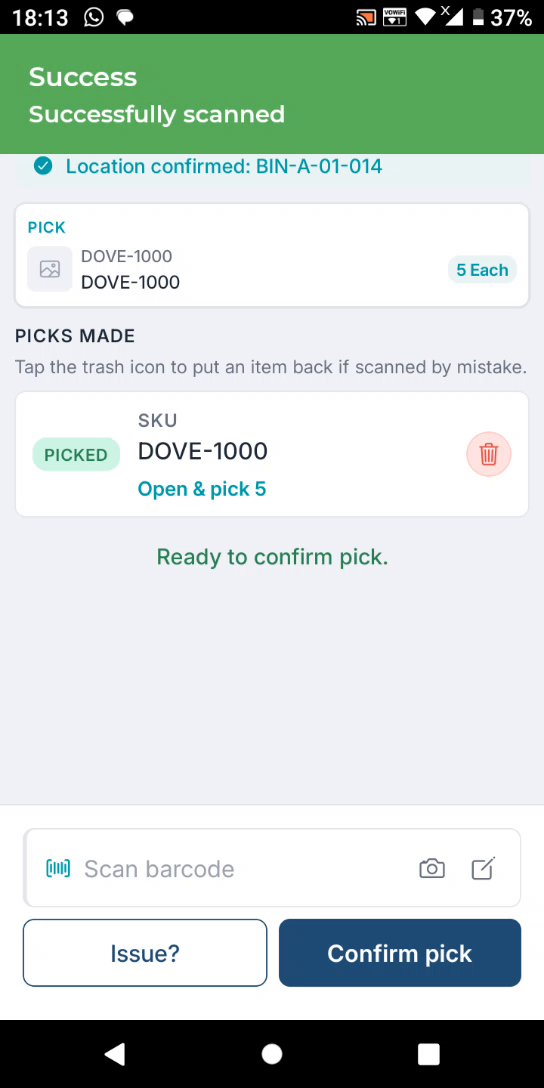
Alternatively, if the barcode is scannable, scan the product barcode to register the pick.
-
After scanning and picking the correct quantity, tap Confirm Pick to record the pick.
Step 5: Confirm Non‑Scannable Product and Complete the Pick
-
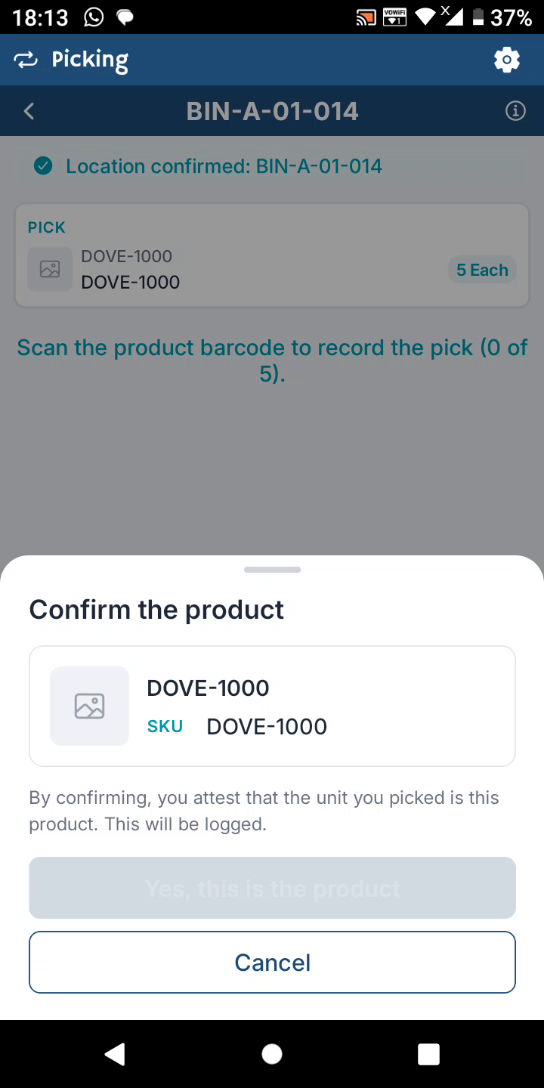
If the product barcode is not scannable and you indicate this in the app, you will be asked to confirm the product.
-
The app will prompt you: “Is this the correct product?”
-
Confirm that it is the correct product; the app will then mark it as successfully scanned/identified.
-
Proceed to Confirm Pick to complete picking for that line.
Step 6: Review Pick Summary
-
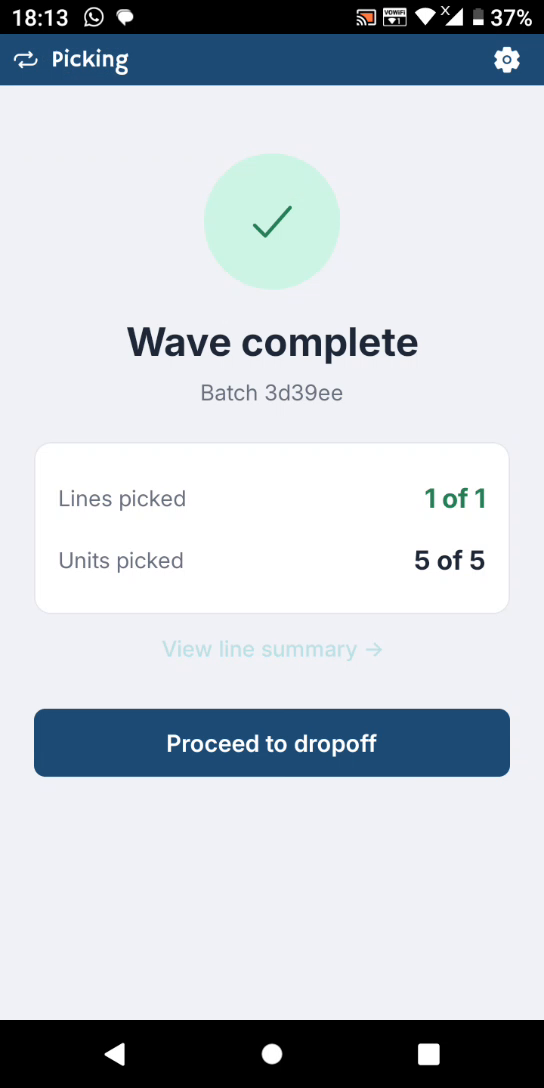
After confirming the pick, review the line summary:

-
See how many units you have picked.
-
Review which line items have been picked.
-
Tap View Summary for detailed views:
-
By line
-
By SKU
-
By code
-
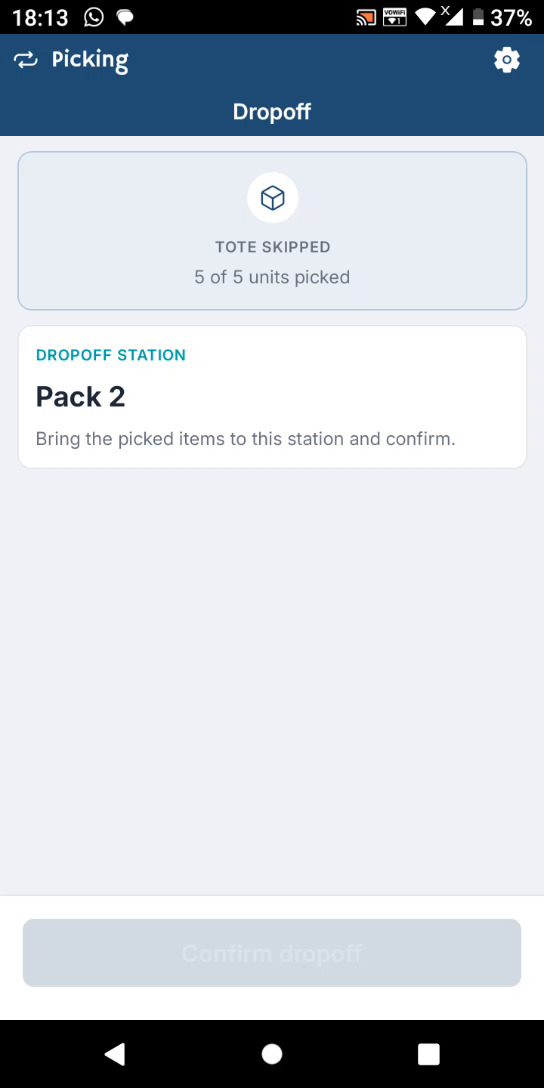
Step 7: Confirm Drop-Off at the Packing Station
-
Once you have completed all required picks (for example, picking 2 out of 5 items or the full required quantity), proceed to the indicated drop-off station.
-
The app will show the next drop-off station (e.g., “Drop-off station 2”), which is typically the packing station.

-
Confirm the drop-off in the app to complete the picking flow for this batch.