Creating a Consignment
Navigate to the Hopstack Dashboard
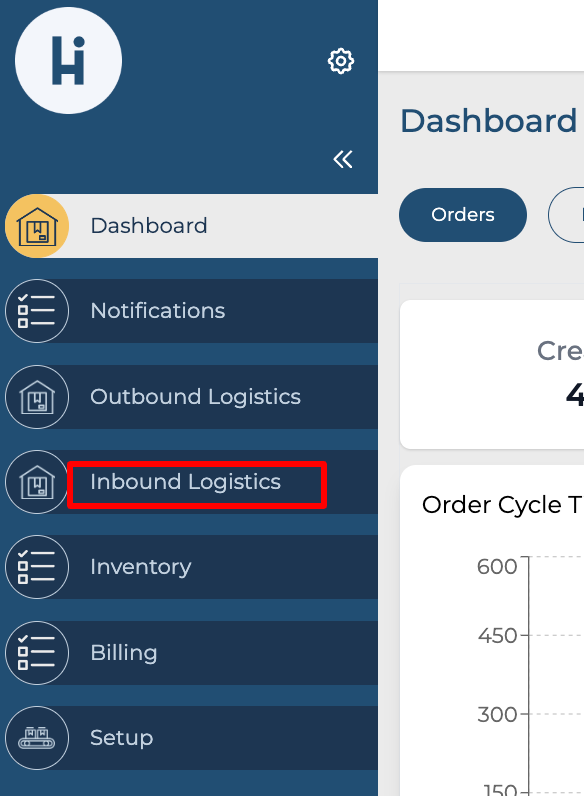
Click on "Inbound Logistics" from the side menu.
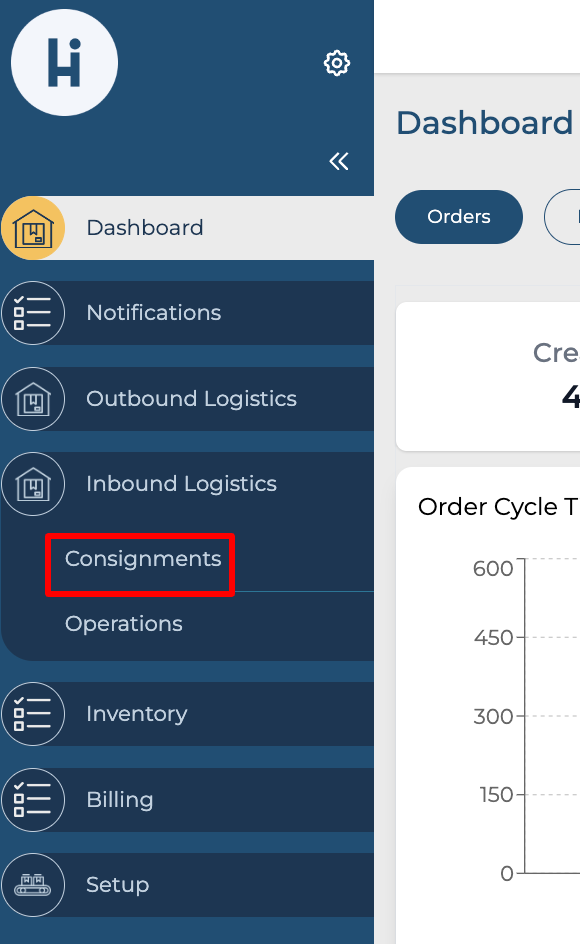
Click on "Consignments".
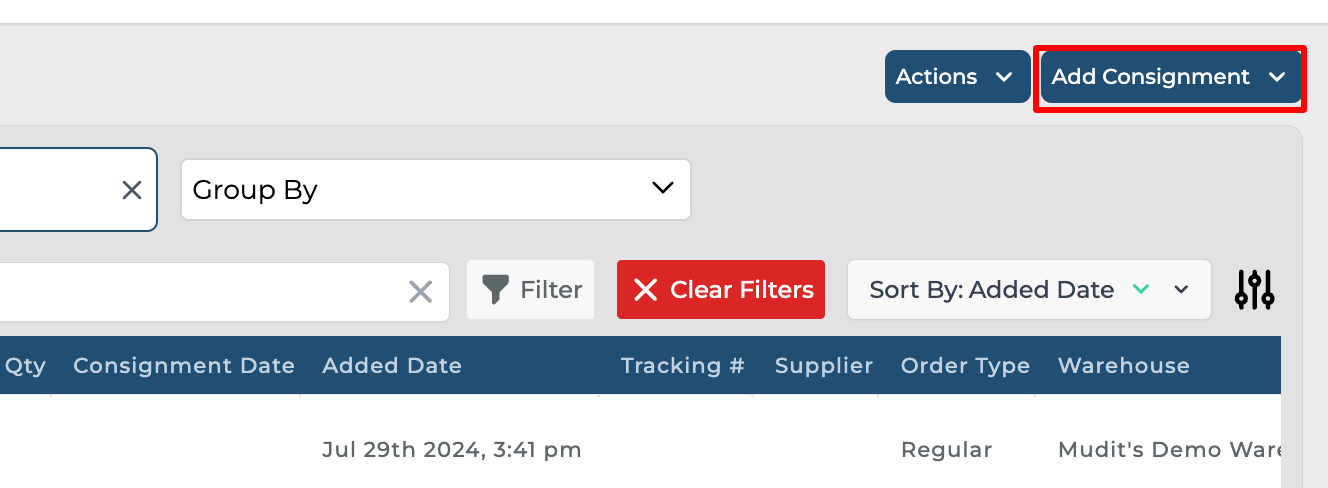
Click on the "Add Consignment" button.
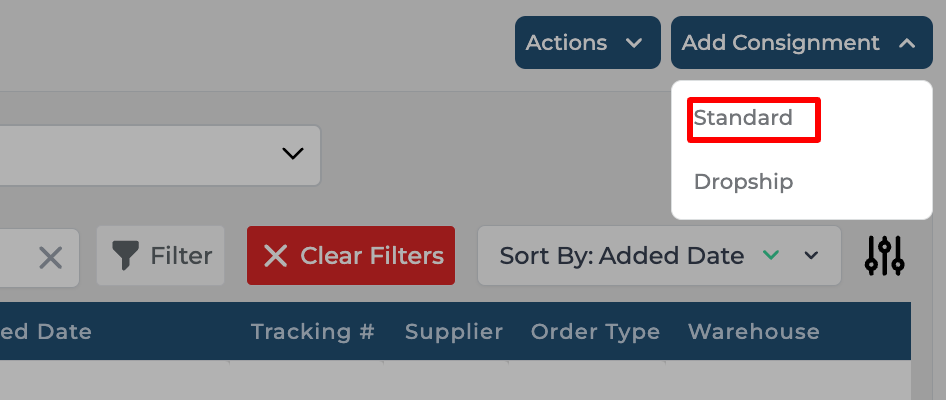
Choose “Standard” to create a regular consignment. Dropship is covered elsewhere Understanding and Managing Drop-shipping a.k.a. Cross Docking.
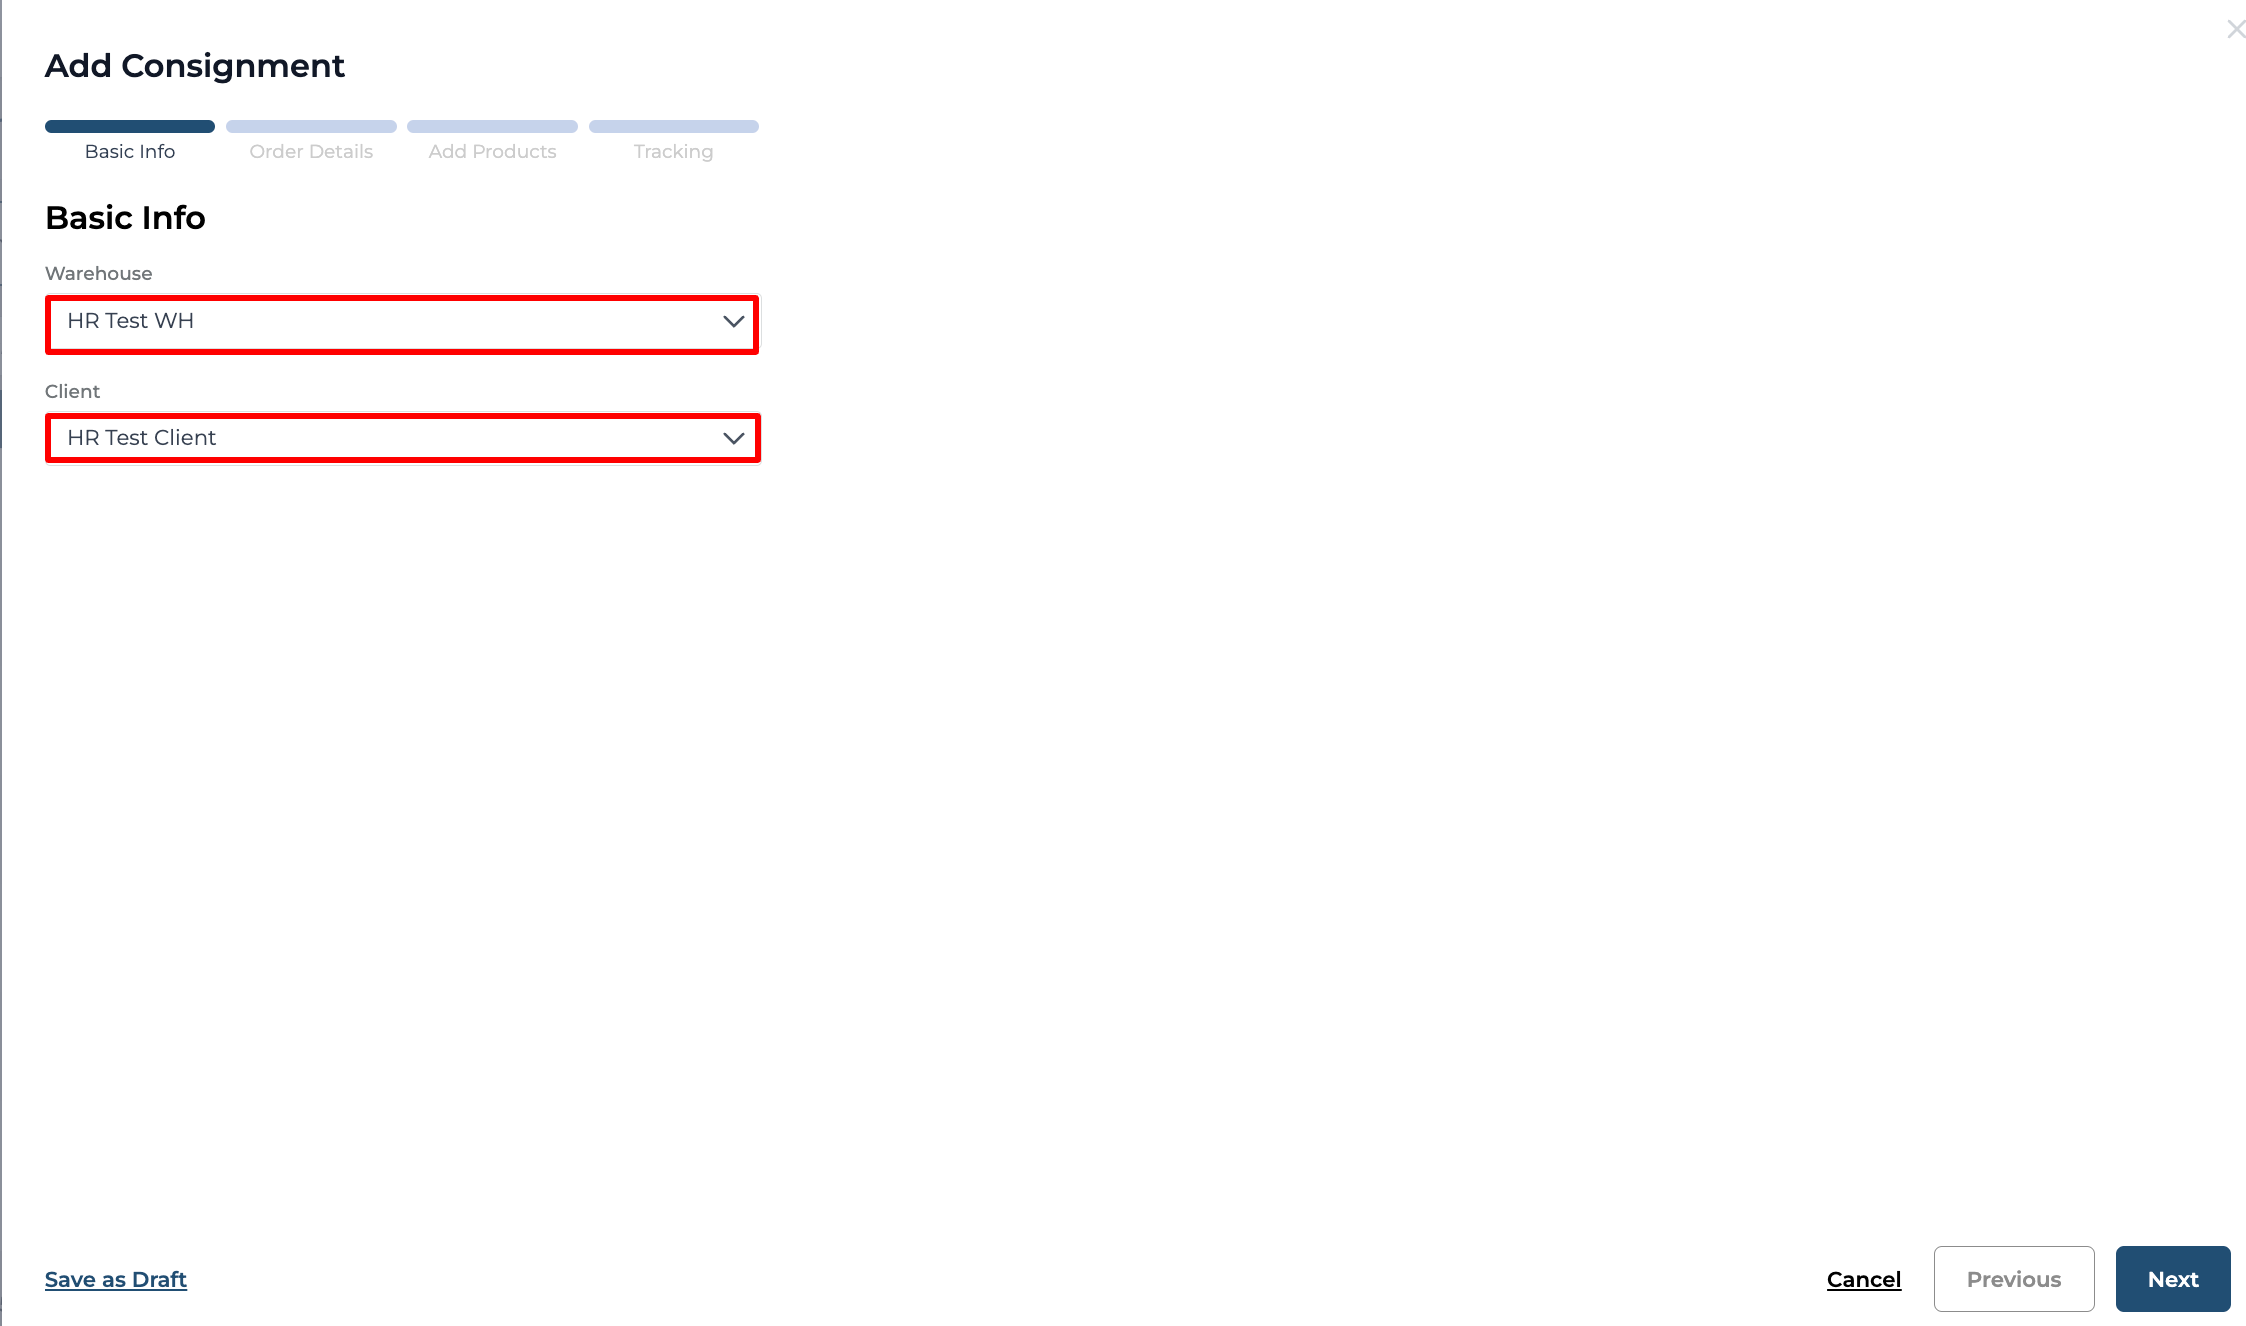
In the pop-up dialog box's "Basic Info" section, click on the drop-down menu to select the warehouse and client of your choice.
Click "Next >" to navigate to the next section.
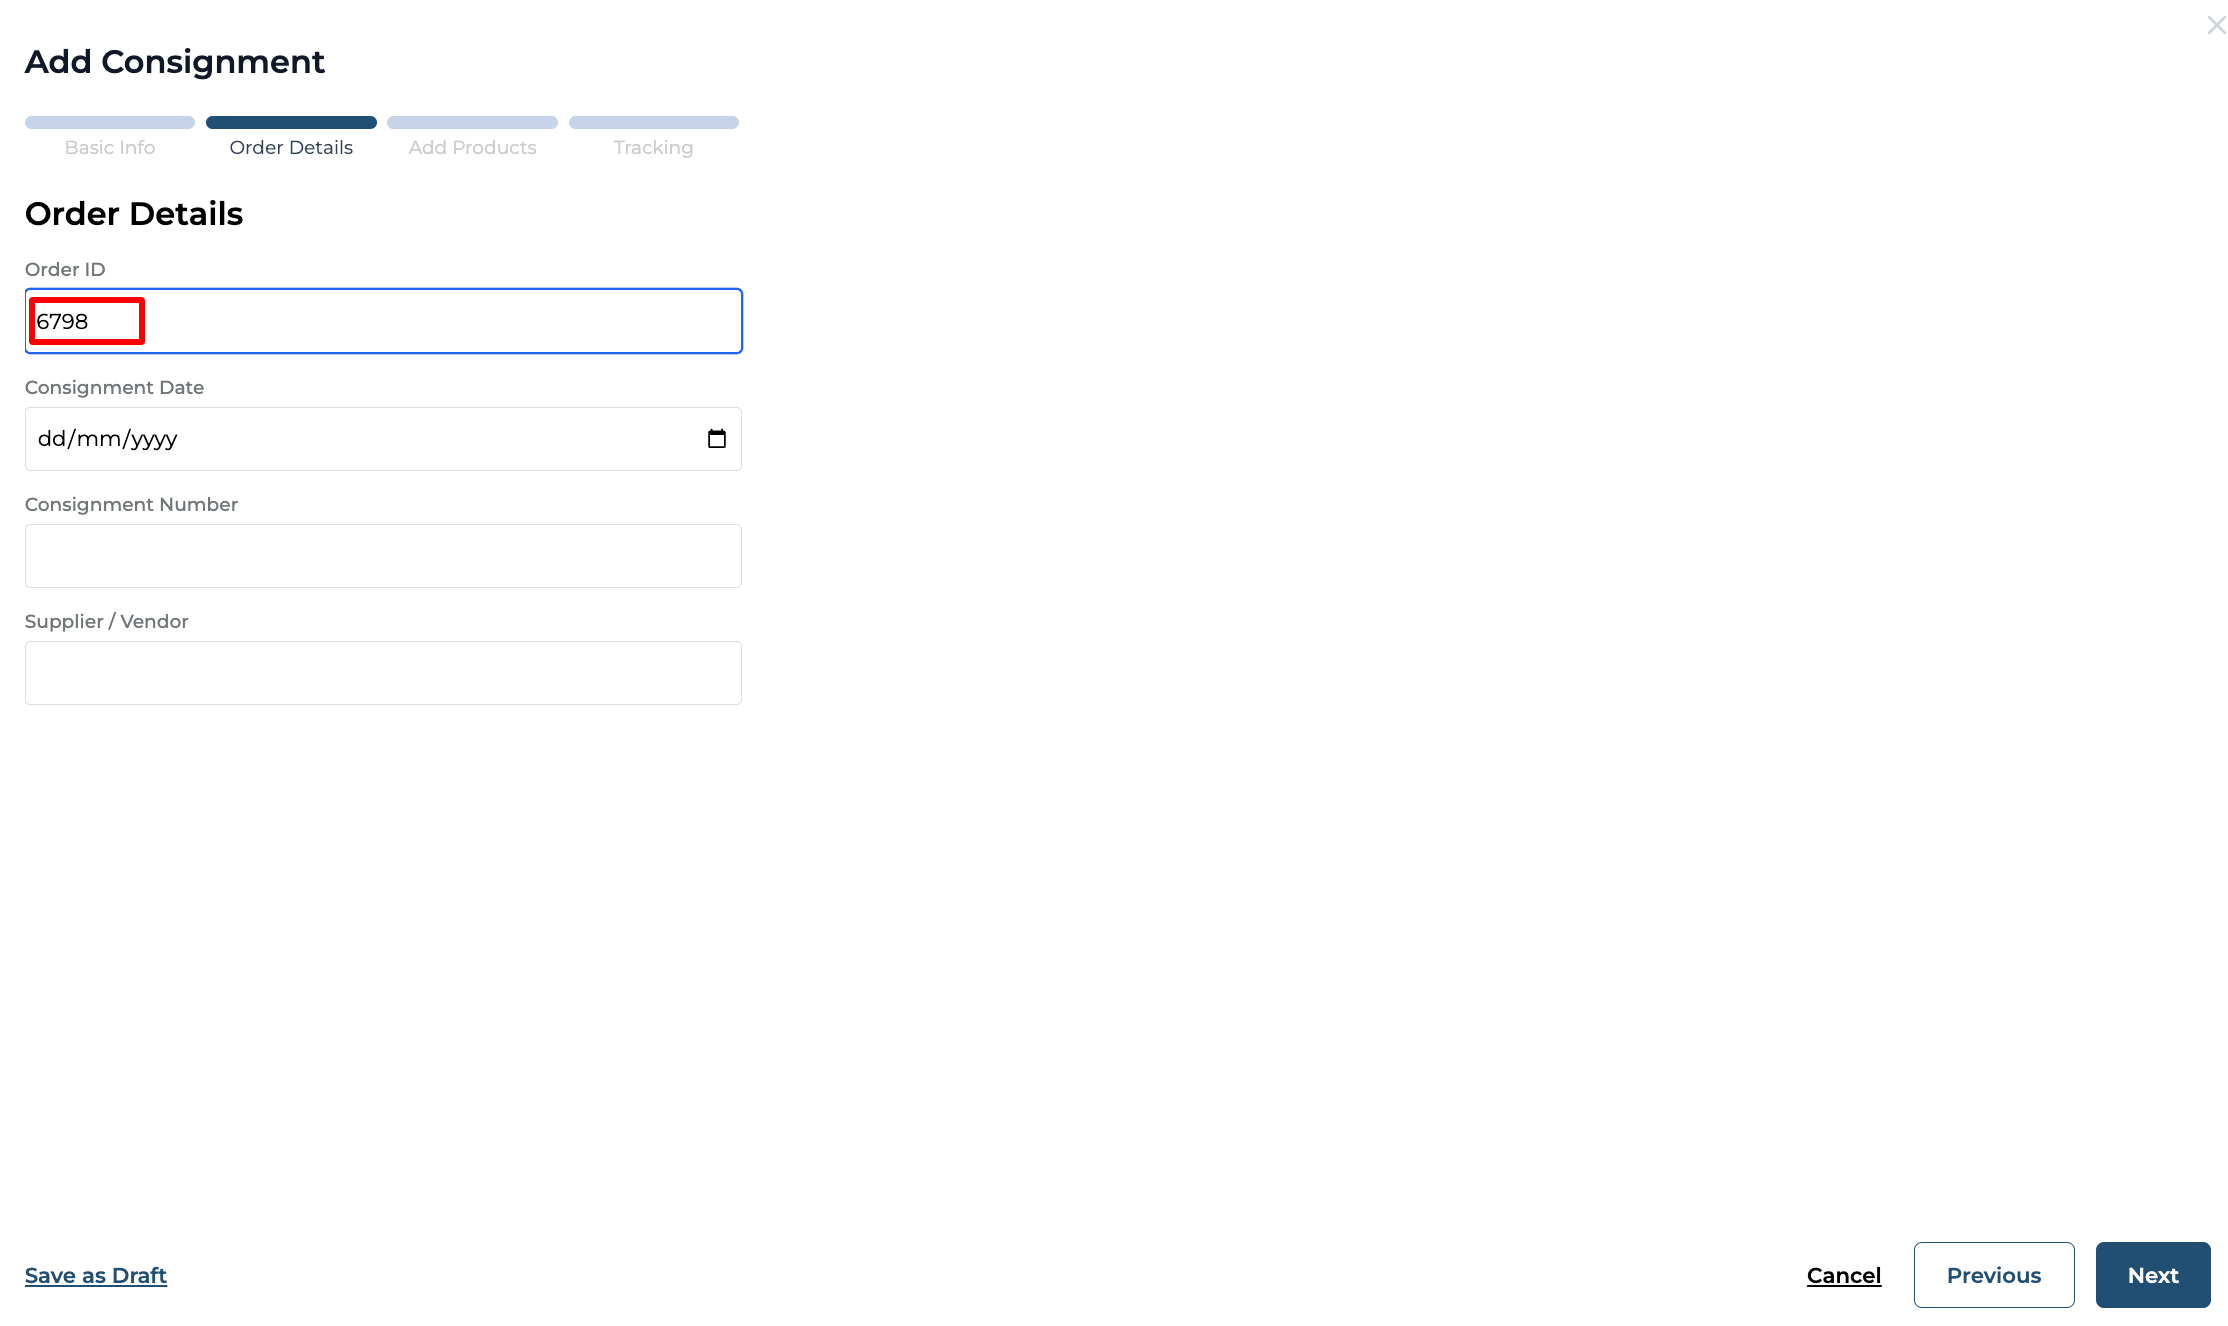
Here the “Order Details” modal starts. Users can click on the "Previous" button to navigate to the previous section and on the "Next" to navigate to the next section.
Fill in the order ID in the "Order ID" field.
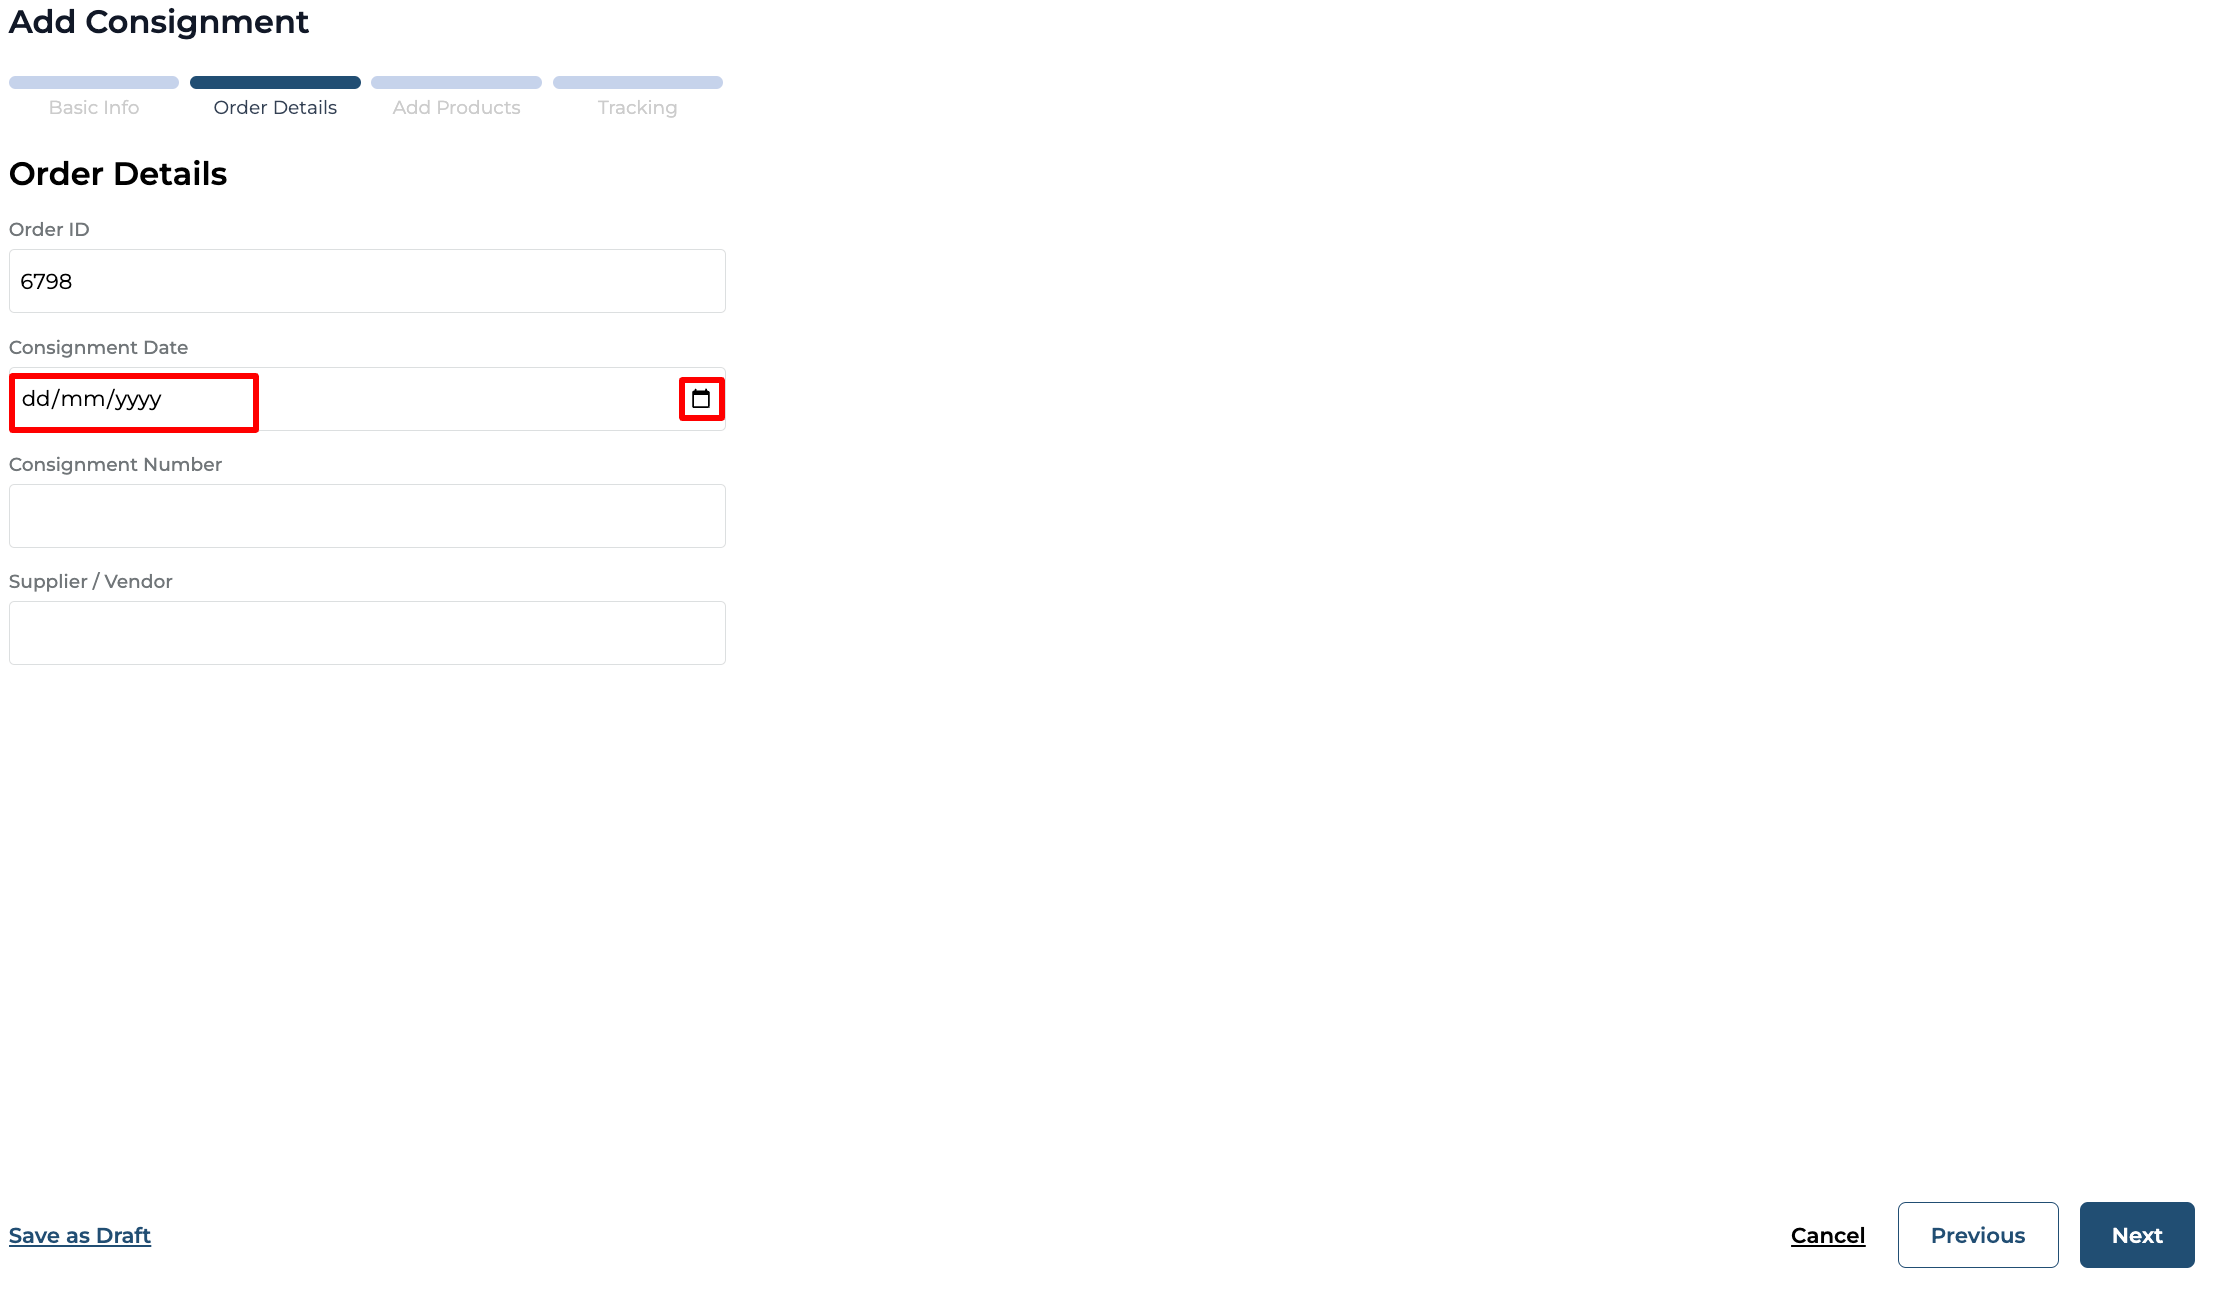
Assign the "Consignment Date" using the date picker.
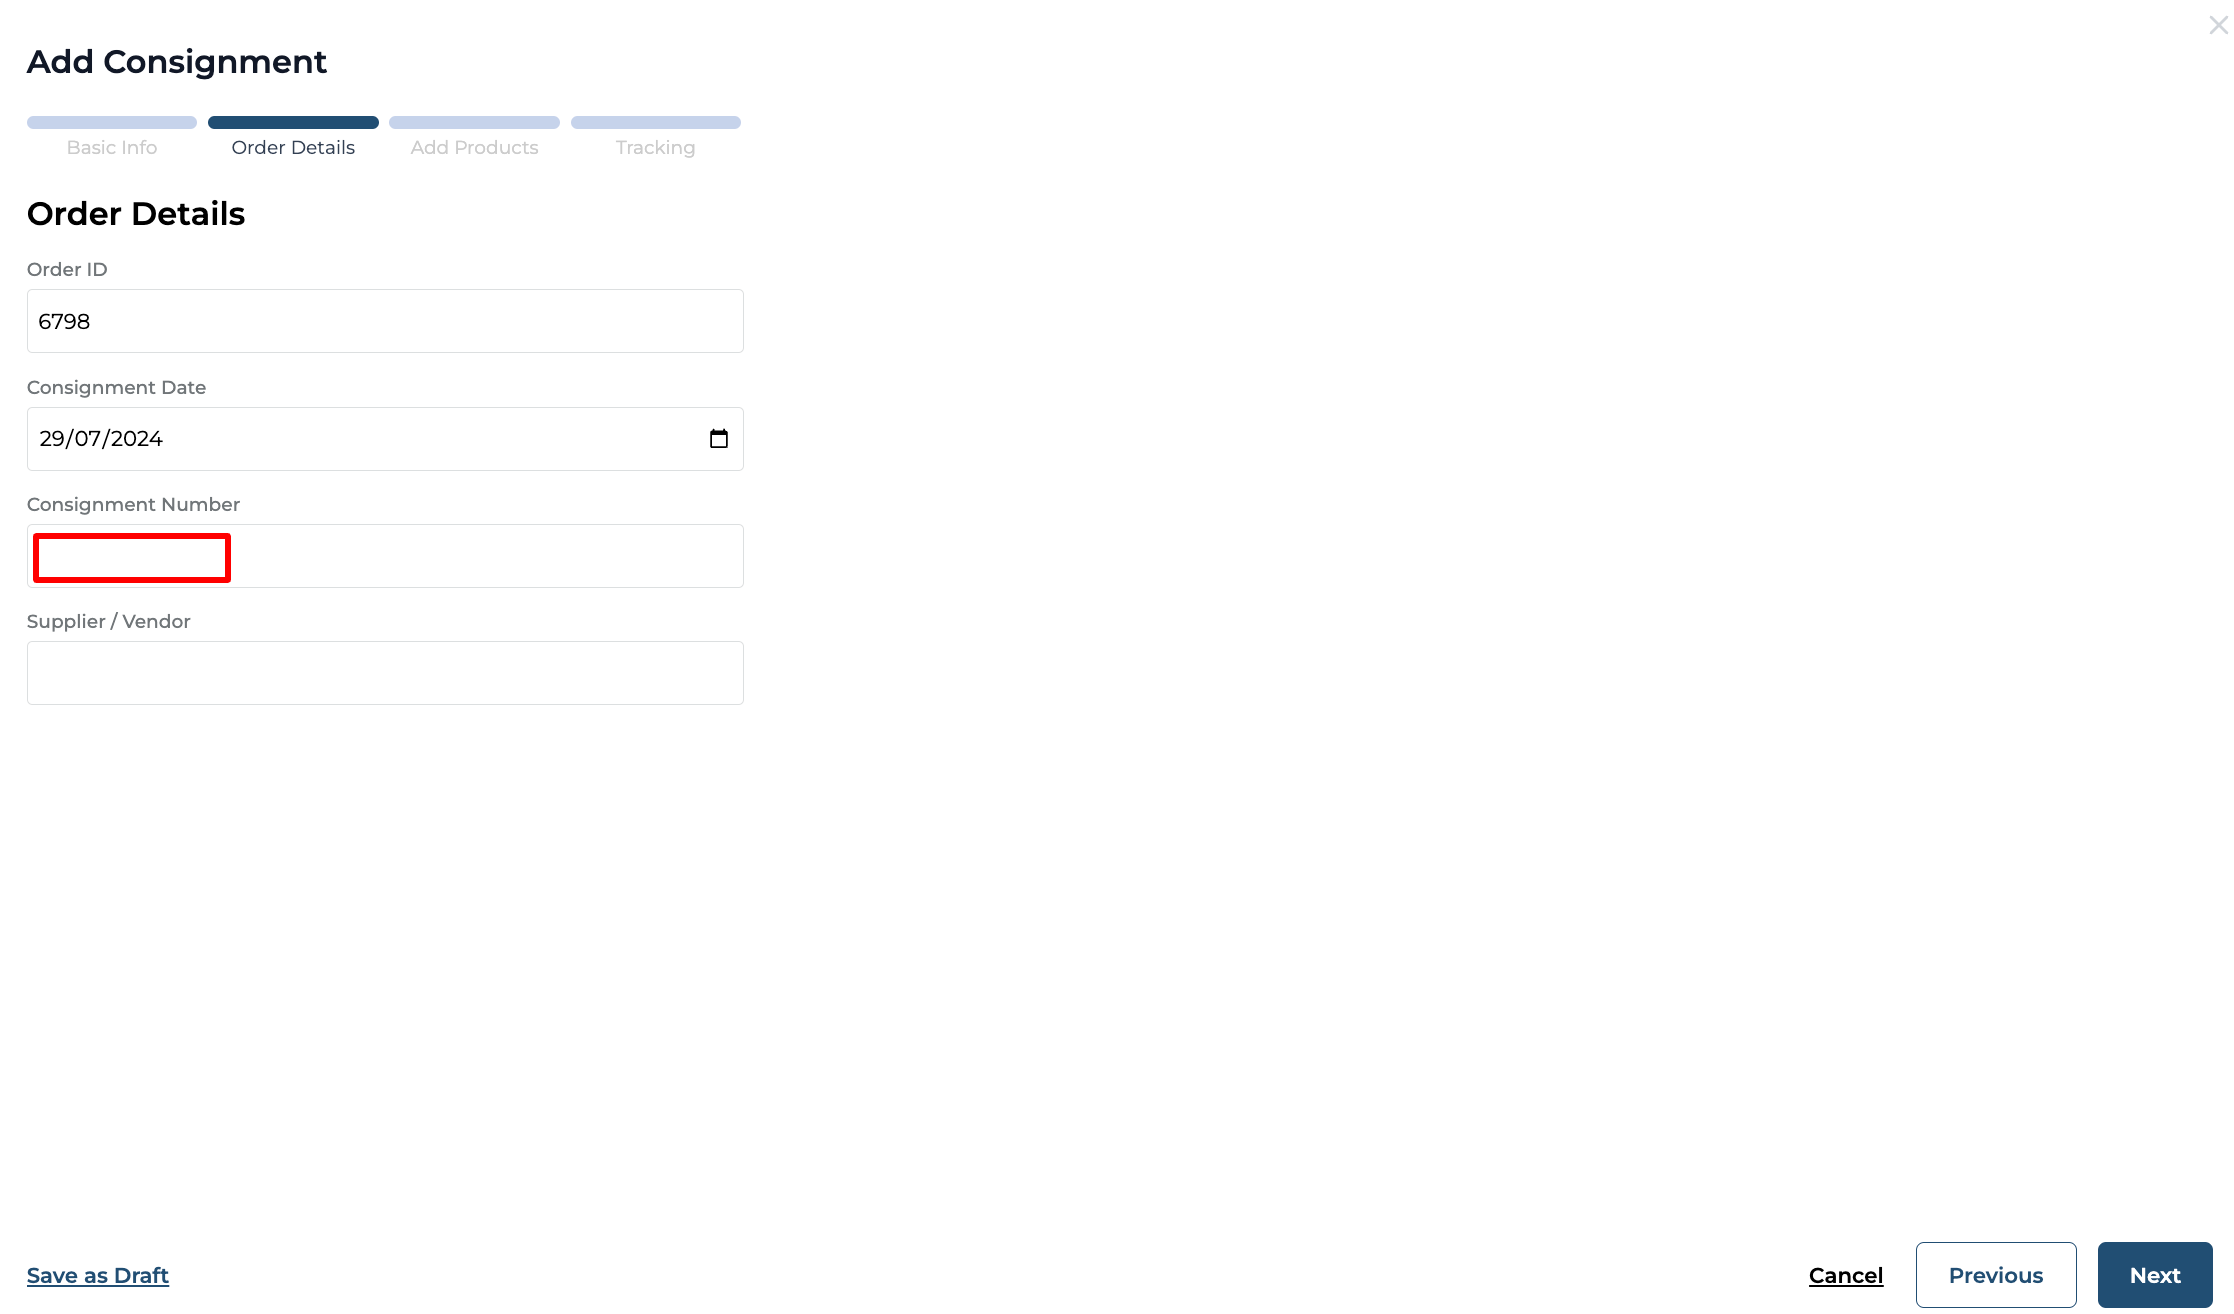
Fill in the Consignment Number in the "Consignment Number" field.
Tip: It is optional to fill in the consignment number.
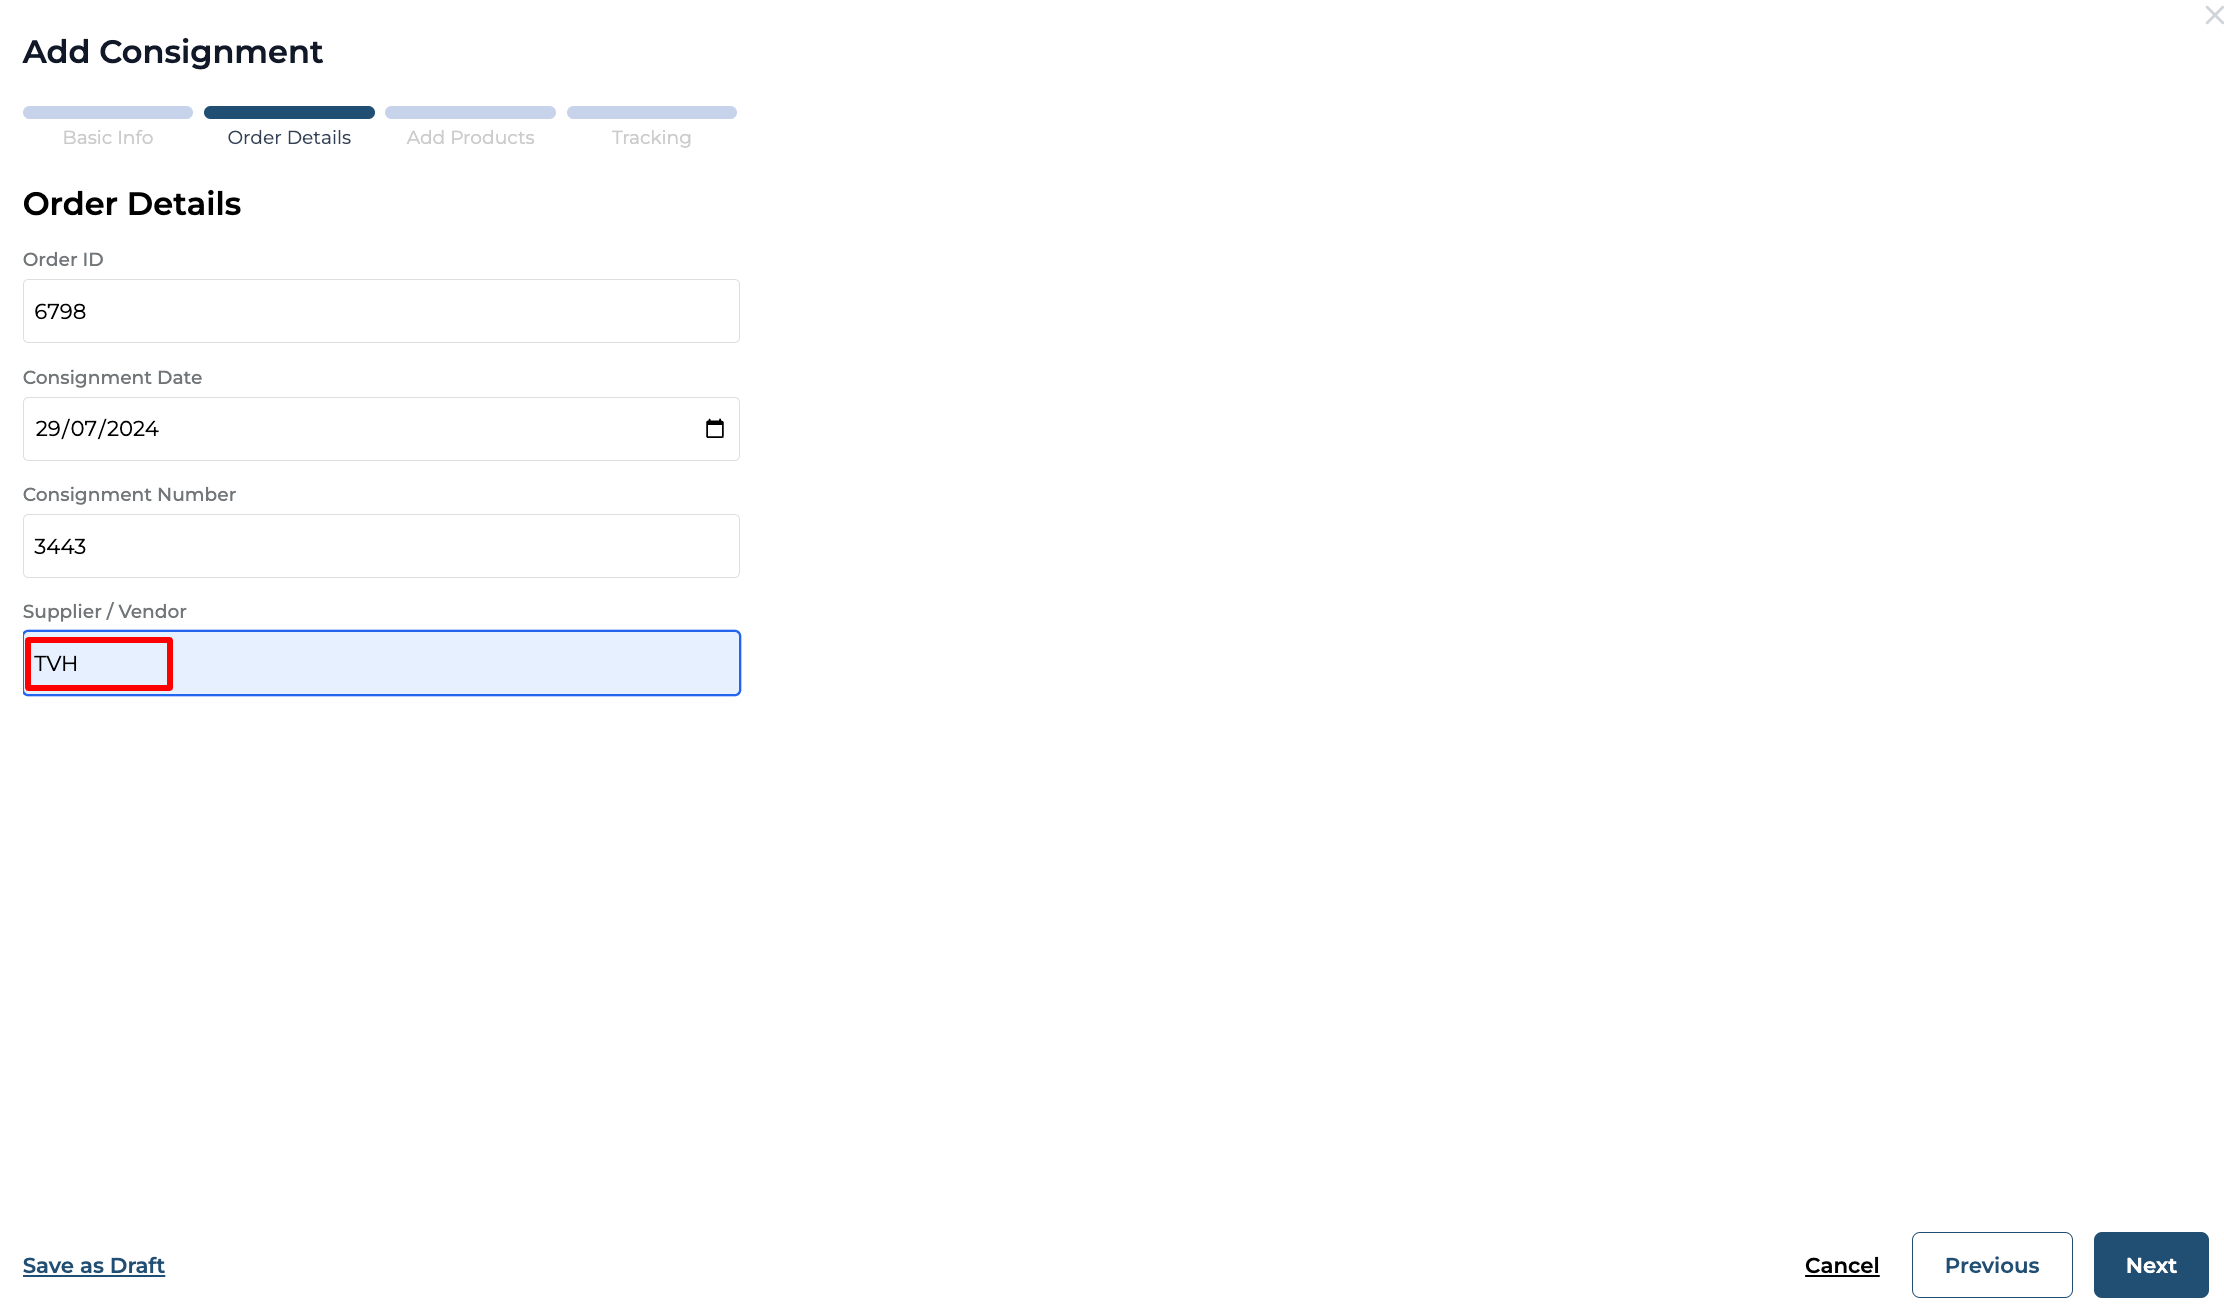
Fill in the vendor/supplier name in the "Supplier/ Vendor" field.
Tip: It is optional to fill in the Supplier/Vendor.
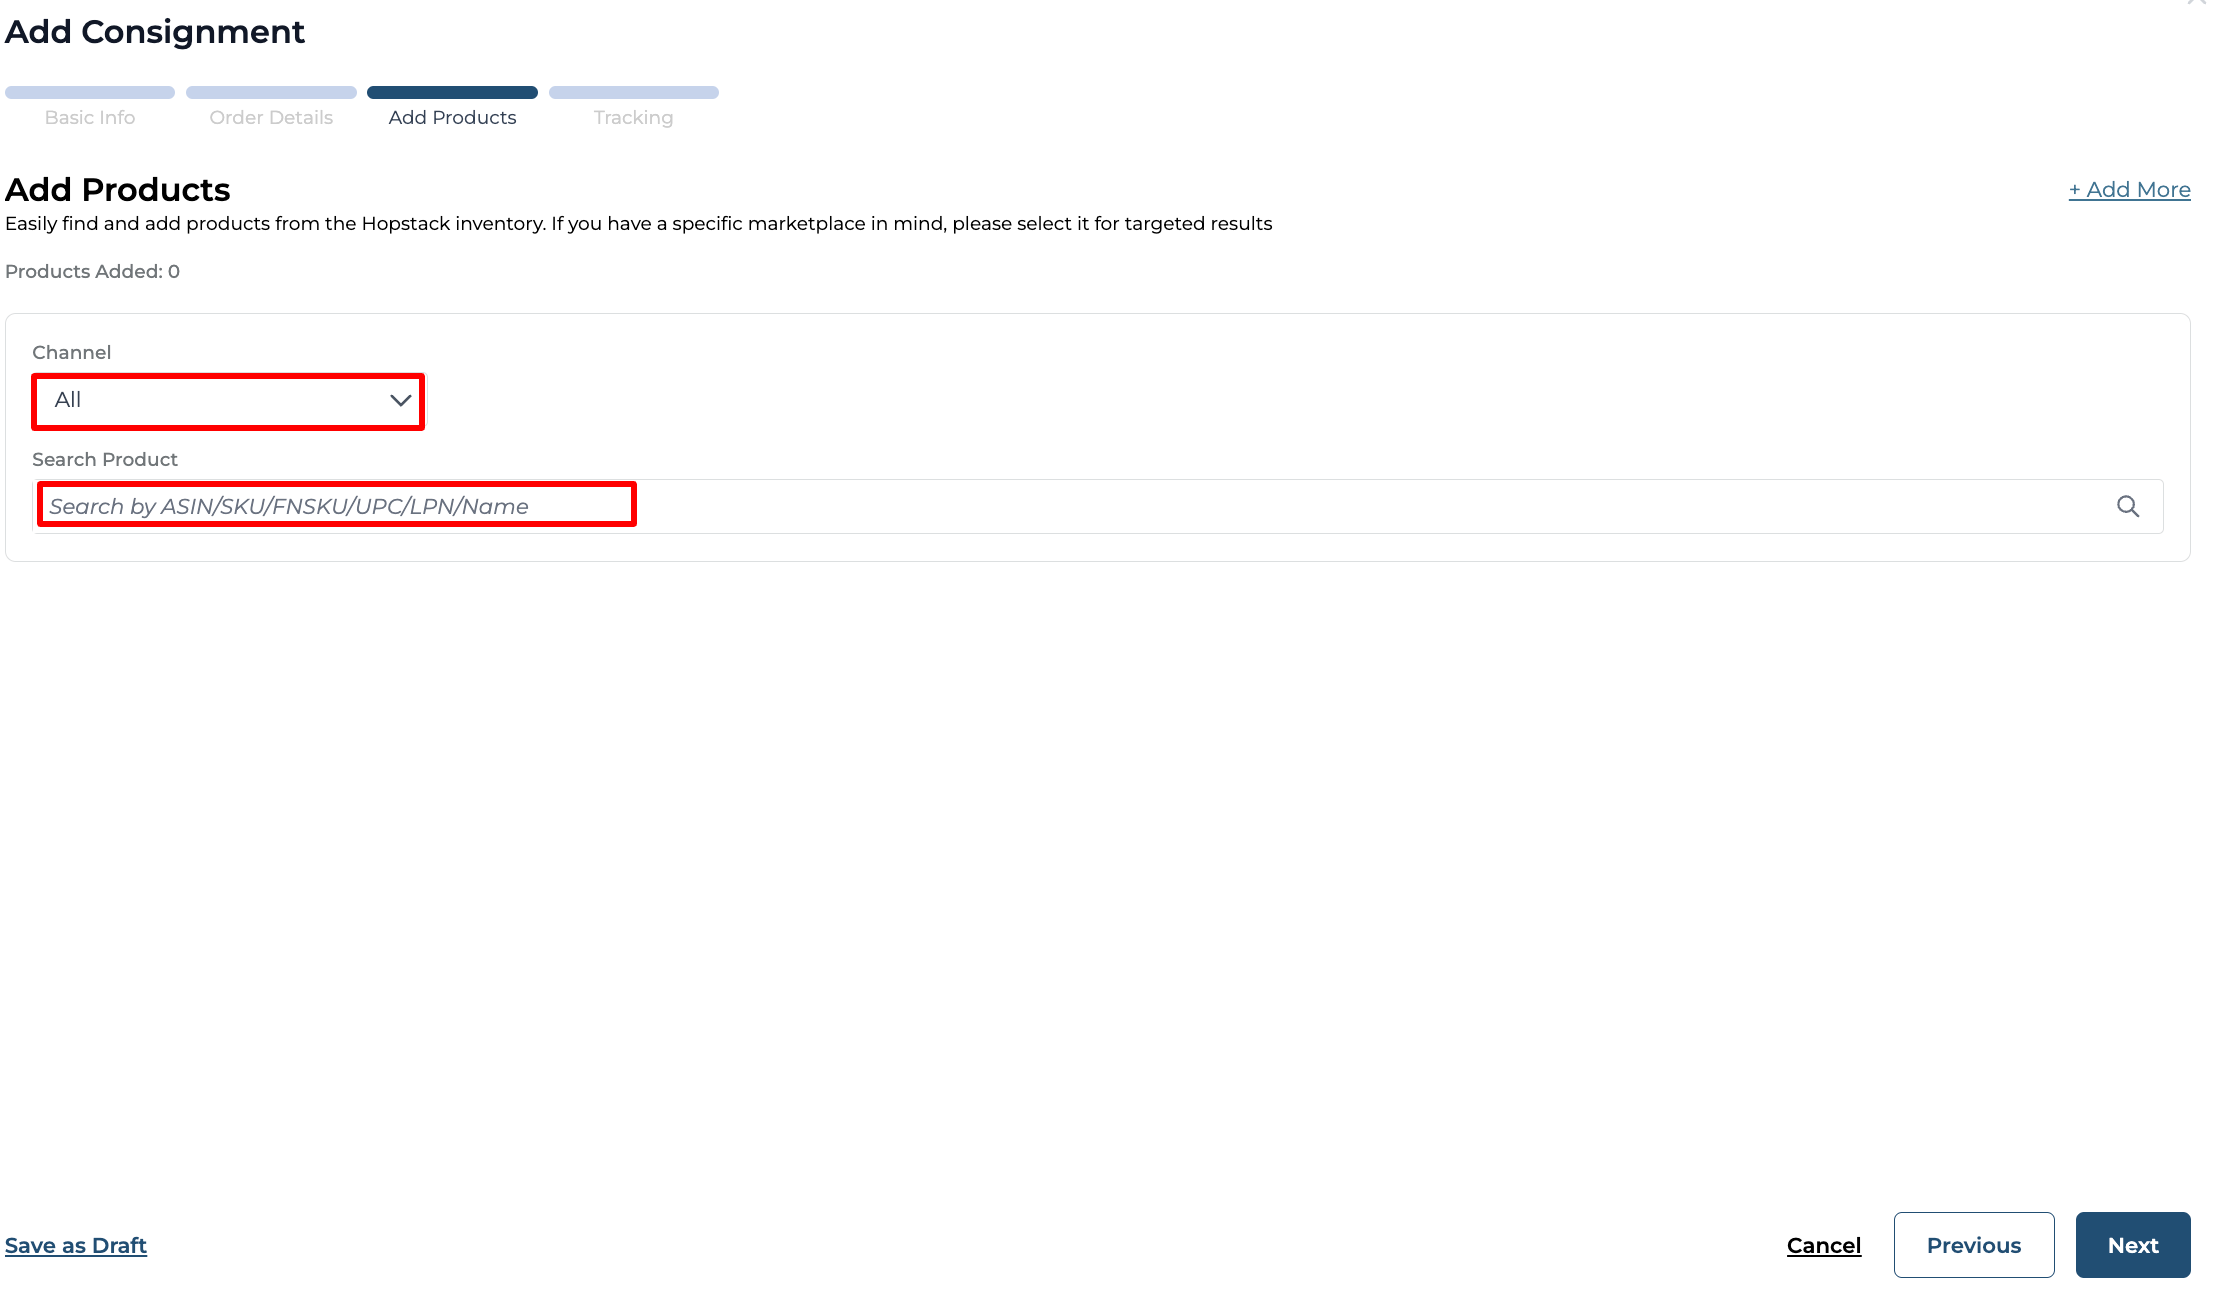
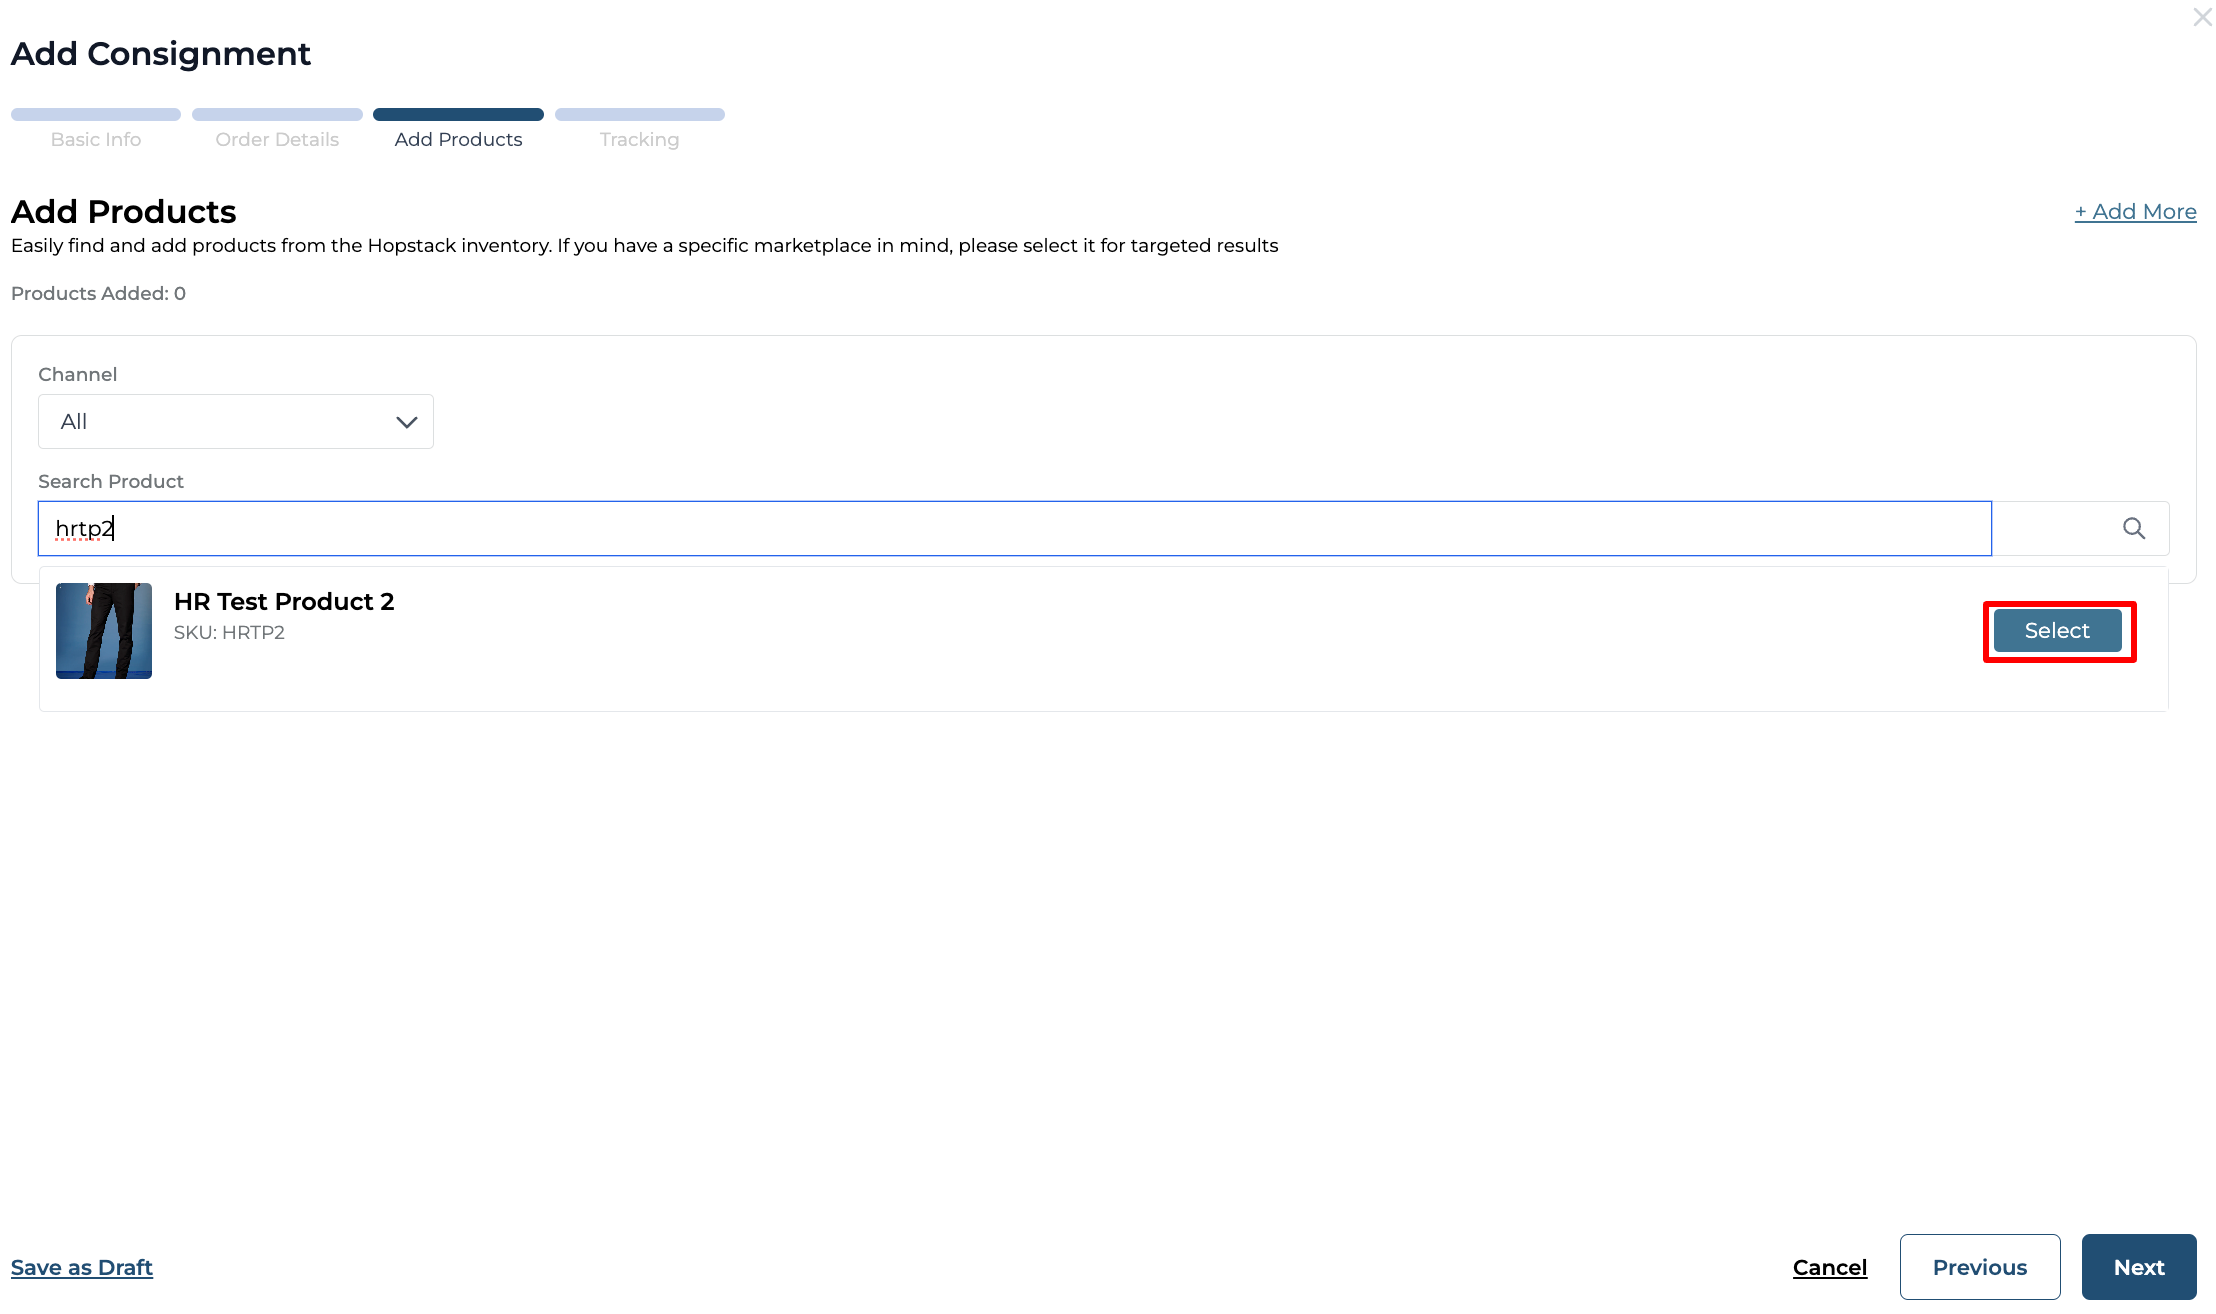
In the pop-up dialog box's "Products" section, select the channel and search with the SKU/UPC/LPN/Product name and enter the product details.
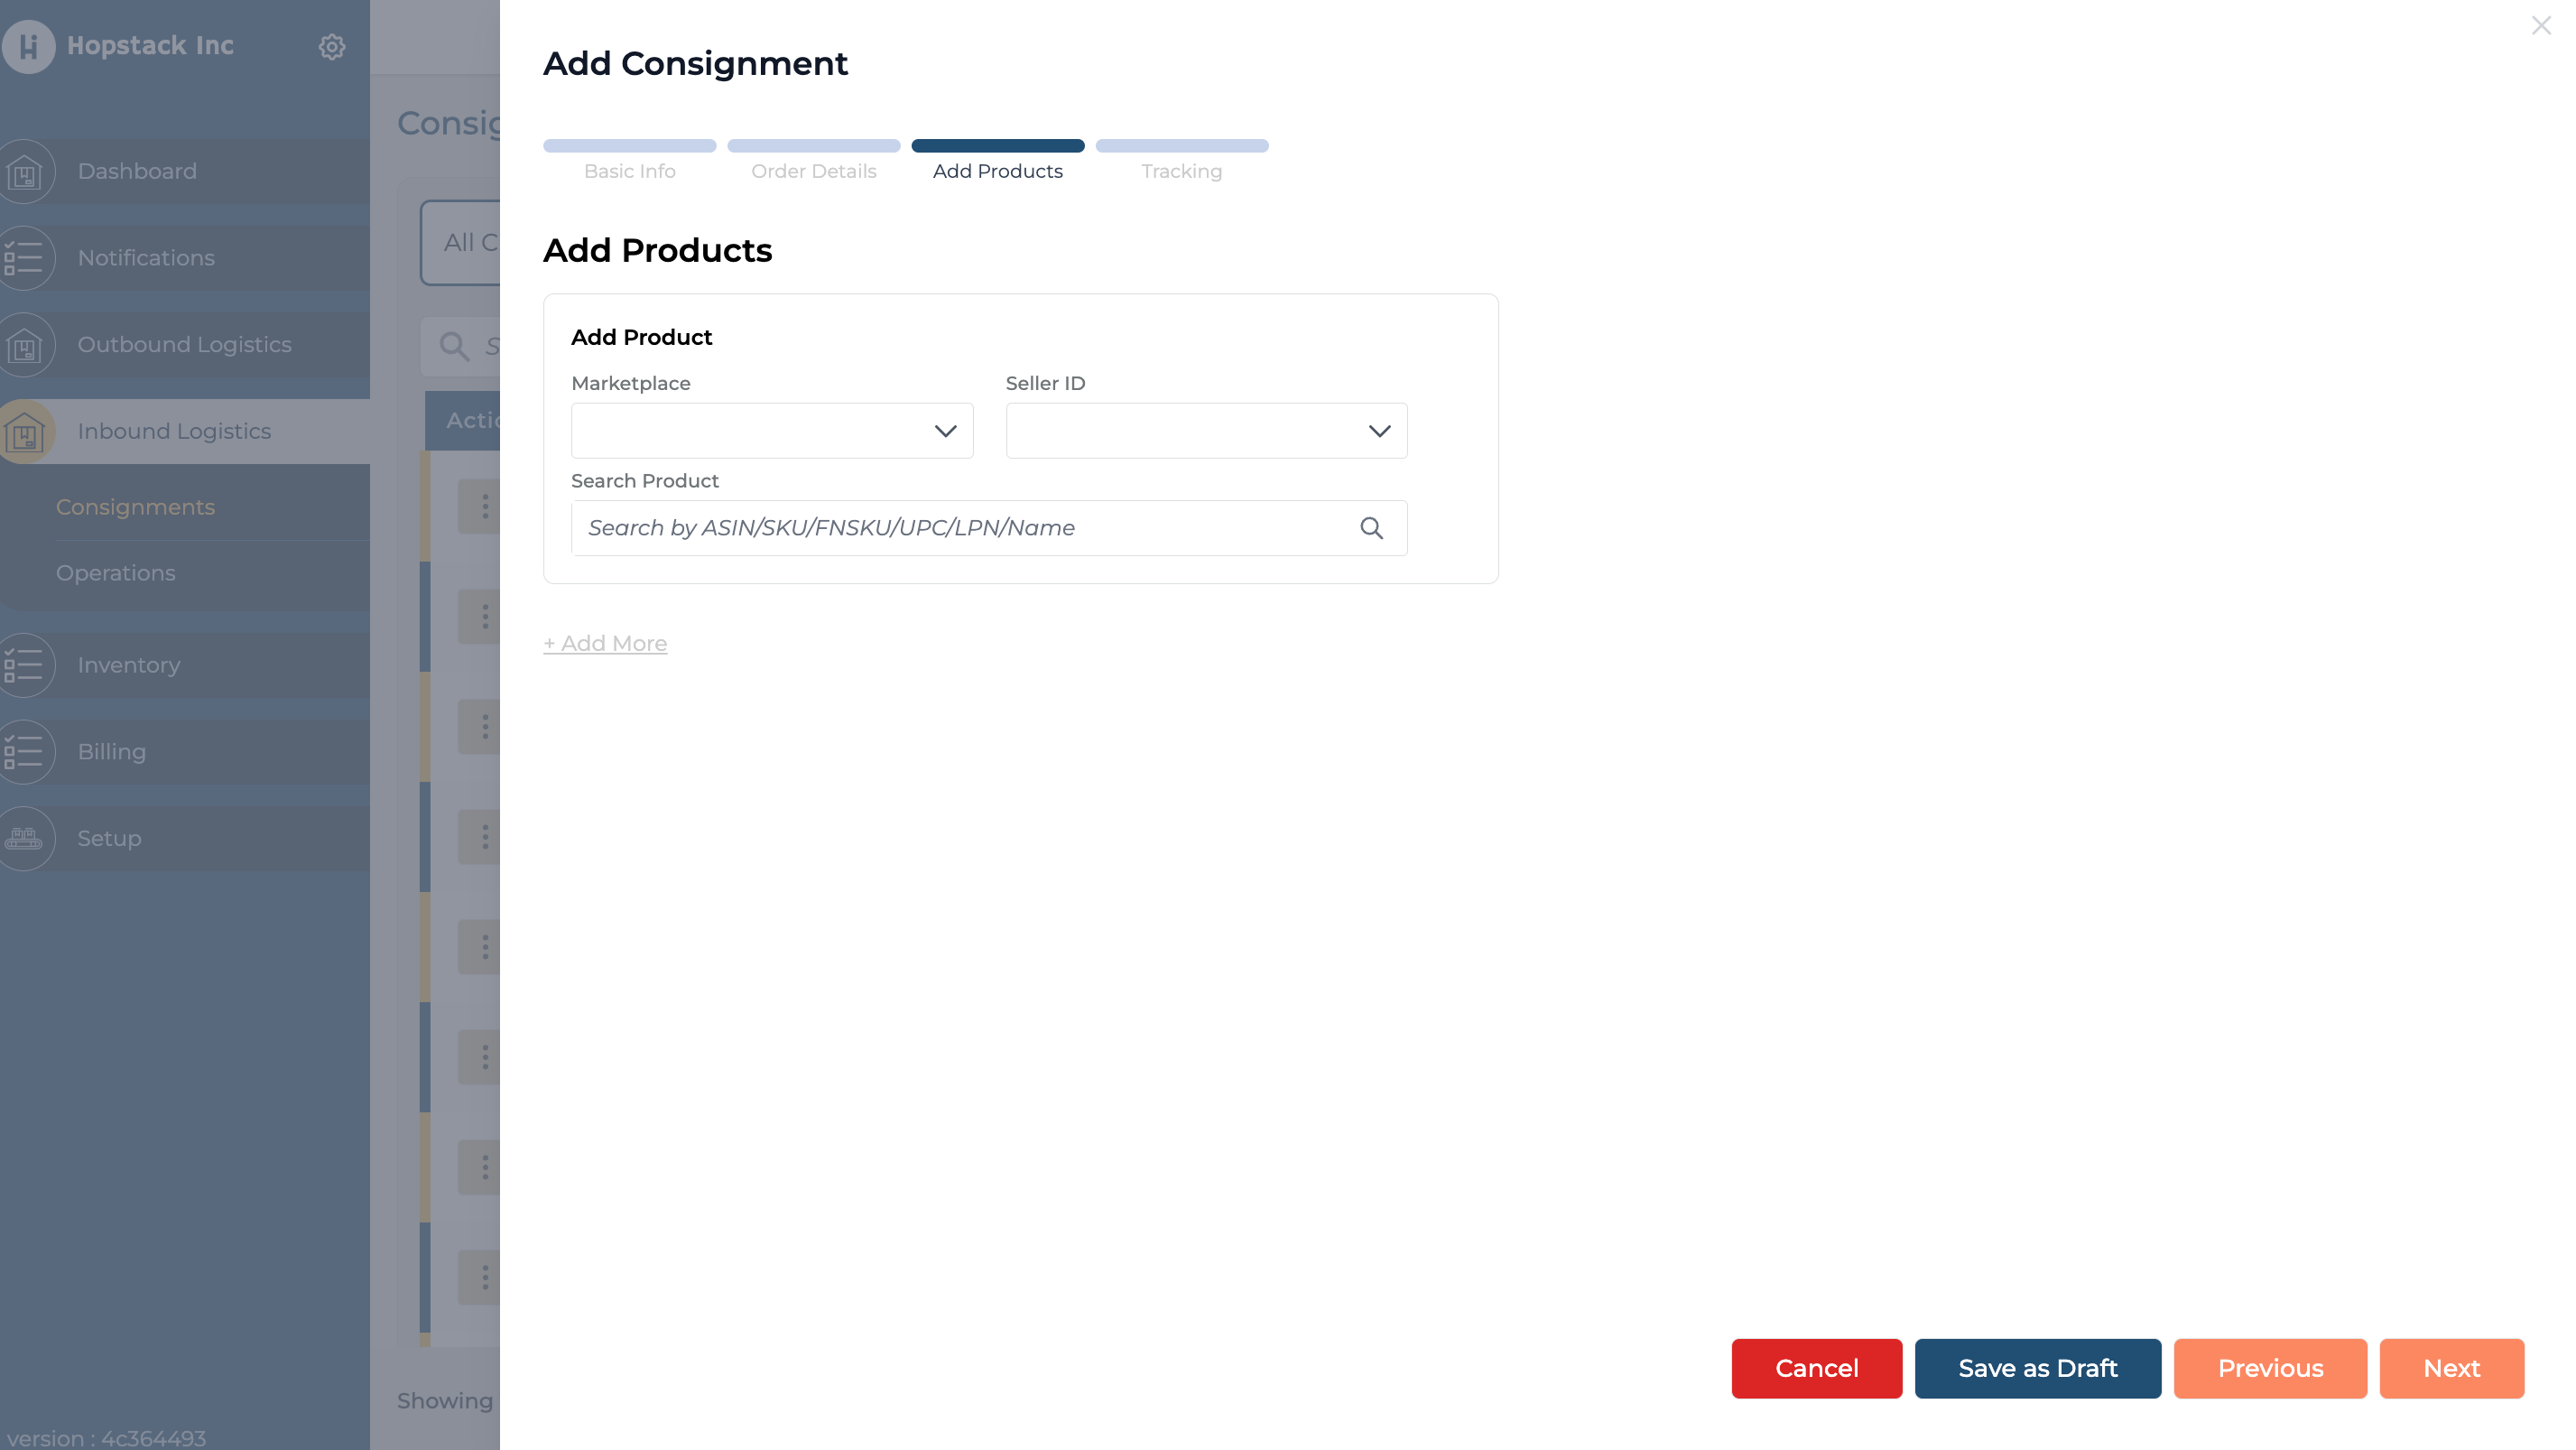
If the client has Amazon Integration supporting Multi-Region you will be asked for
Marketplace and Seller ID.
Otherwise, you will be directly asked to search product.
You can Search Products by ASIN/SKU/FNSKU/UPC/LPN/Name
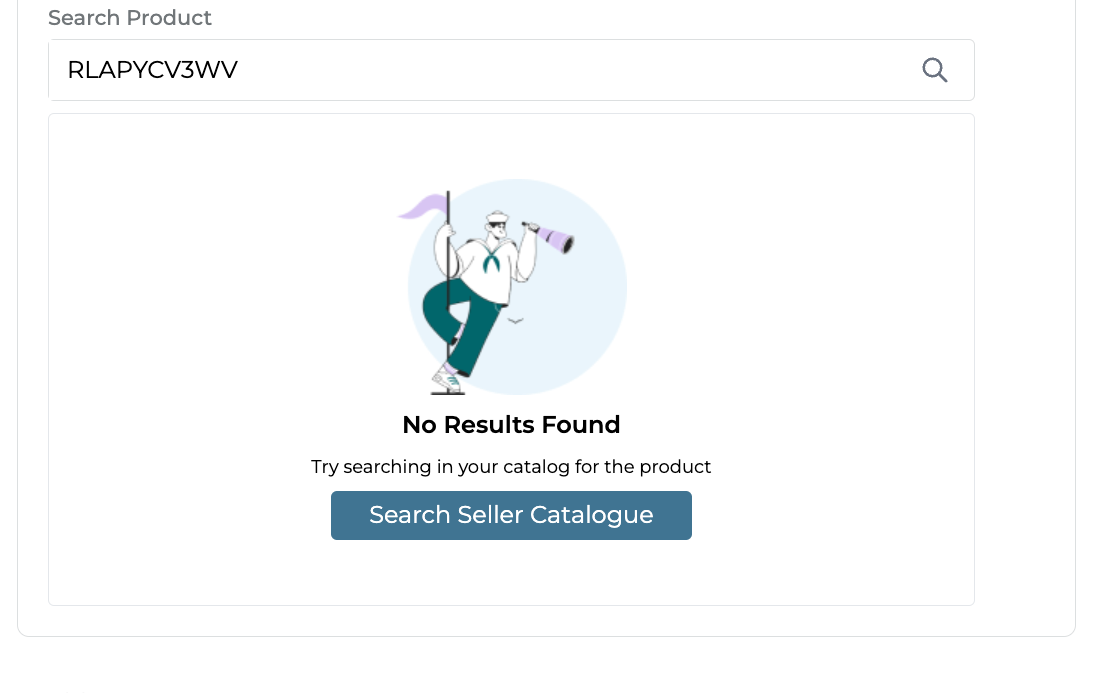
You can search for products using the ASIN.
If the ASIN is not found, an option will be provided to search within the seller's catalog to search the
same product.
Please note: This will not necessarily mean that you will get the product.
Only if the product is available on Seller Central only then Hopstack will be able to fetch the product else not.
Click on the "Select" button in the Action column to select the product of your choice from the list.
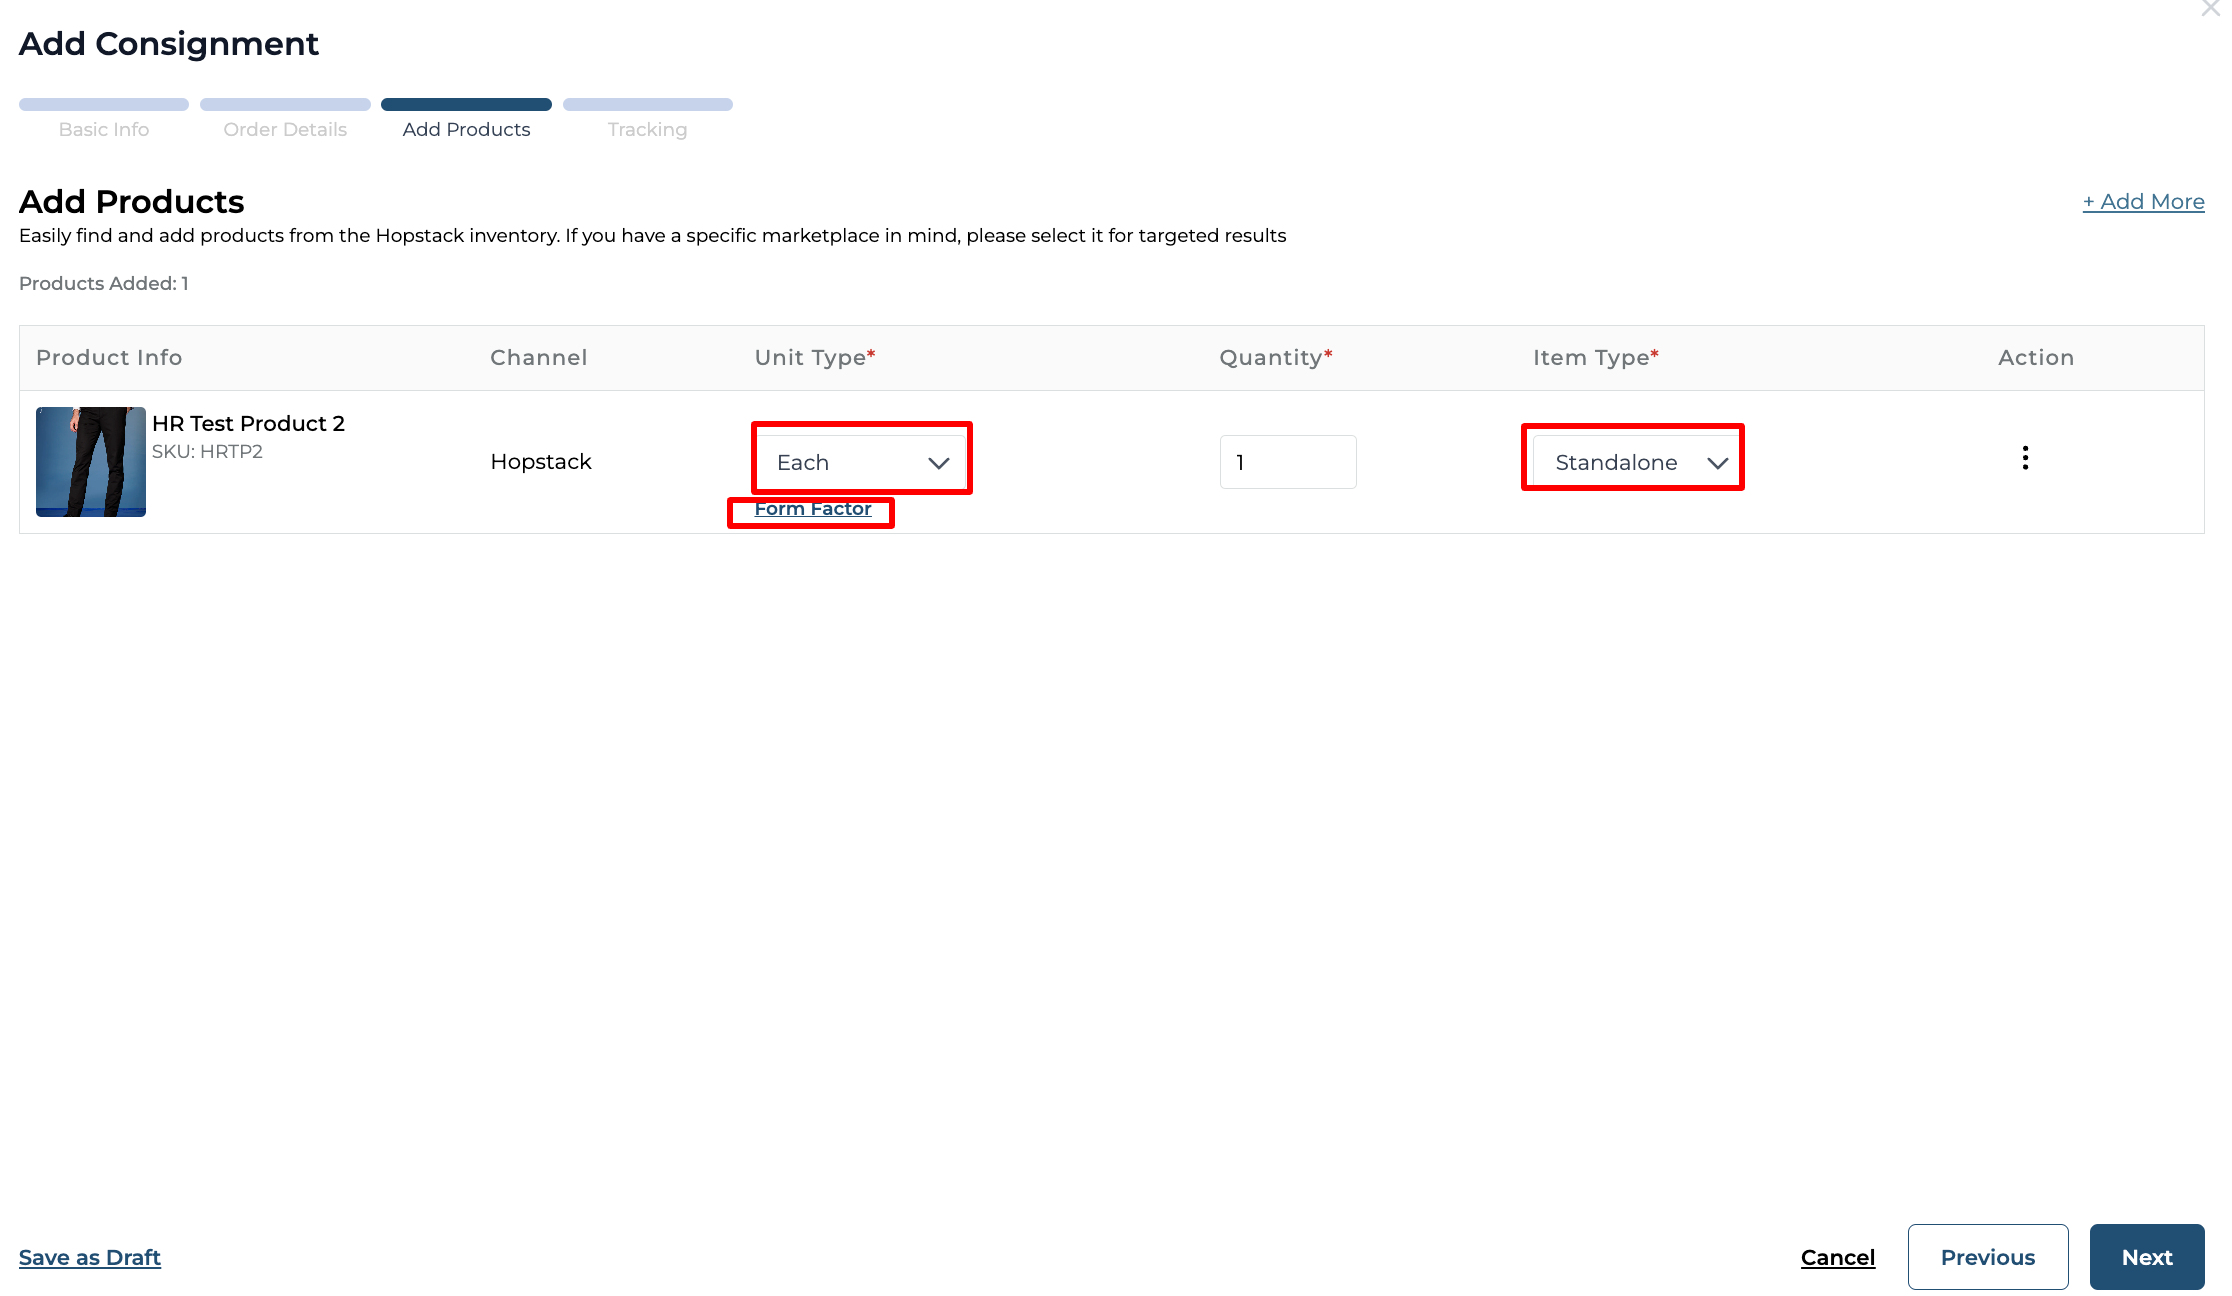
Choose the Unit Type, Click on Form Factor to define a new form factor. Click on the Item Type dropdown to choose standalone or bundle item type.
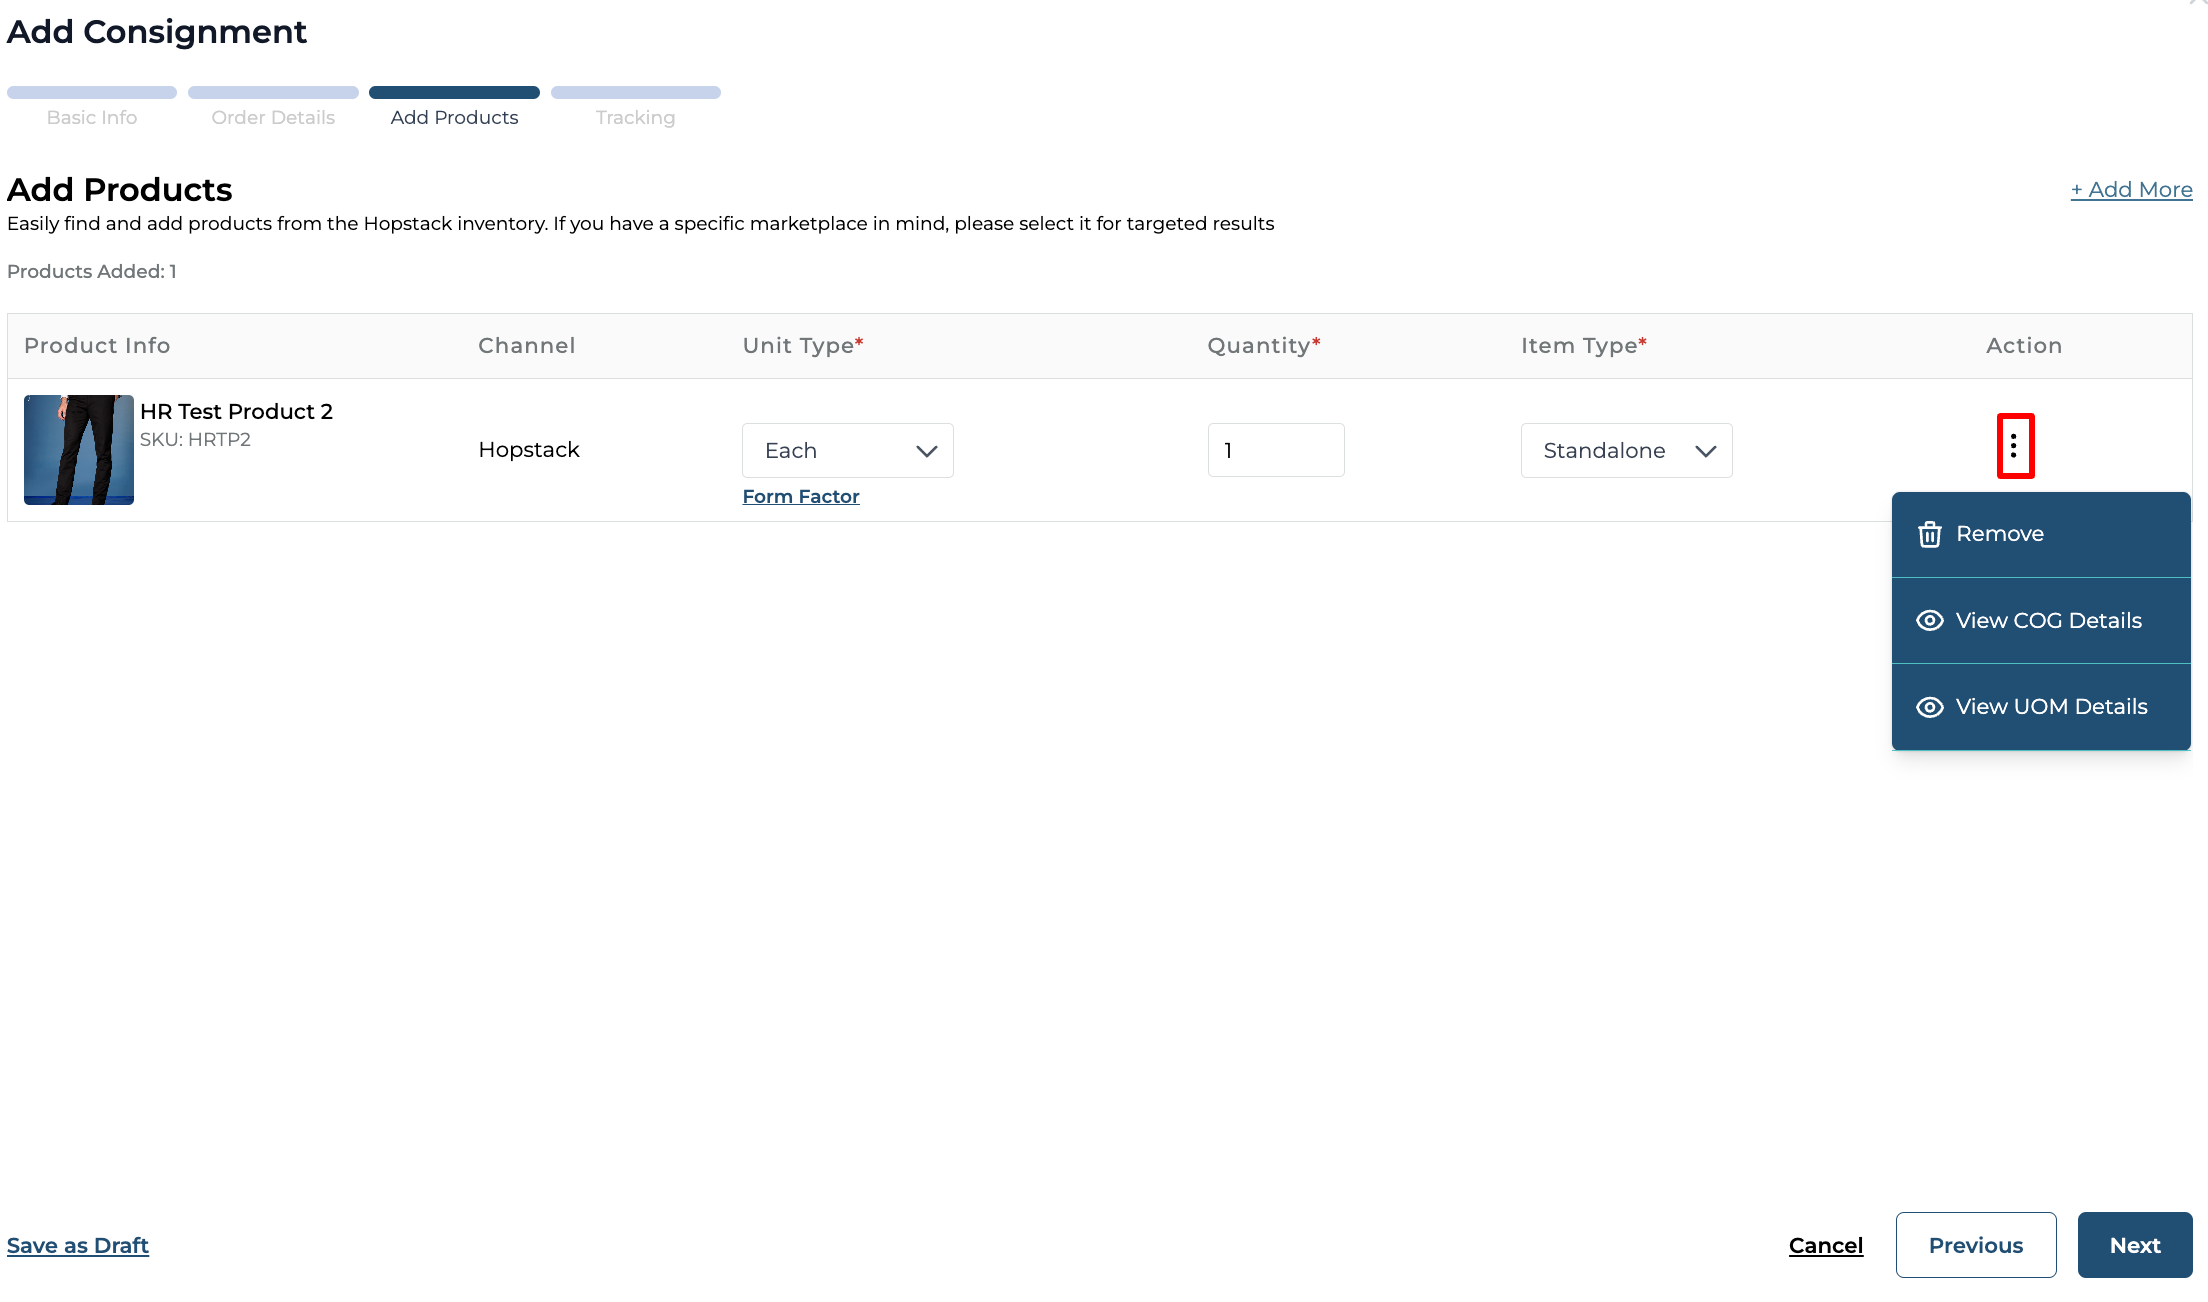
The Action button provides options to remove products and view COG (cost of good) and UOM (unit of measure) details.
Click on +Add More to add more products.
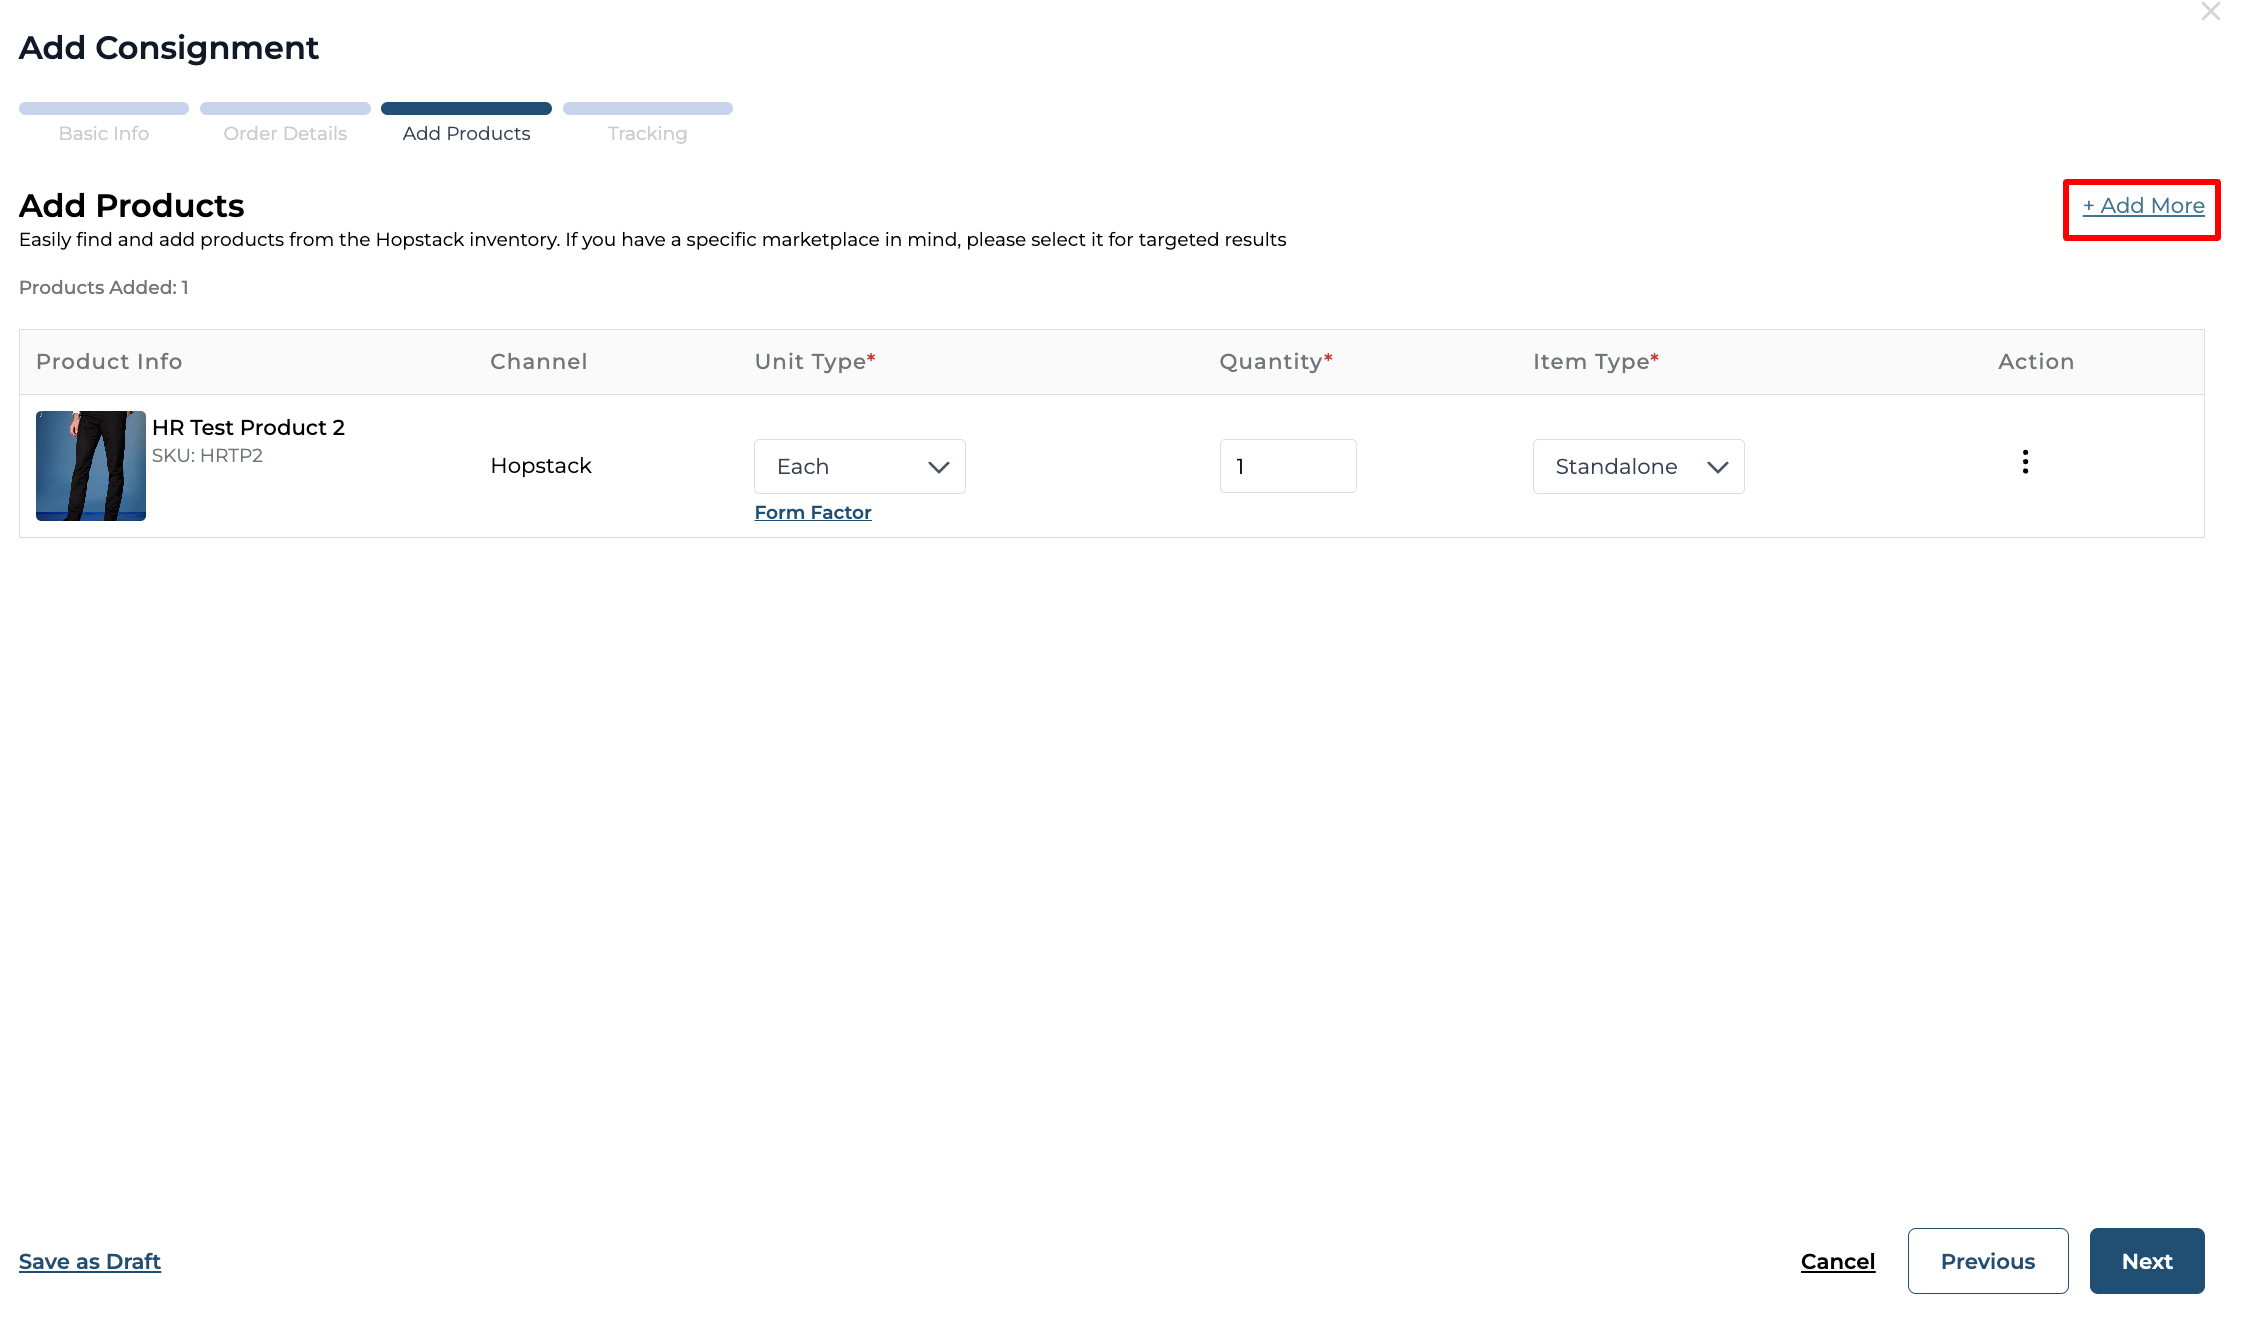
Click on NEXT after adding all the products.
In the pop-up dialog box's "Tracking" section, click on the "Carrier" field to enter the name of the Carrier and Tracking Number.
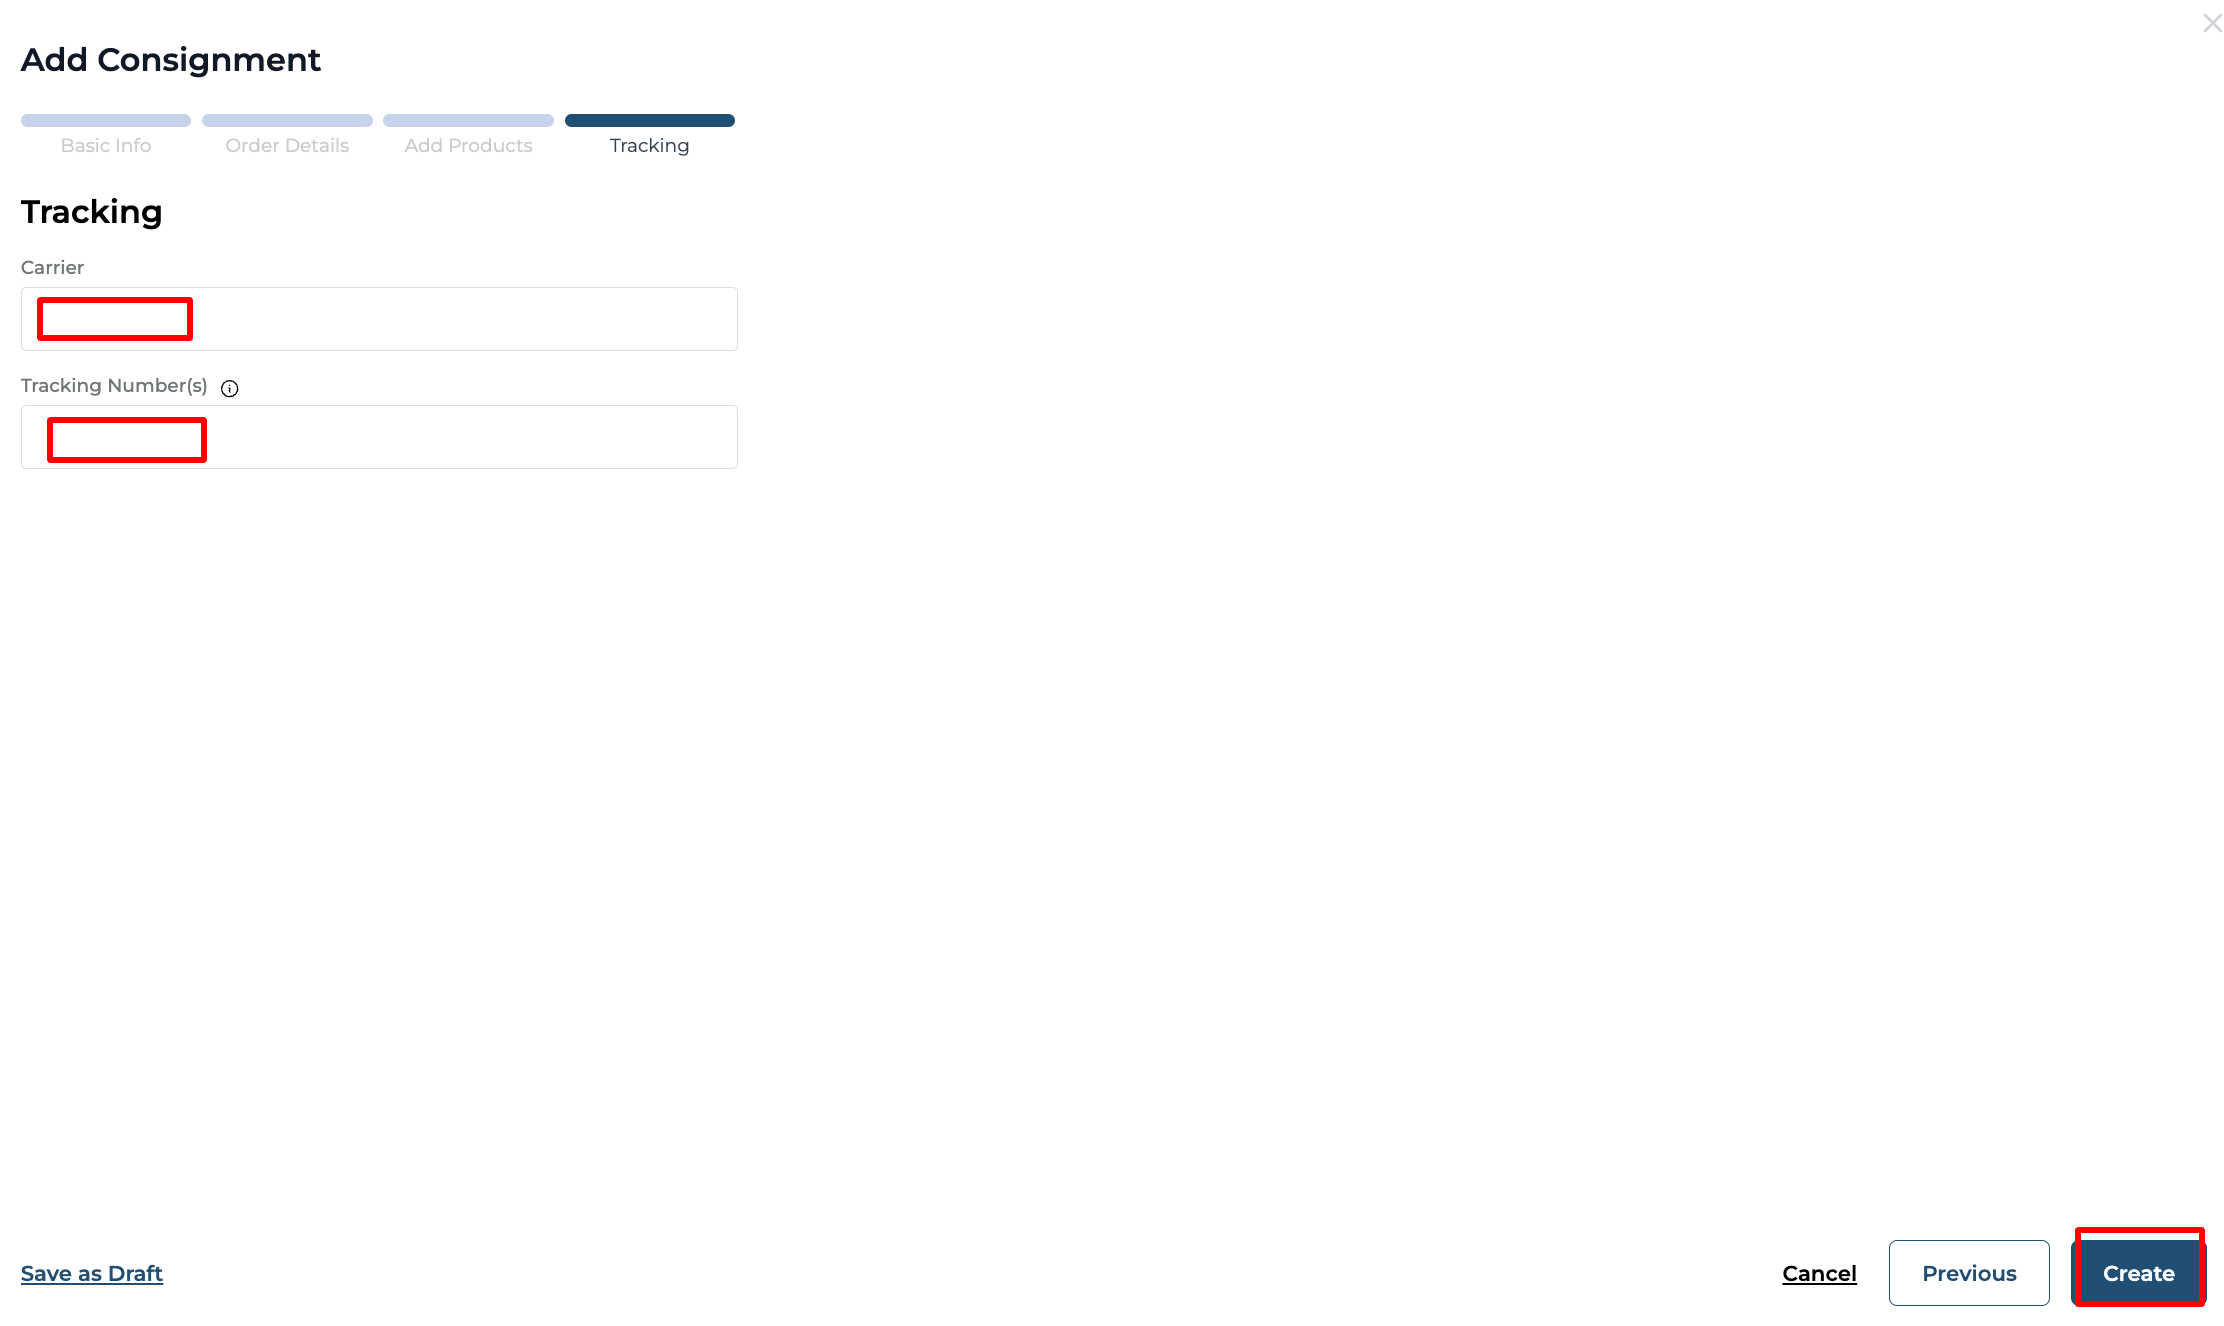
Click on the "Create" button to create the consignment details.
To add a consignment with the STATUS as "DRAFT" you can click on the "Save as Draft" button.
