
Instant and Schedule Reports
We have enhanced the Report Management flow to simplify the report generation process. Earlier Instant reports and scheduled reports followed two separate workflows. Both instant reports and scheduled reports are merged into a single unified flow.
Follow the steps below.
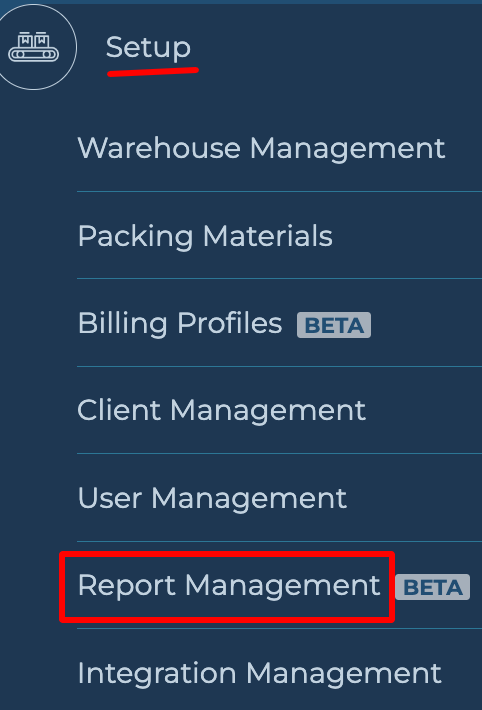
Step 1. Navigate to the Report Management section and click on “Report Management”.
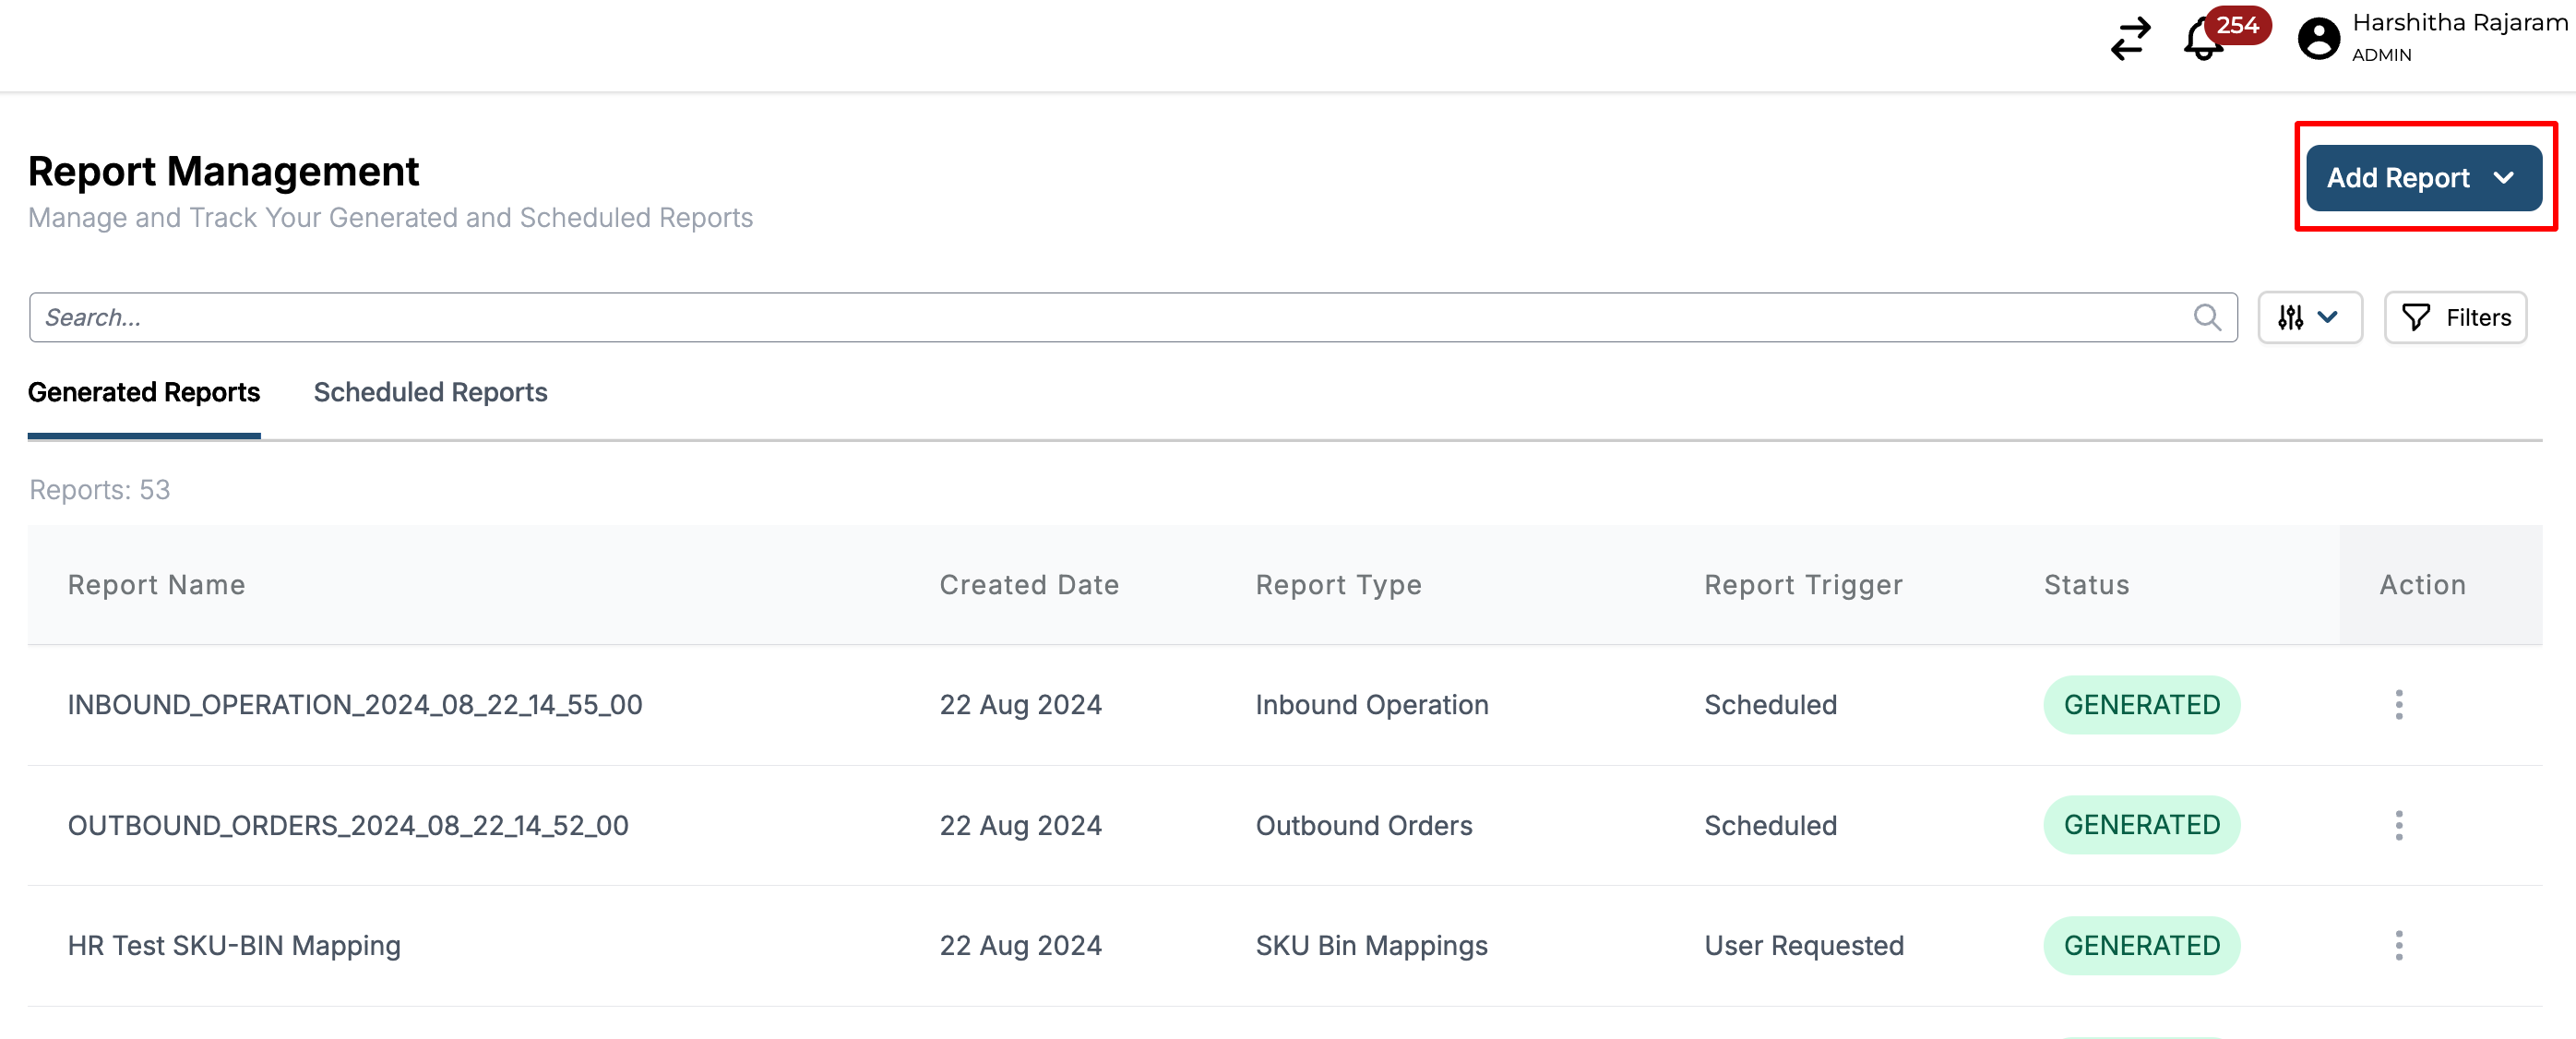
Step 2. Click on Add Report.
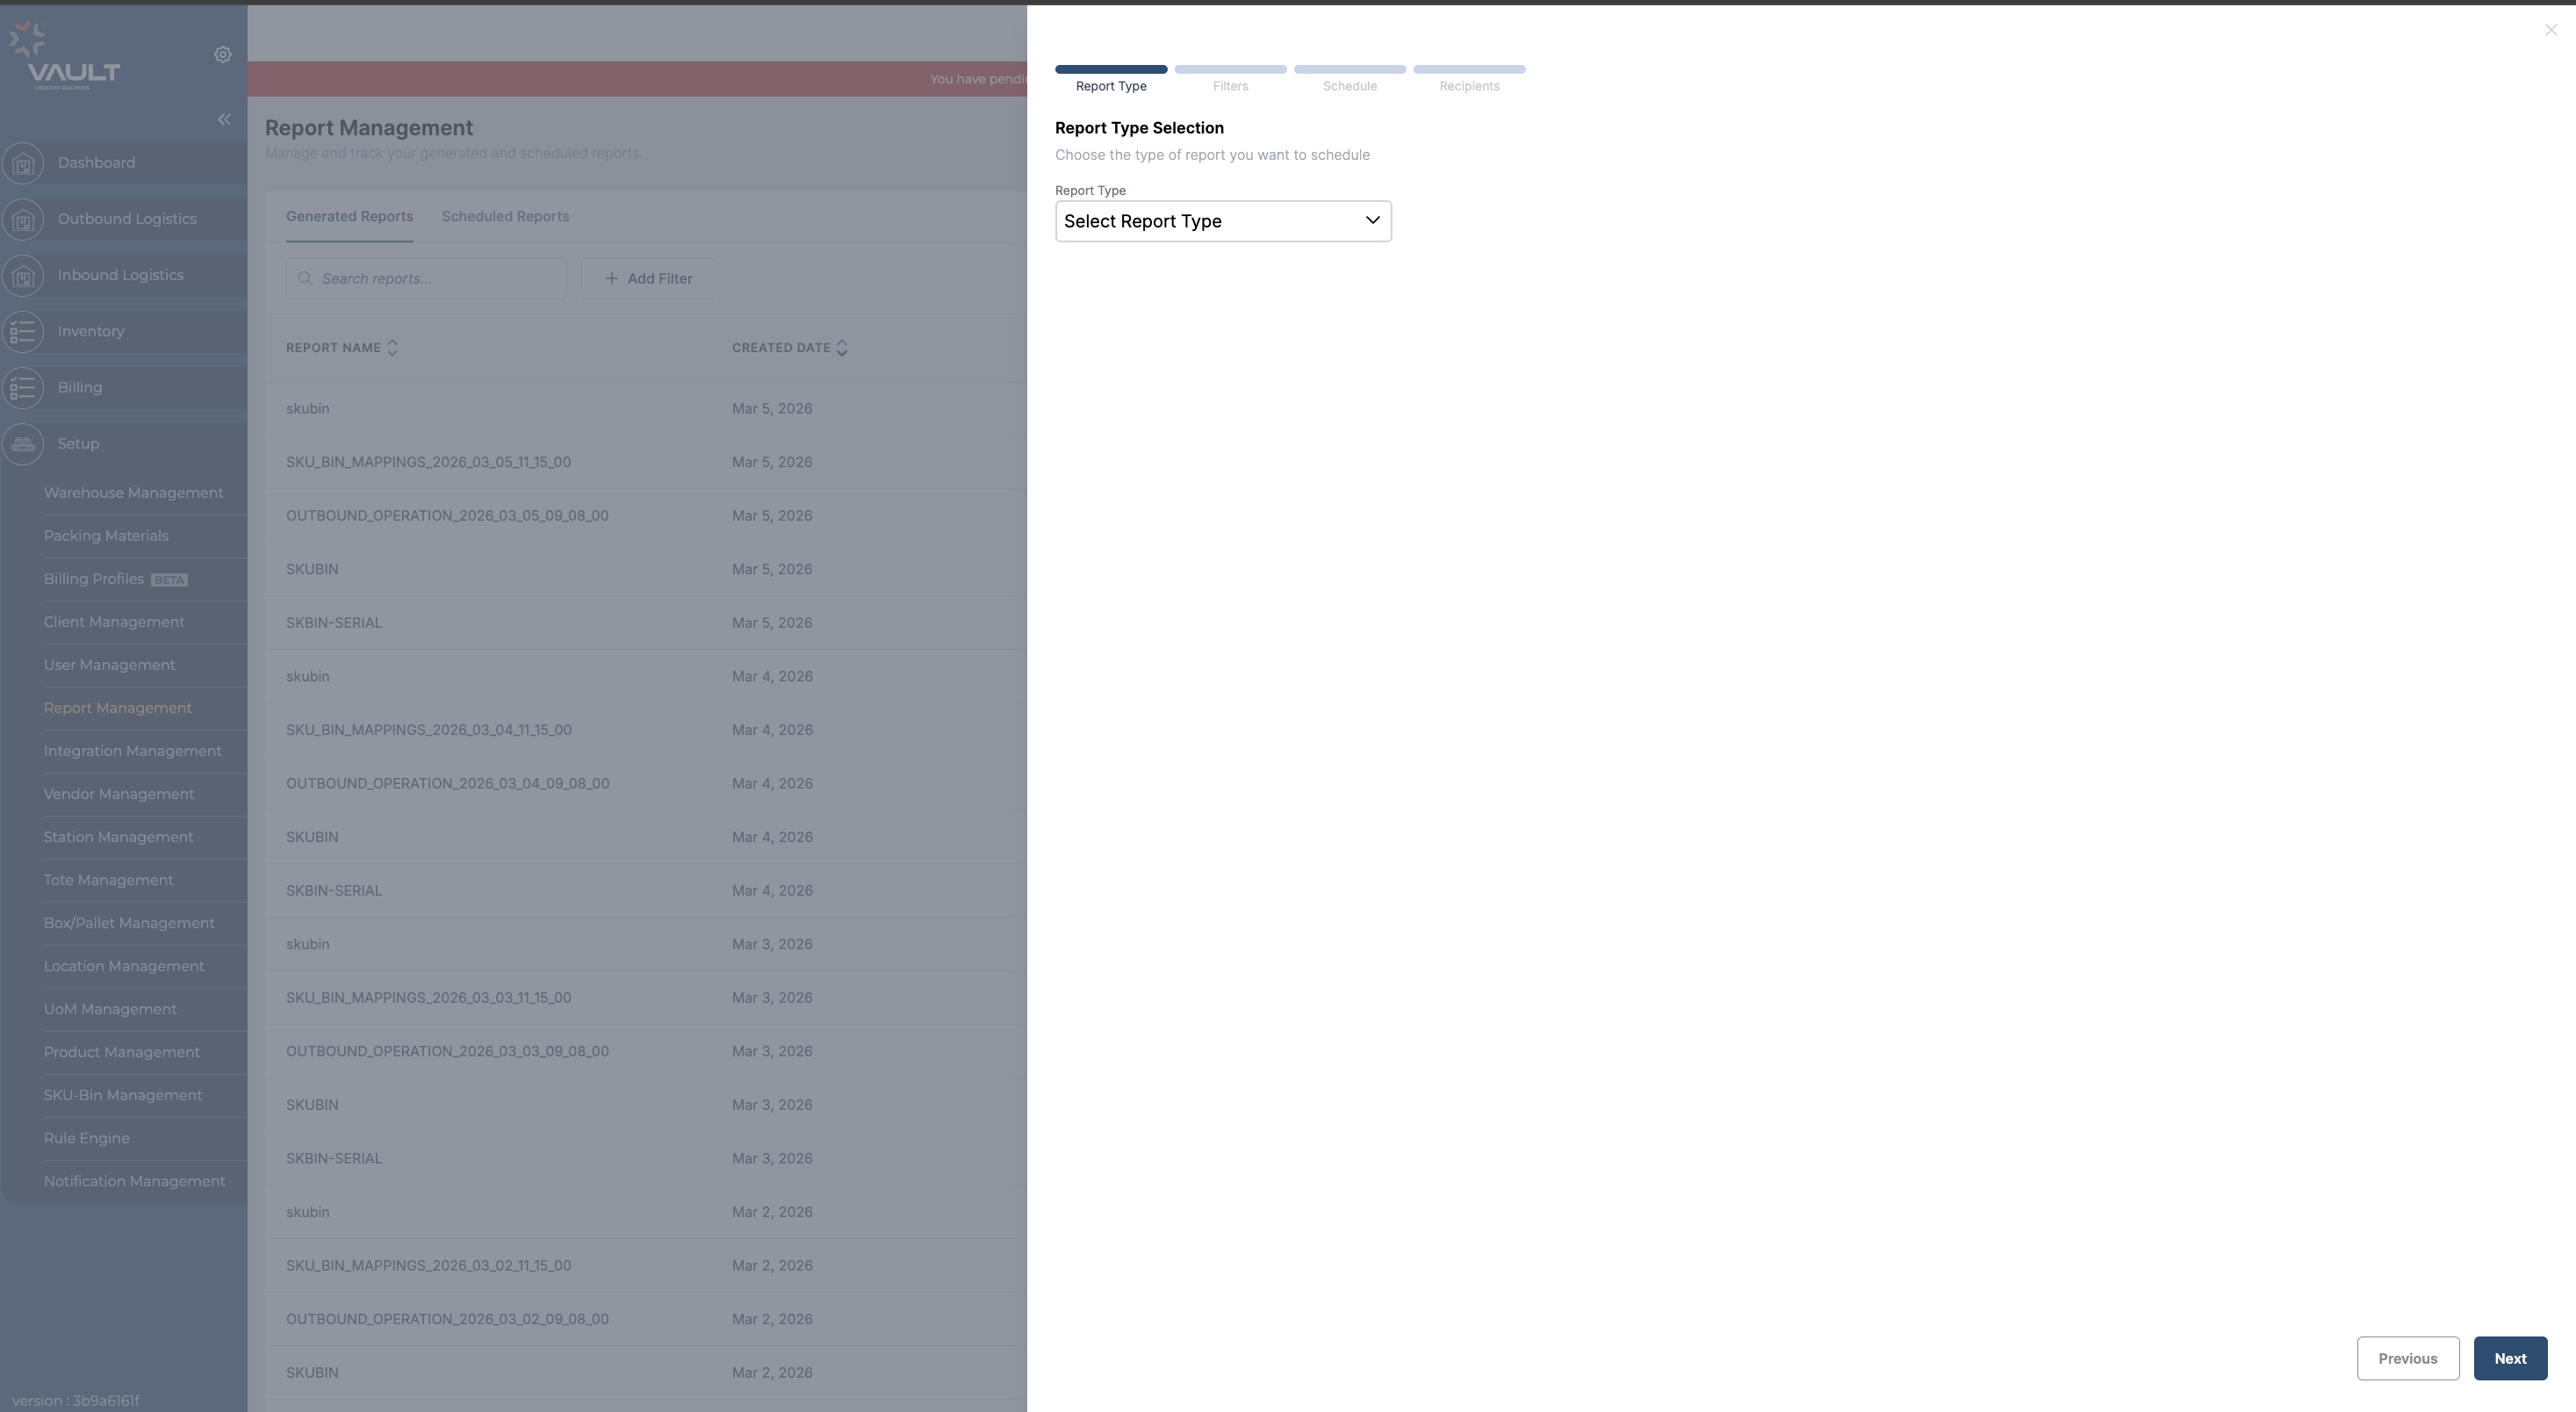
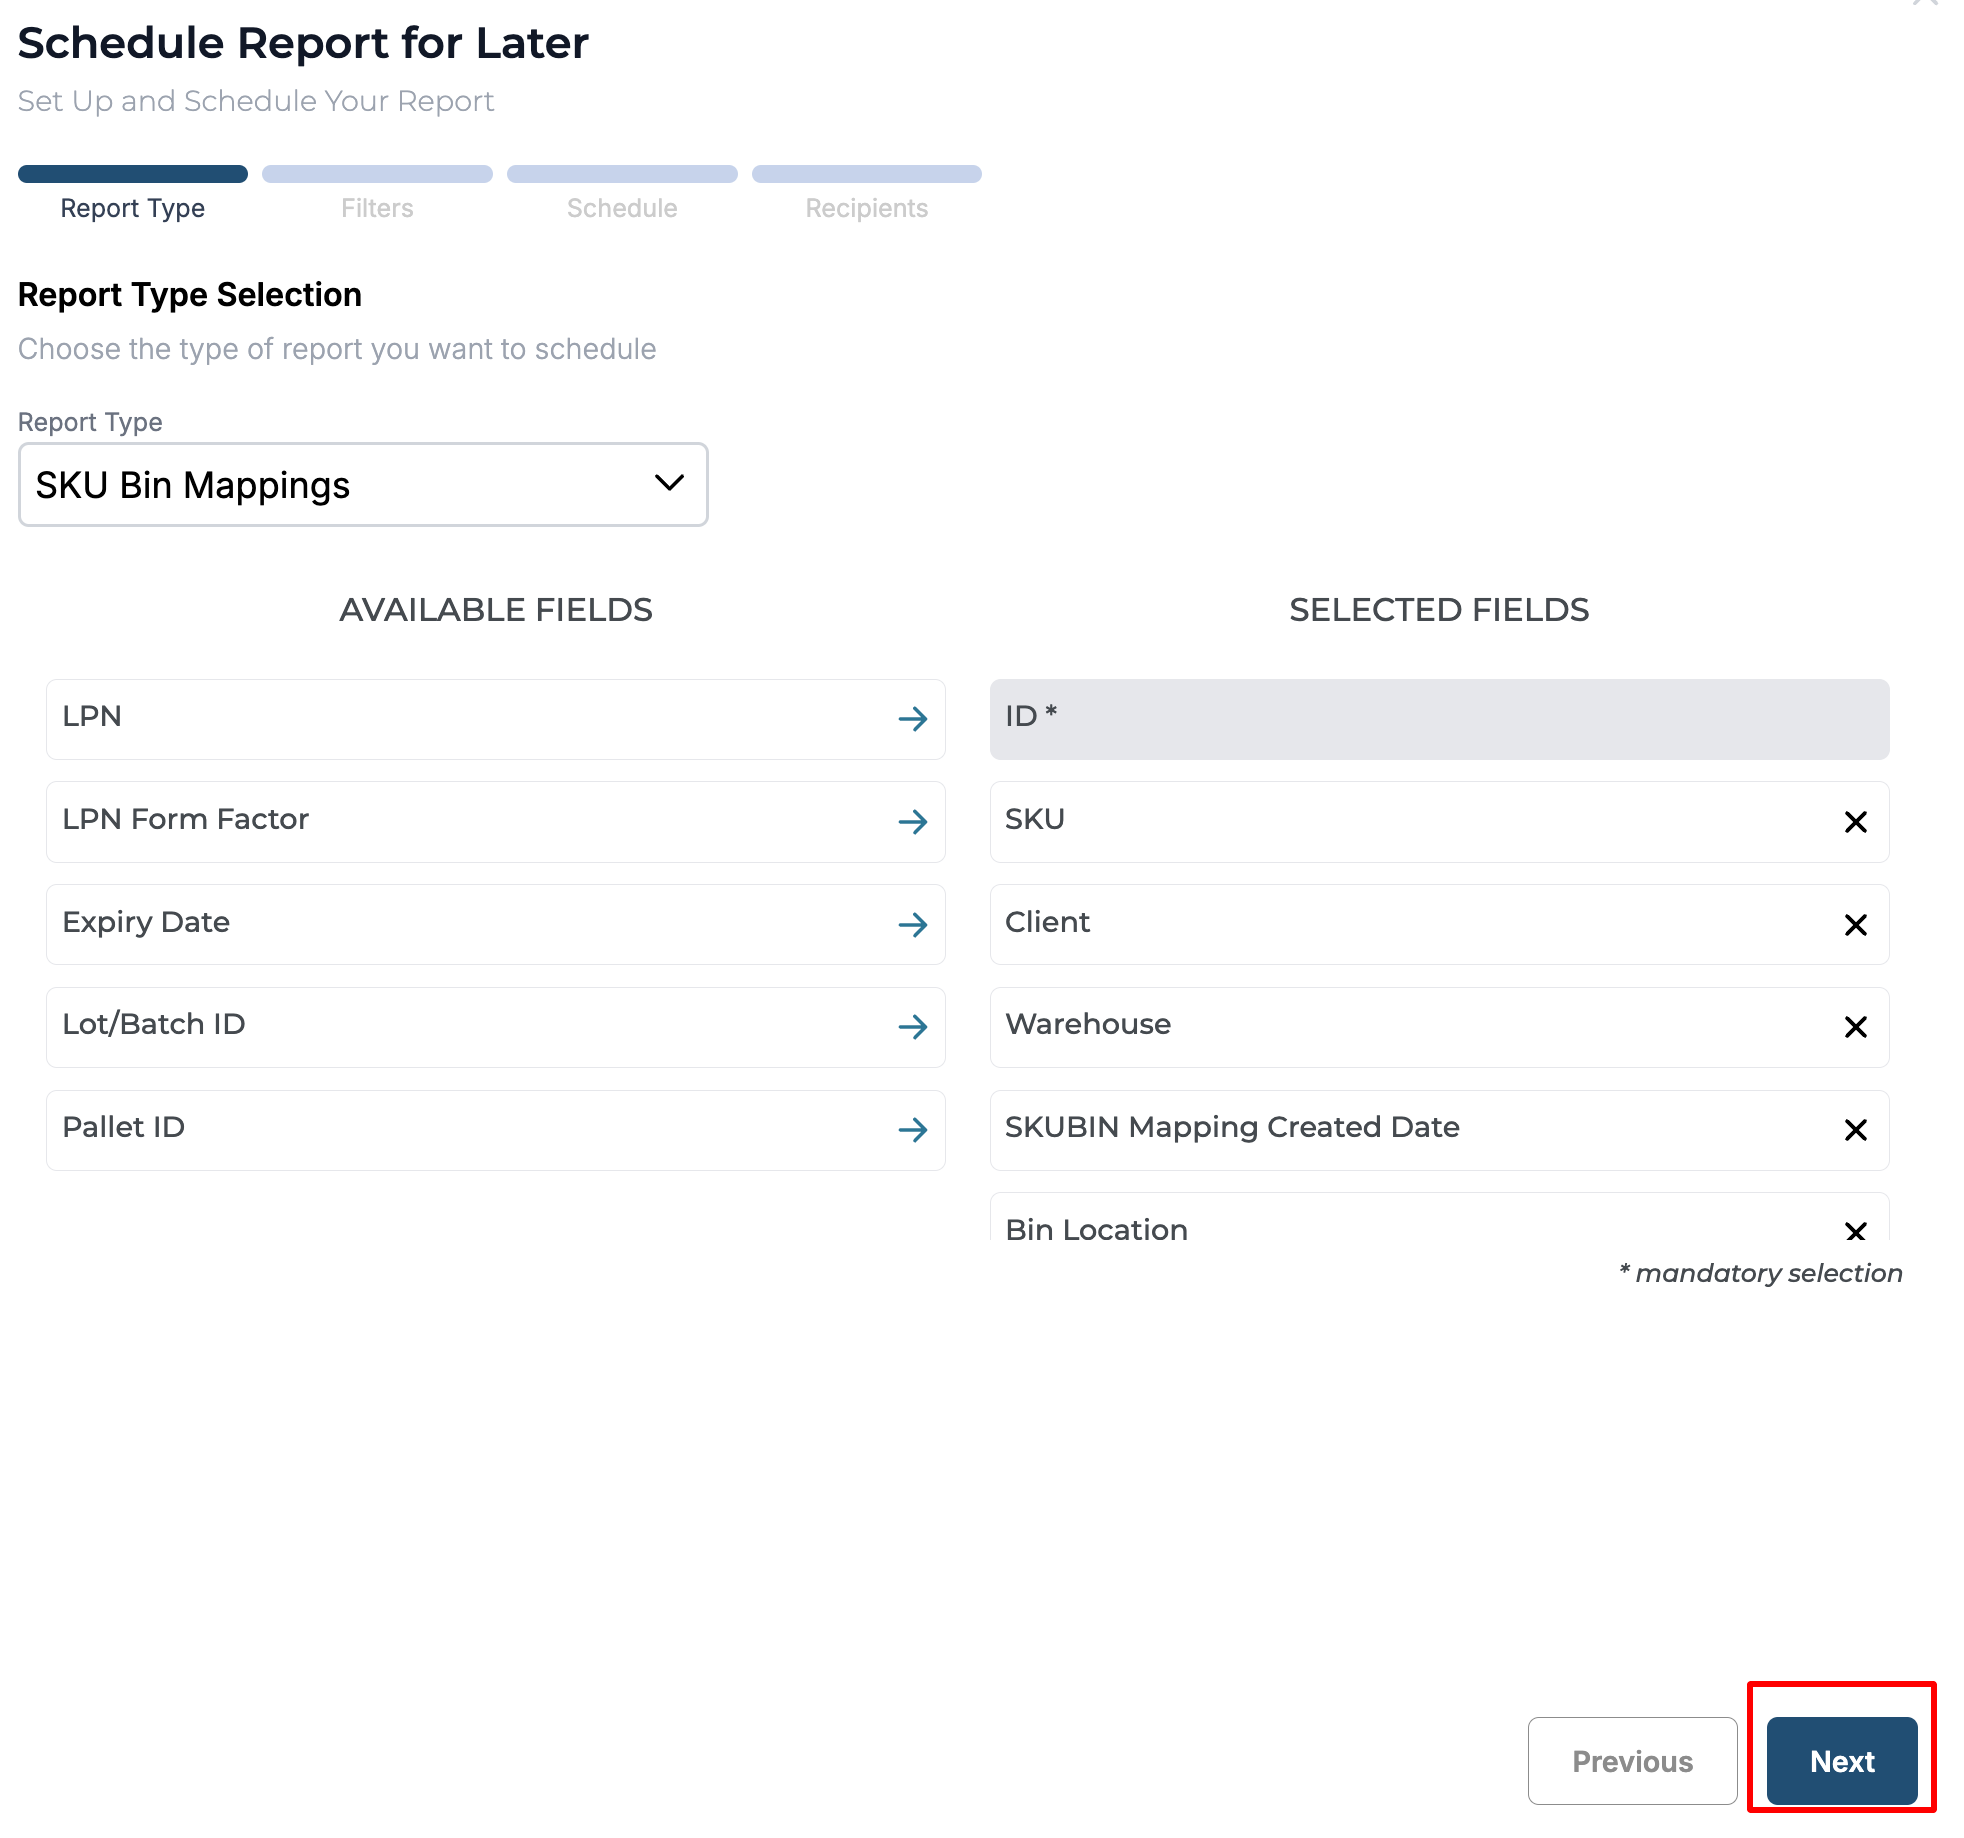
Step 3. Select “Report Type” and click on Next.
Step 4. Choose the fields for the report by clicking on the arrow mark next to each field in the available fields column.
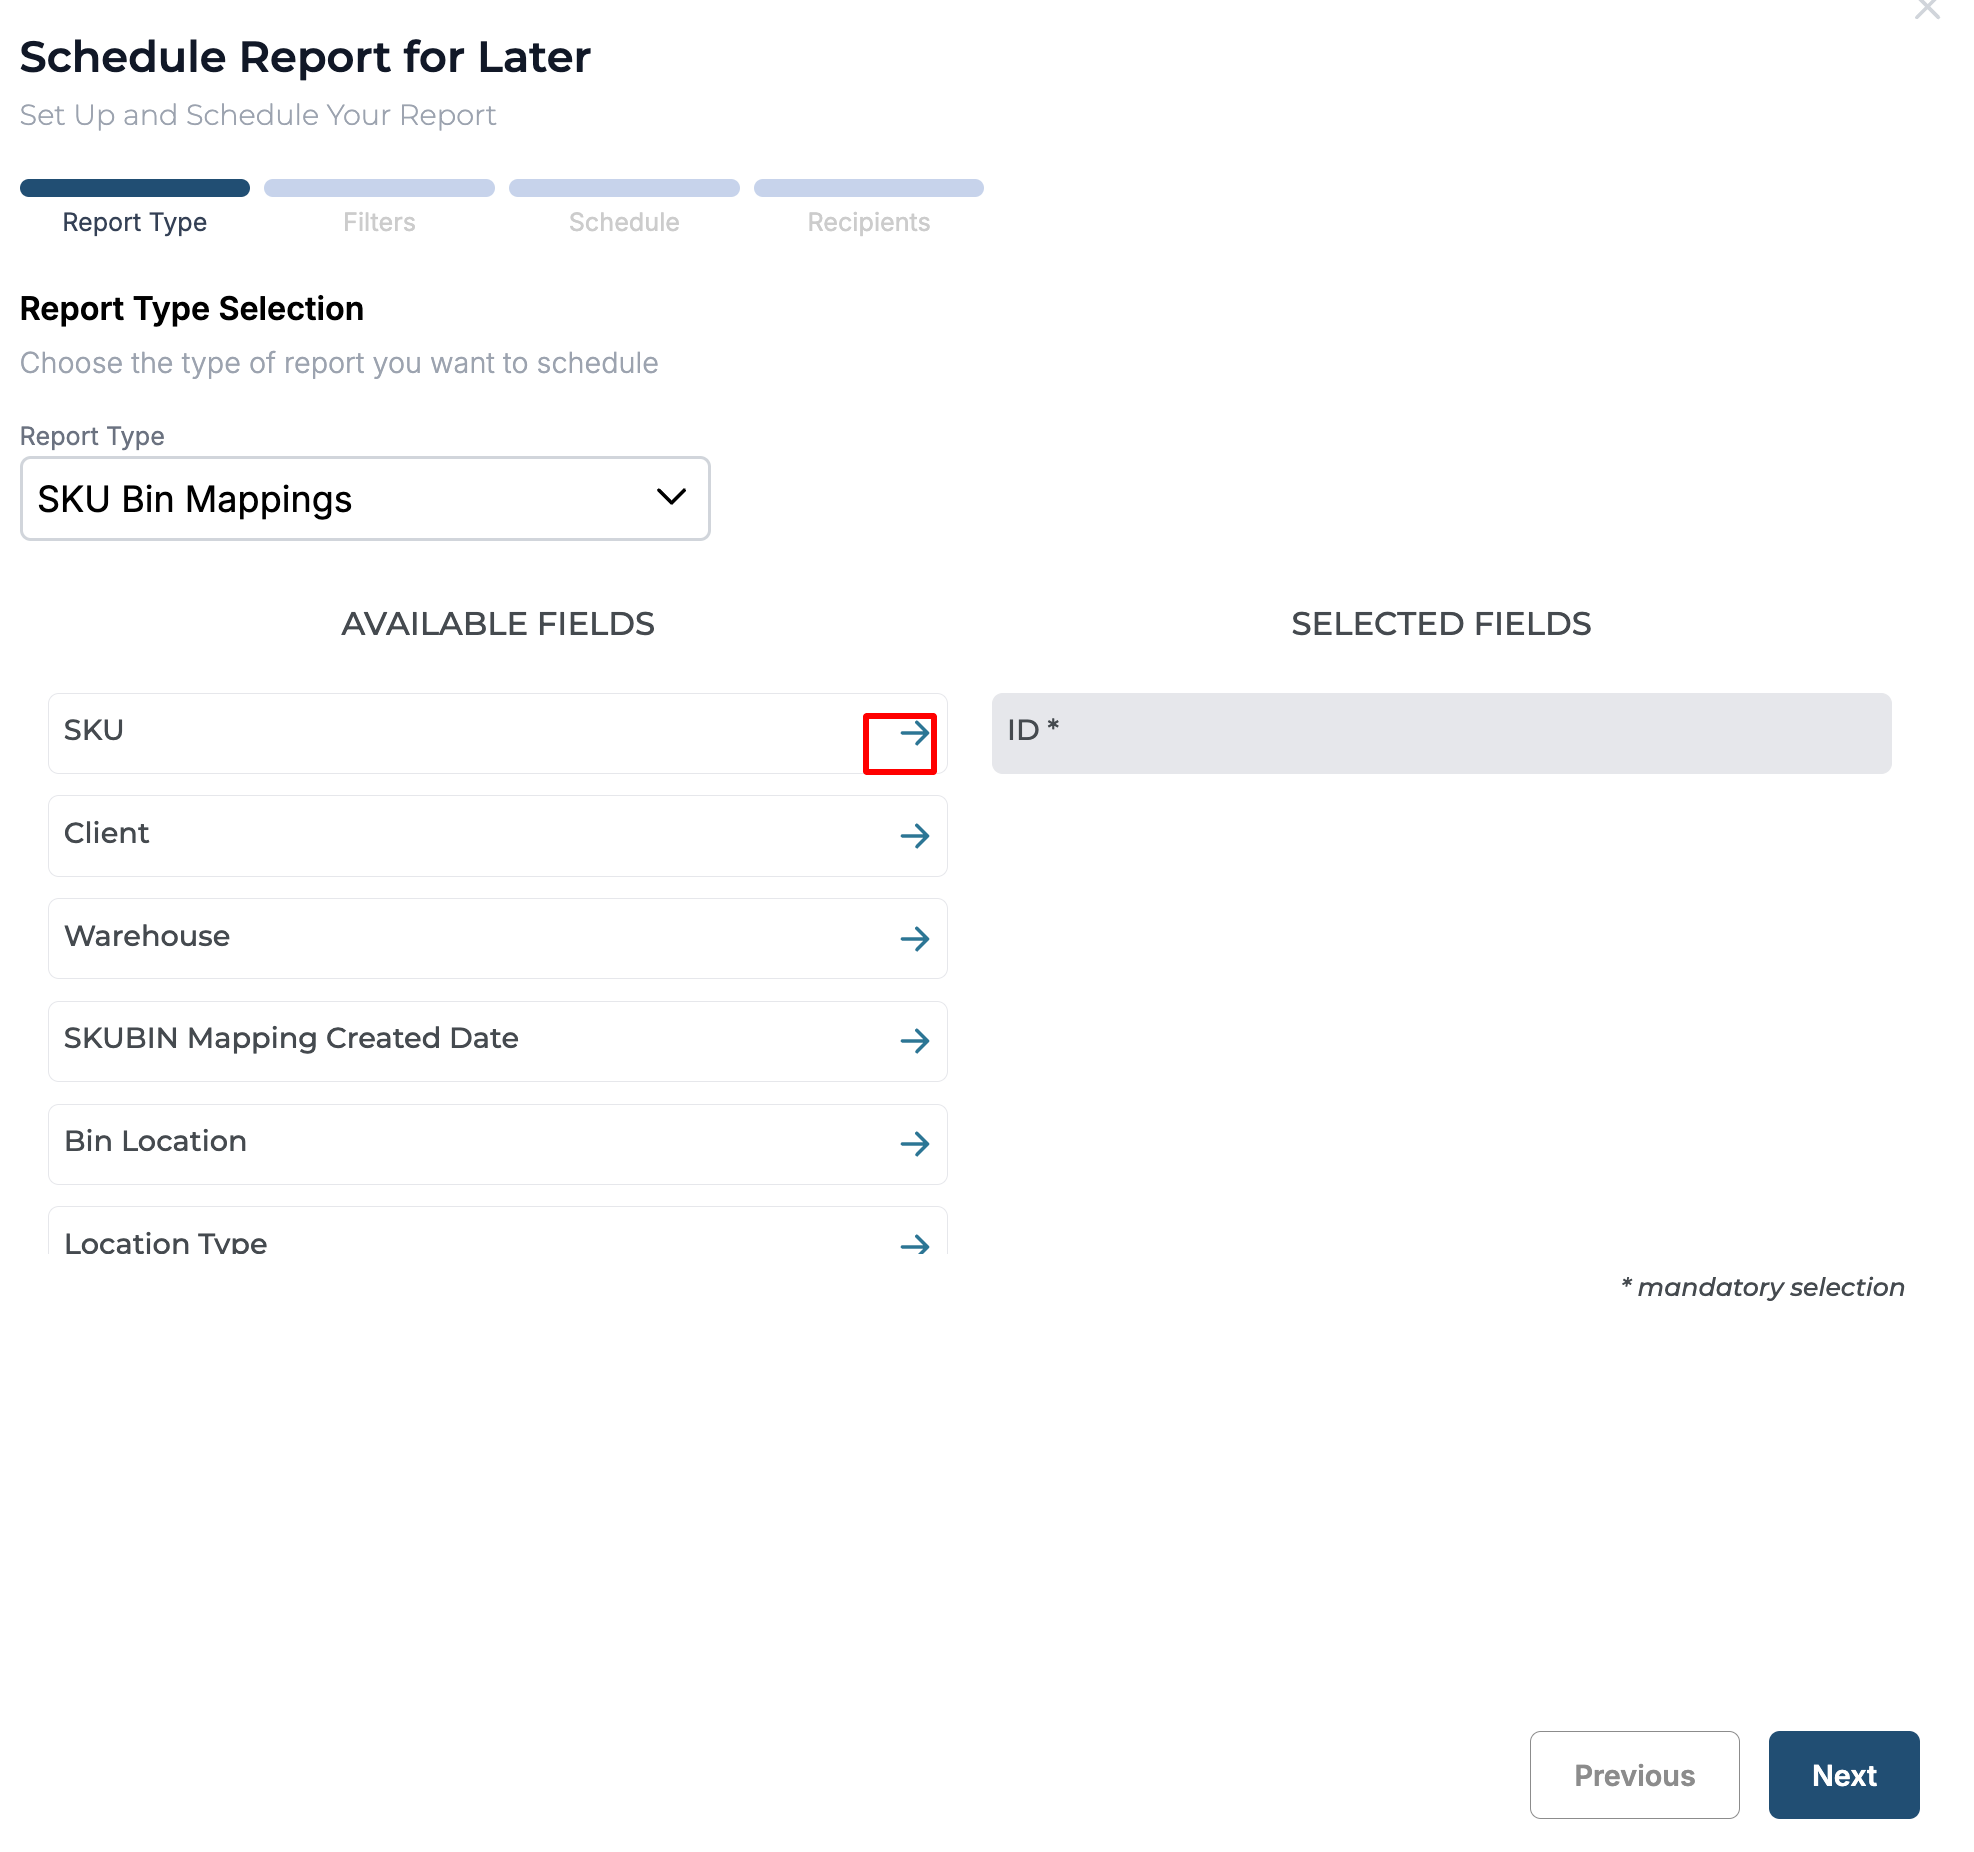
Step 5. Once the required fields are selected, click on Next.
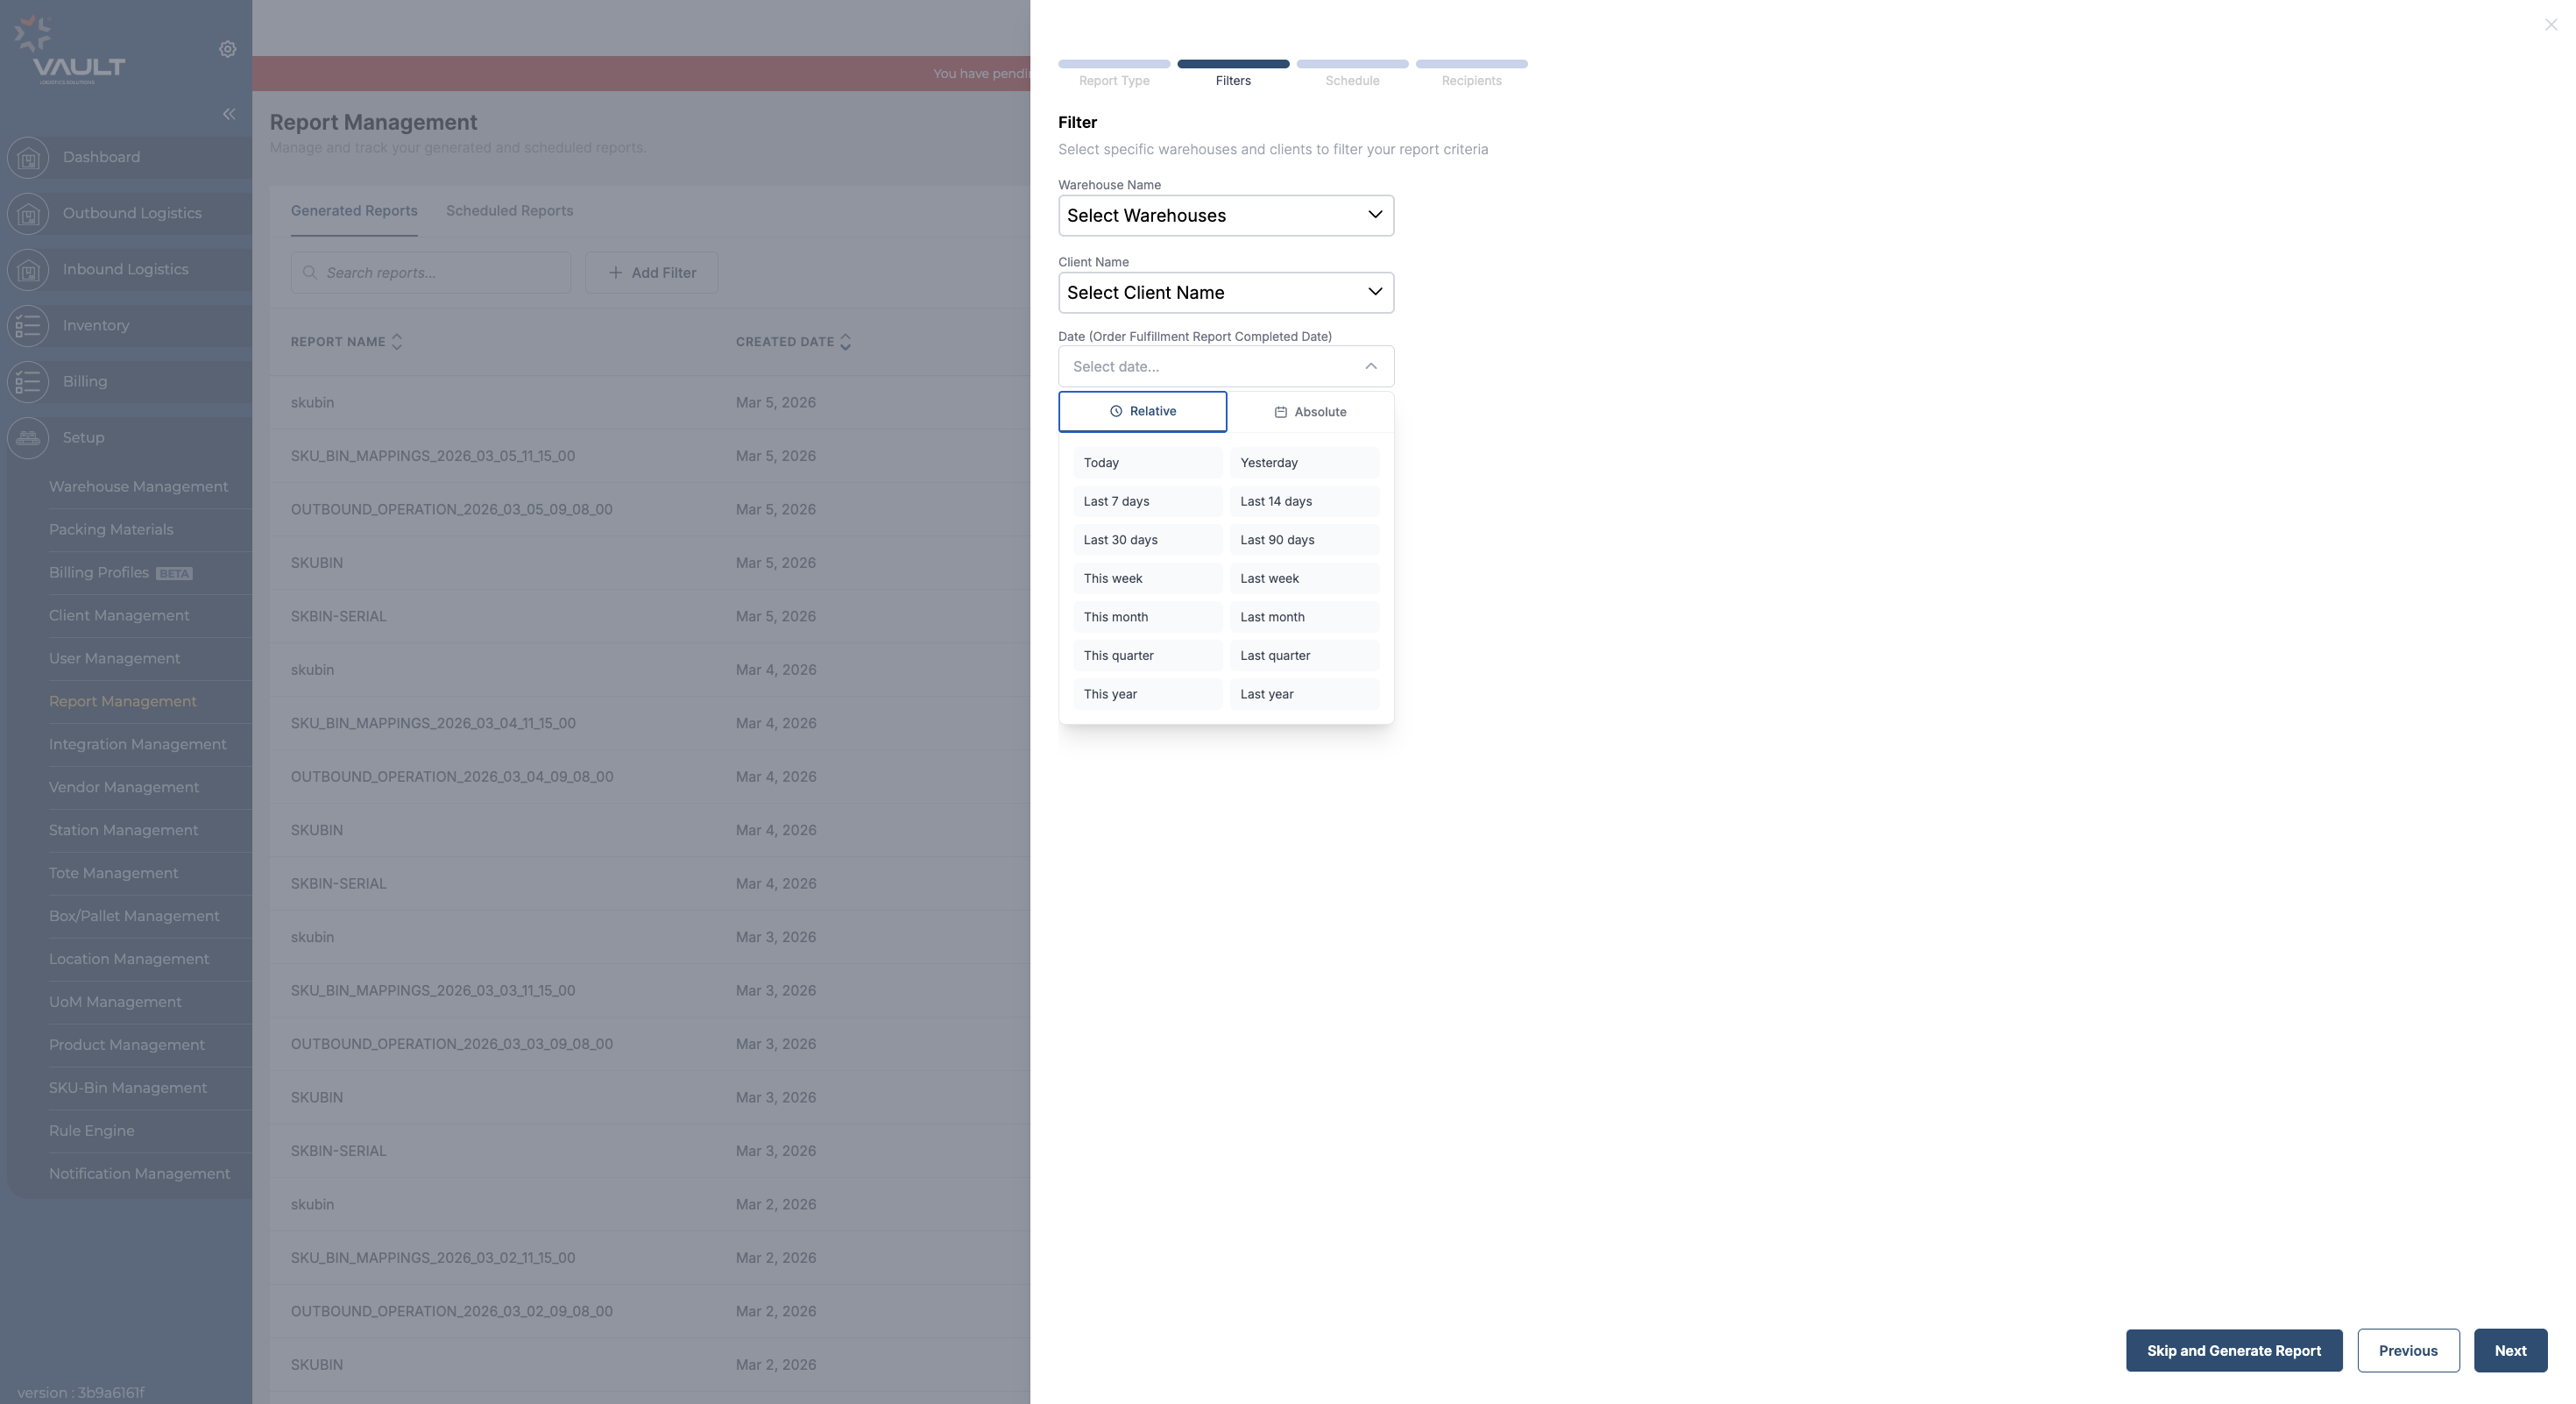
Step 6. Select the Warehouse, Client and the Date by clicking on the dropdown menu.
In the date field, users can now select either a Relative date or an Absolute date.
Relative Date: Allows users to choose dynamic ranges such as Today, Yesterday, Last 7 Days, Last 30 Days, etc. This is especially useful for scheduled reports that need to run with automatically updated date ranges.
Absolute Date: Allows users to select a specific fixed start and end date from the calendar.
Step 7. Once the warehouse, client, and dates are selected, the filter fields indicate the number of selections made. After these selections are made, the filter fields display the count of selected items, helping users quickly see how many filters are applied.
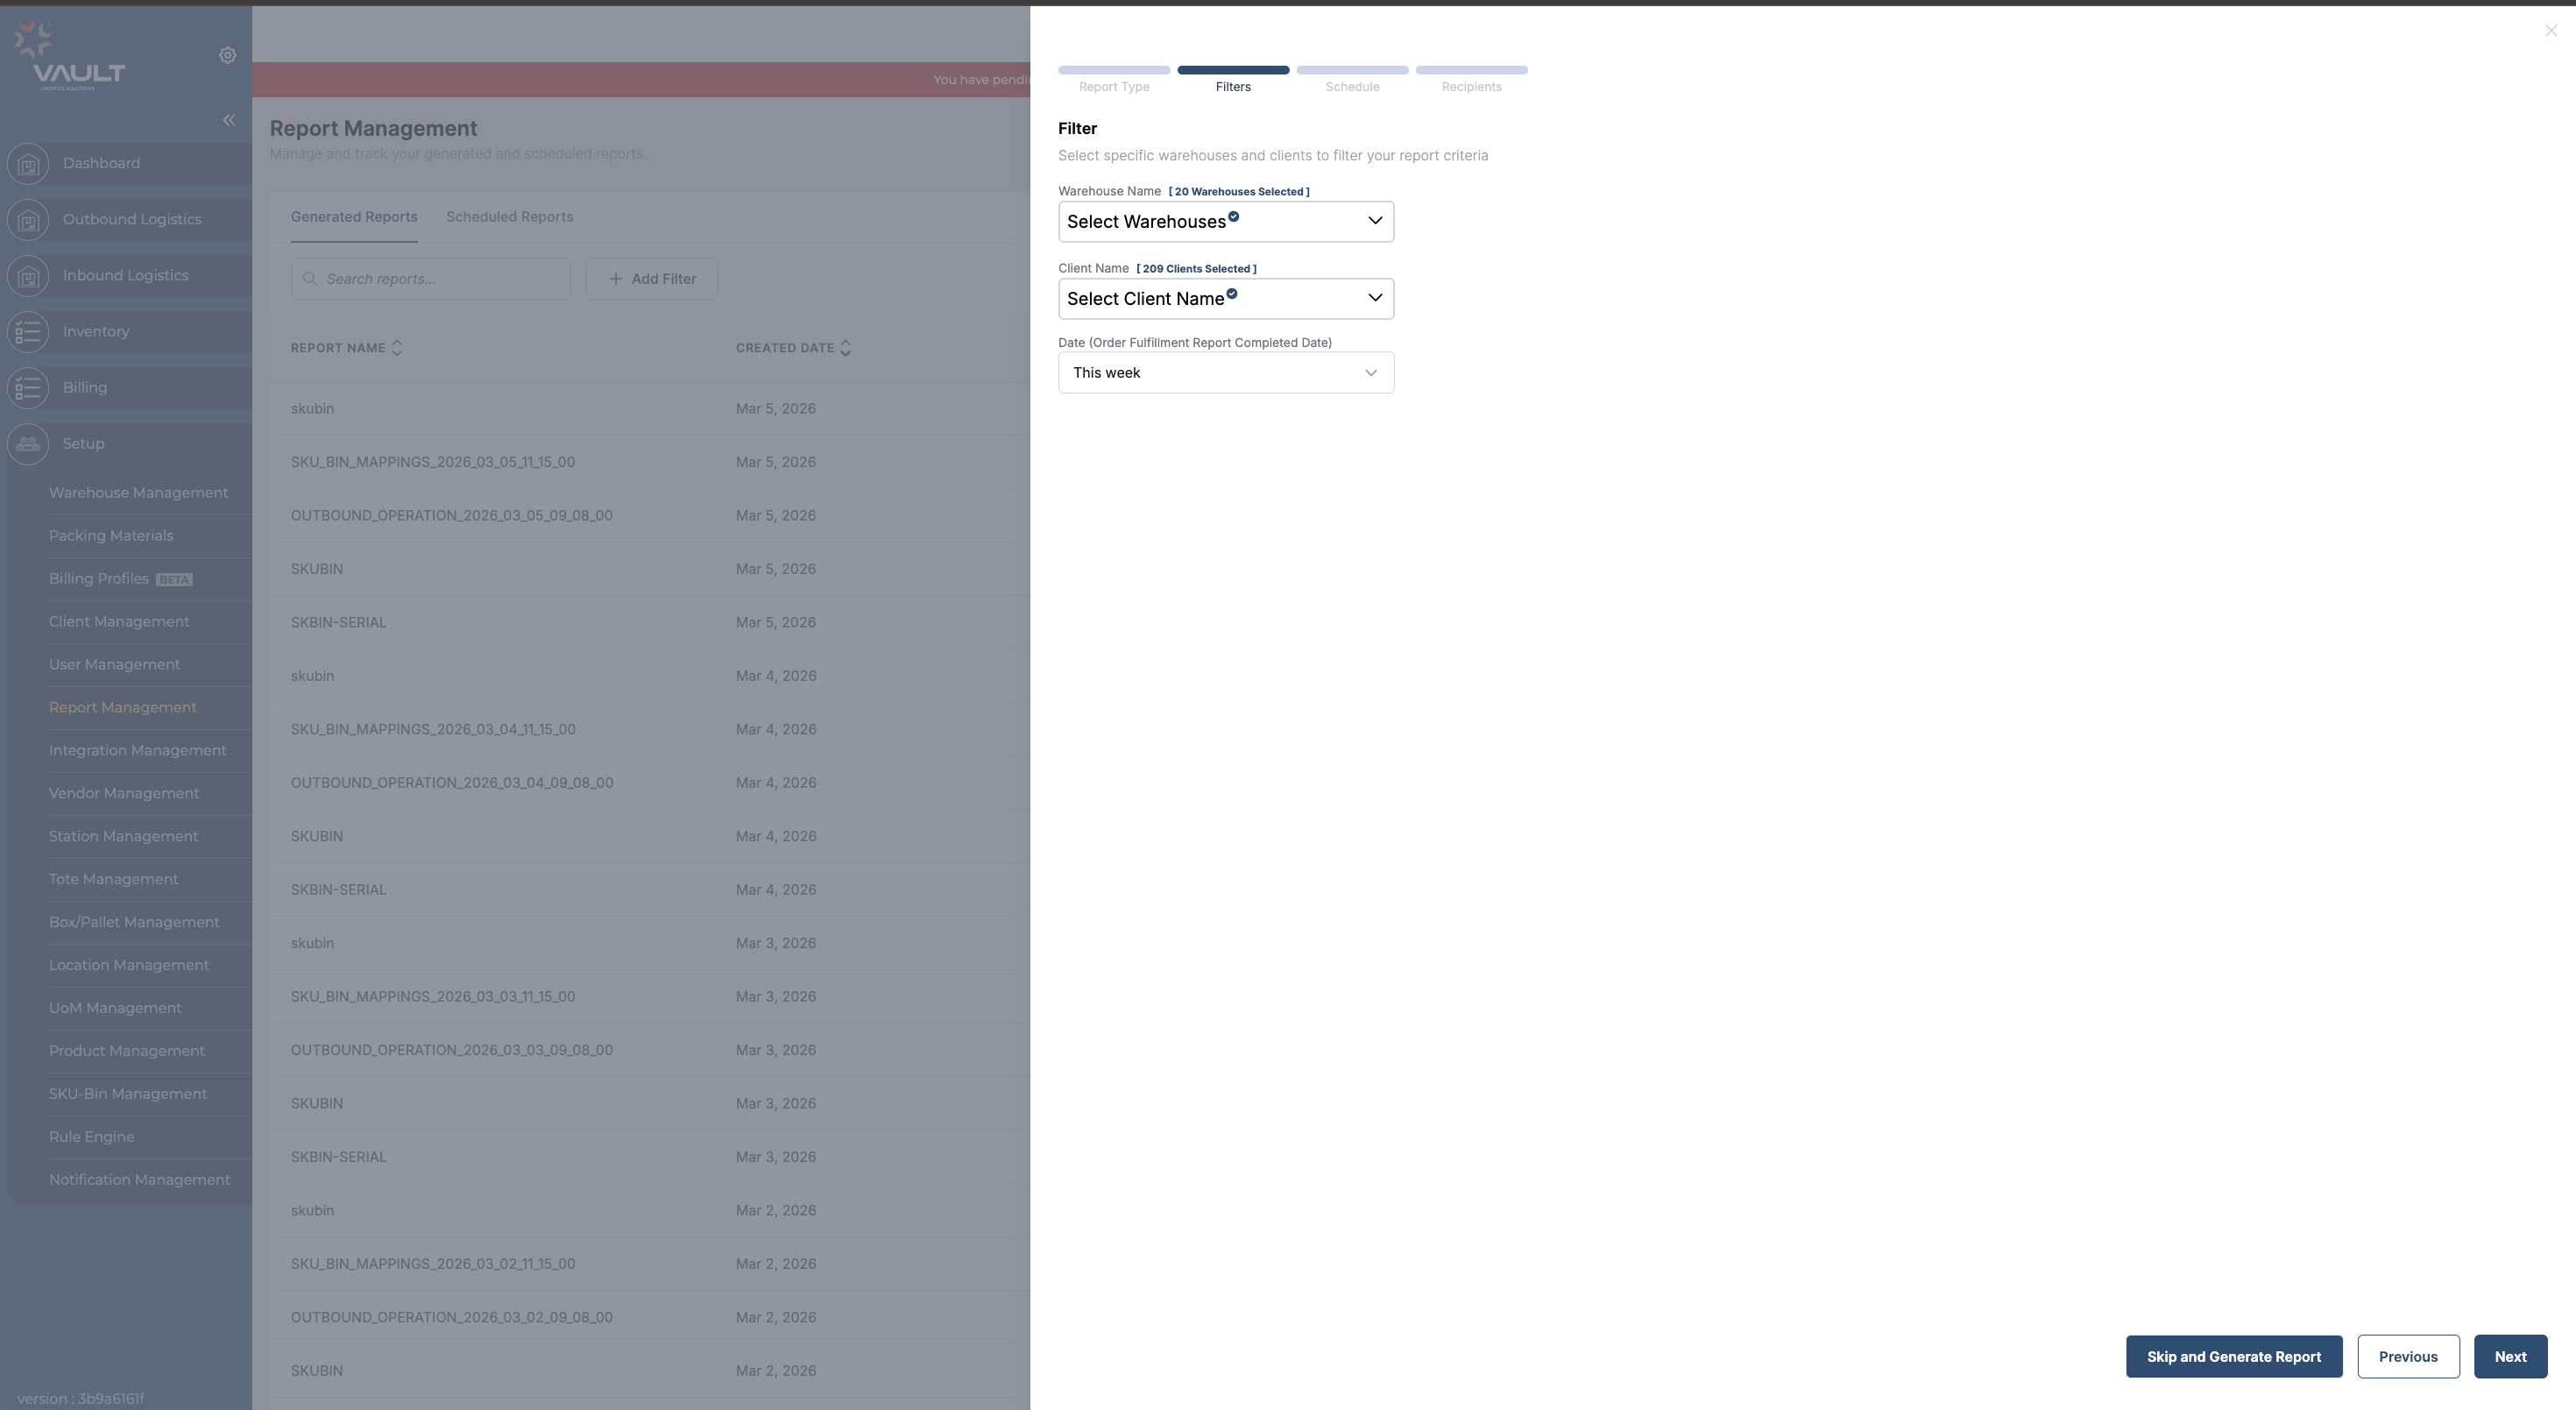
Once filter selections are made, the user can “Skip and Generate report” instantly.
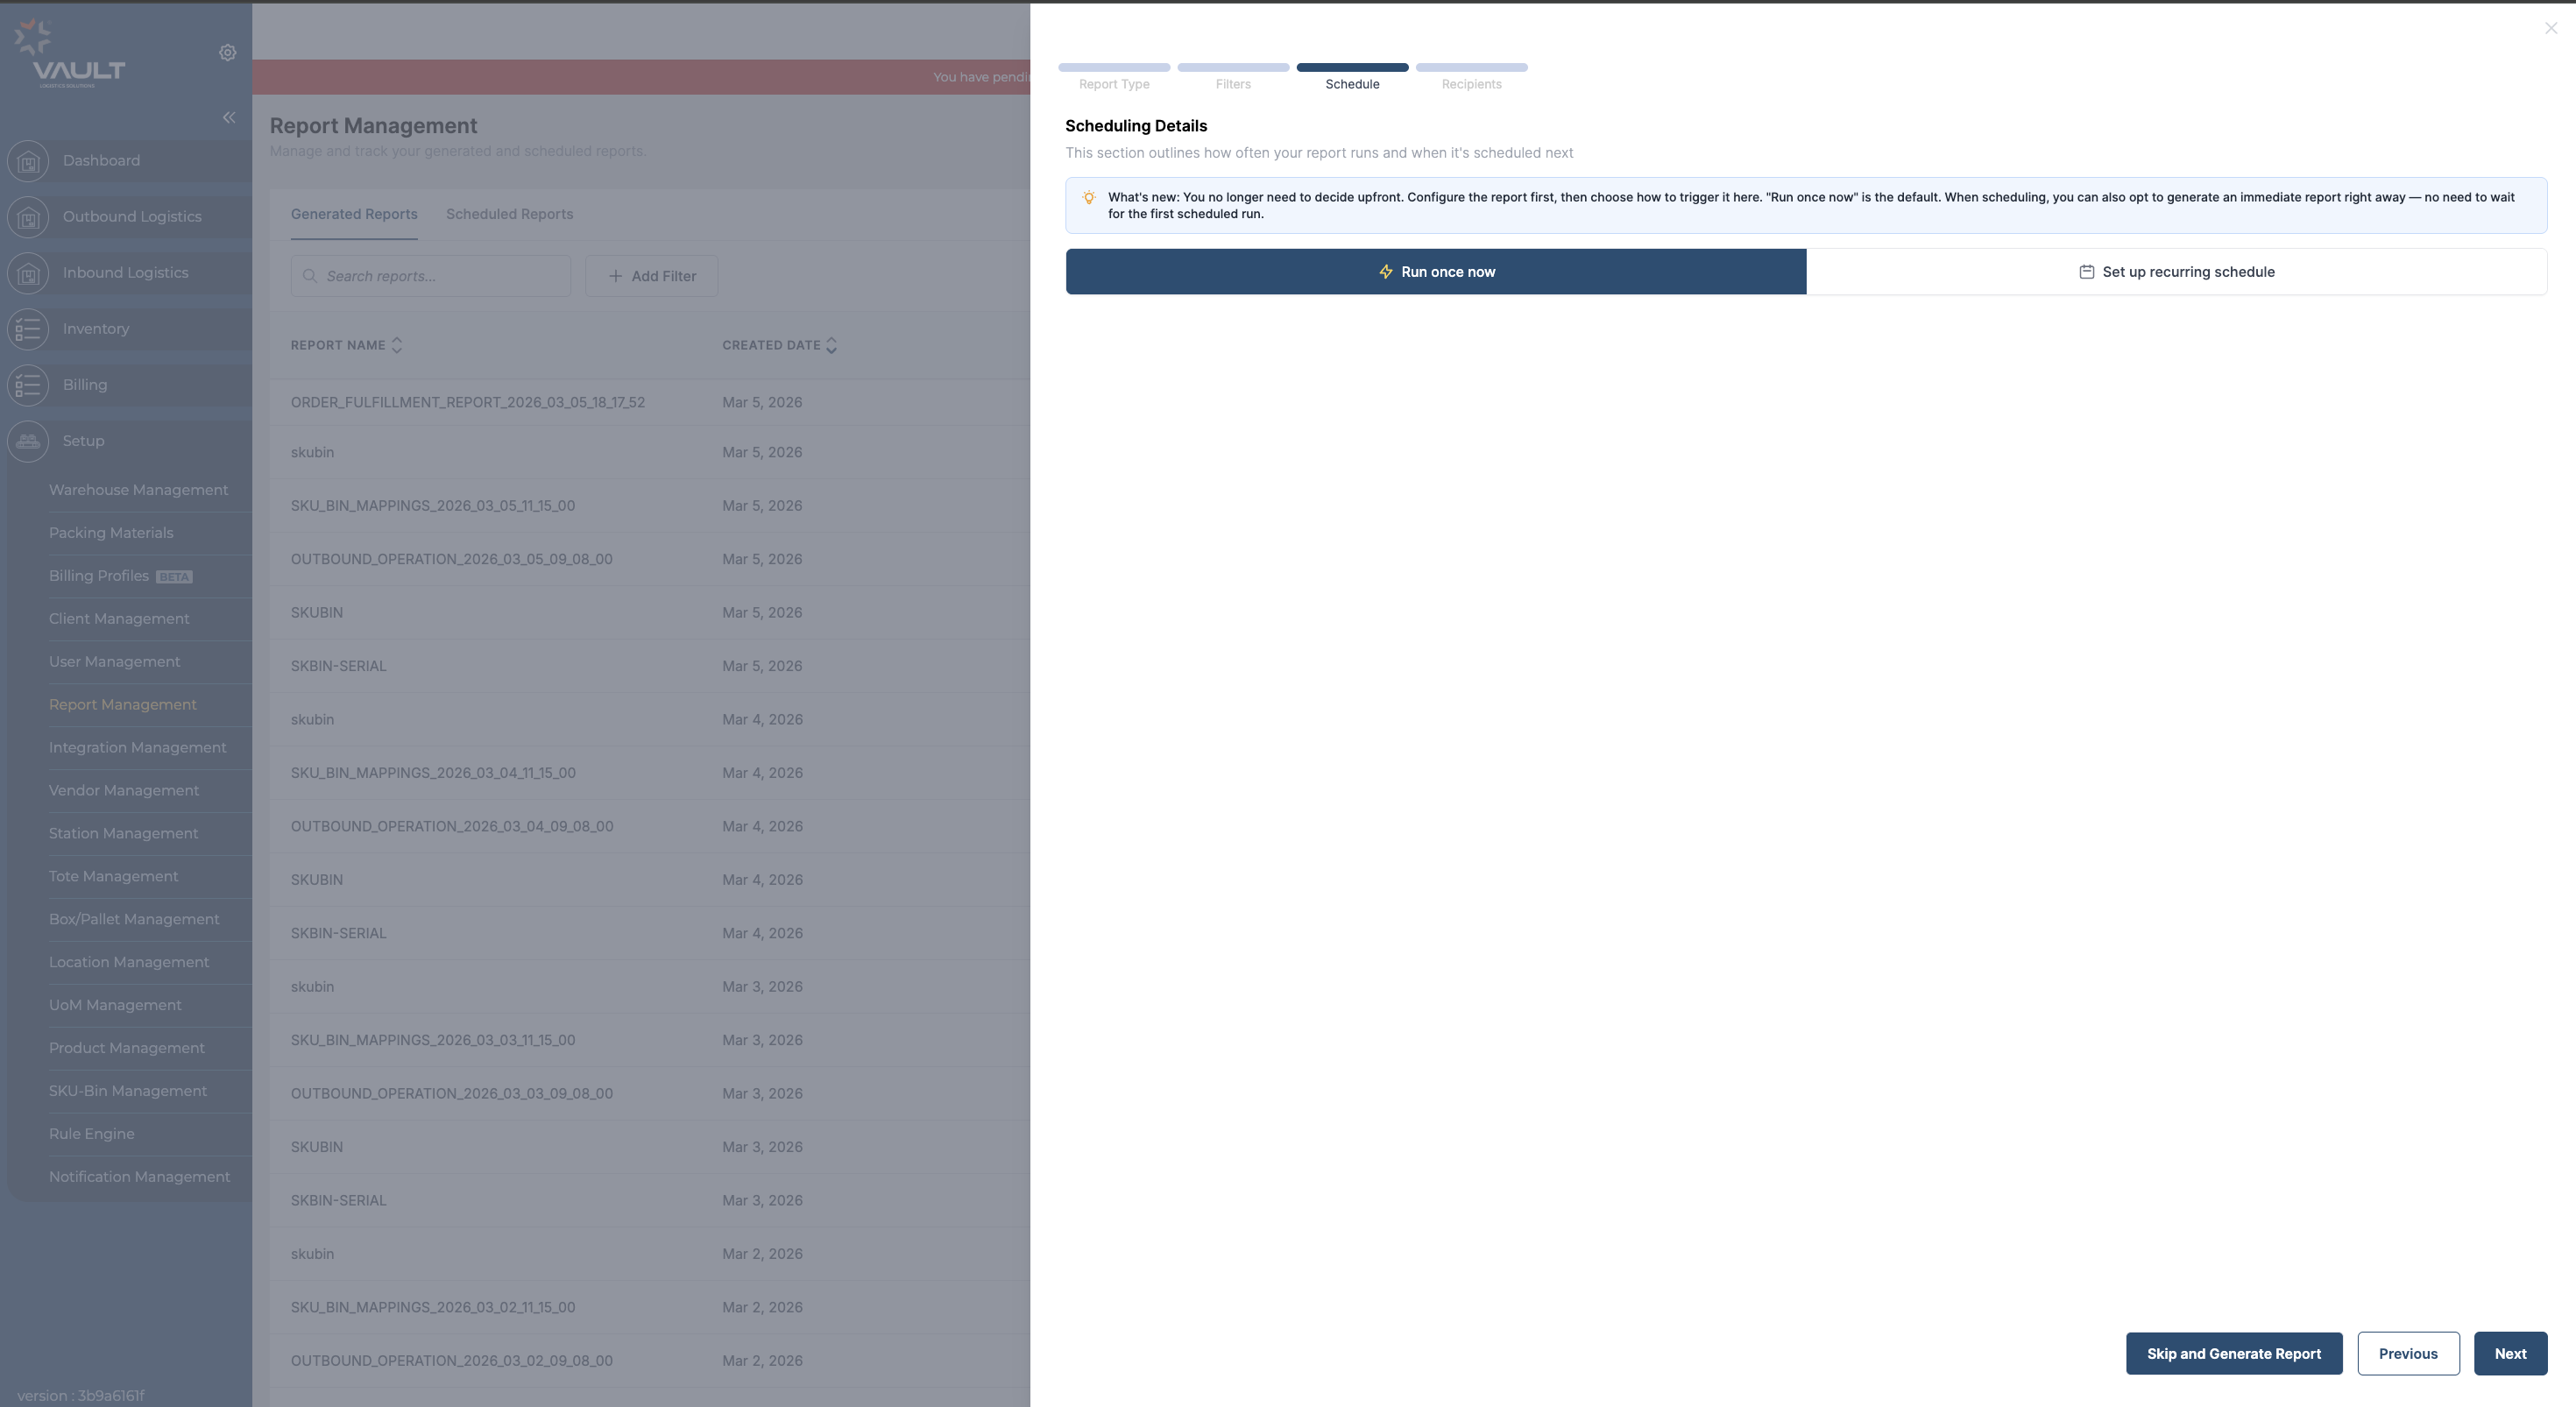
Step 8. After configuring the report filters, users can choose how they want to run the report:
Run Once Now: Click “Run Once Now” to proceed with the current selections and generate a one-time report immediately.
Set Up Recurring Schedule: Click “Set Up Recurring Schedule” to configure the report to run automatically at scheduled intervals.
This gives users the flexibility to either generate a report instantly or schedule it for recurring
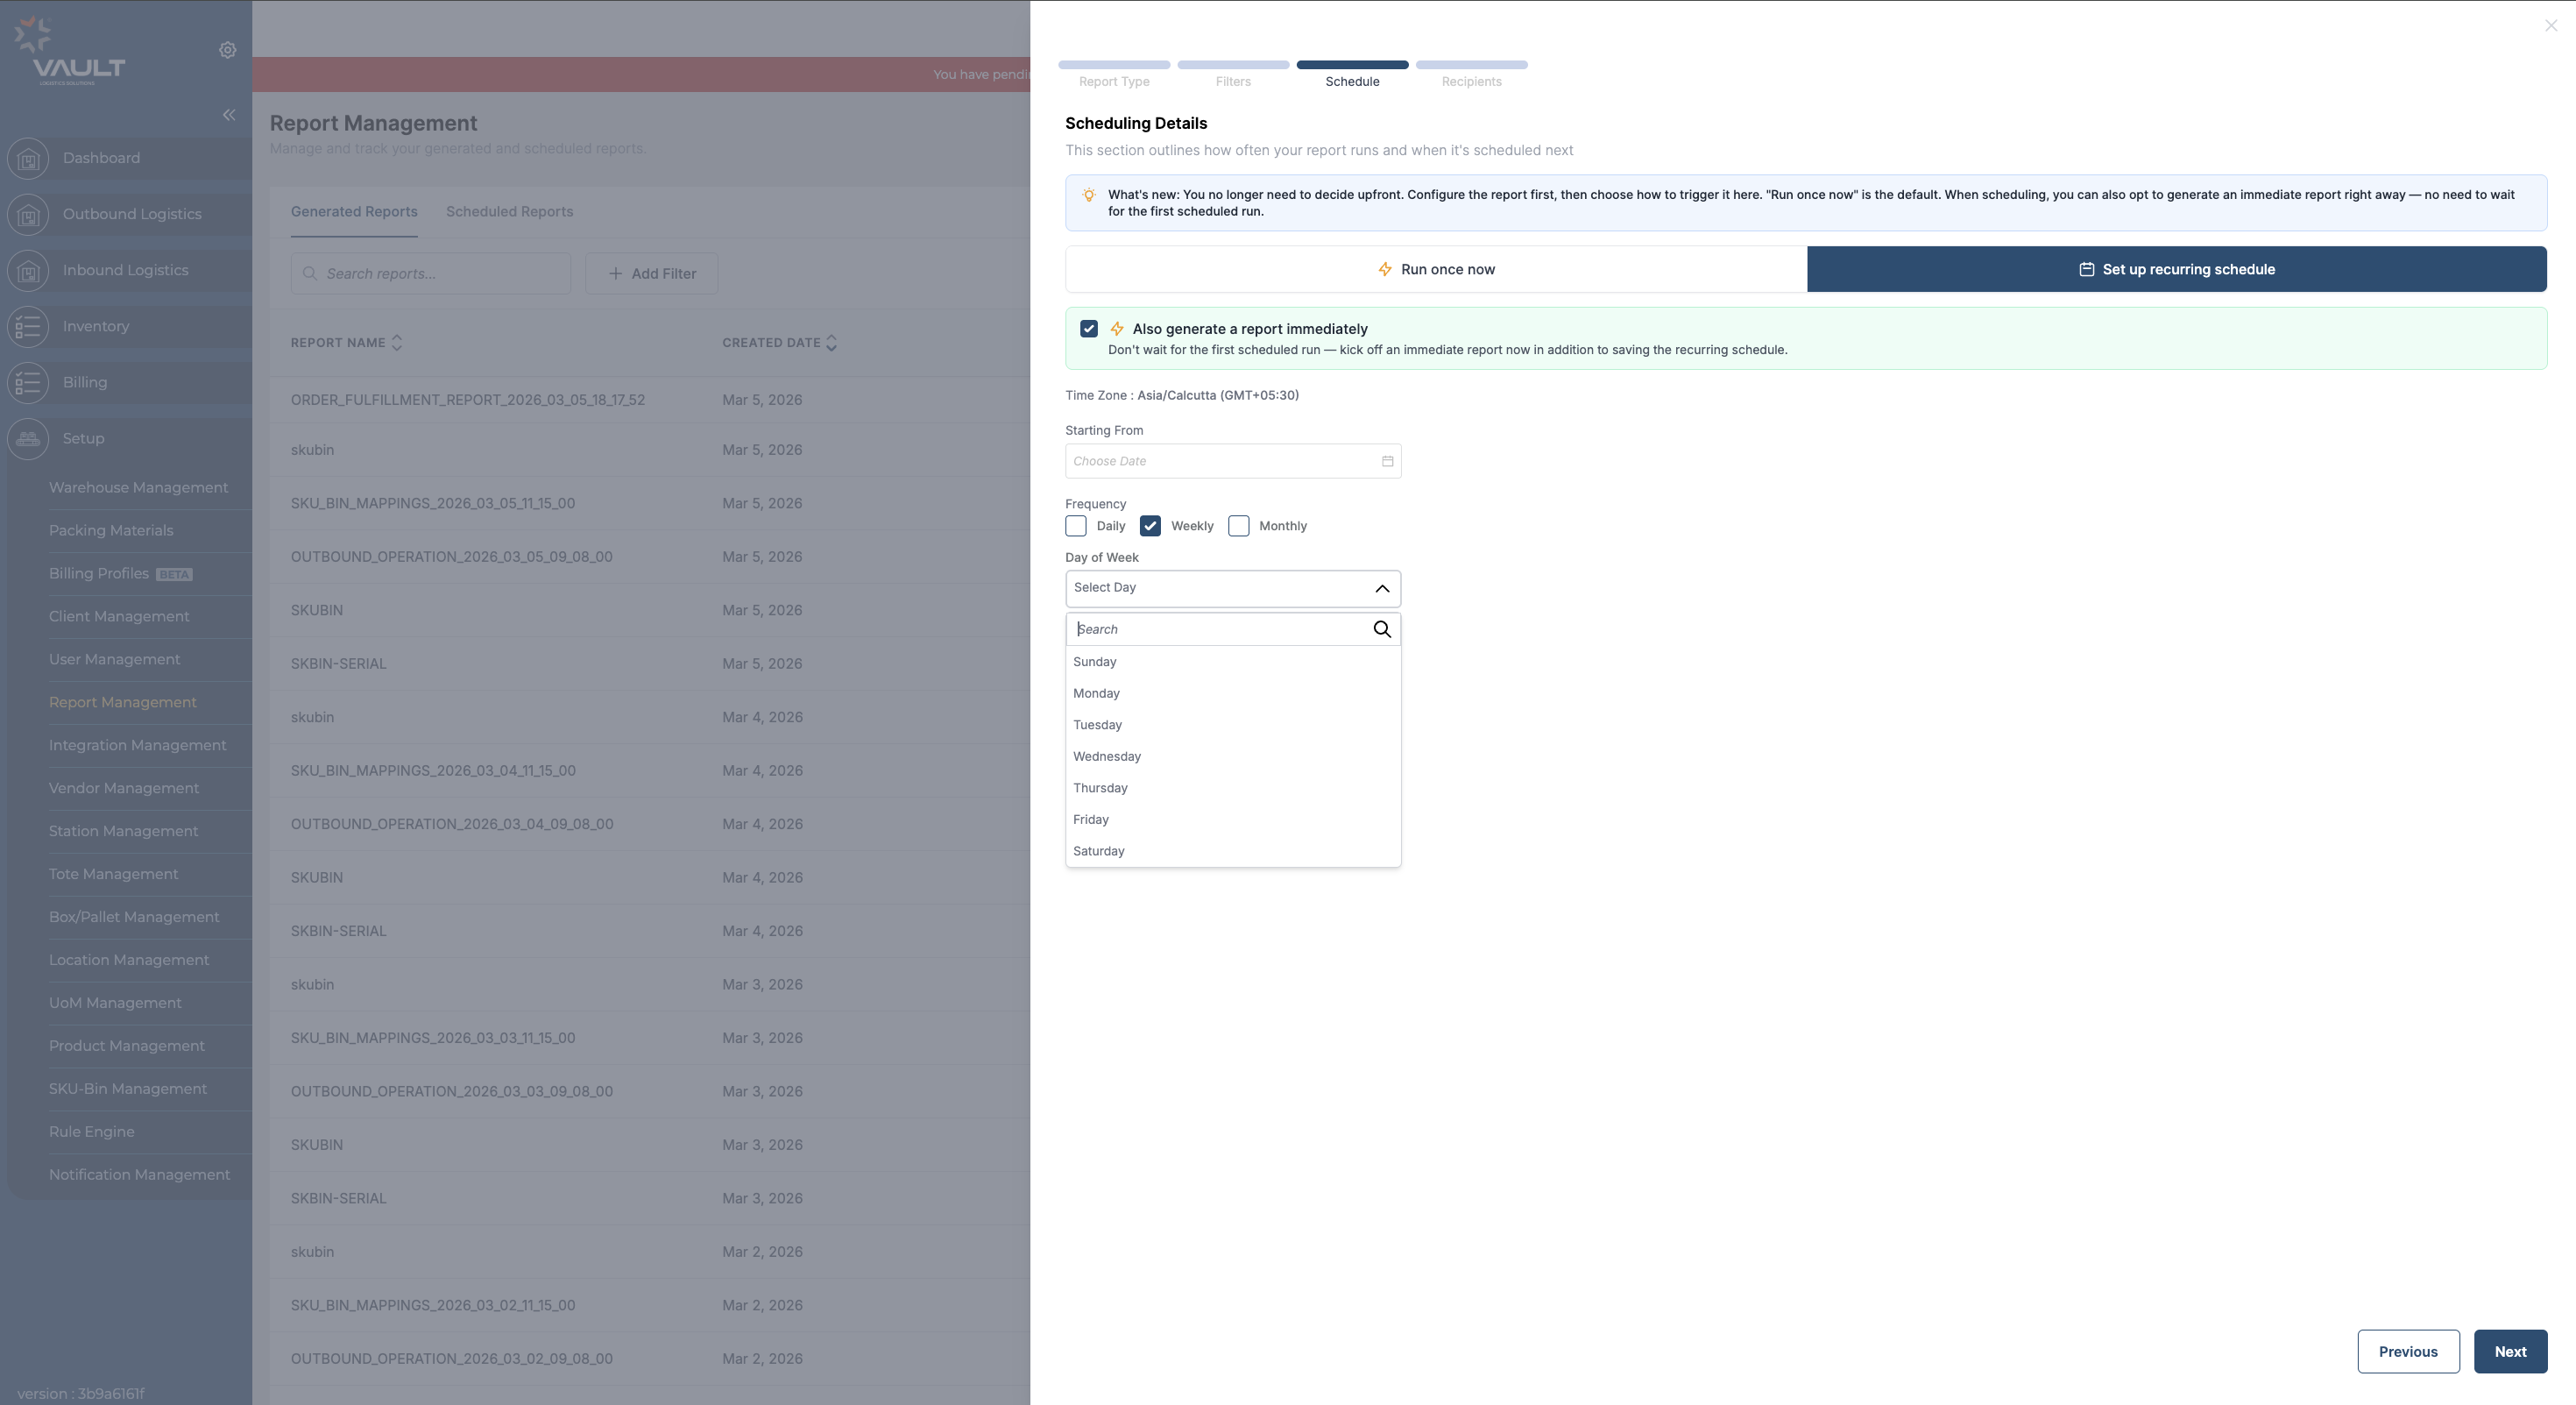
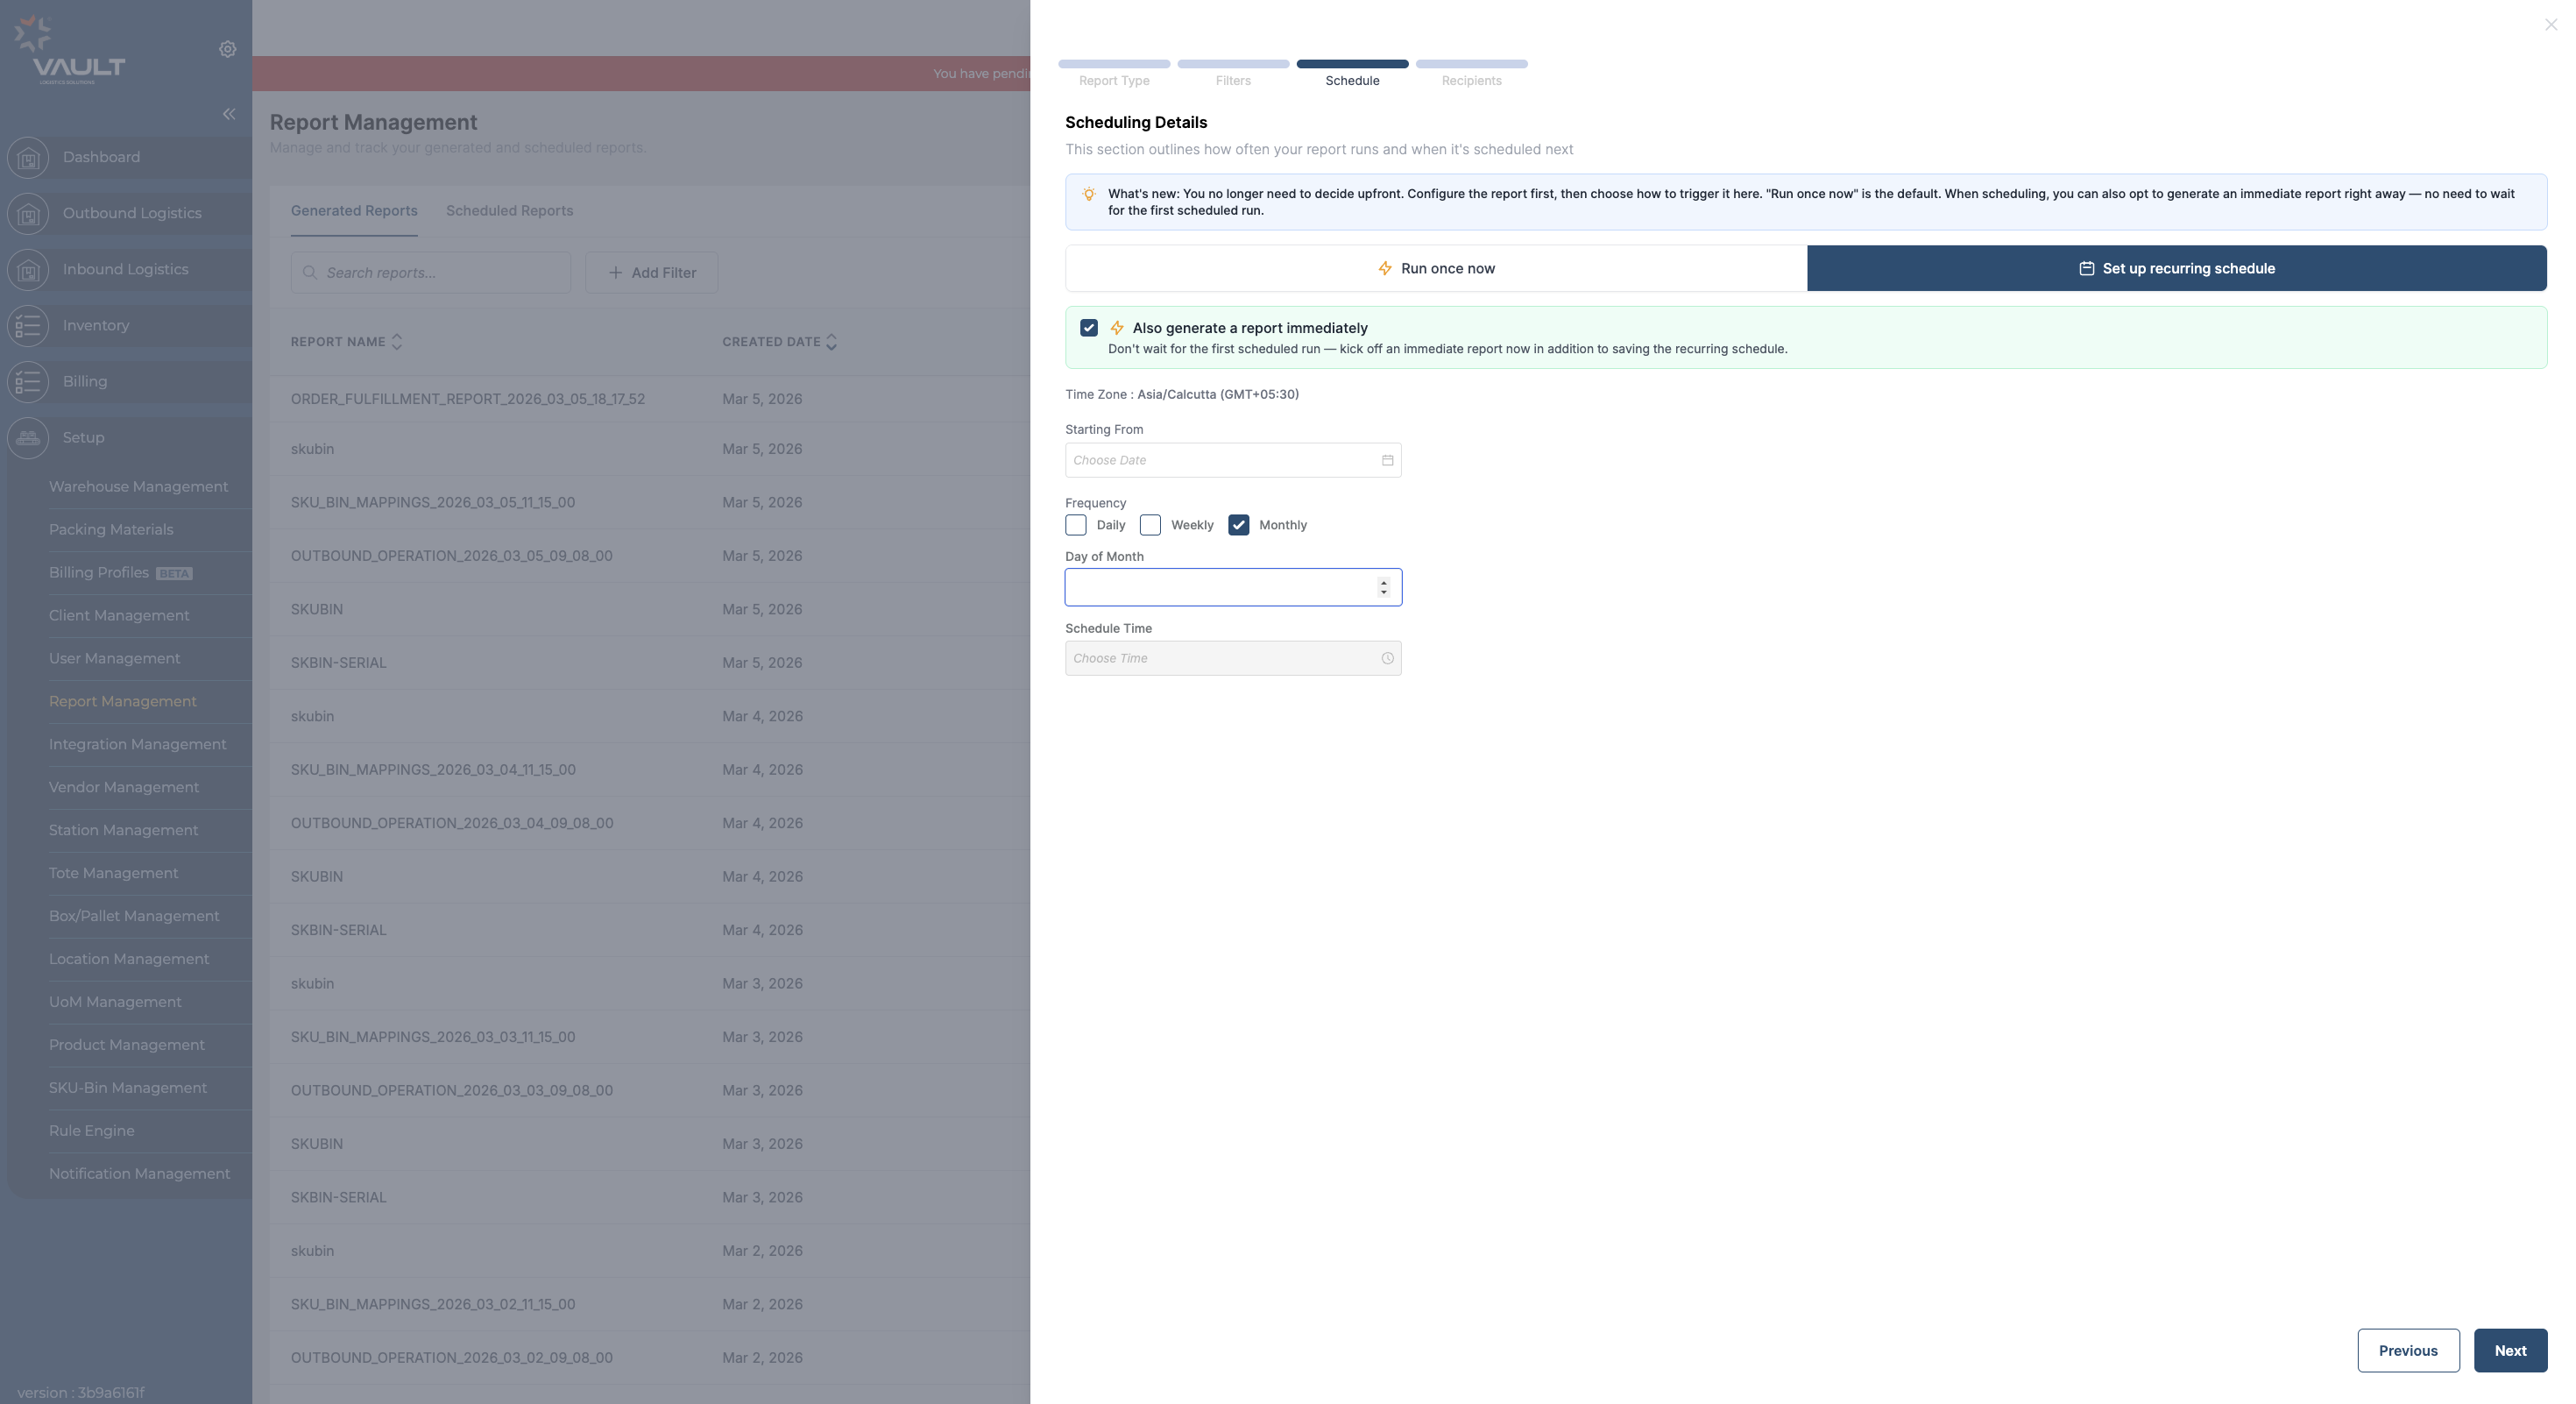
Step 9. Under “Set Up Recurring Schedule” users have the option to schedule Daily reports, Weekly reports and Monthly reports. The next step of selection differs based on the choice of frequency.
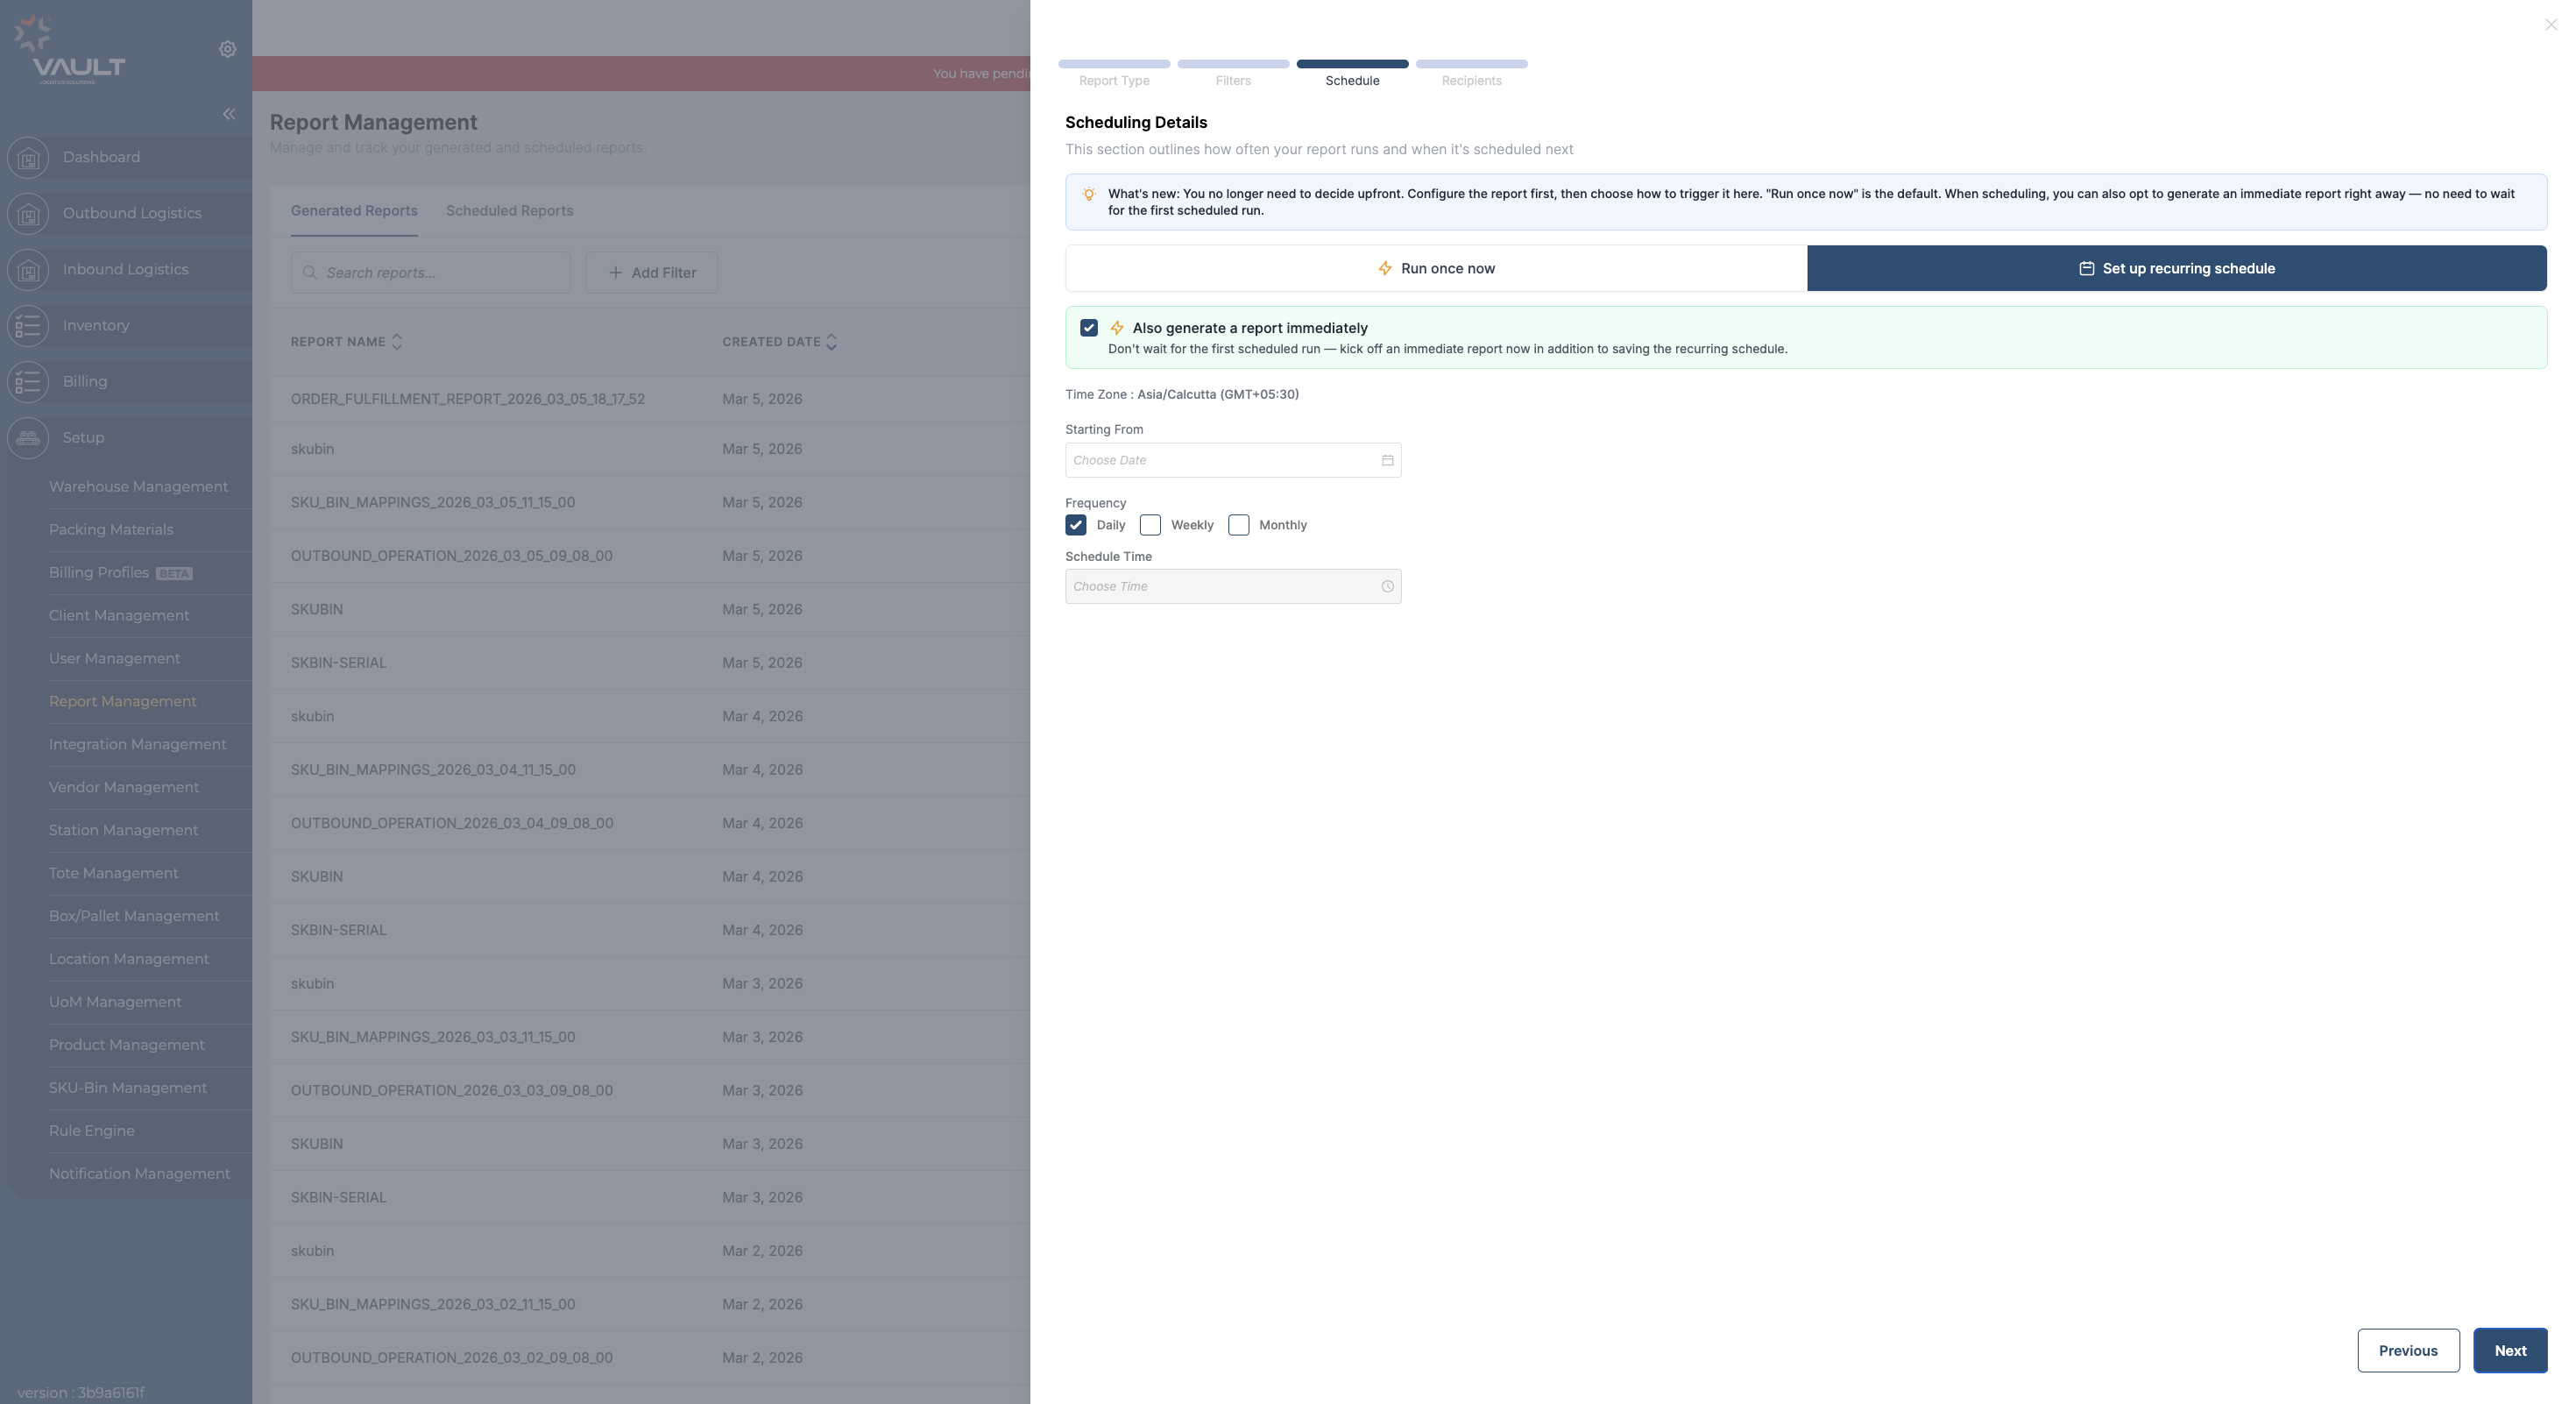
If Daily is selected, the next step would be time selection.
If Weekly is selected, the user will have to select the day of the week.
If Monthly is Chosen, the user will have to specify the day of the month.
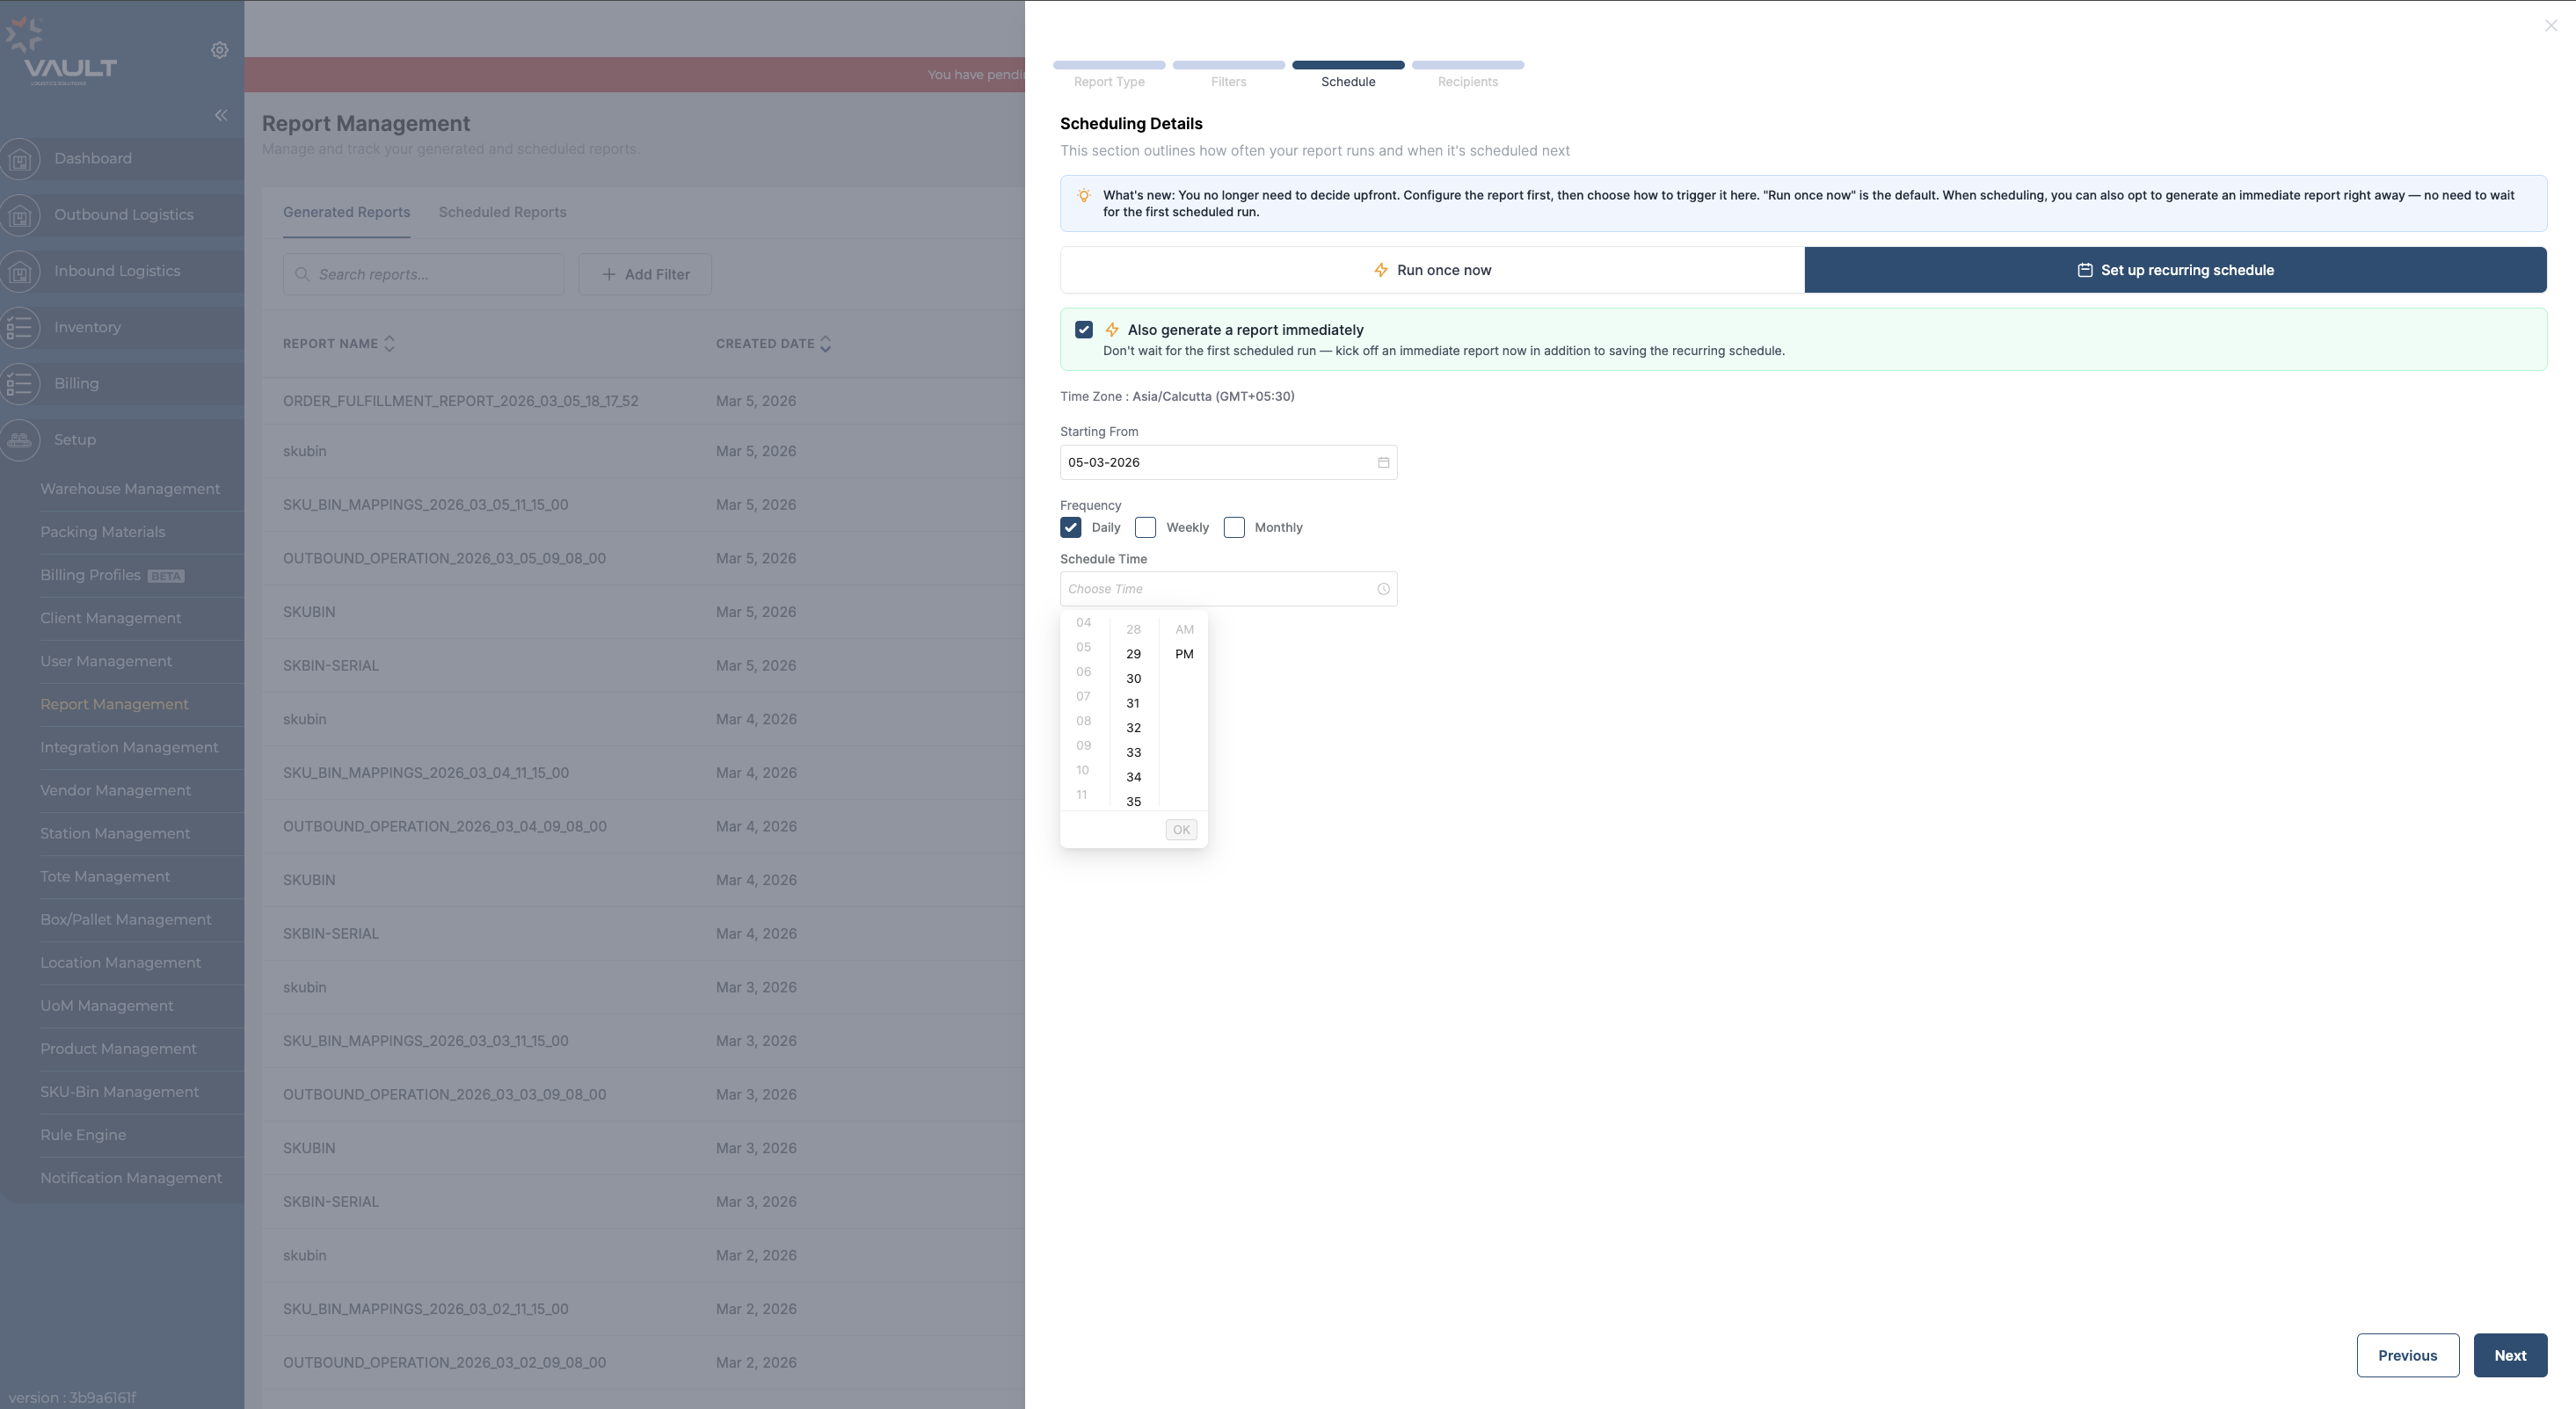
Step 10. Choose the time and click on “Ok”. Note that the time zone is mentioned above the date selection. Once the time is selected, click on Next.
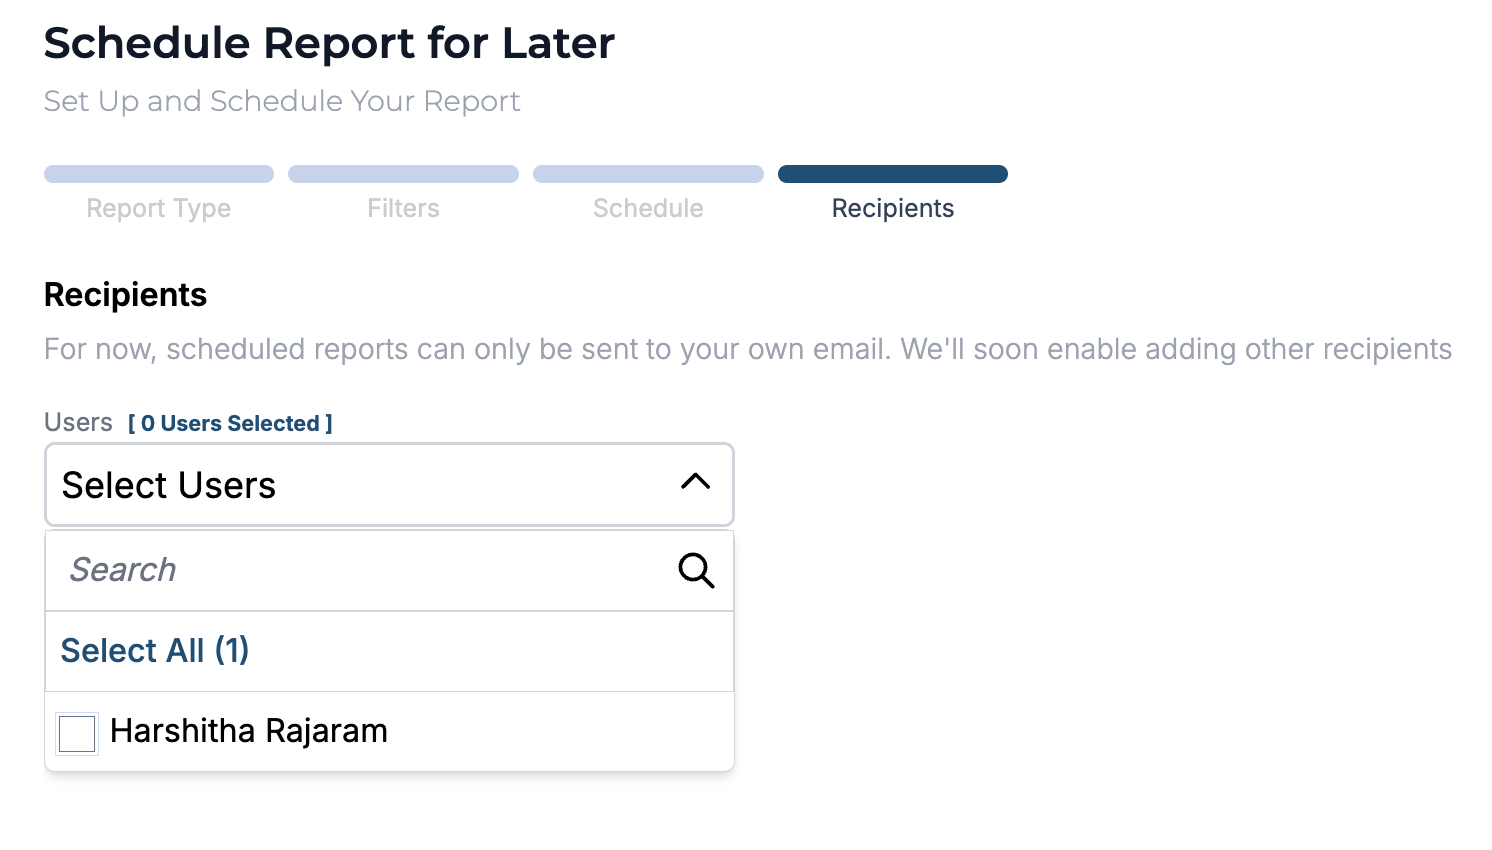
Step 11. Select your user account. This selection allows the system to email the scheduled reports to the email ID linked to the user account.
You also specify one or more additional email addresses to receive the report. These addresses will receive the same report on the configured schedule.
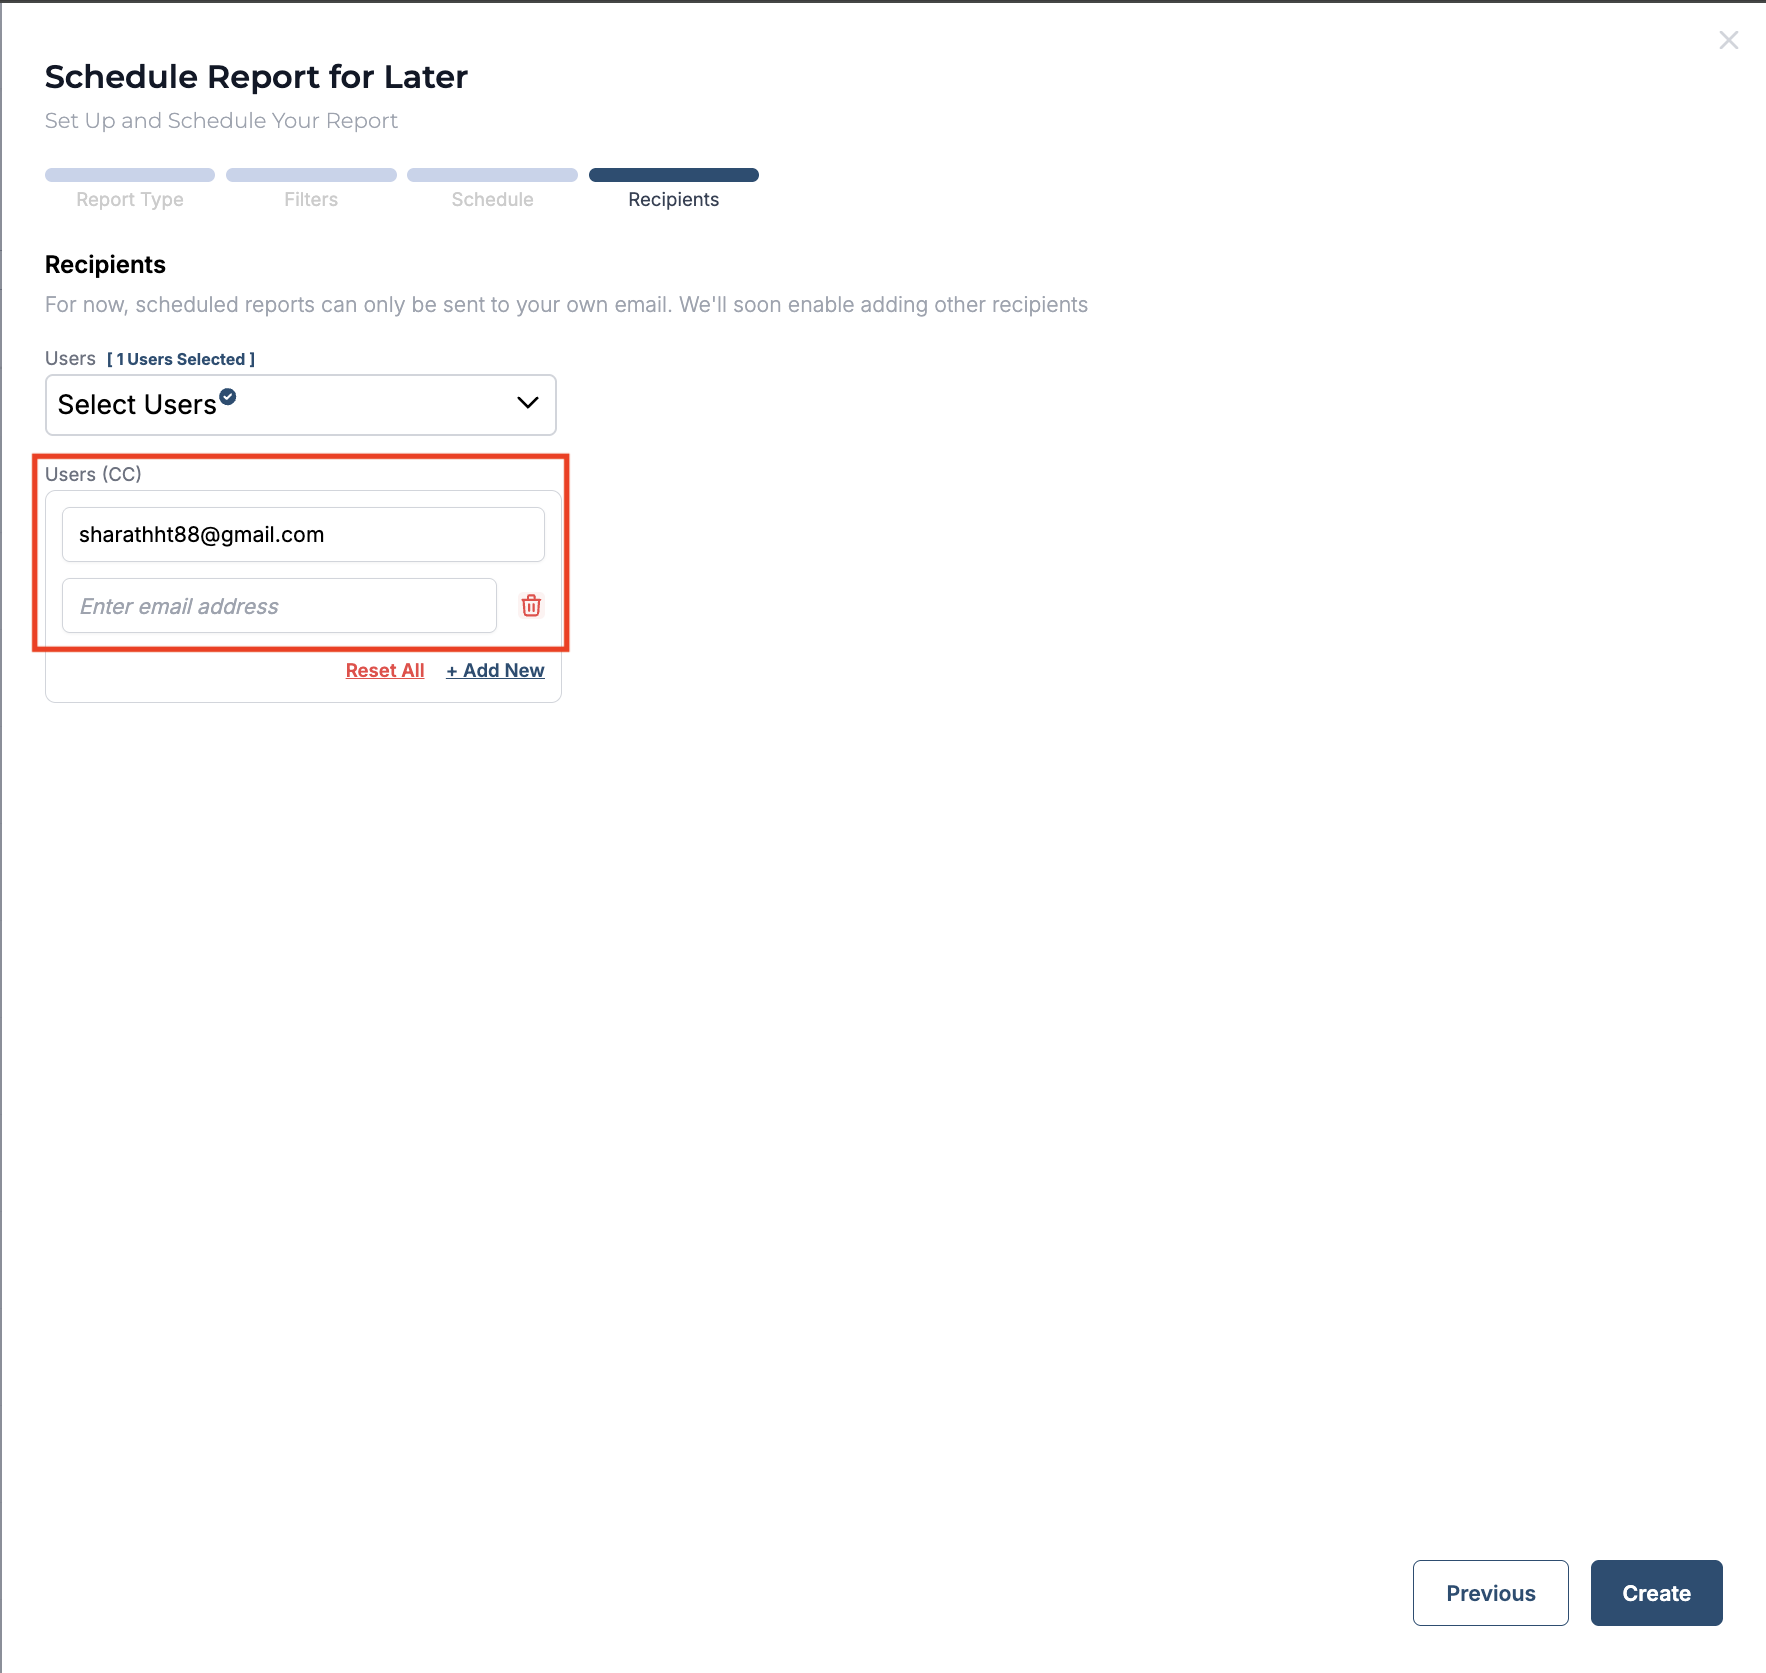
You can click the “+ Add New” icon to add more users to the configured schedule, or click “Reset All” to clear all selected users and reset the schedule settings to default.
Please note that the ability to add users to a scheduled report is only available to users with the Admin role.
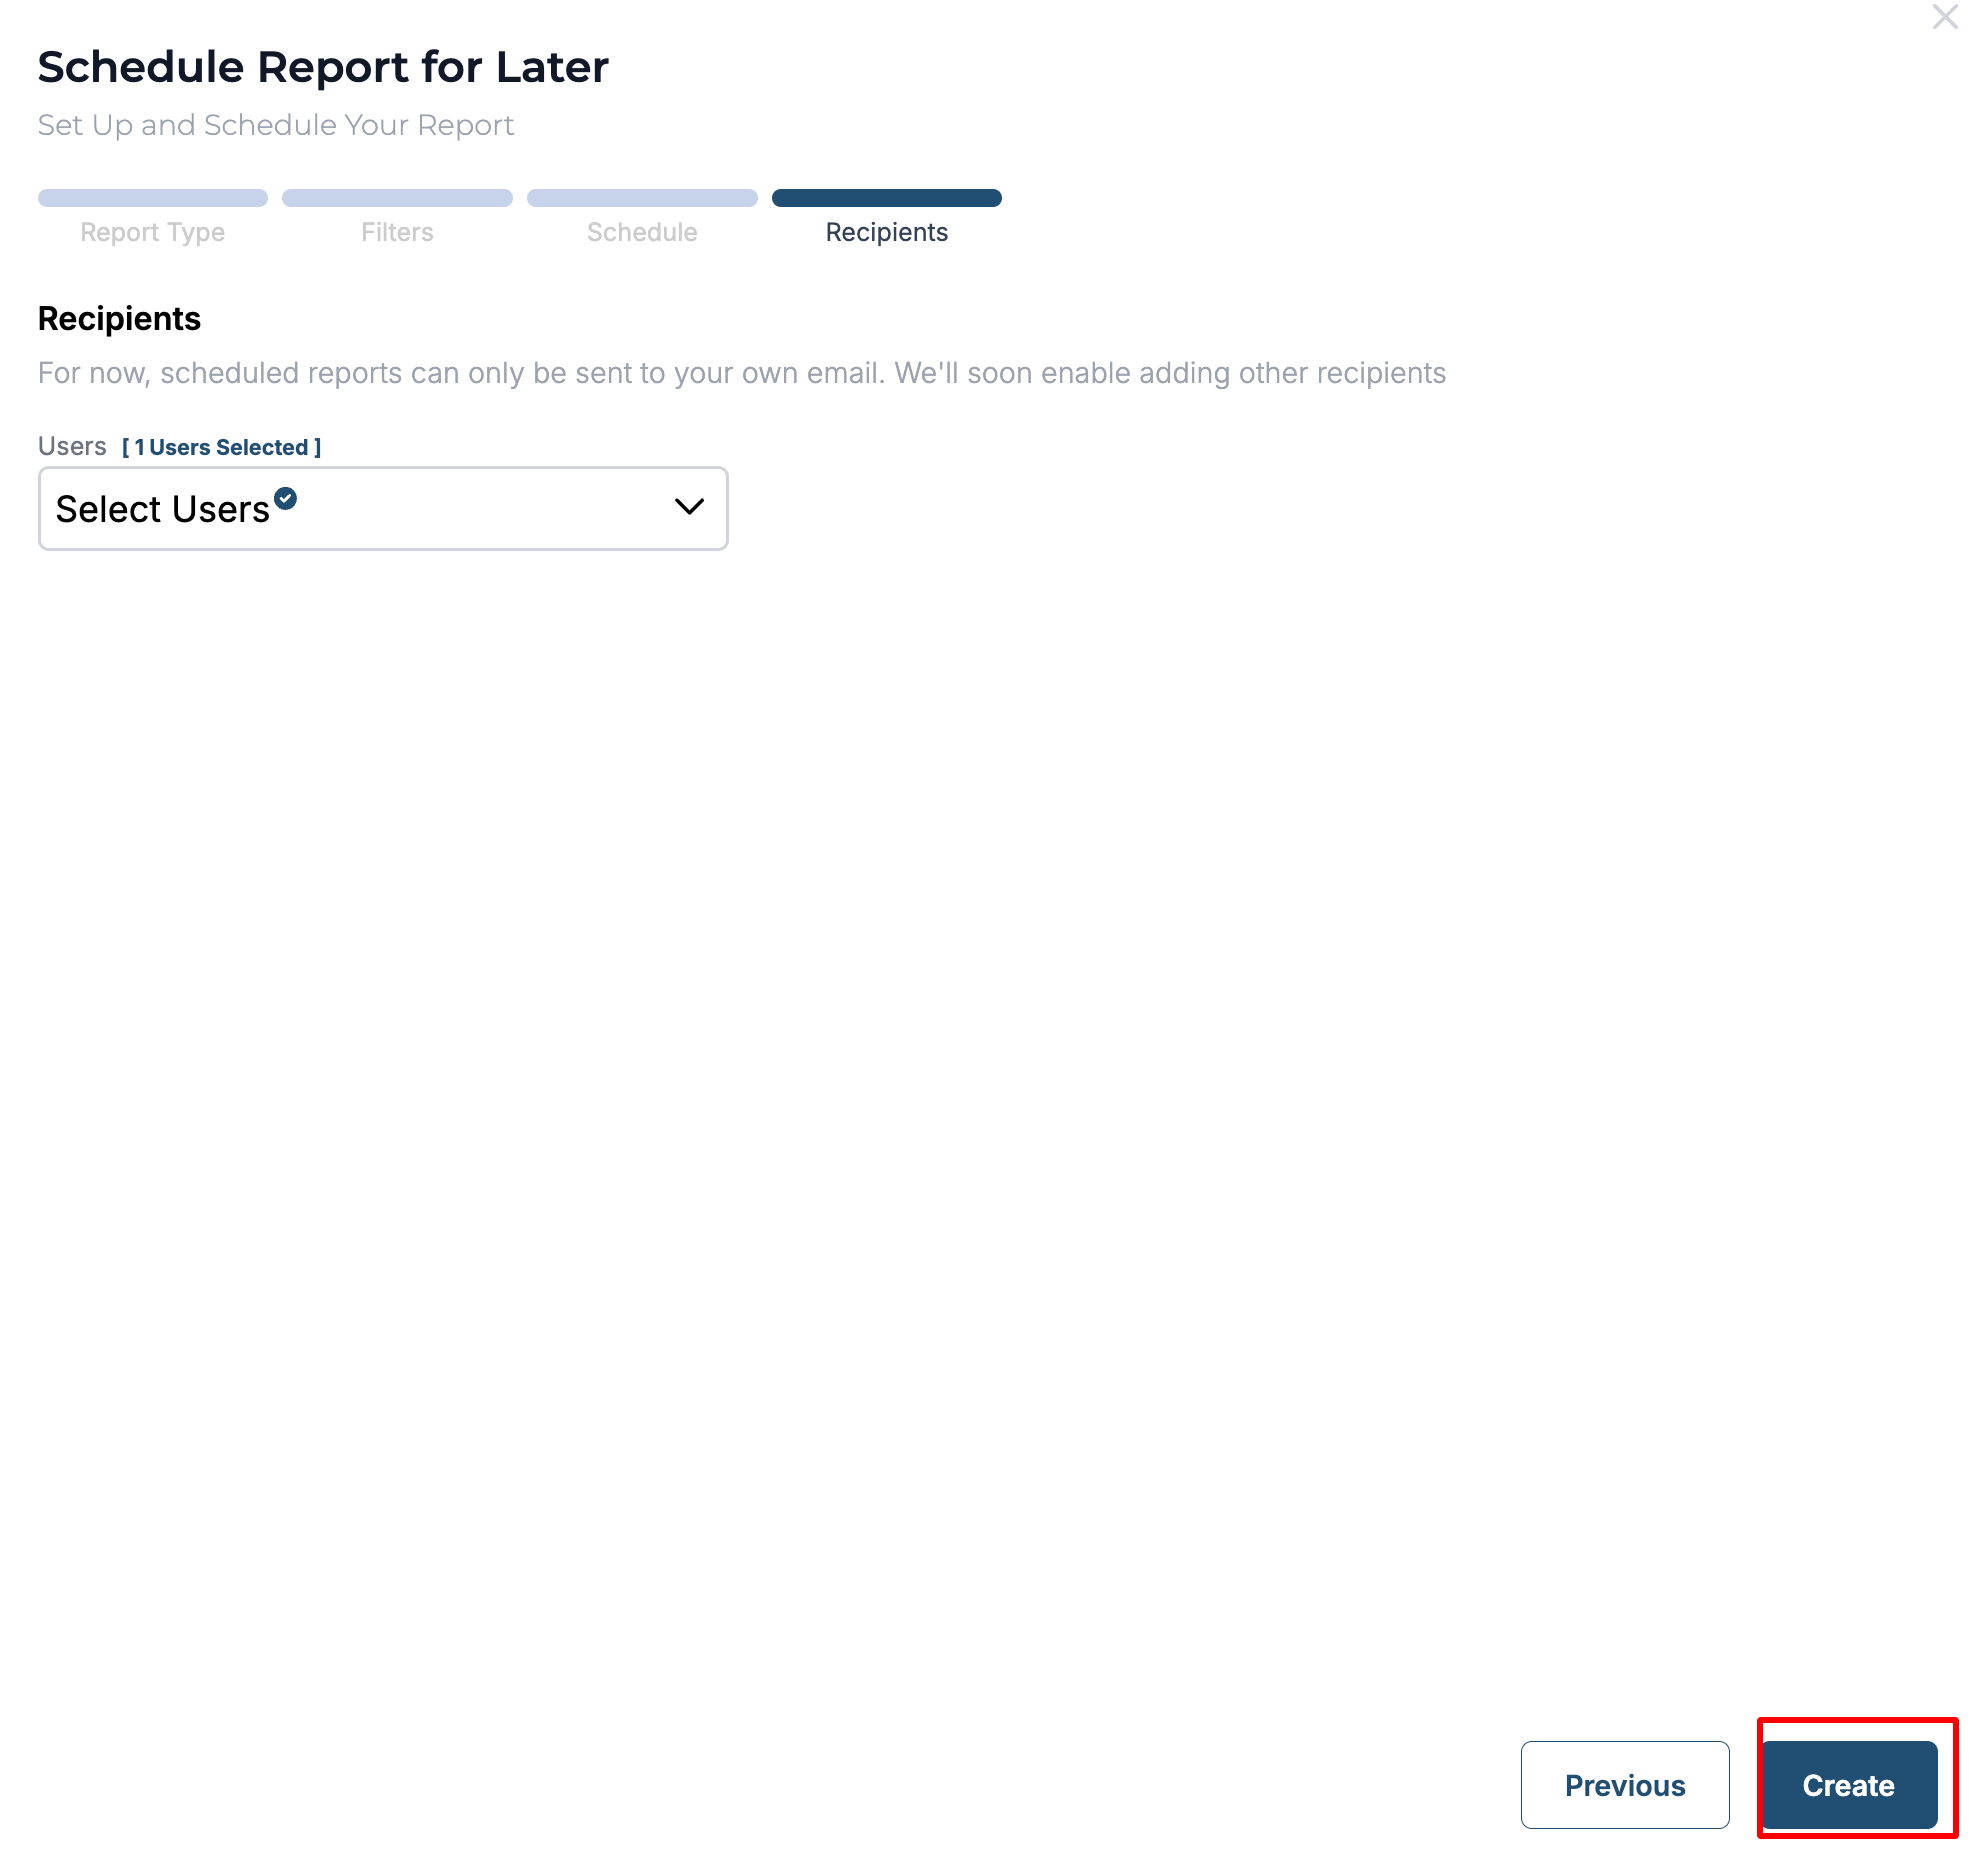
Step 12. Click on Create to complete creating the schedule.
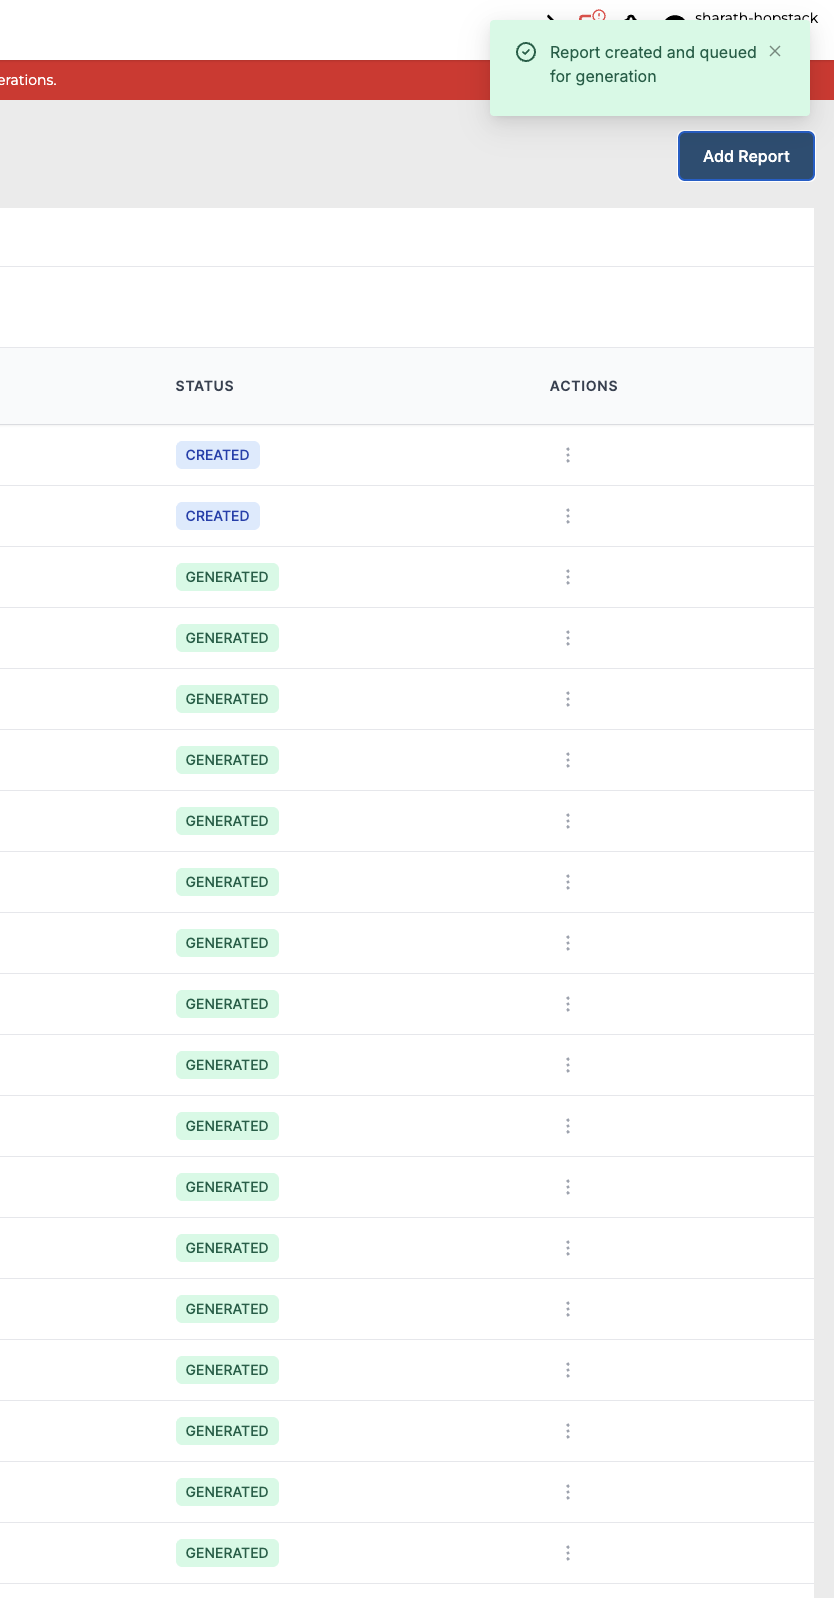
After clicking on Create, a notification pops up confirming that the Instant/ Schedule report has been created and queued for generation. And the user will receive the reports via email as per the schedule.
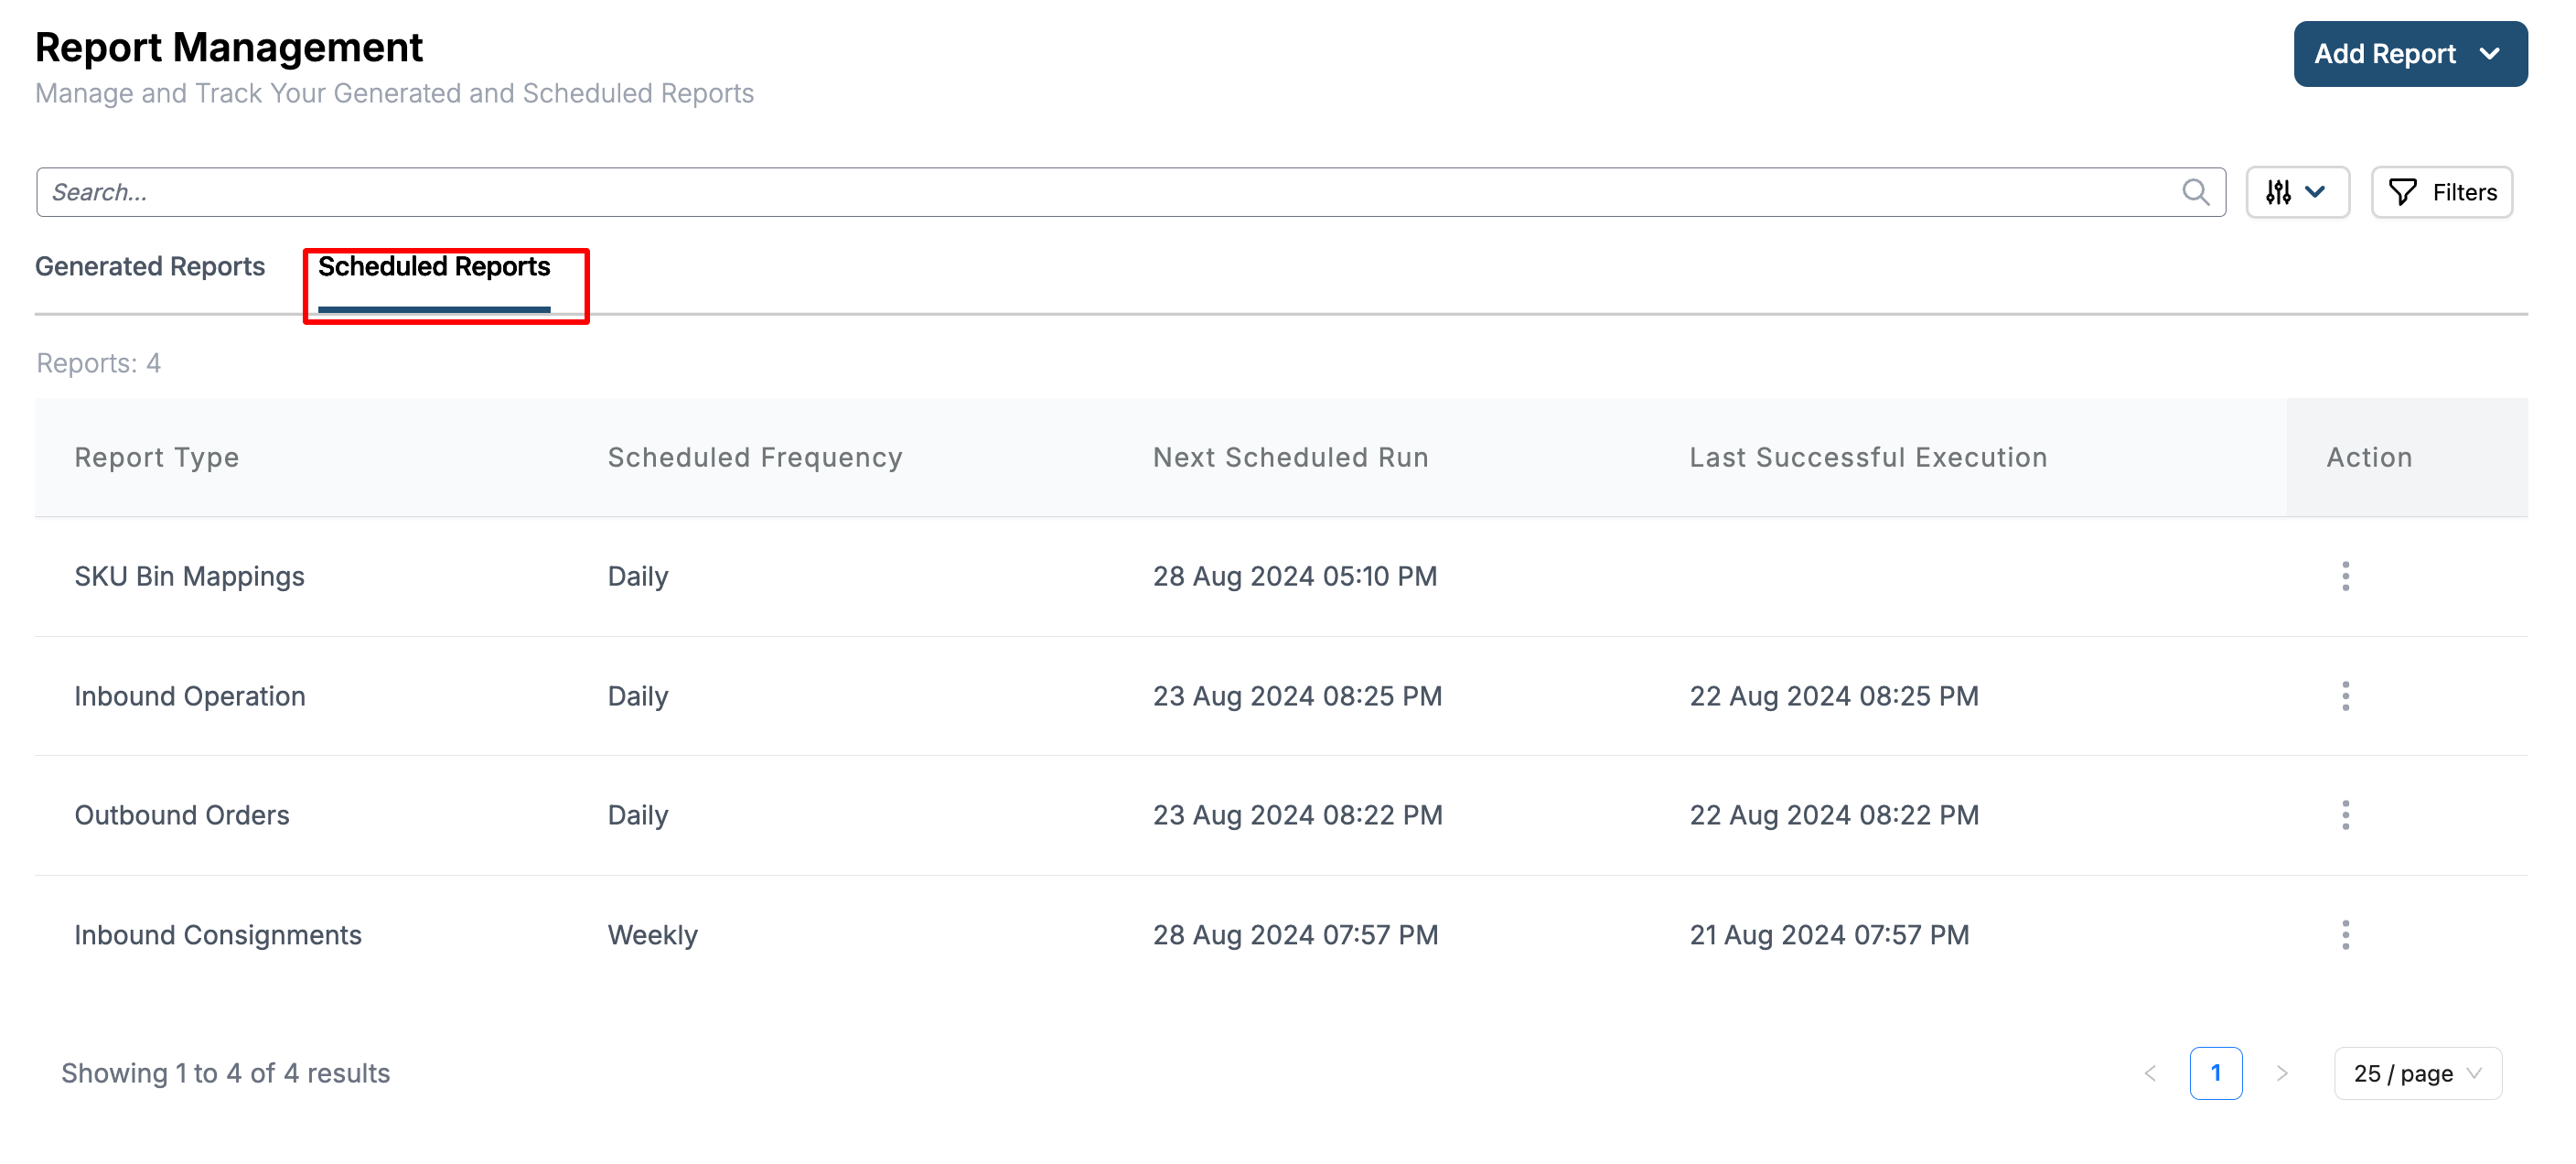
The Scheduled Reports tab in the Report management screen contains the list of all scheduled reports with details such as report type, scheduled frequency, next scheduled run and last successful execution.
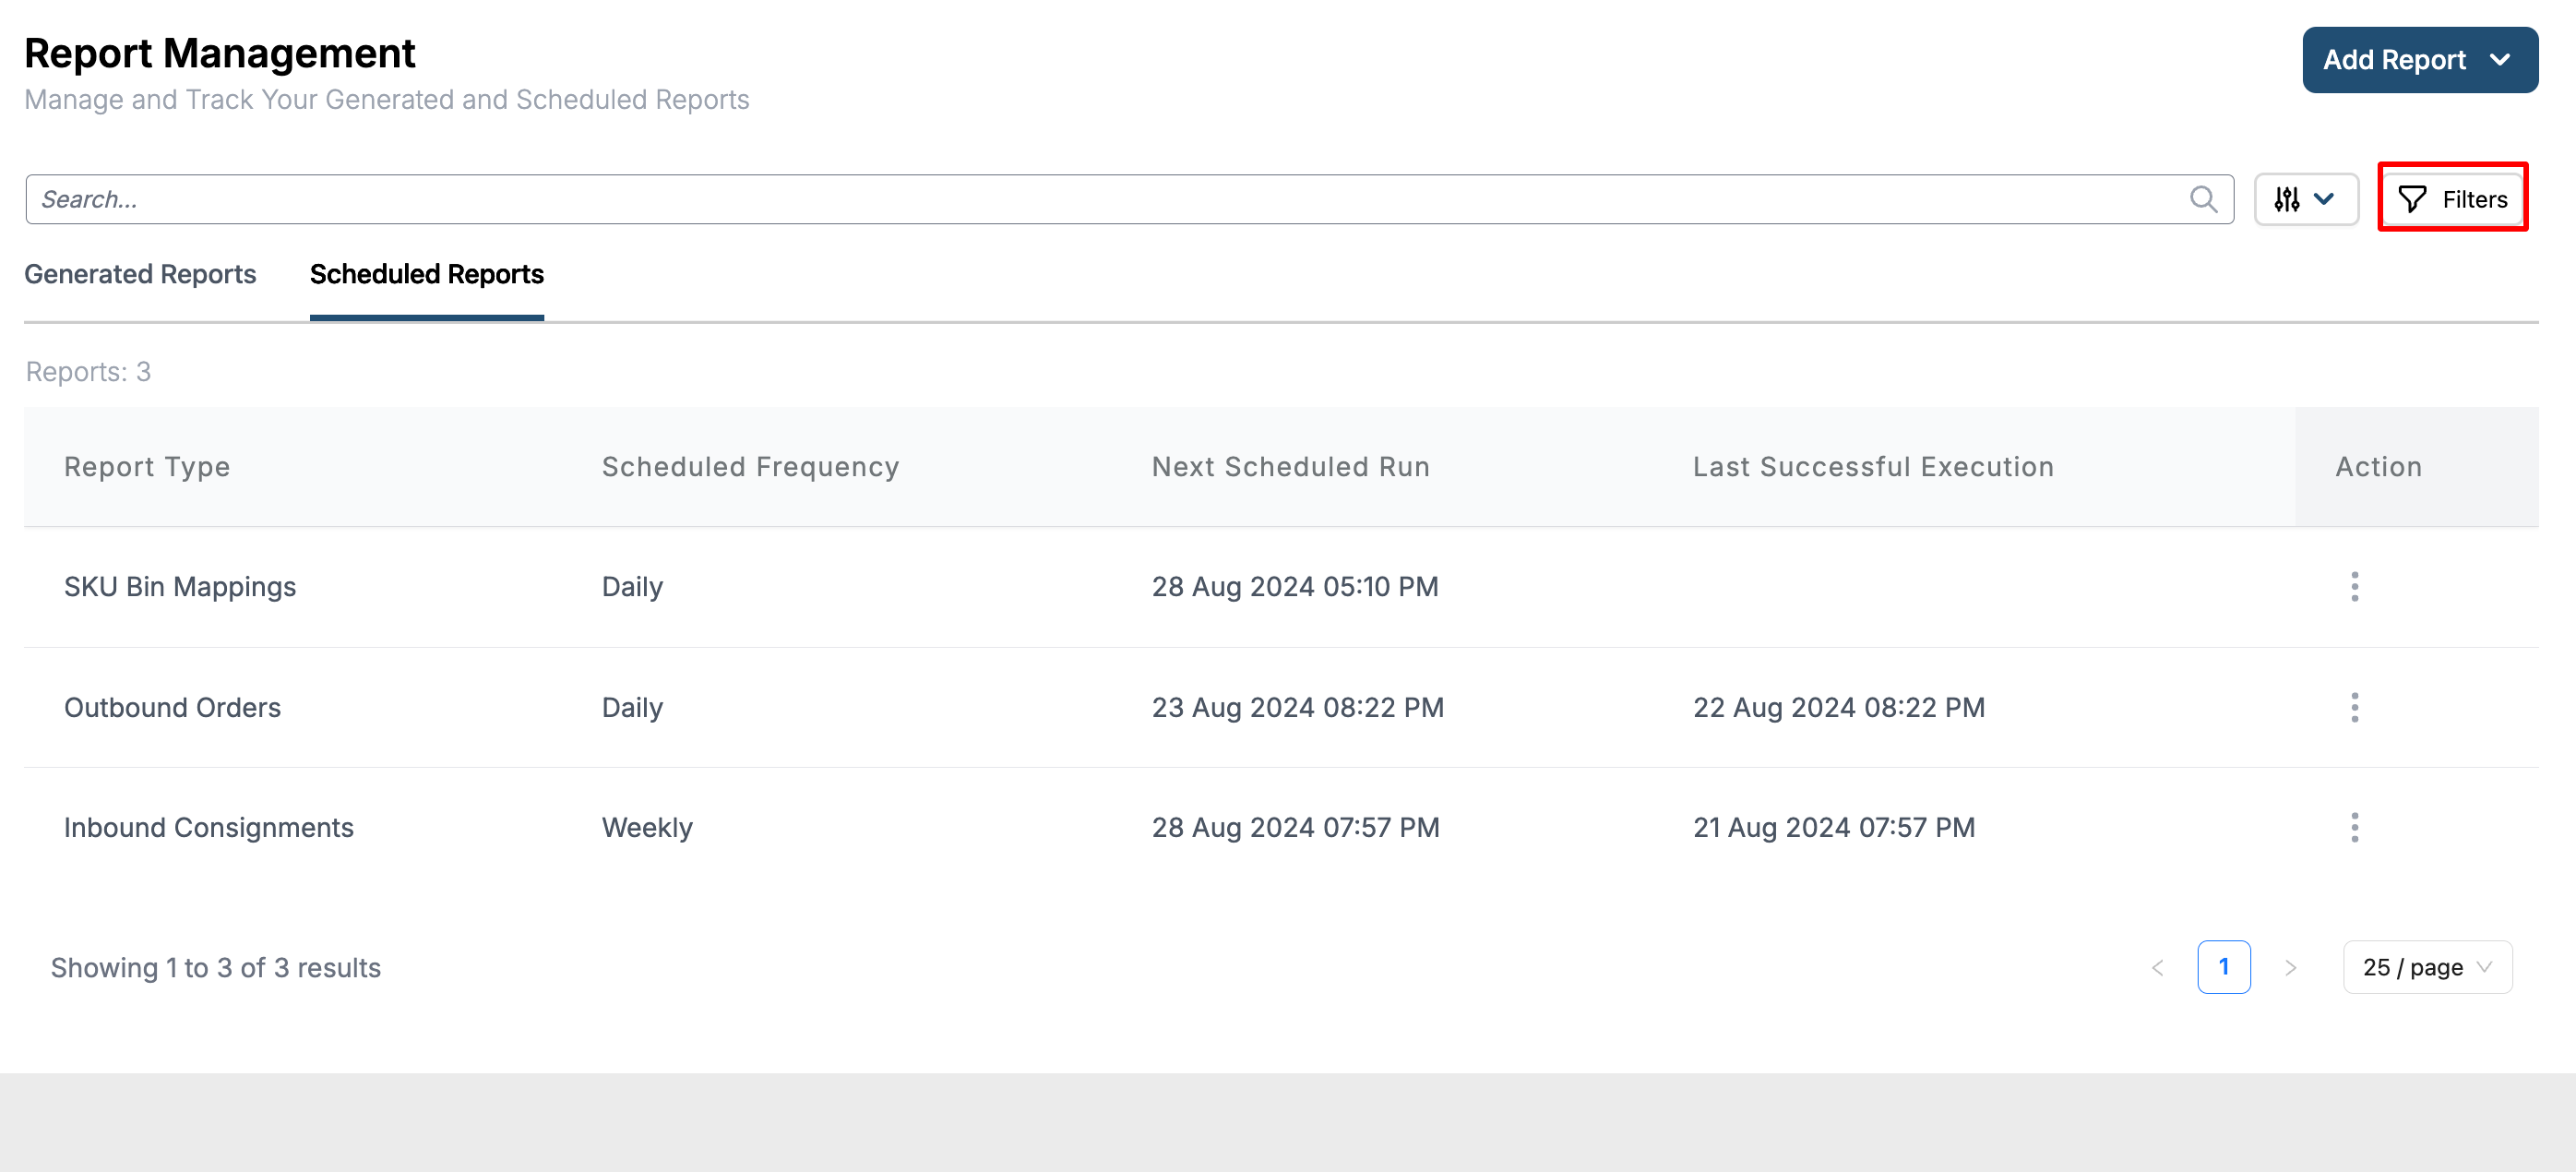
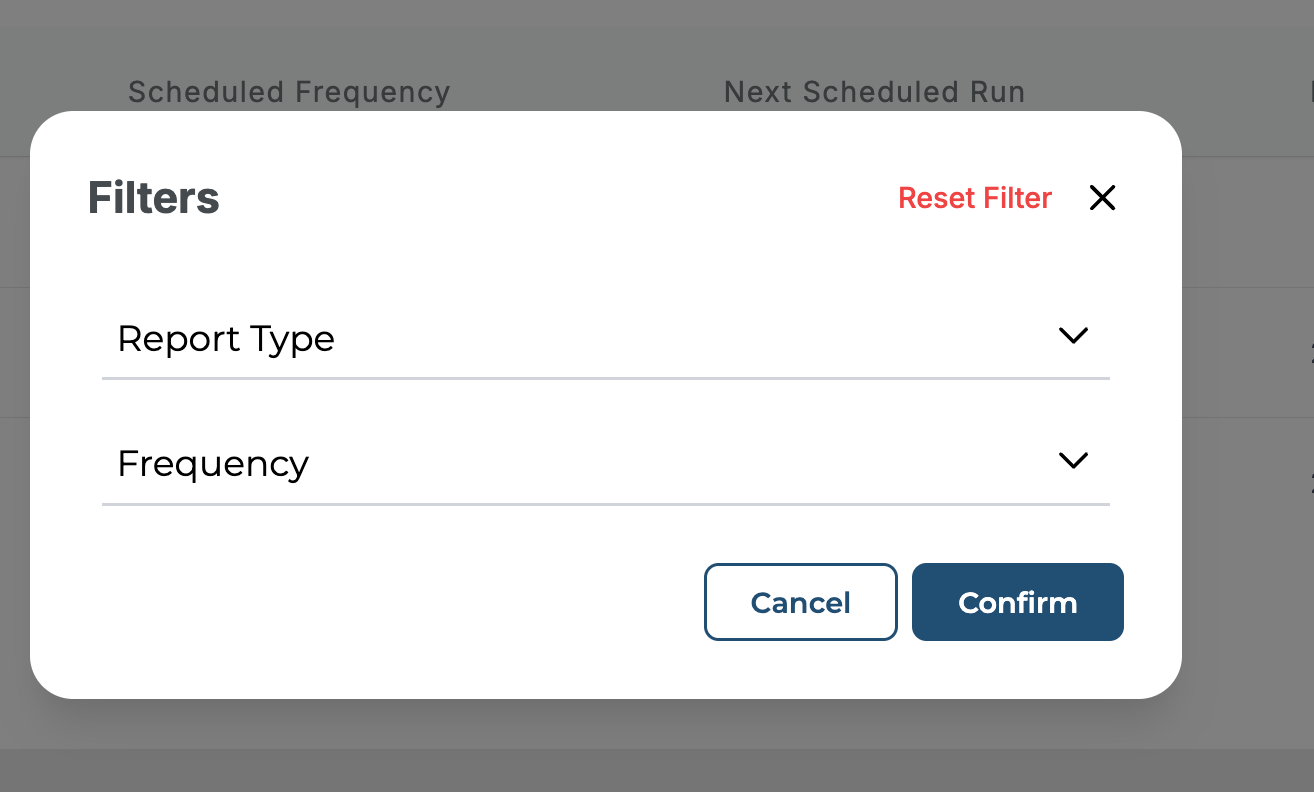
The users have the ability to filter the list by Report Type and Frequency by clicking on the filter icon.
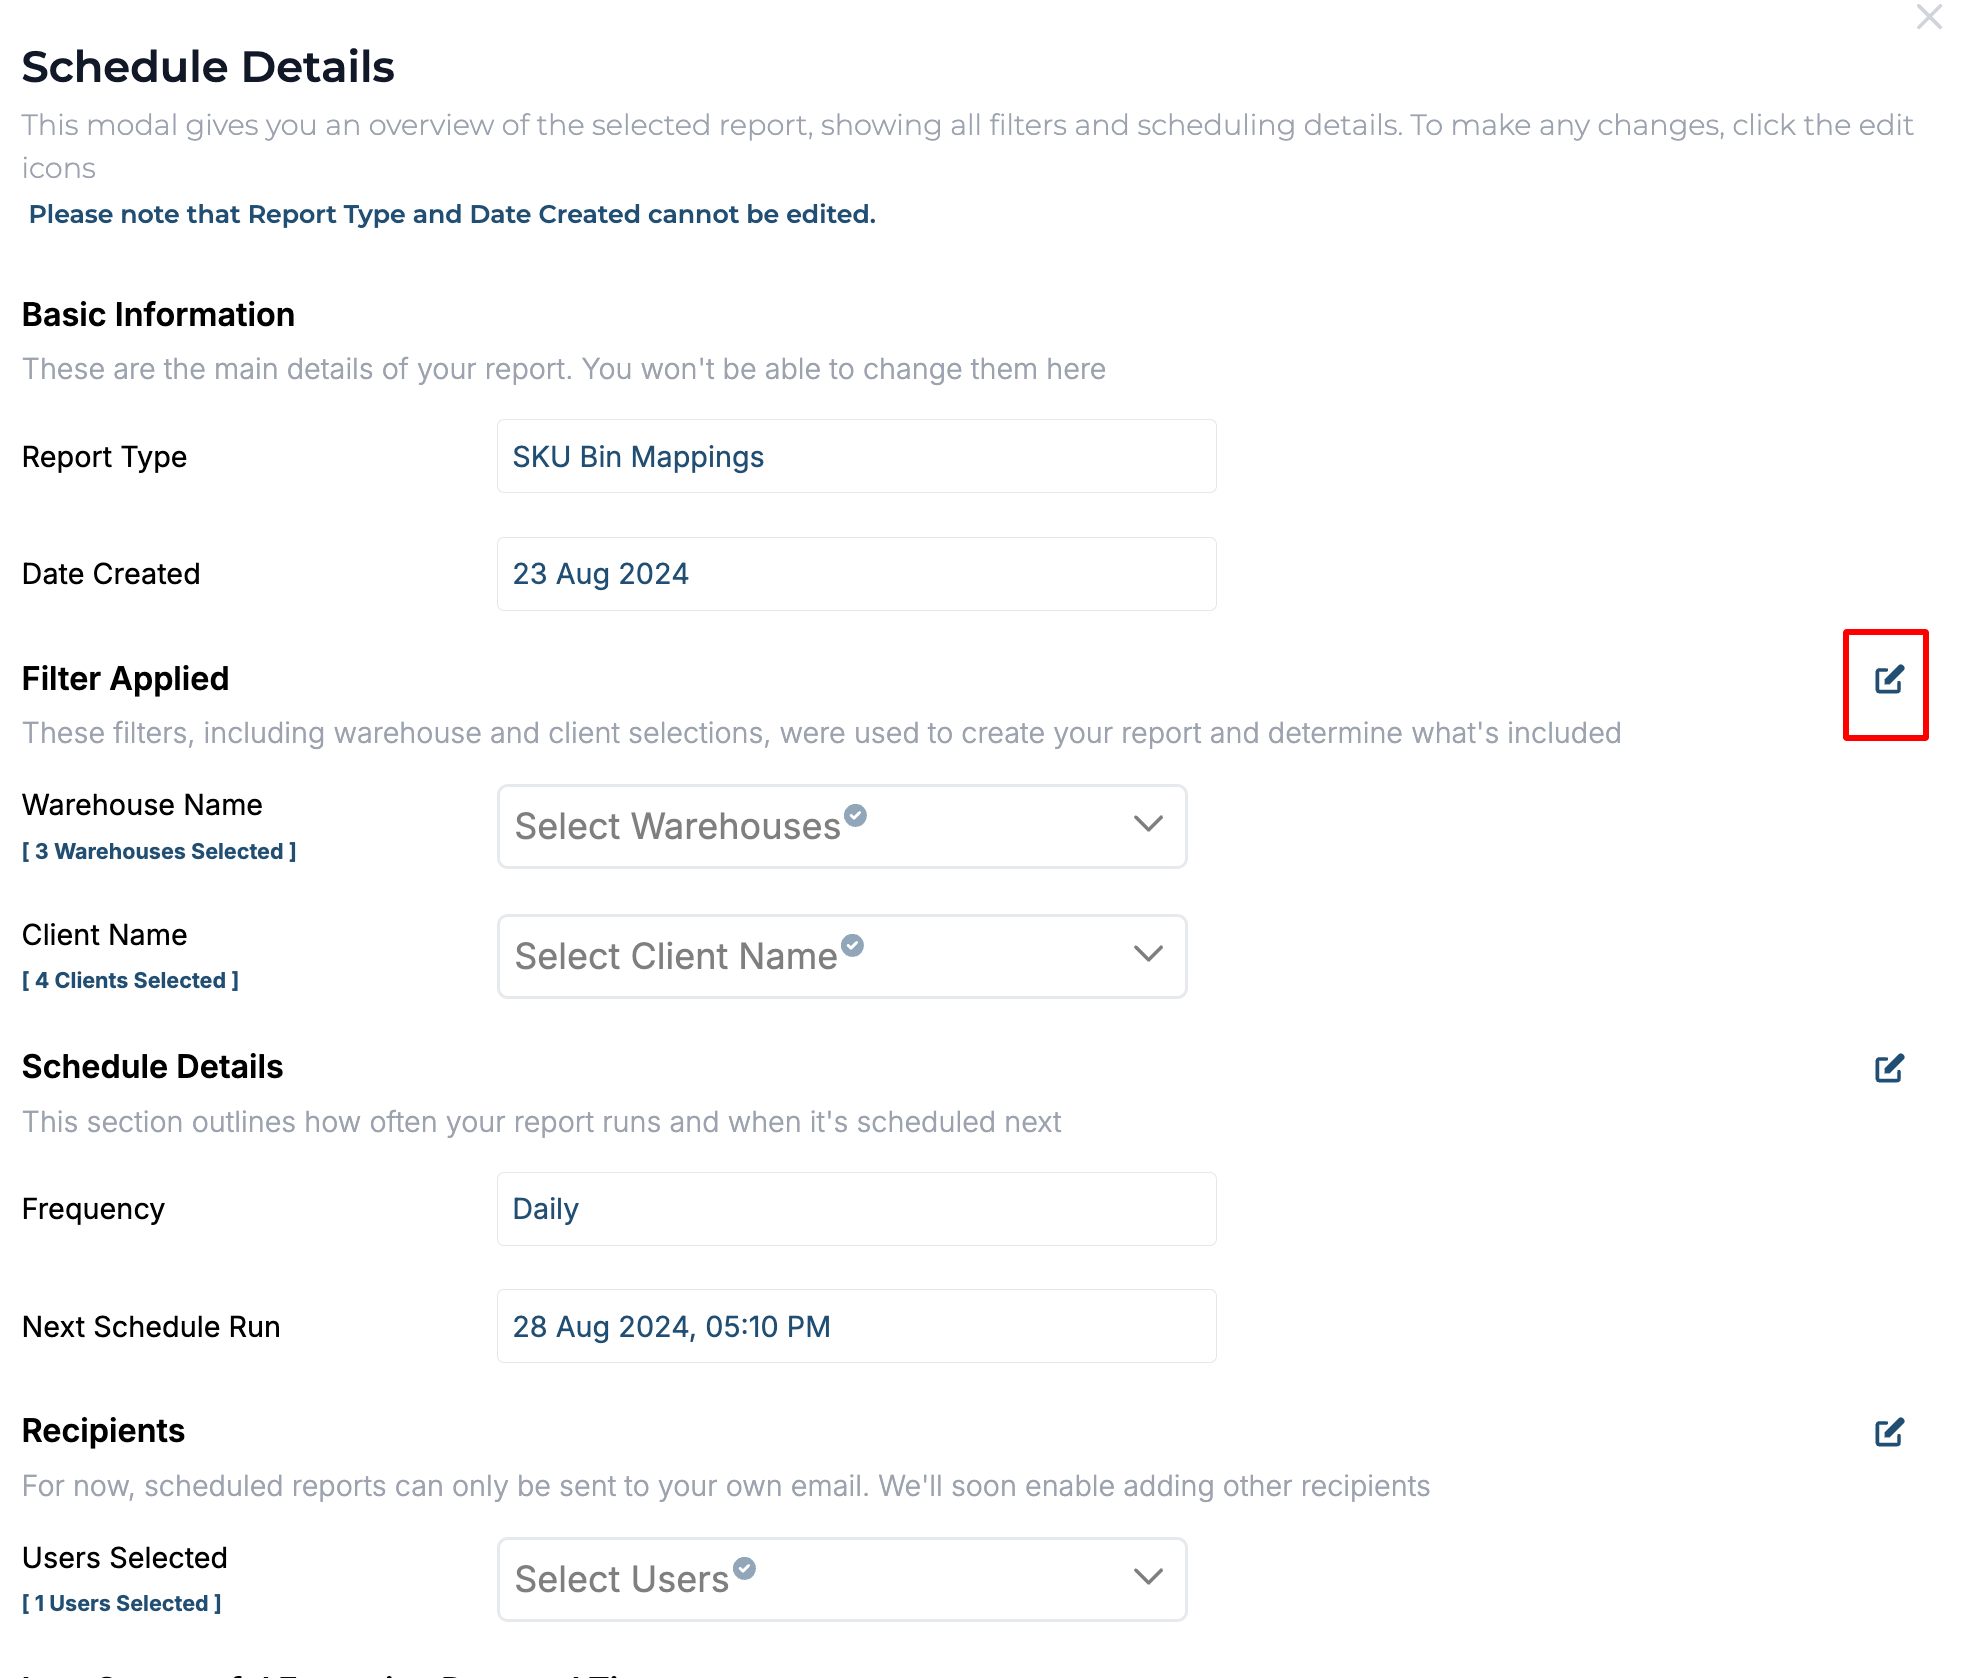
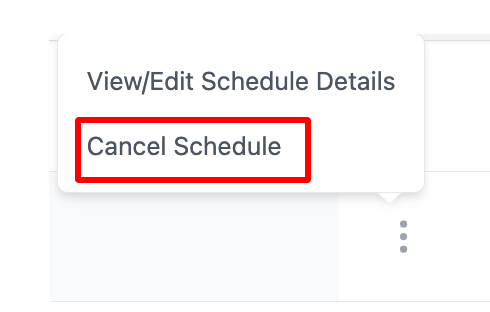
The action button is provided for all reports to allow users to view/edit schedule details and cancel the schedule.
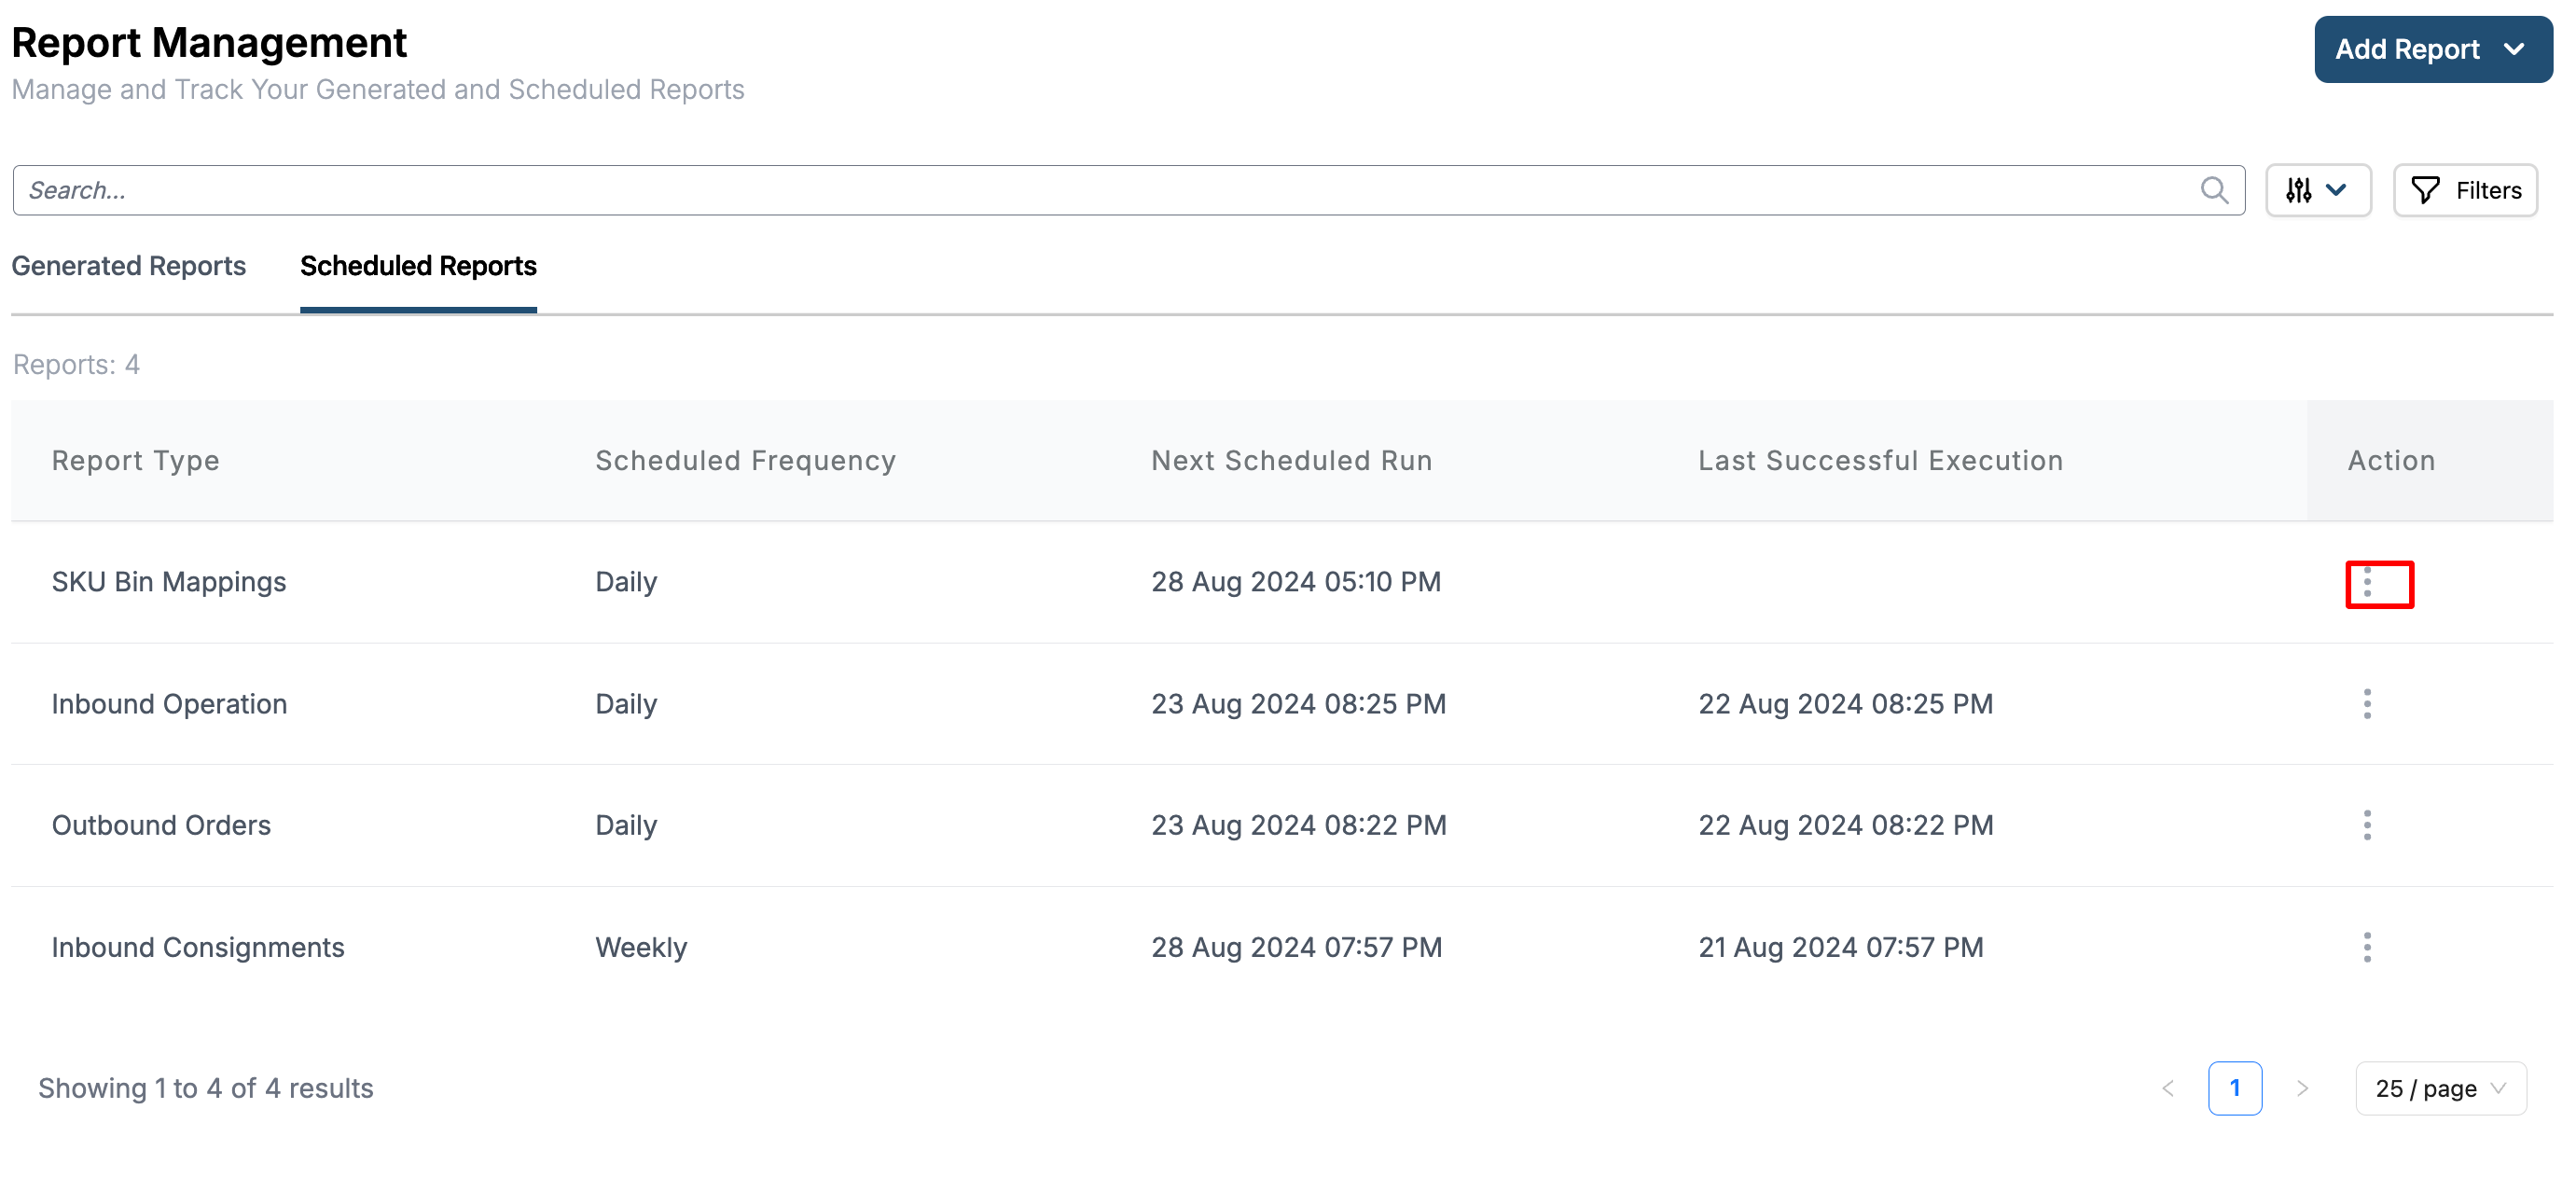

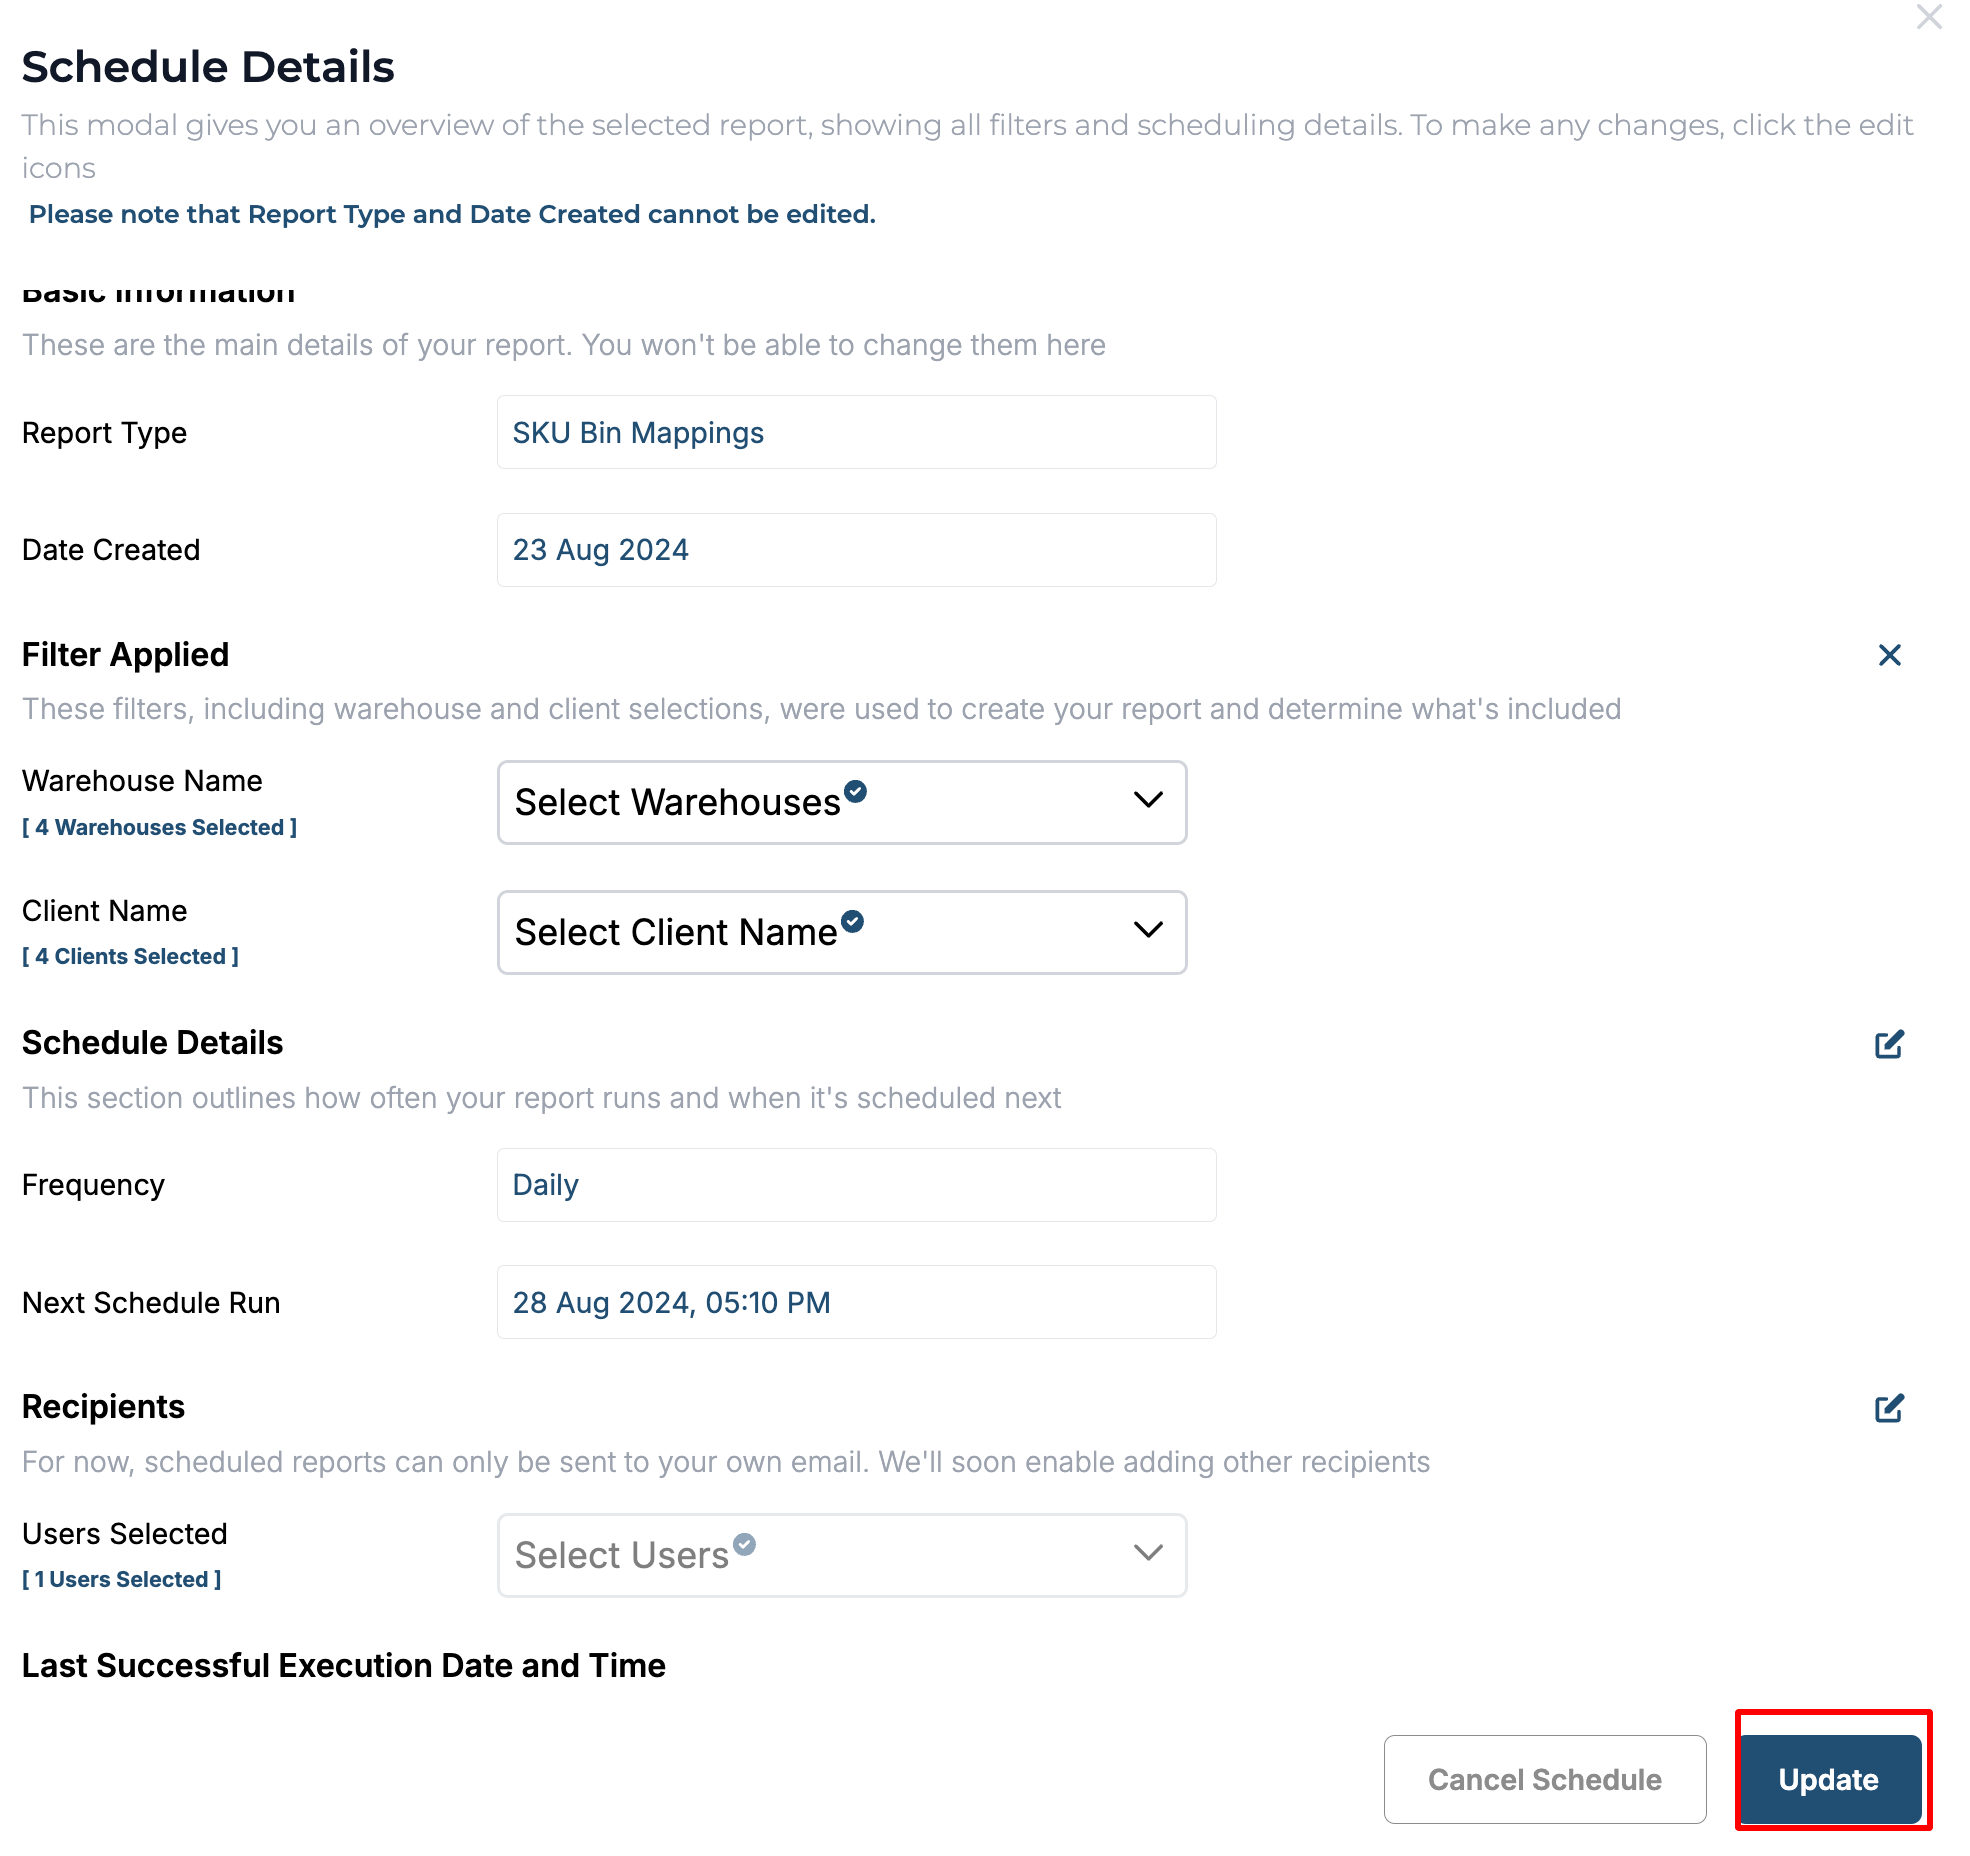
View/Edit Schedule Details when selected display the details of the schedule and the user can edit the editable details by clicking on the pencil icon. Once the edit is made, click on update. The system will notify you that the update has been made successfully.

To cancel a schedule the user can either click on cancel schedule from the actions or click on cancel schedule in the view/edit screen.

Once cancelled, the system sends a notification that the scheduled report has been deleted successfully.
