Instant Reports
To generate Instant Reports, follow the steps below.
Navigate to the Hopstack Platform
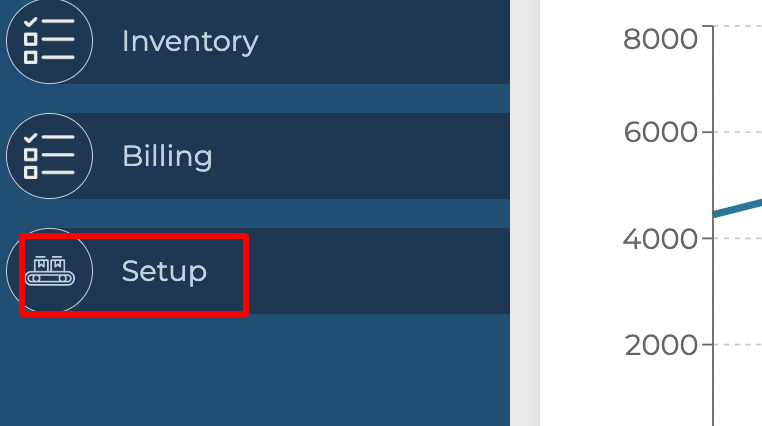
After logging in, locate the "Setup" button in the main navigation menu (on the left side of the screen) and click on it.
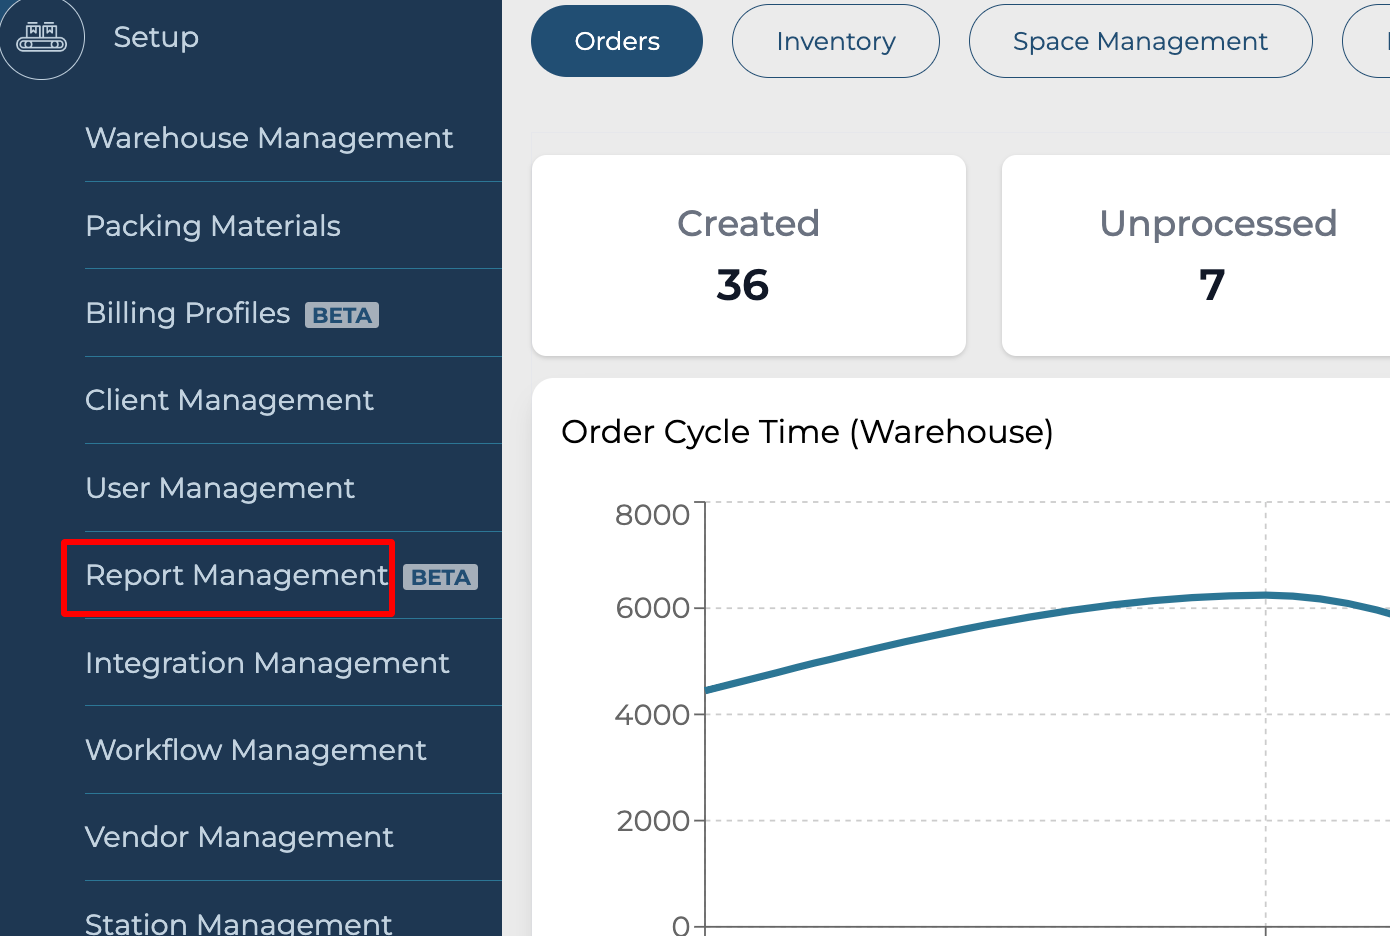
Find and click on the "Report Management" option
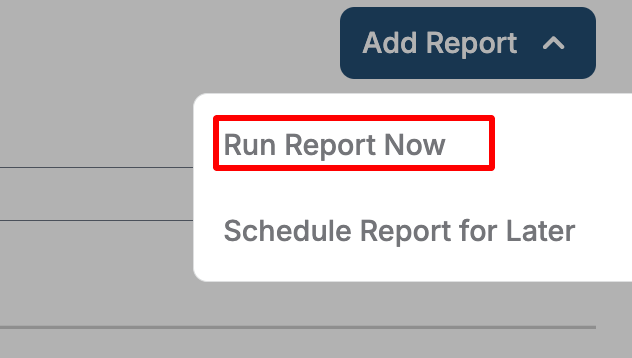
In the top right corner, click on the ‘Add Report’ button

Select Run Report Now.
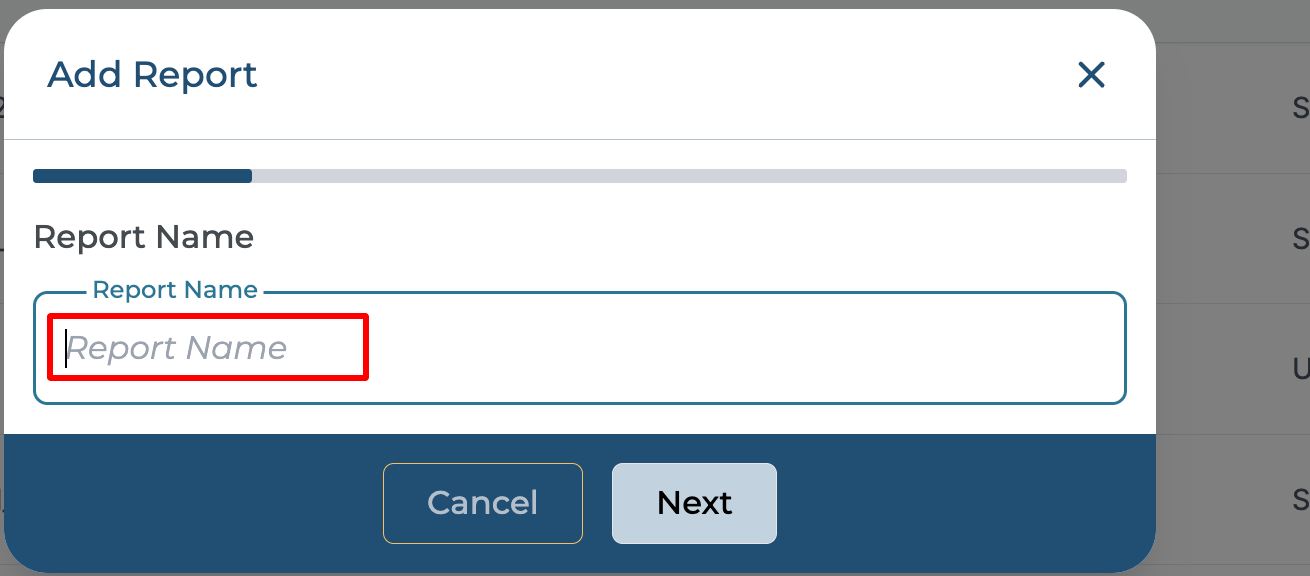
Type in the name of the report.
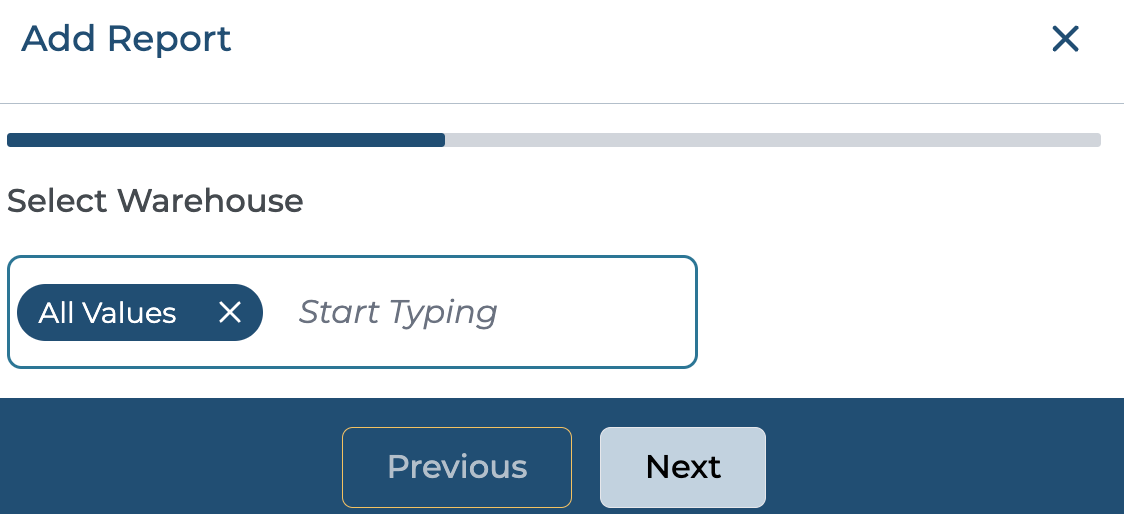
Choose your Warehouse. All Values are selected by default, click on x and click to choose the required warehouses from the dropdown. Users could also type In the text box to search and select a warehouse.
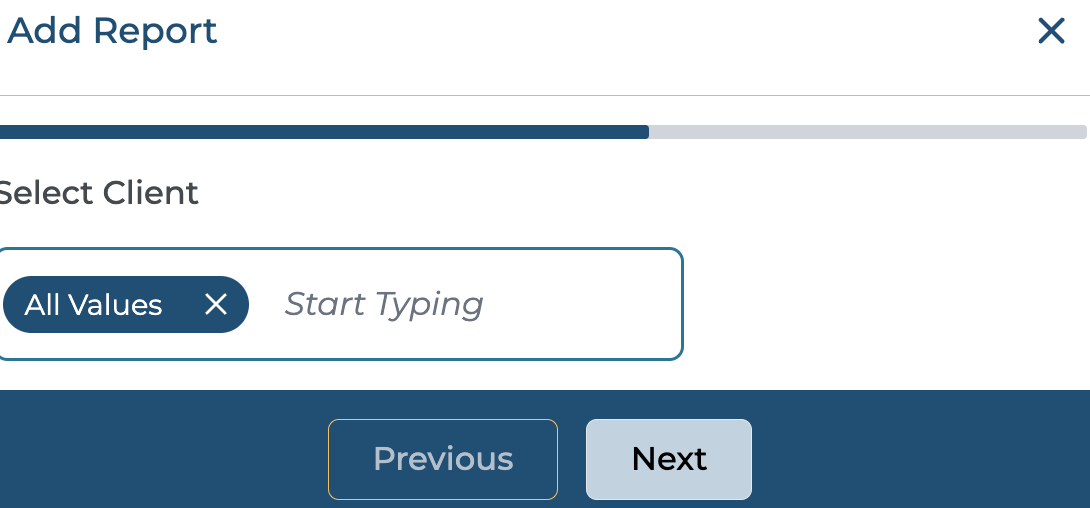
Choose your Client. All Values are selected by default, click on x and click to choose the required clients from the dropdown. Users could also type In the text box to search and select a client.
Select the report type from the drop-down.
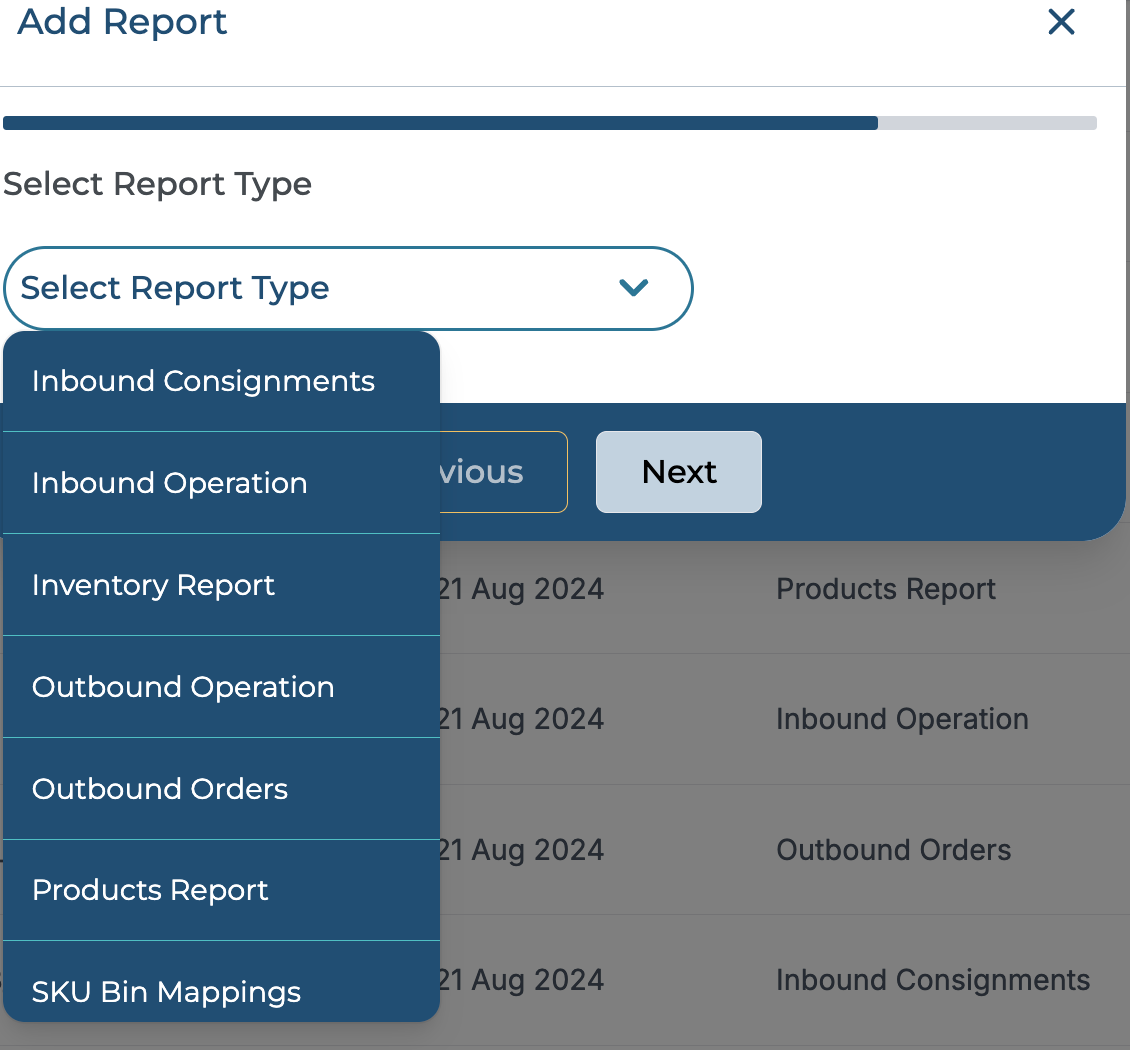
10. Selecting a report type will display associated fields for the user to choose from. Select specific data fields or columns associated with the chosen report type that will be included in the report.
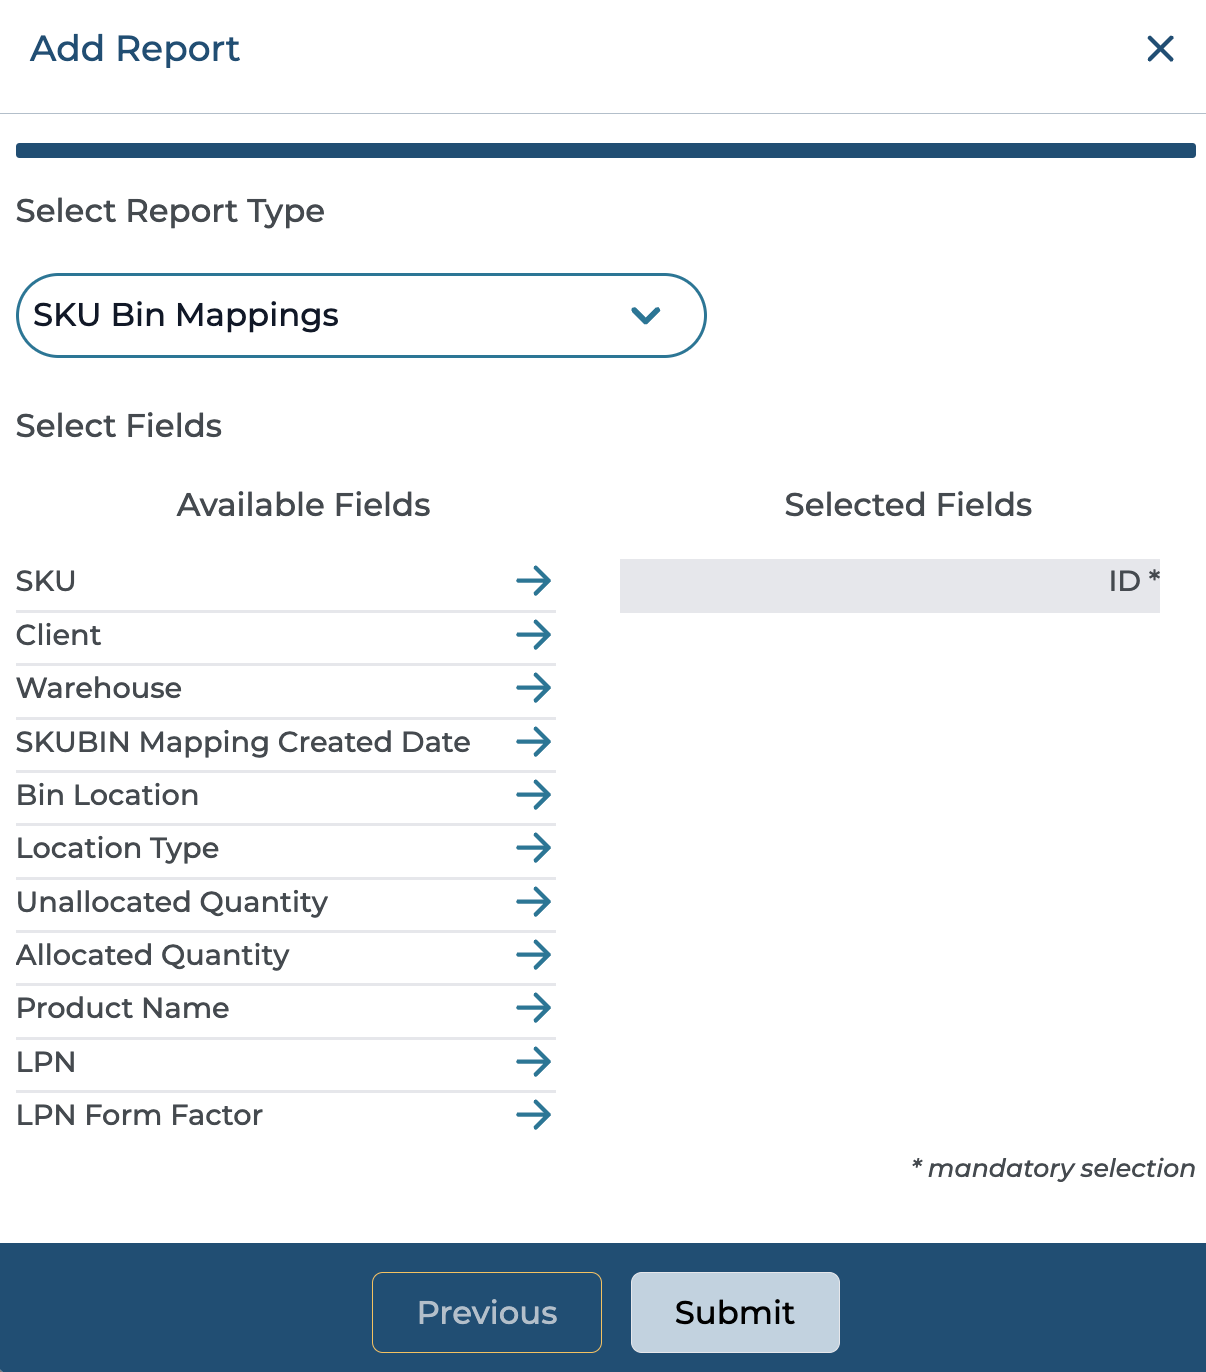
11. Use Arrows to select/deselect the fields.
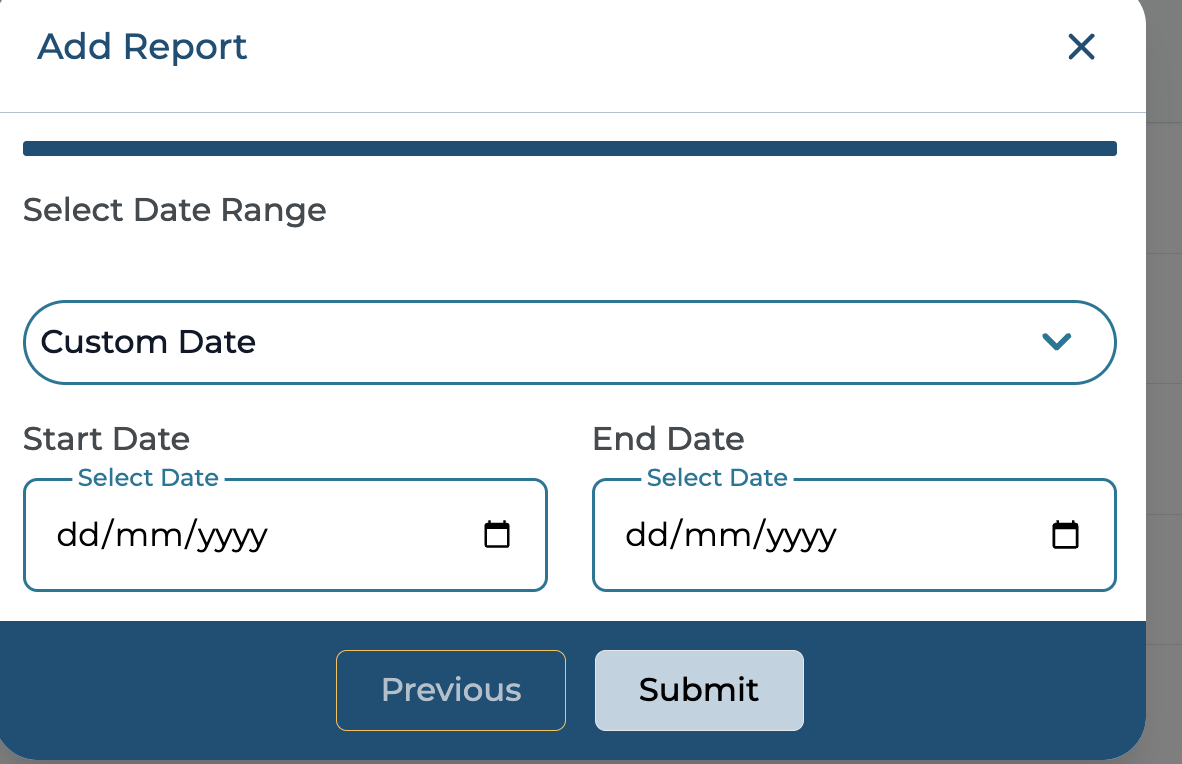
12. You can add the custom date for the report and choose the interval.
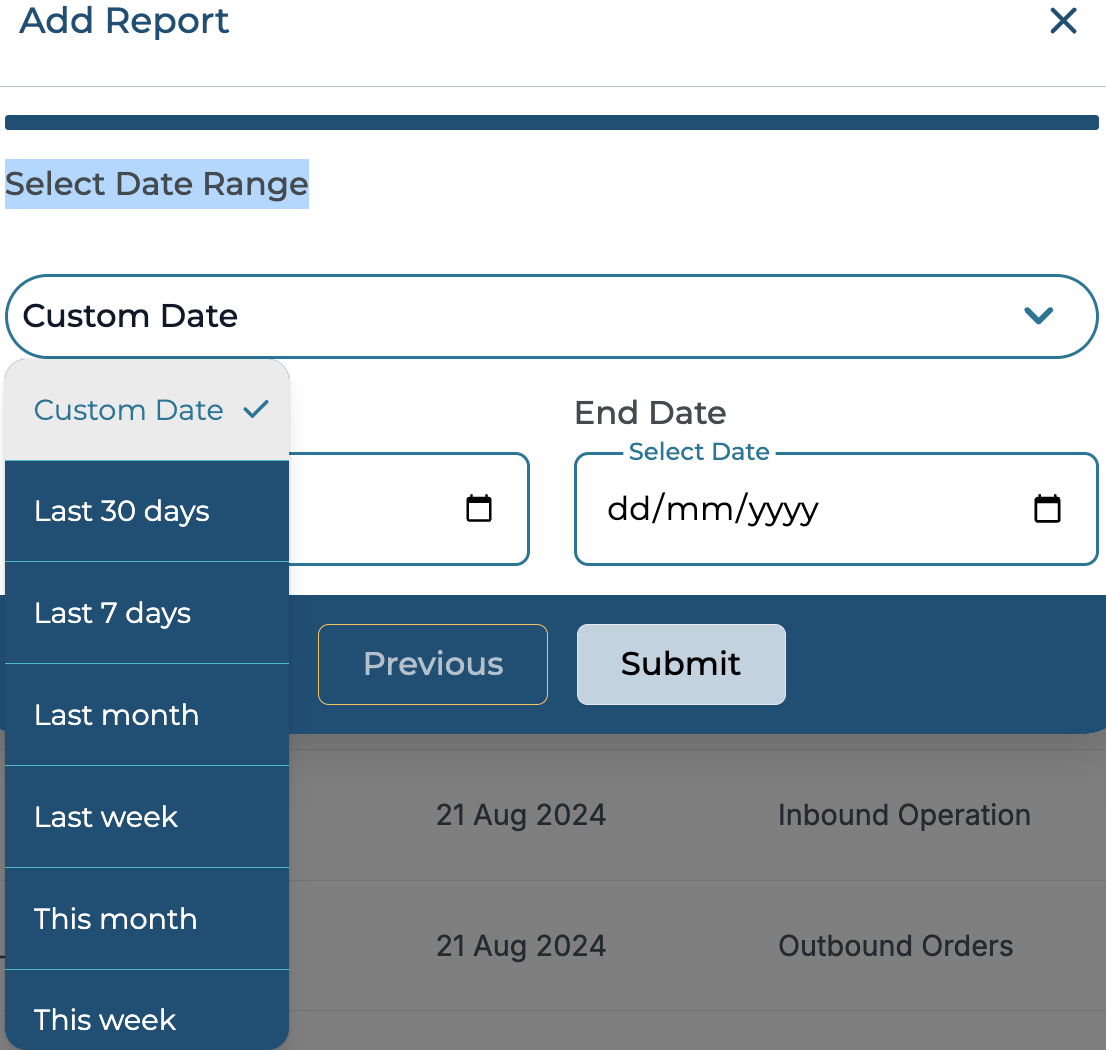
13. Or you can select the preset intervals from the dropdown.
14. Click "Submit" after looking into all the details.
15. The report is queued and will take some seconds before it's ready for viewing/downloading.

16. Once the report is generated you will get a notification for the same and the report is sent to the user via email.

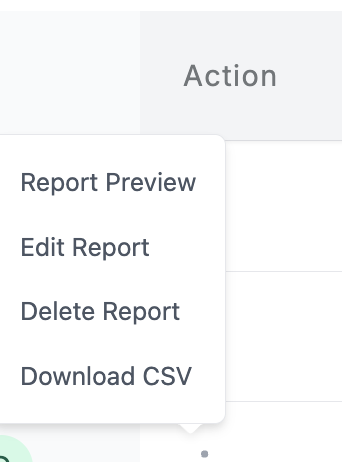
17. The action button gives the user the option to preview, edit, delete and download the report.
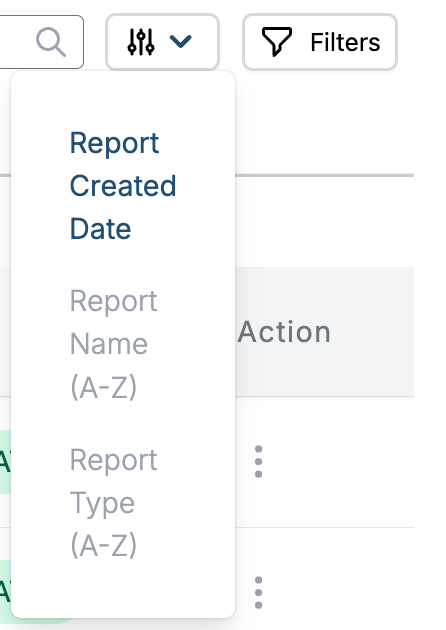
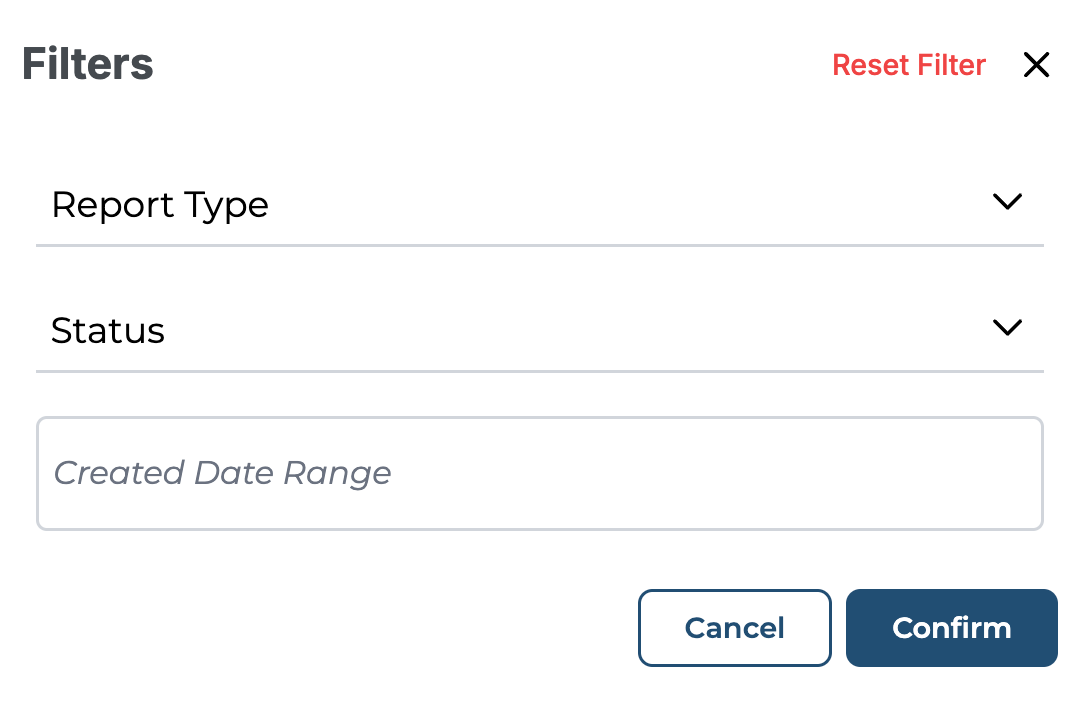
For the visibility of the reports. You can sort by created date /search/ filter the reports by Report Type, Status, and Created Date Range.