How to Add a Batch Name in "Create Manual Batch" and "Outbound Plan"
This article provides step-by-step instructions to add a Batch Name while creating a Manual Batch or an Outbound Plan for orders in the system.
After selecting your preferred orders, proceed by clicking either the "Create Manual Batch" or “Create Outbound plan” button situated in the platform's upper-right corner.

Please note that the “Create Manual Batch” and “Create Outbound Plan” buttons may vary depending on your domain configuration.
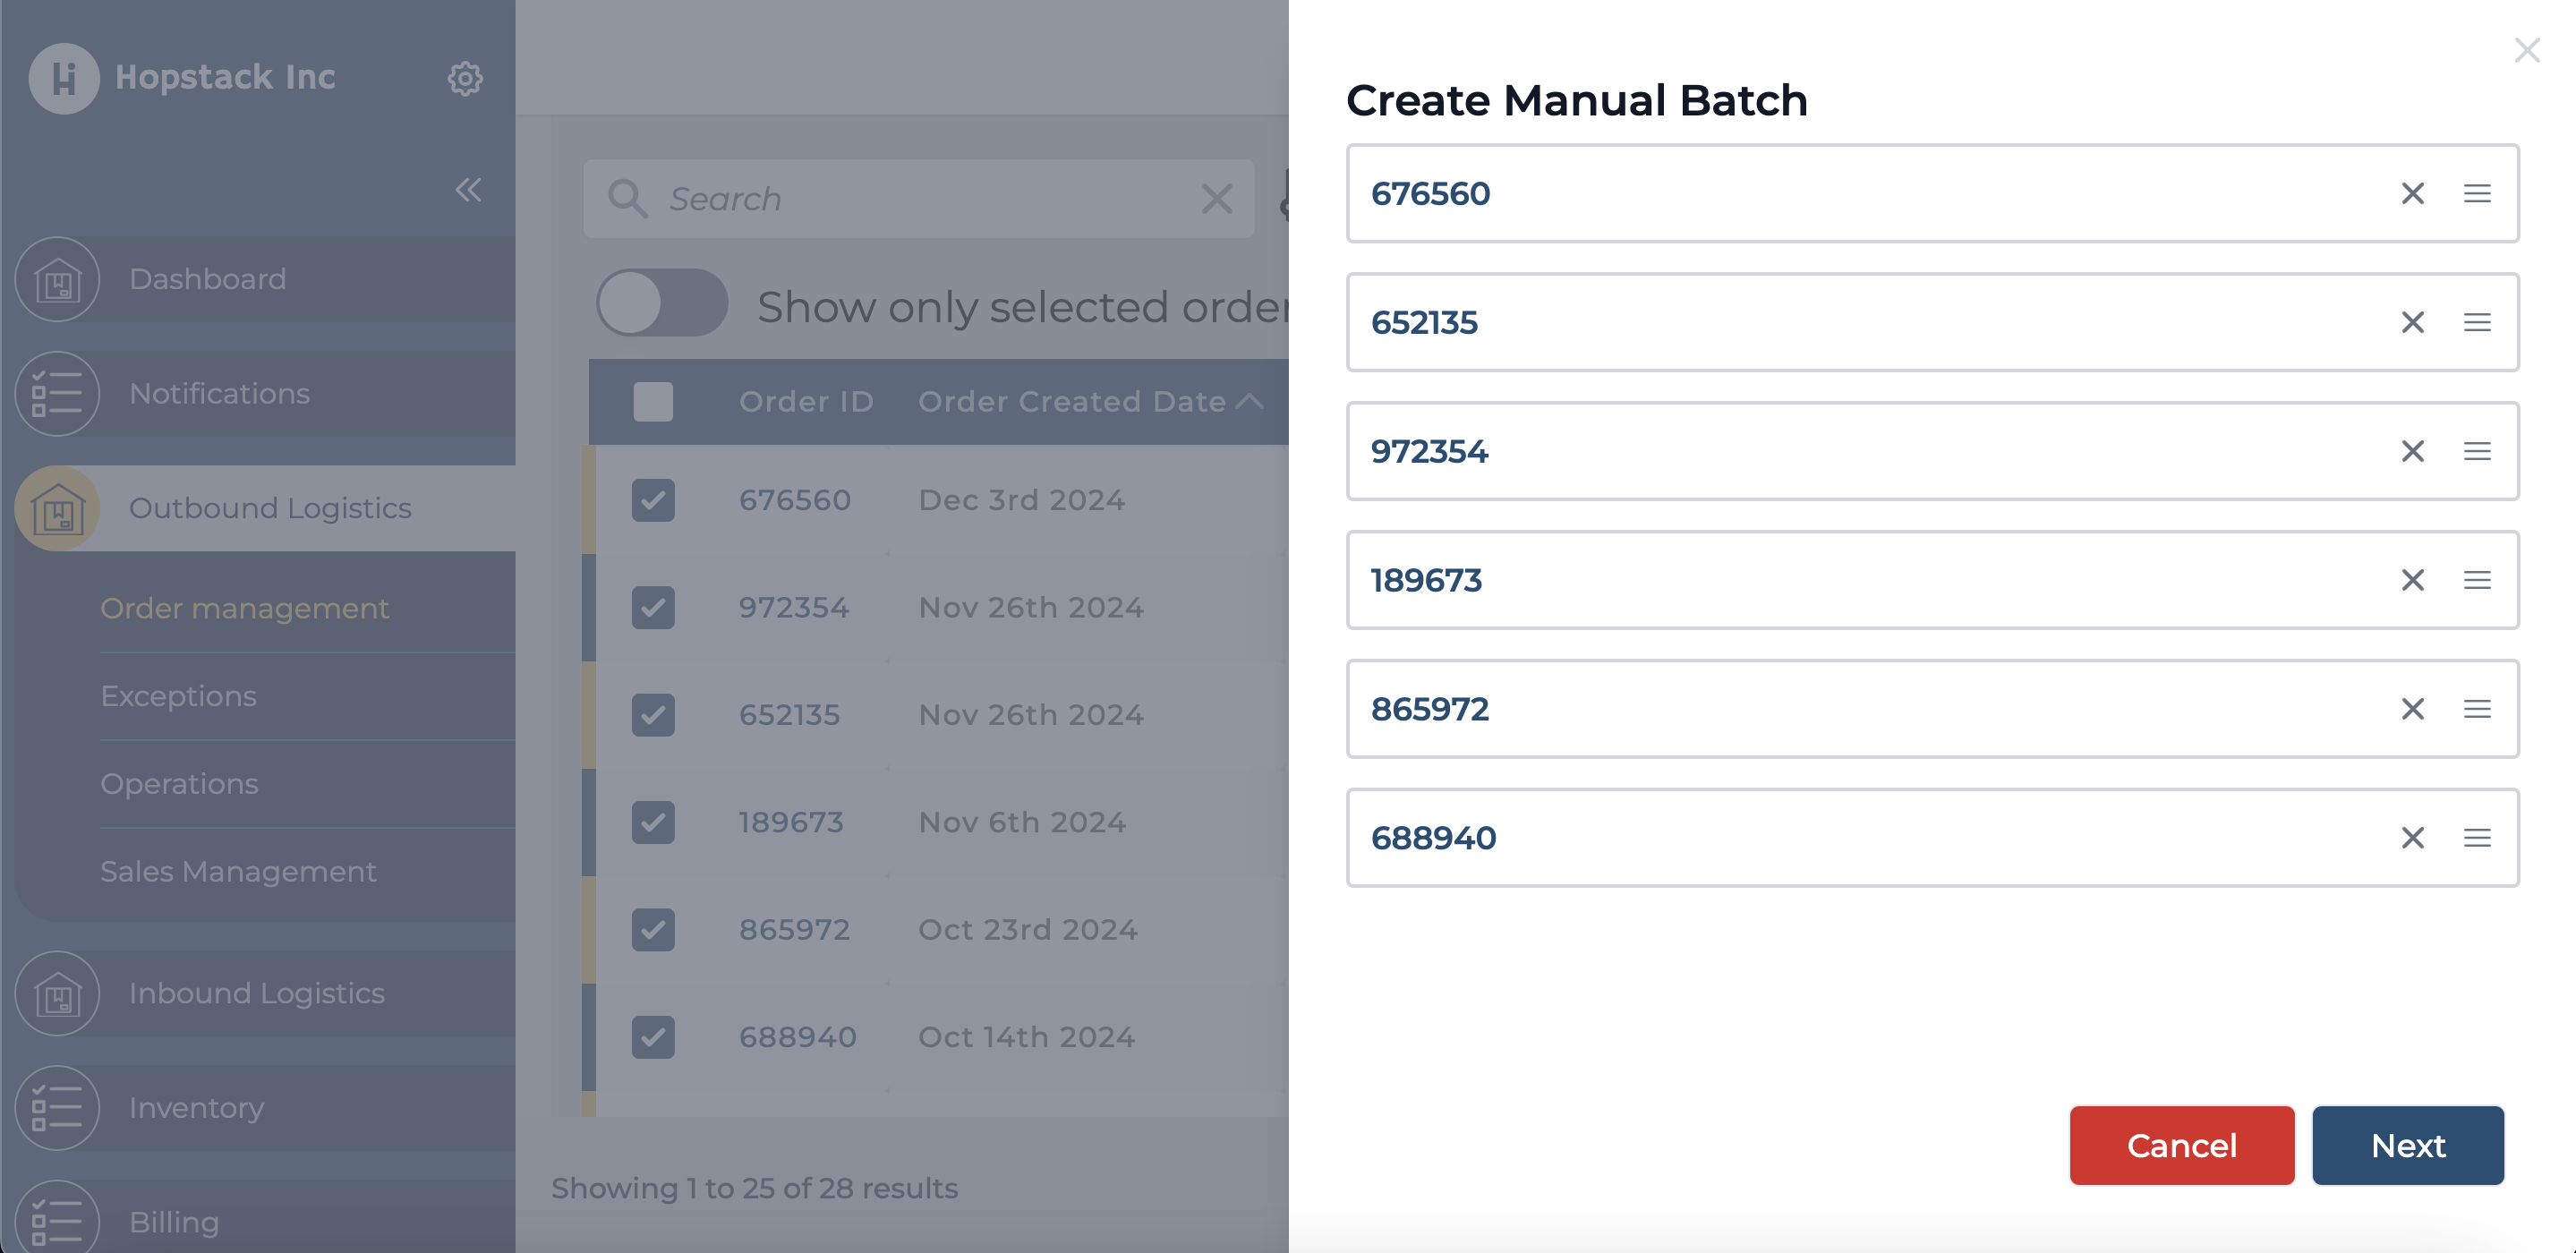
Once the orders have been selected, as a user, you will be able to have a preview of all the orders, be able to sequence the order based on how you would like to prioritise how the inventory will be allocated to each order.
On viewing all the orders on the preview, the user will be able to click on the “Next” option

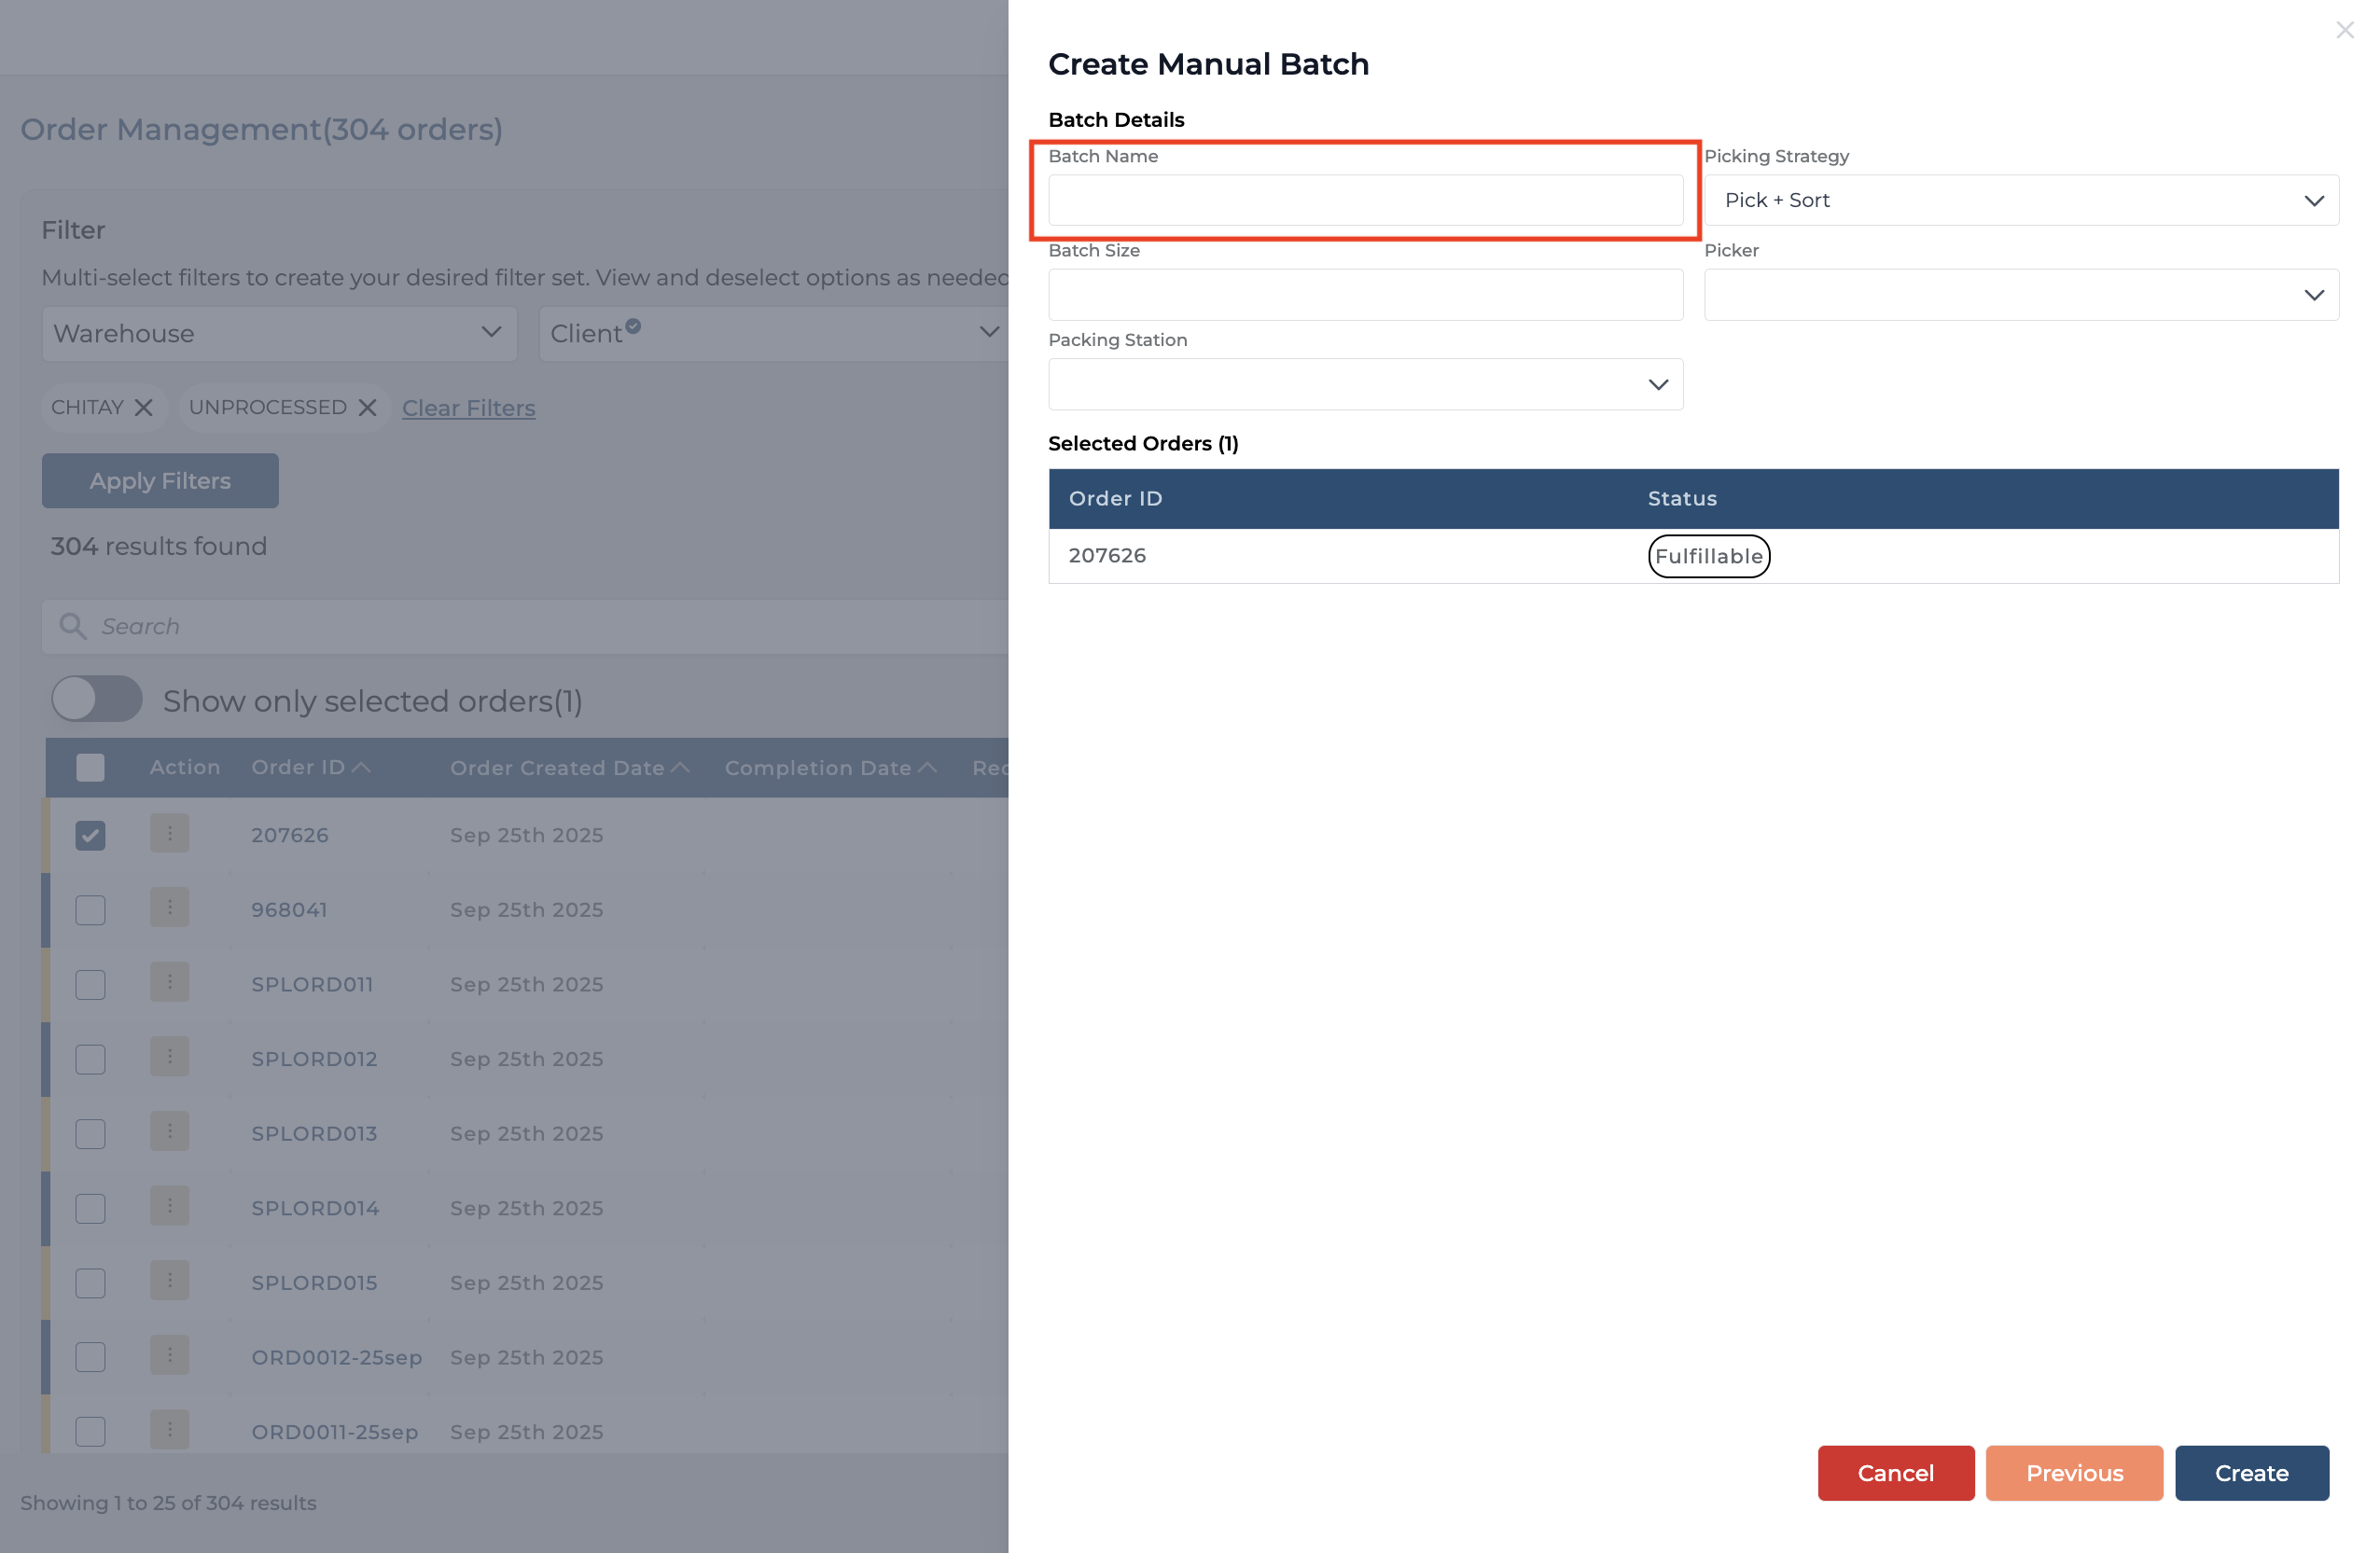
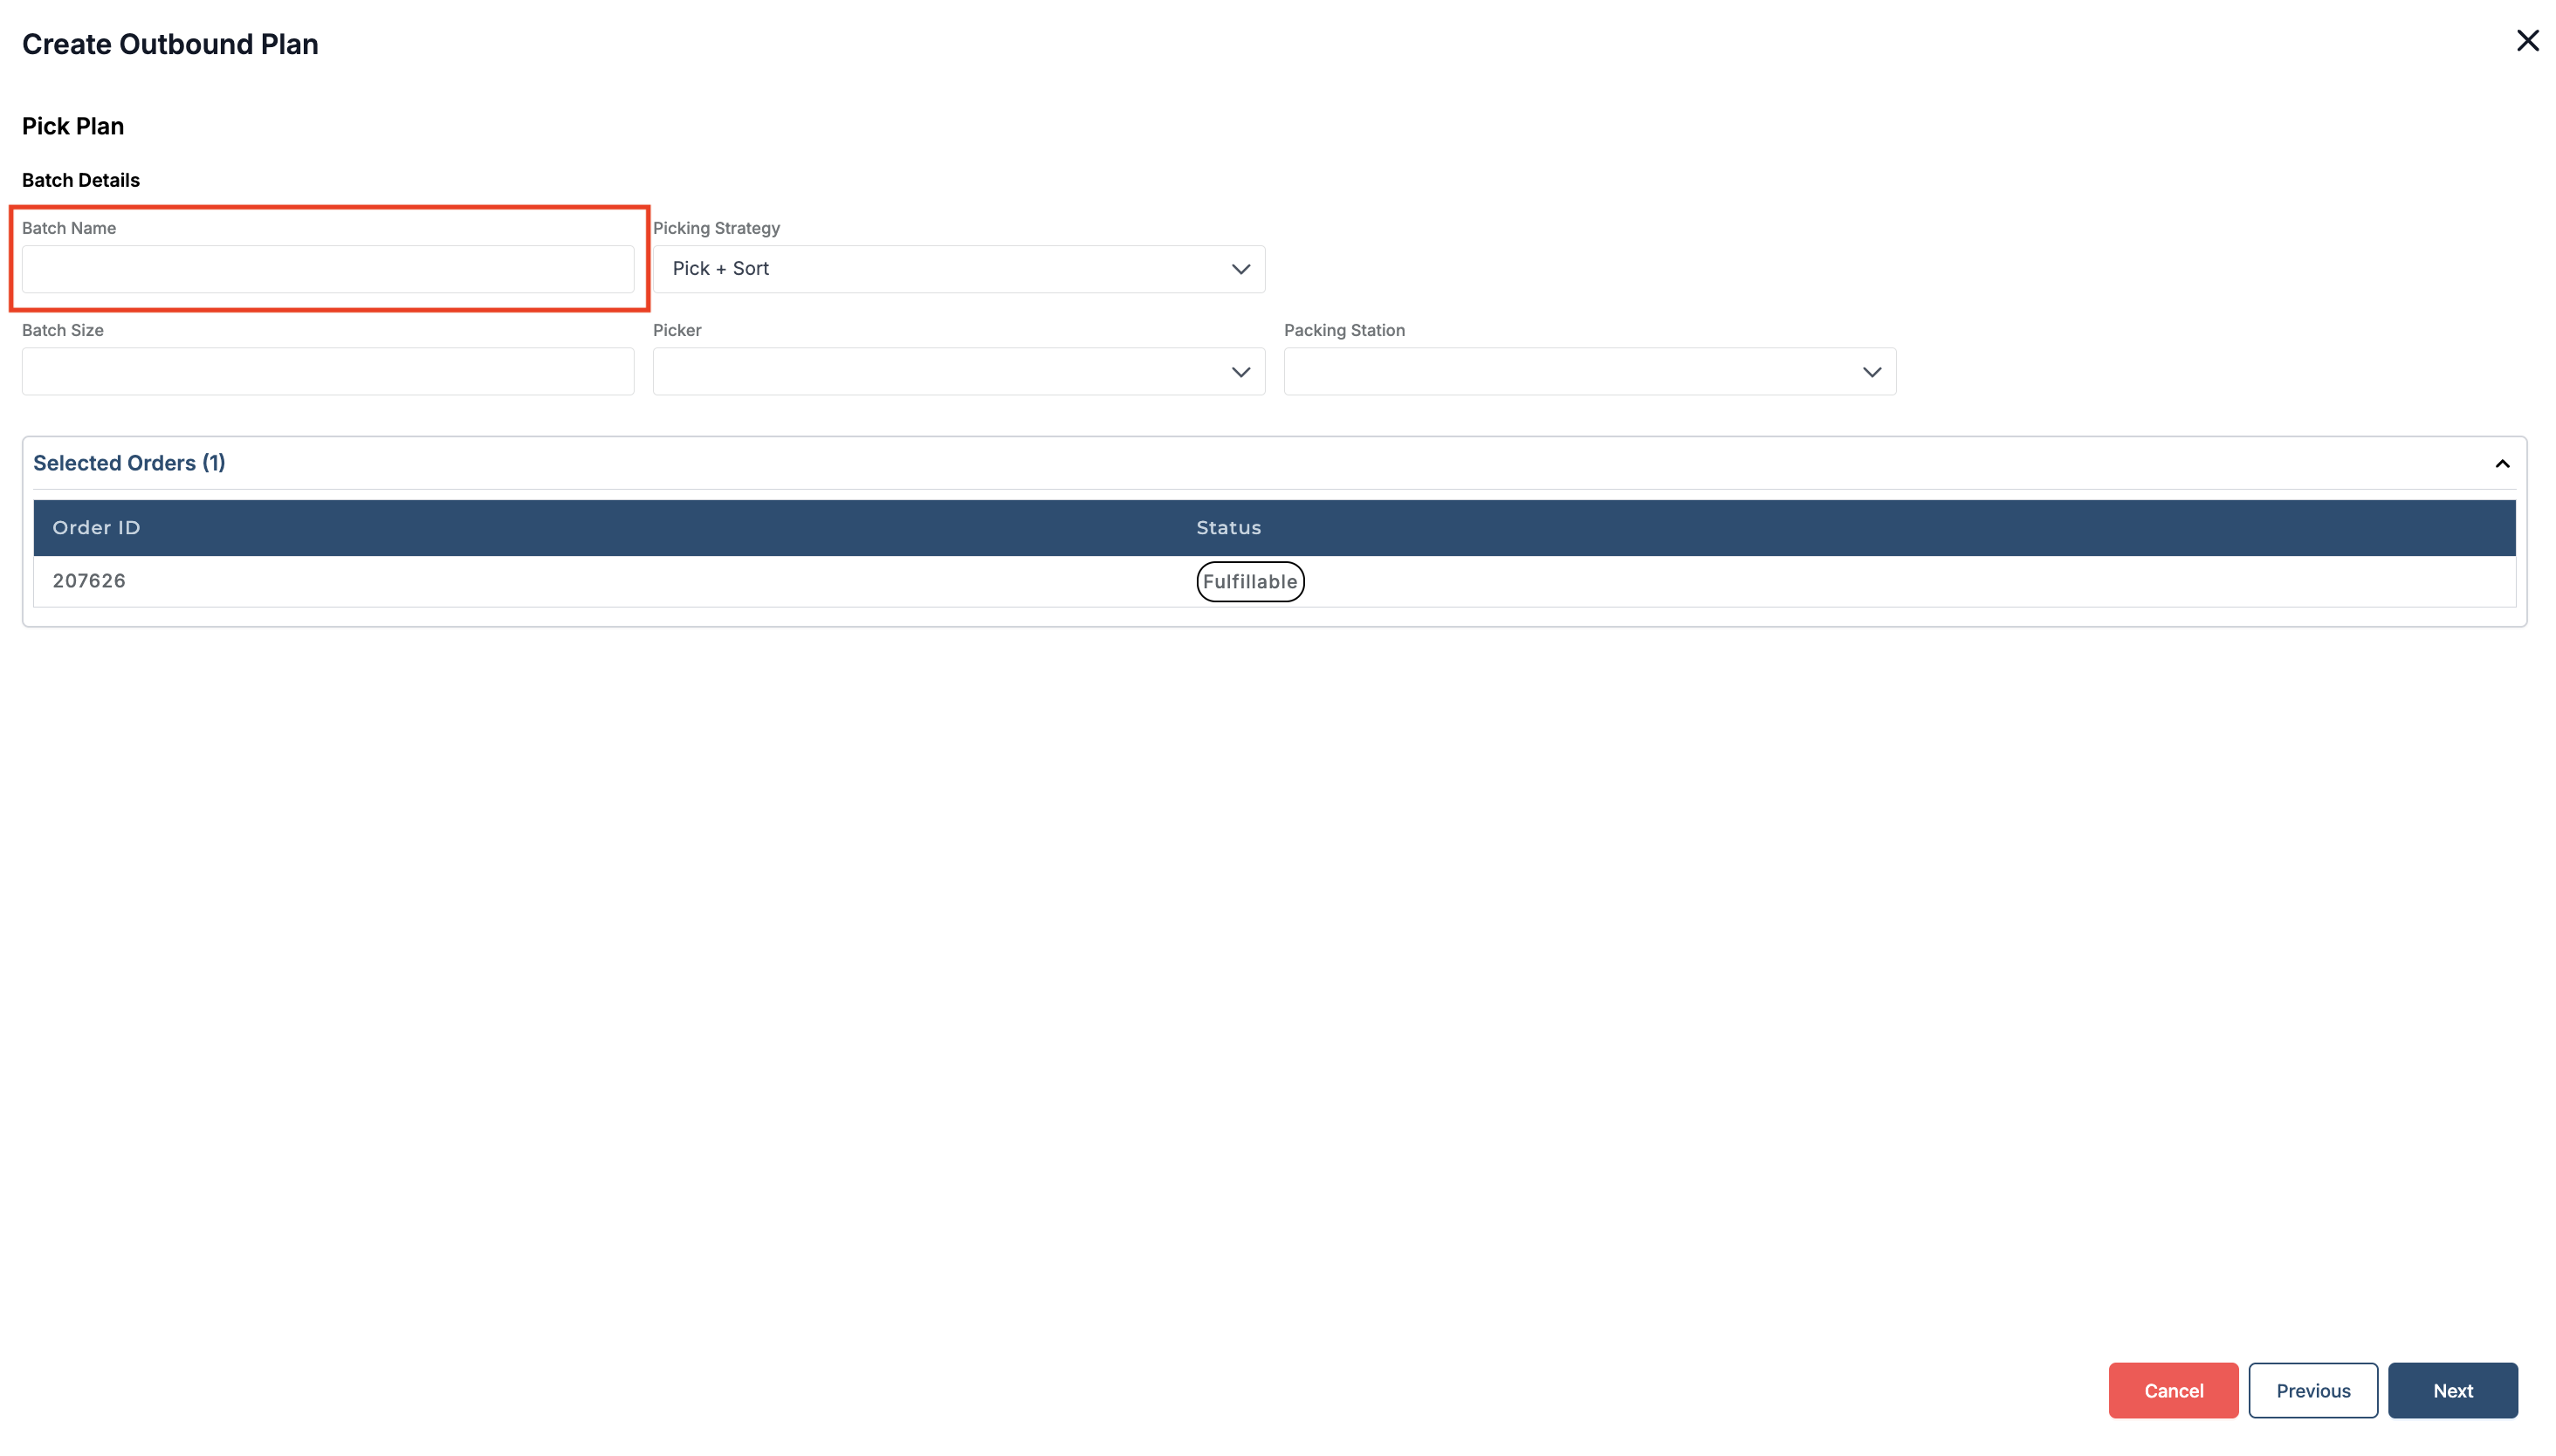
Once you click on “Next”, you will be able to see the “Batch Name” field, where you can enter your own batch name for the operation.
The Batch Name field when you click on “Create Manual Batch”
The Batch Name field when you click on “Create Outbound Batch”
Please note that once a Batch Name is defined and the batch is created, it cannot be edited.
Ensure that the name is correct before creating a batch or an outbound plan.
The Batch Name can be viewed via the Outbound Operations screen, allowing users to verify which batch is assigned to each outbound order.
How to view a Batch Name in Outbound Operations:
Navigate to the Order Operations Screen.
Click on Summary or Picking to view the Batch Name
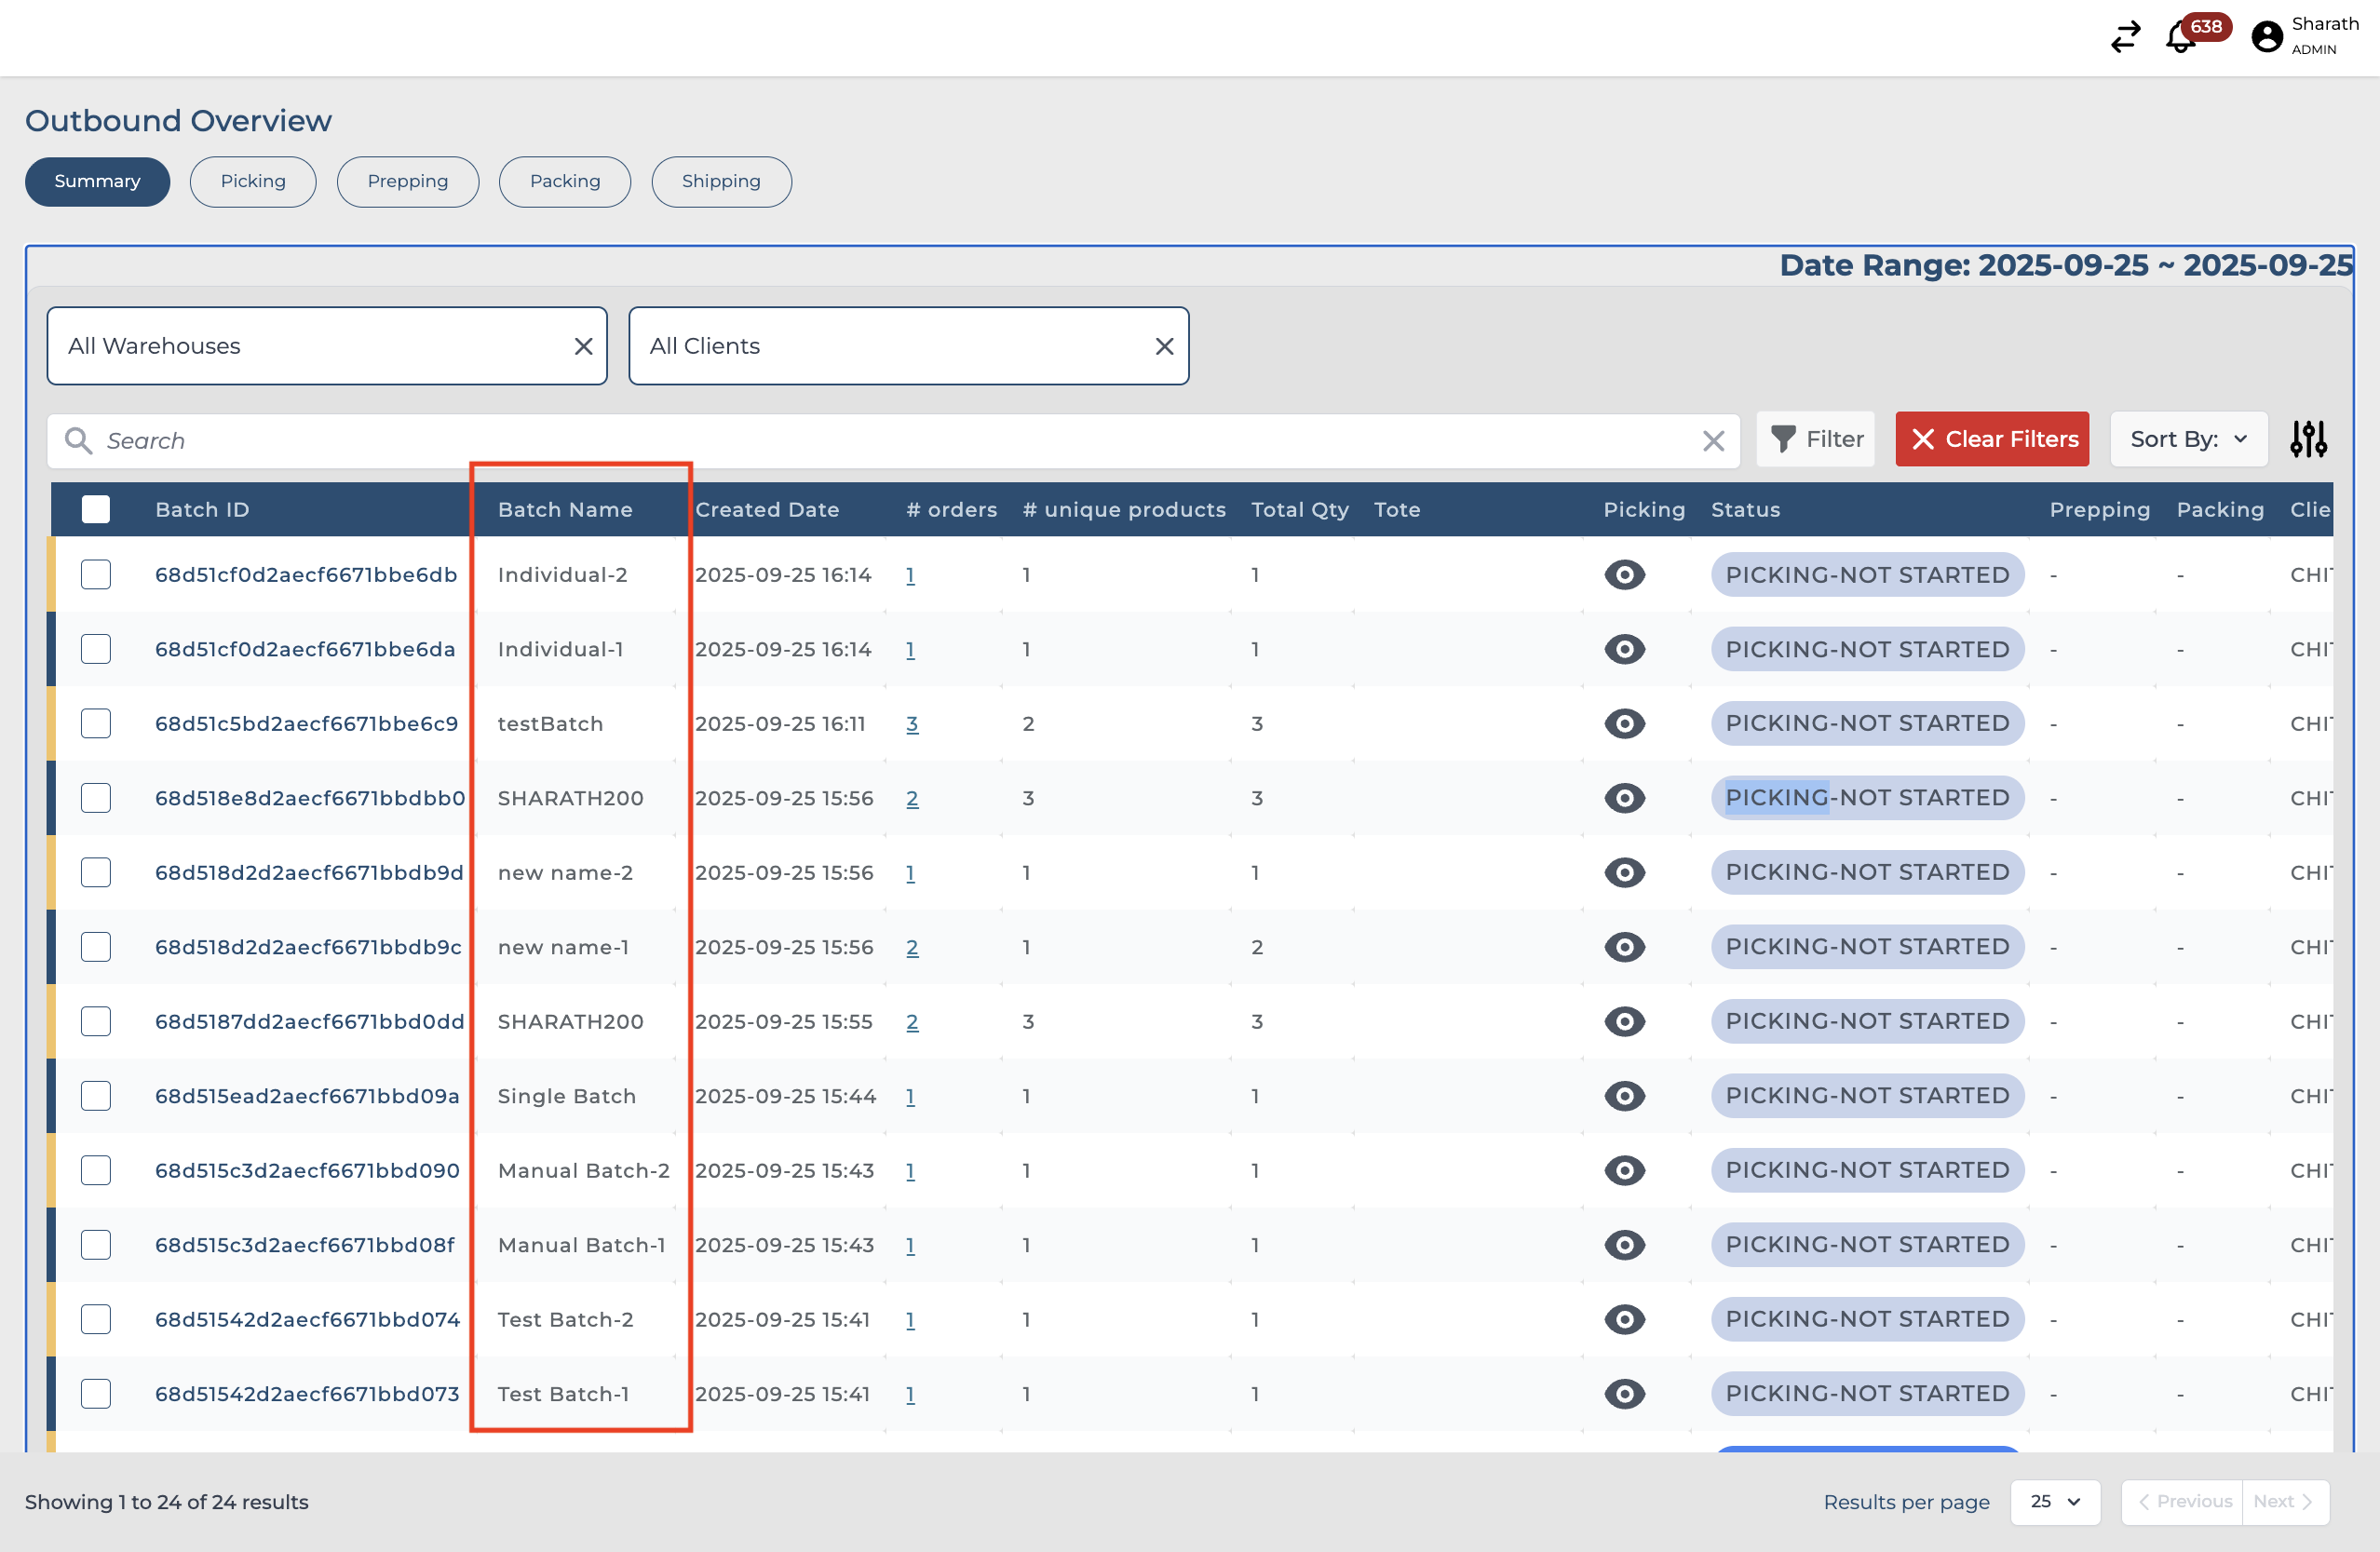
The “Batch Name” is included in the following.
Picklist
Picking Batch List
Outbound Report
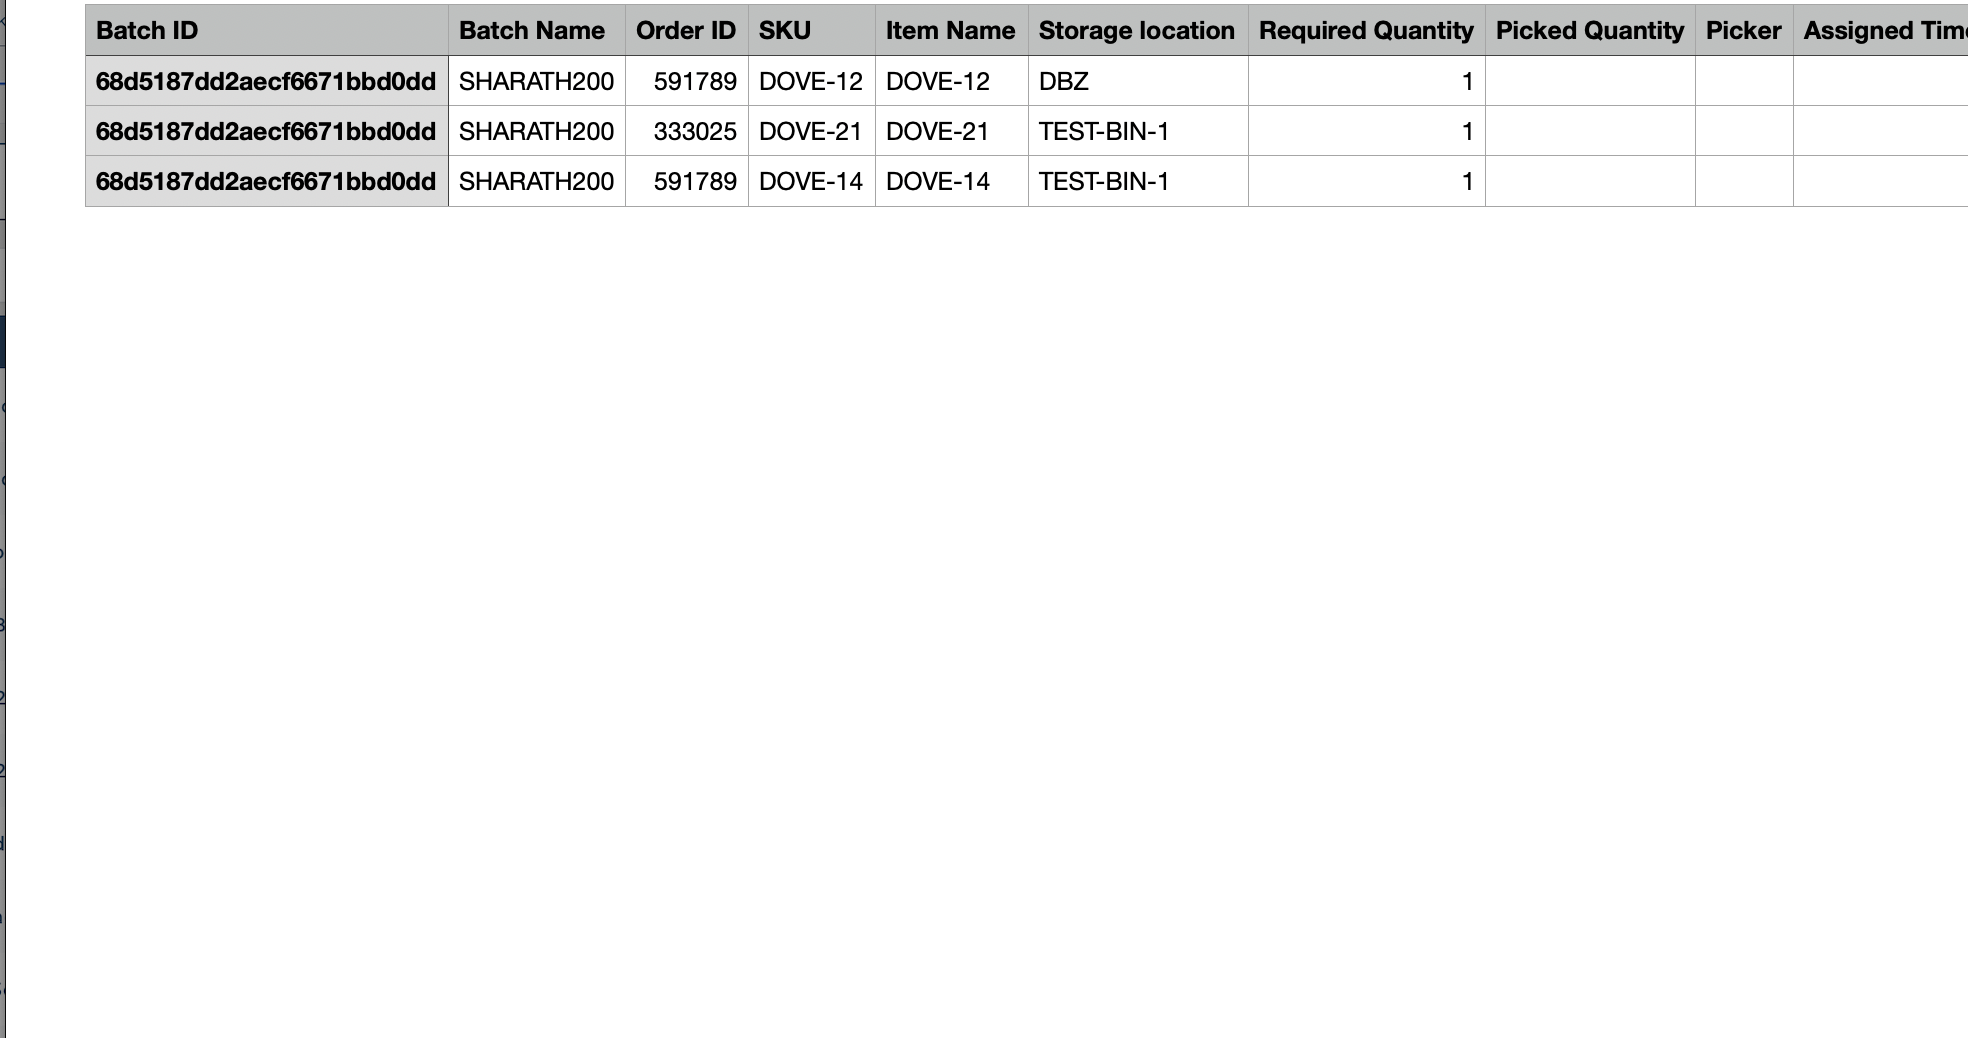
Below is a sample of picklist

Sample of Picking Batch List