Creating a Vendor
Navigate to the Hopstack dashboard
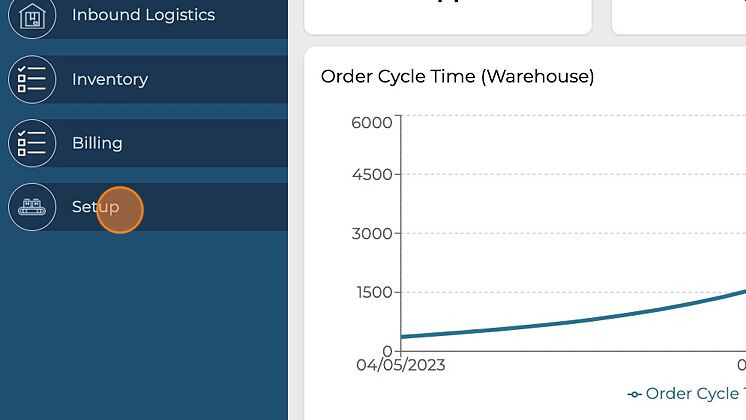
Click on the "Setup" option from the side menu.
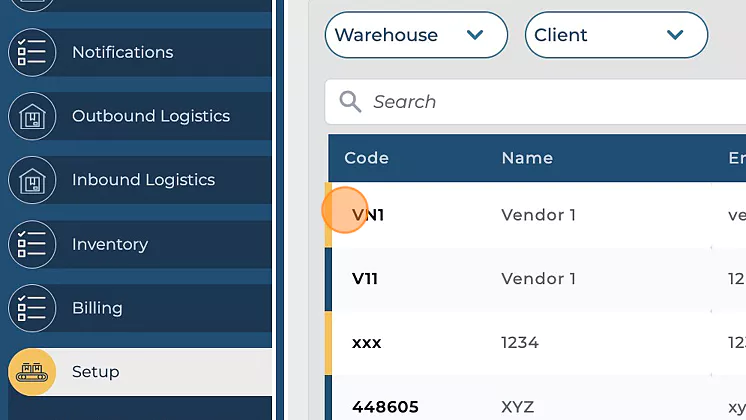
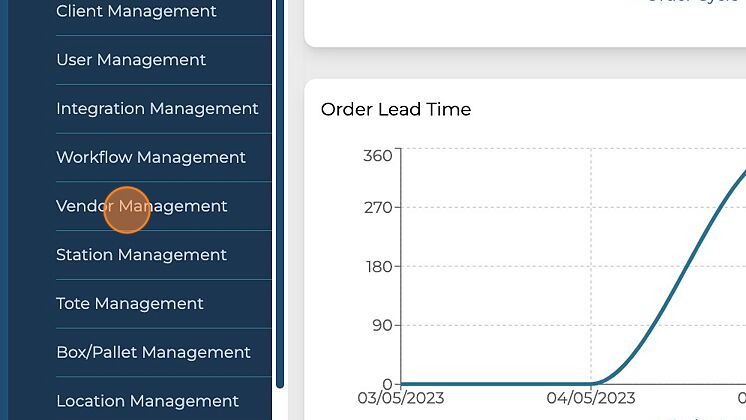
Under setup click on the "Vendor Management" option.
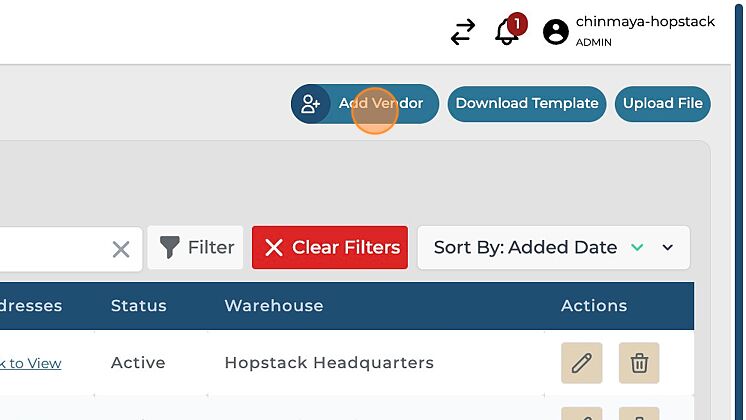
Click on the "Add Vendor" button.
On the pop-up window that opens up, under "Warehouse Info" select the desired warehouse(s) from the drop-down menu.
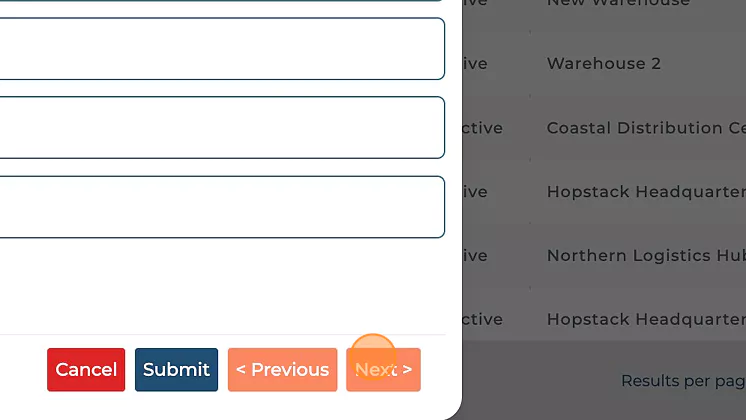
Navigate to the next section by clicking on the desired section from the progress bar on top, or clicking on the "Next" button.
Under the "Basic Details" section, enter the Vendor Name in the "Name" field.
Under the "Basic Details" section, enter the Vendor Code in the "Vendor Code" field.
Under the "Basic Details" section, enter the Email in the "Email" field.
Under the "Basic Details" section, enter the Phone Number in the "Phone No." field.
Click on the "Add Address" button, to enter the vendor address
Click the address details in the fields as per the Vendor Address.
Once you have entered the details, you can add another address by clicking on the "Add Address" button again. Click on the Active check box to mark the vendor active/inactive. Navigate to the next section using the "Next" button.
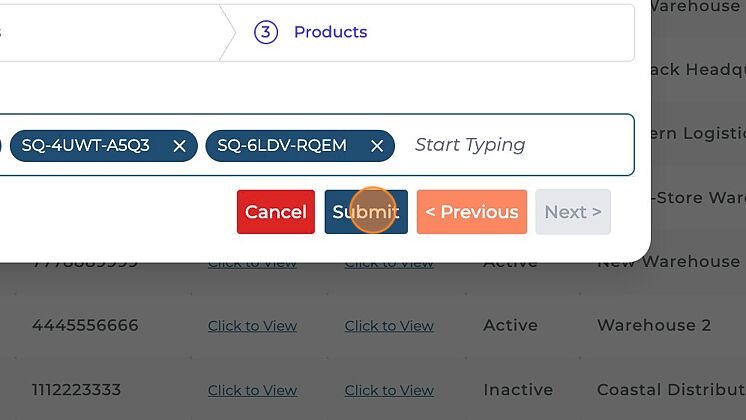
Under the "Products" section from the pop-up, select the products from the "Select Products" drop-down menu. You can keep adding multiple products as well
Click on the Submit button after reviewing the details you have entered.
The dashboard will show the message "Vendor added successfully" to confirm the addition of the vendor.