
The Notification Management module in Hopstack enables you to automate and customize emails based on order events such as shipping, cancellation, or creation. Backed by a flexible rule engine, it ensures the right people are notified under the right conditions.
🔹 How to Access Notification Management
-
Navigate to Setup > Notification Management.
-
Click on Consumer Notifications to view or manage rules.
-
Click “Create New” to set up a new notification.
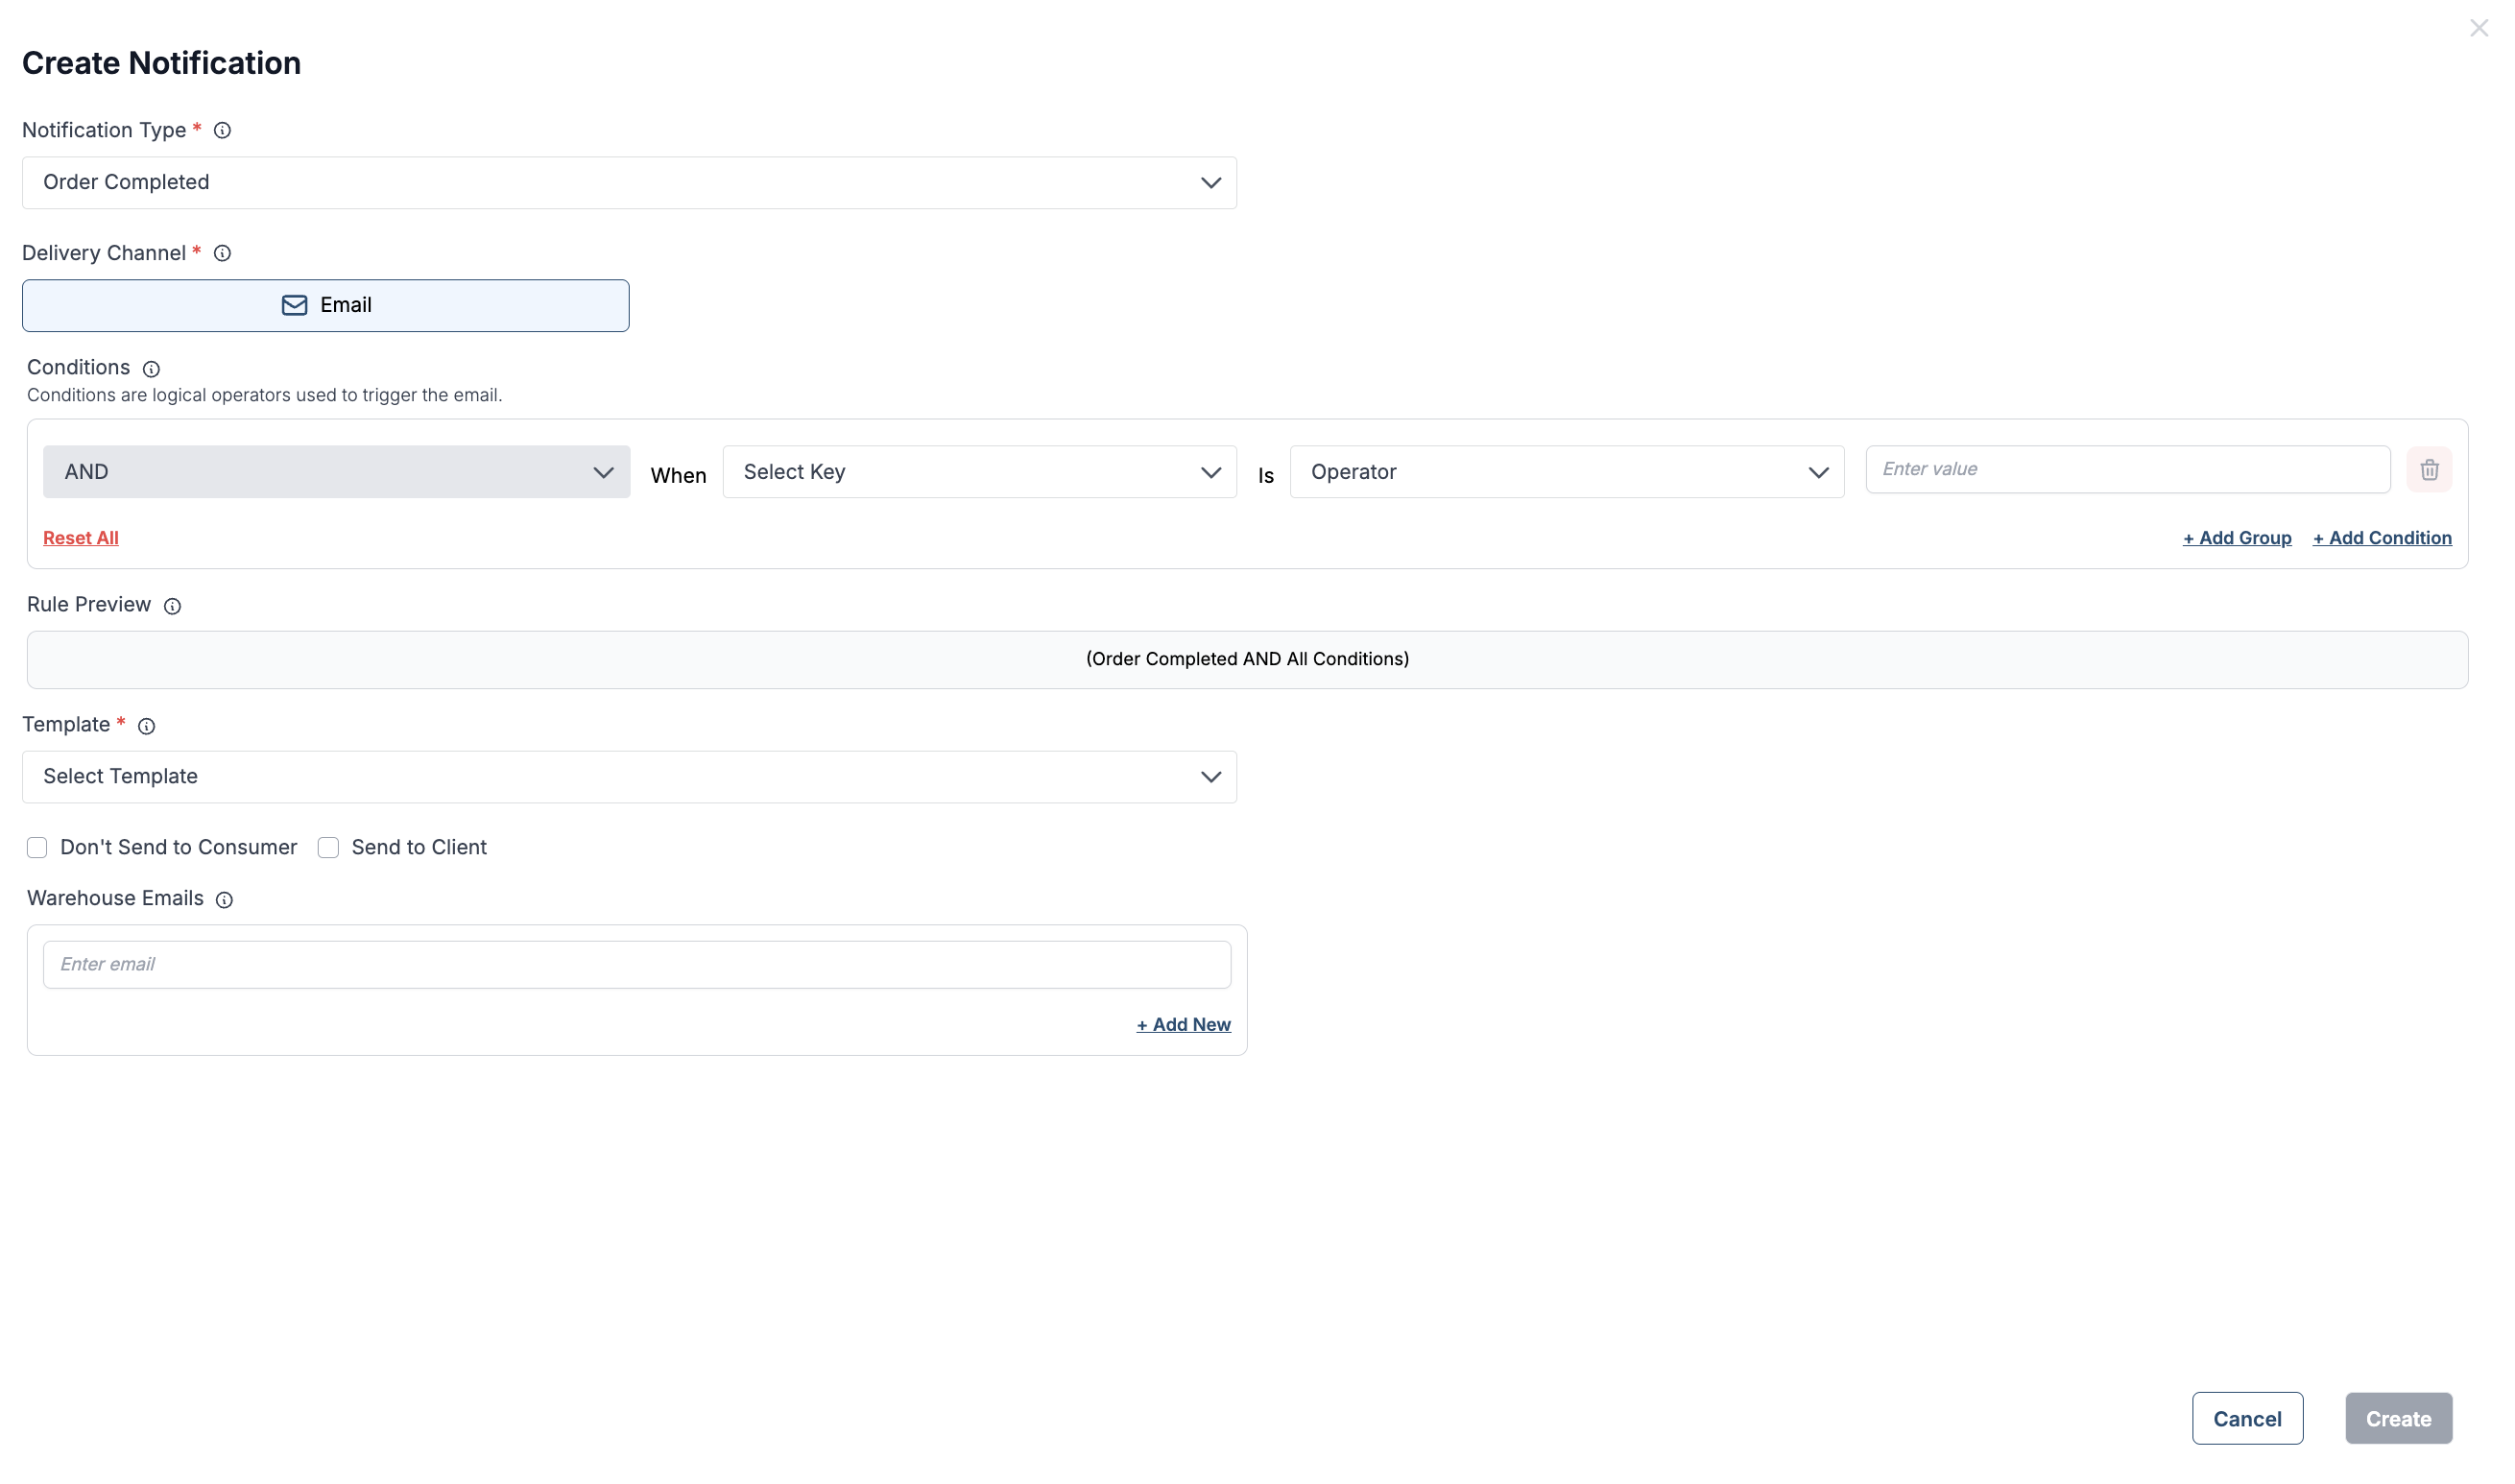
🔹 Step 1: Select Notification Type
You can choose from the following event types that trigger a notification:
-
Order Created -
Order Completed -
Order Canceled -
Order Shipped -
Shipping Status Updated✅ (Only this type allows carrier-specific rules)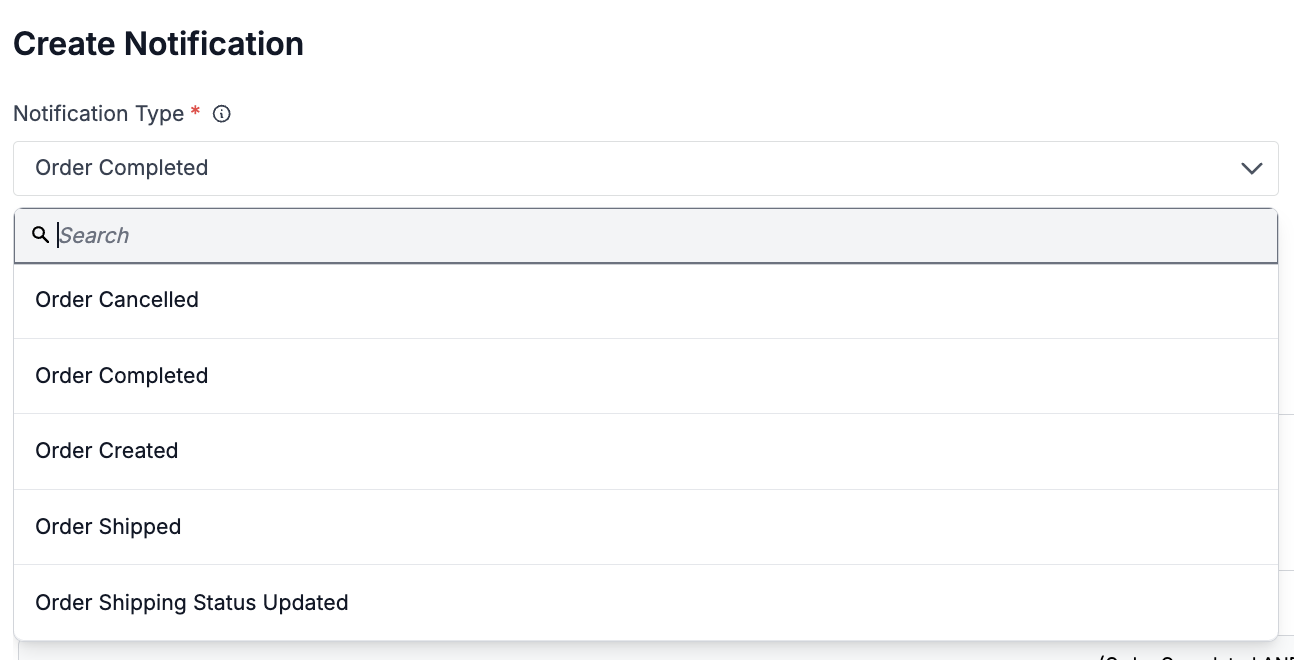
🔹 Step 2: Select Carrier (Only for Shipping Status Updated)
If Shipping Status Updated is selected:
-
You'll see a Carrier dropdown (e.g., FedEx, UPS, etc.).
-
This filters the rule to apply only to specific carriers' tracking updates.
🔹 Step 3: Understand the Rule Engine
The Rule Engine in Hopstack powers conditional logic behind notification triggers. It allows you to define when, for whom, and under what conditions emails should be sent.
🔧 Key Capabilities of the Rule Engine:
-
Supports multiple conditions and logical operators
-
Allows client-specific rules
-
Combines multiple filters to build precise logic flows
-
Supports dynamic behavior based on:
-
Carrier status
-
Client
-
Warehouse
-
Shipping region, etc.
-
🧠 Logical Operators Supported:
-
Equals -
Not Equals -
Contains -
Does Not Contain
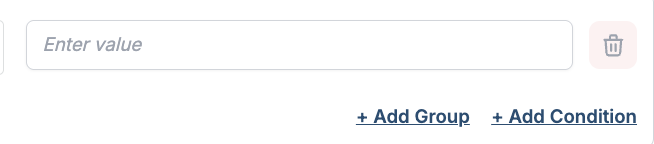
You can add multiple conditions using the "Add Condition" button. All conditions must be true (AND logic) for the rule to apply.
Rule Review
The Rule Review section will summarize:
-
The notification type
-
All conditions (with their operators)
-
Carrier selection (if applicable)
🔹 Step 4: Choose Template
-
Select a pre-built email template that defines how the message looks and what information it includes.
-
Templates are managed under Template Management and support dynamic variables like order ID, customer name, and more.
🔹 Step 5: Define Email Recipients
Choose who should receive the notification:
-
Send to Consumer: Sends to the customer on the order.
-
Send to Client: Sends to the client's email (must be configured under Client Management).
-
Warehouse Emails (CC): Add internal team members (e.g., ops@warehouse.com).
-
Don’t Send to Consumer: Keep the notification internal (client/warehouse only).
🎯 Use this to fine-tune who gets notified and when, without spamming unnecessary recipients.
Step 6: Save and Activate
-
Review the rule summary.
-
Save and activate the rule.
-
It will now automatically trigger under the defined logic and event type.