
-
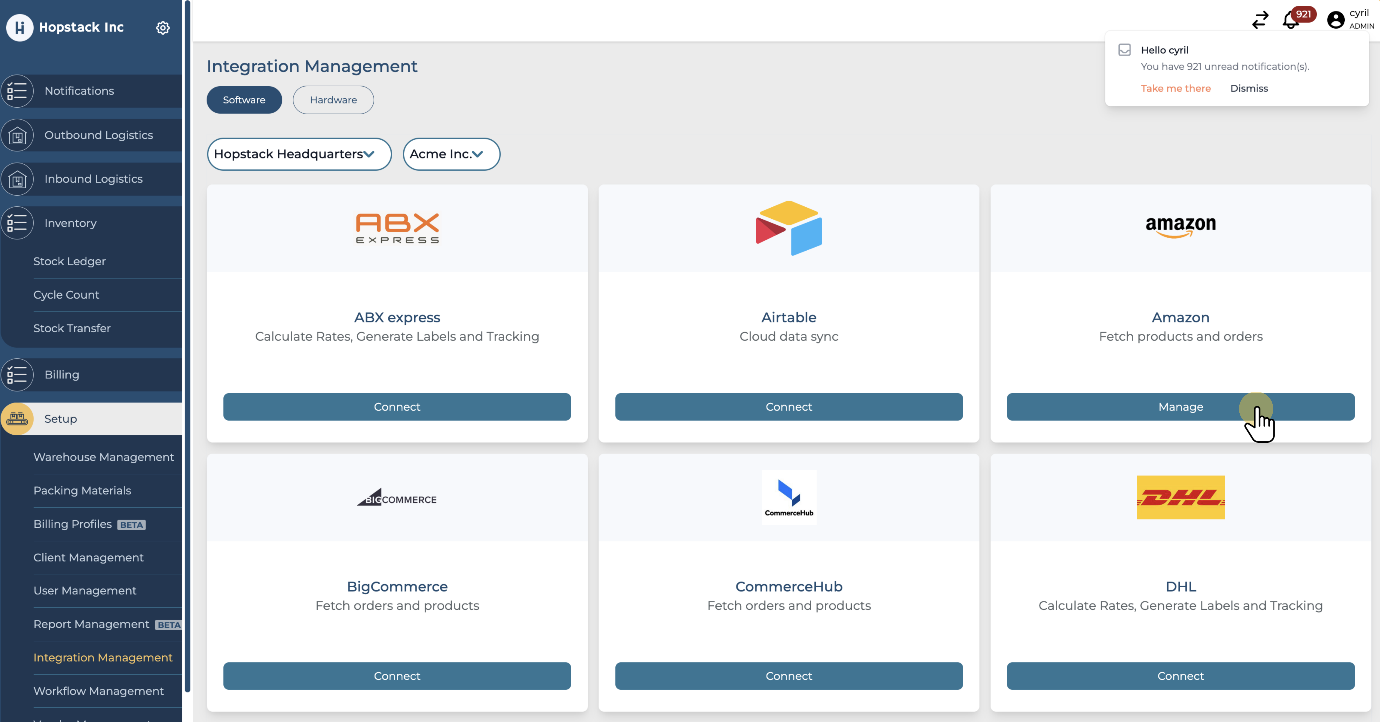
Click on 'Manage' on the Amazon tile under the Integration Management screen
-
Click on 'Connect New Account'
-
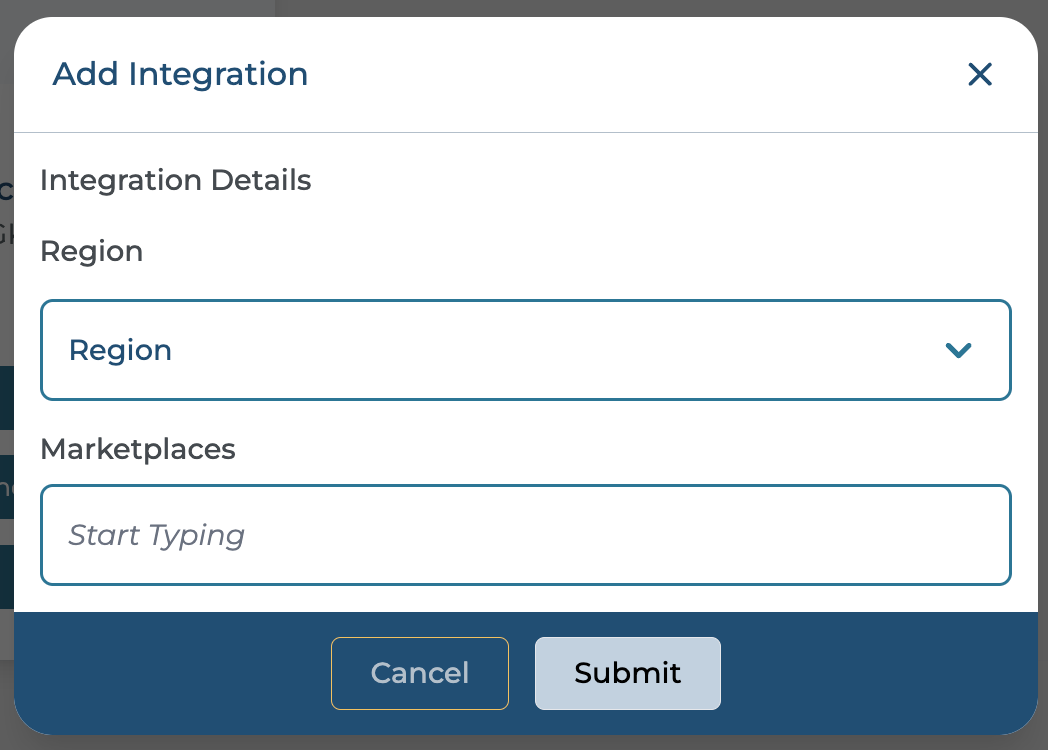
Choose your Region and corresponding marketplaces
-
Your options here, under the respective regions, are:
-
North America:
-
Canada
-
United States of America
-
Mexico
-
Brazil
-
-
Europe*:
-
Spain
-
United Kingdom
-
France
-
Belgium
-
Netherlands
-
Germany
-
Italy
-
Sweden
-
South Africa
-
Poland
-
Egypt
-
Turkey
-
Saudi Arabia
-
United Arab Emirates
-
India
-
-
Far East - Singapore, Australia, Japan
-
-
-
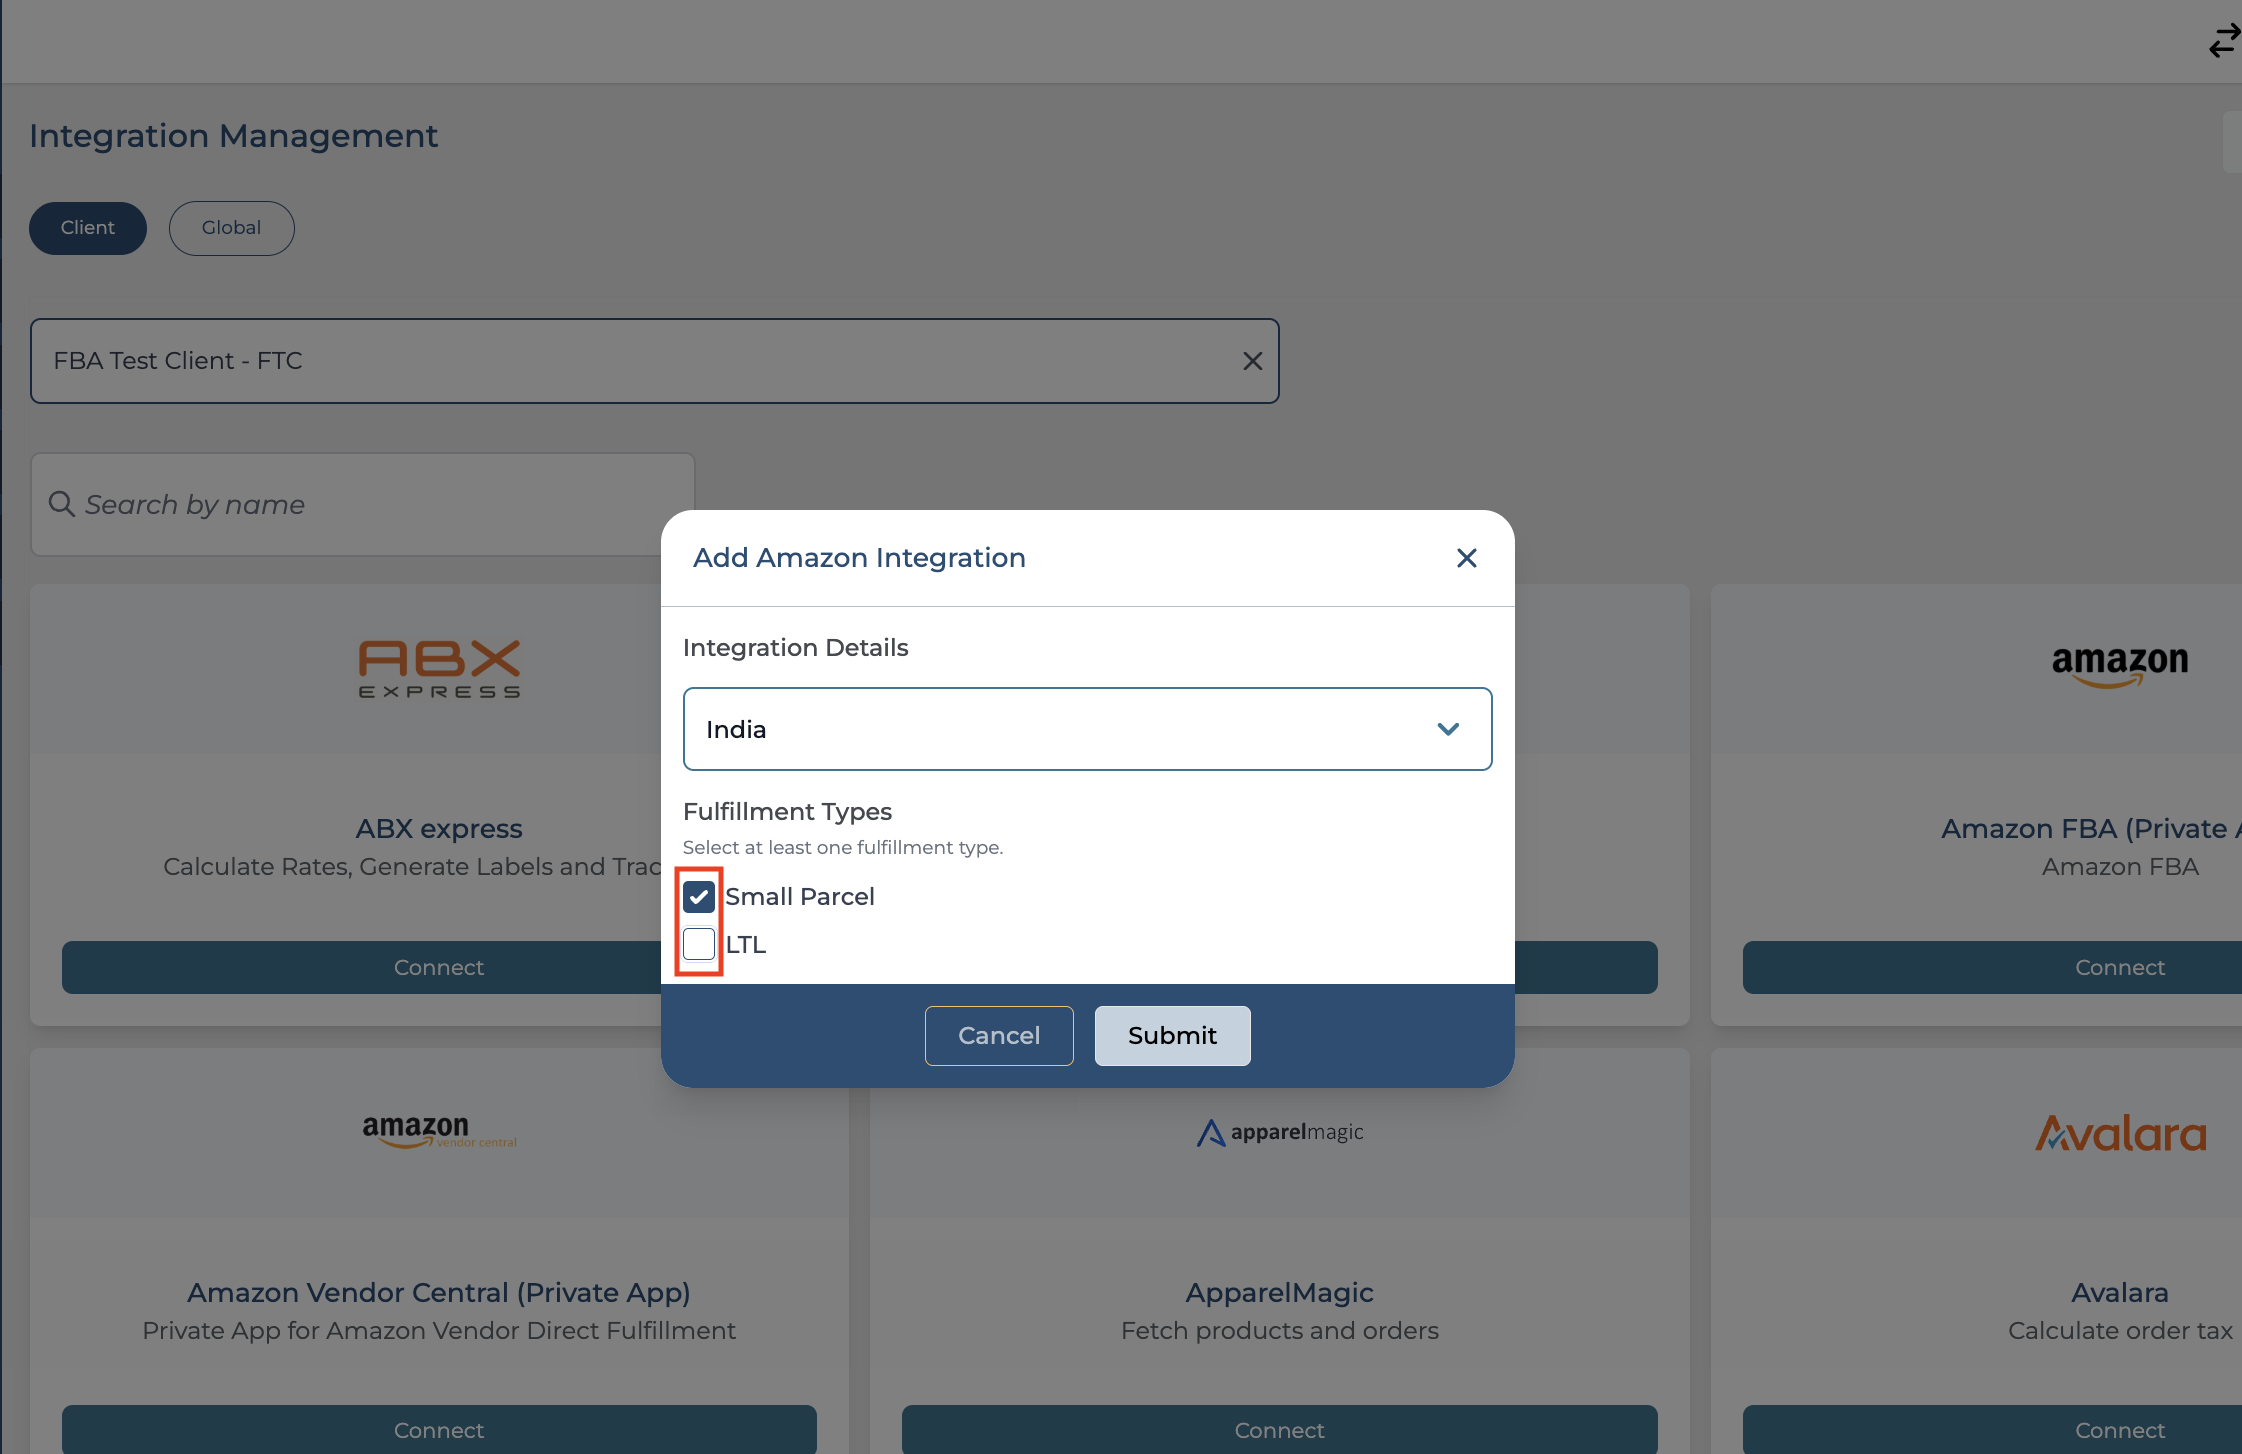
During integration, you can now select the fulfilment types. When a new Amazon integration is connected, both fulfilment types are enabled by default:
-
Small Parcel
-
LTL (Less Than Truckload)
-

Under Fulfilment Types, enable the desired options using the checkboxes.
-
Click on Submit.
-
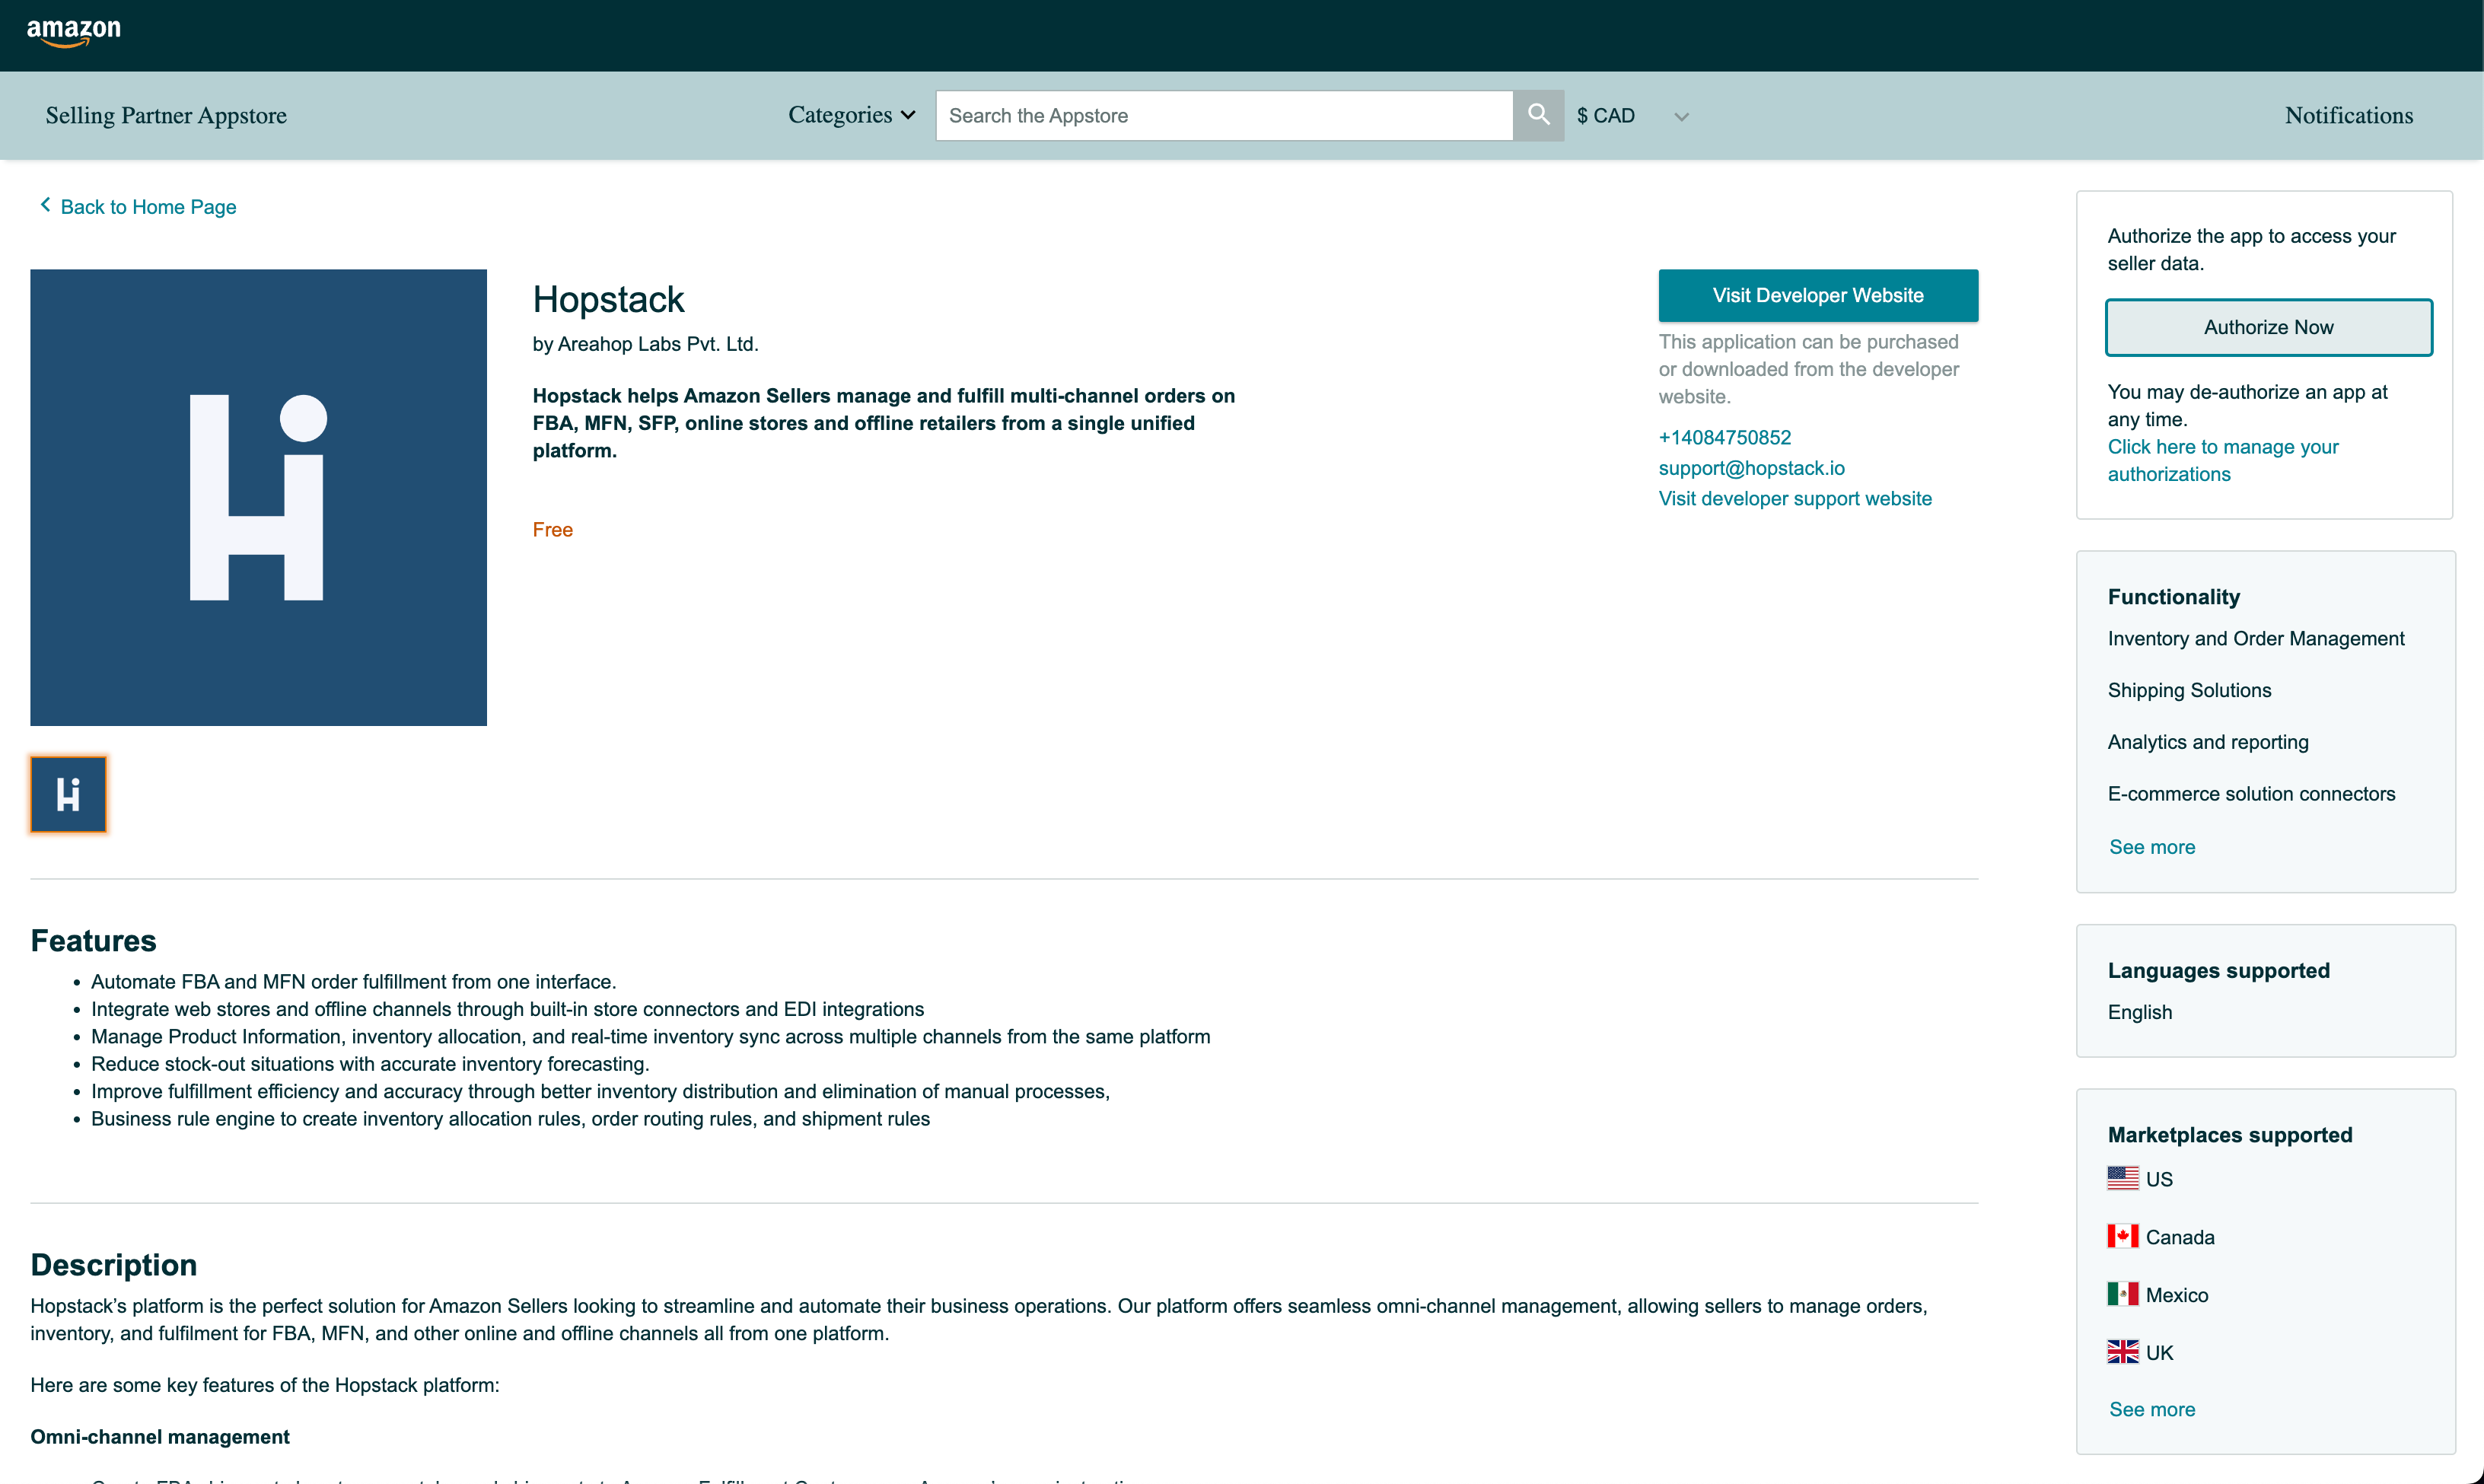
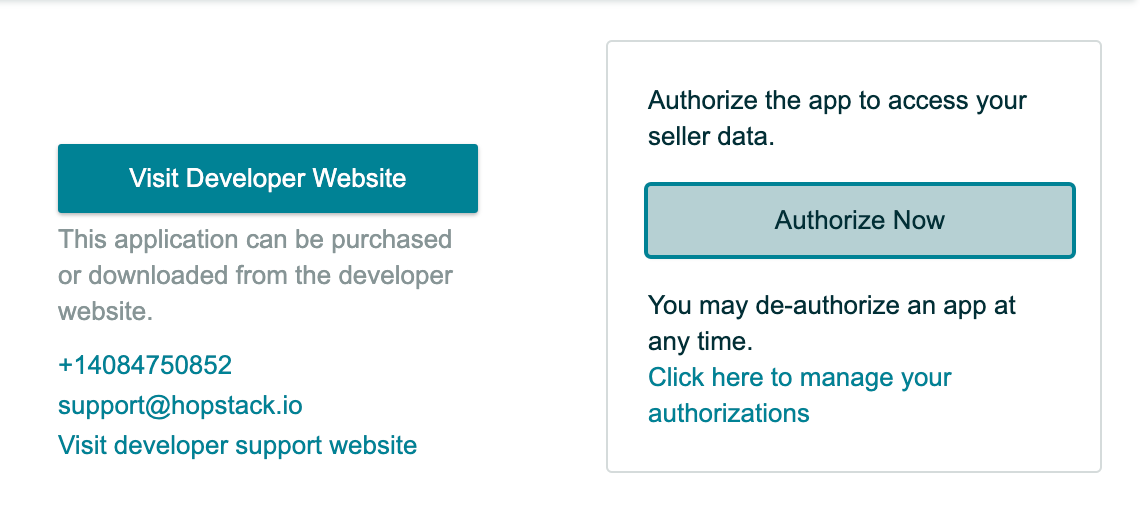
You will now be redirected to the Hopstack app page on the Selling Partner Appstore
-
Click on Authorise Now
-
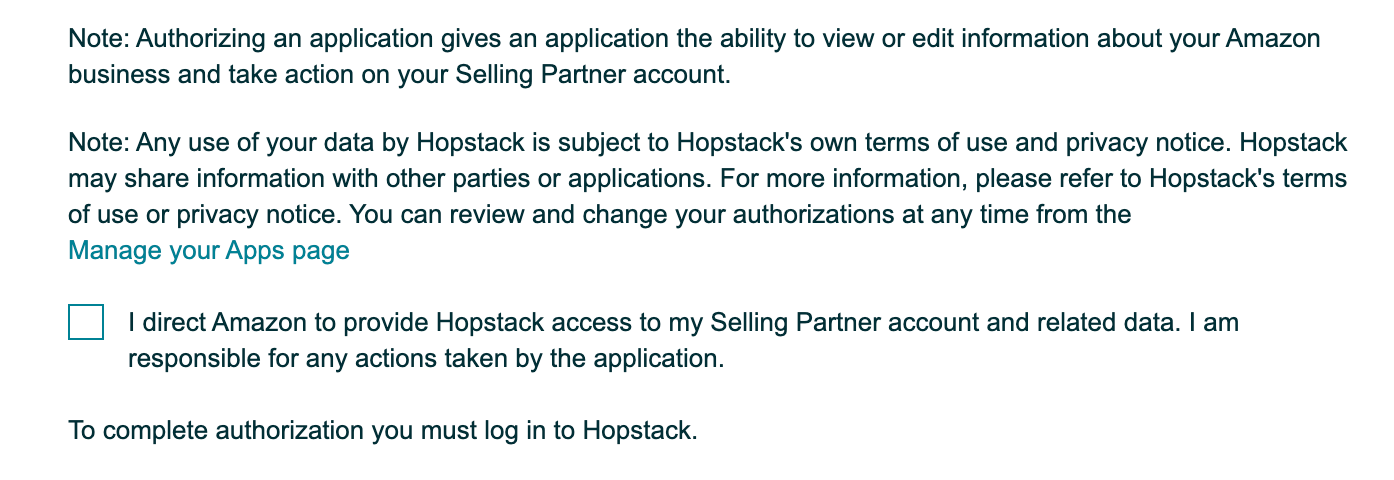
Select your Store and Marketplace. If you are not logged in to Seller Central, you may be redirected to a login screen. Please login using the credentials provided to you.
-
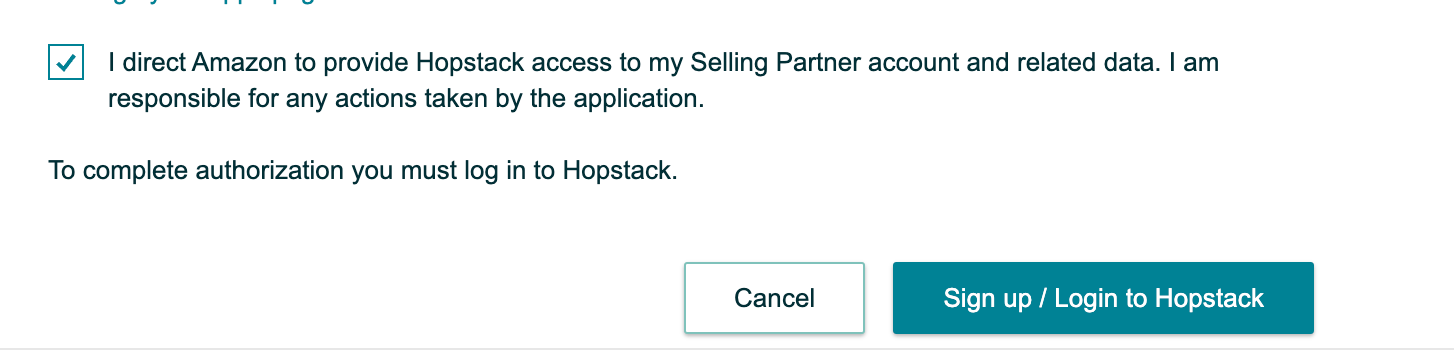
Click on the checkbox
-
Click on 'Sign up/Login to Hopstack'
-
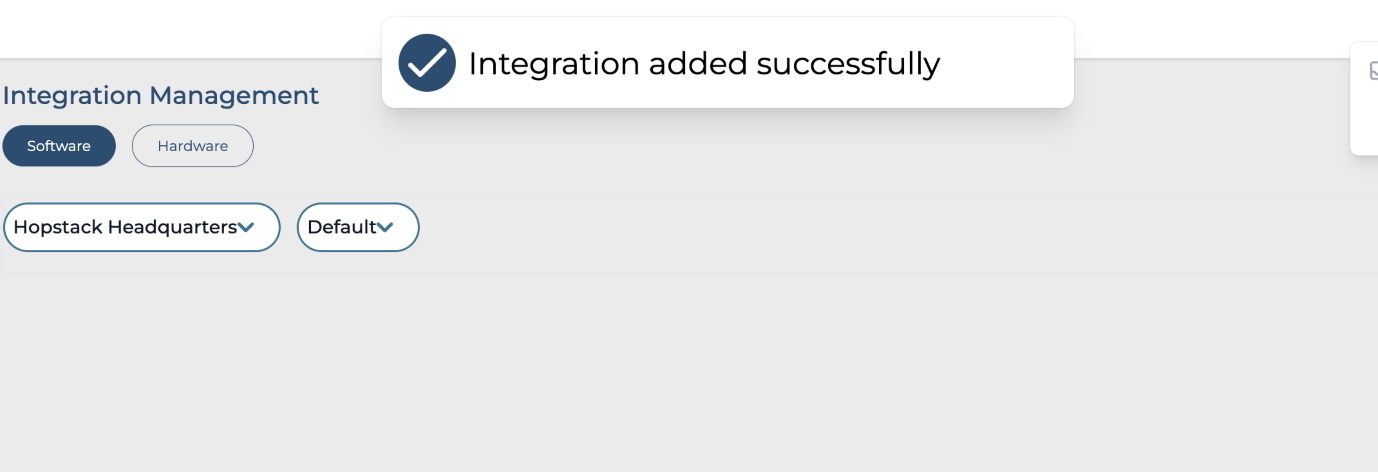
You will now be redirected multiple times and finally land on a screen like the one below.
-
To verify, please click on Manage
-
Choose the proper client

-
Verify the presence of the integration. You can also use the 'Test' Button to test the integration functionality.
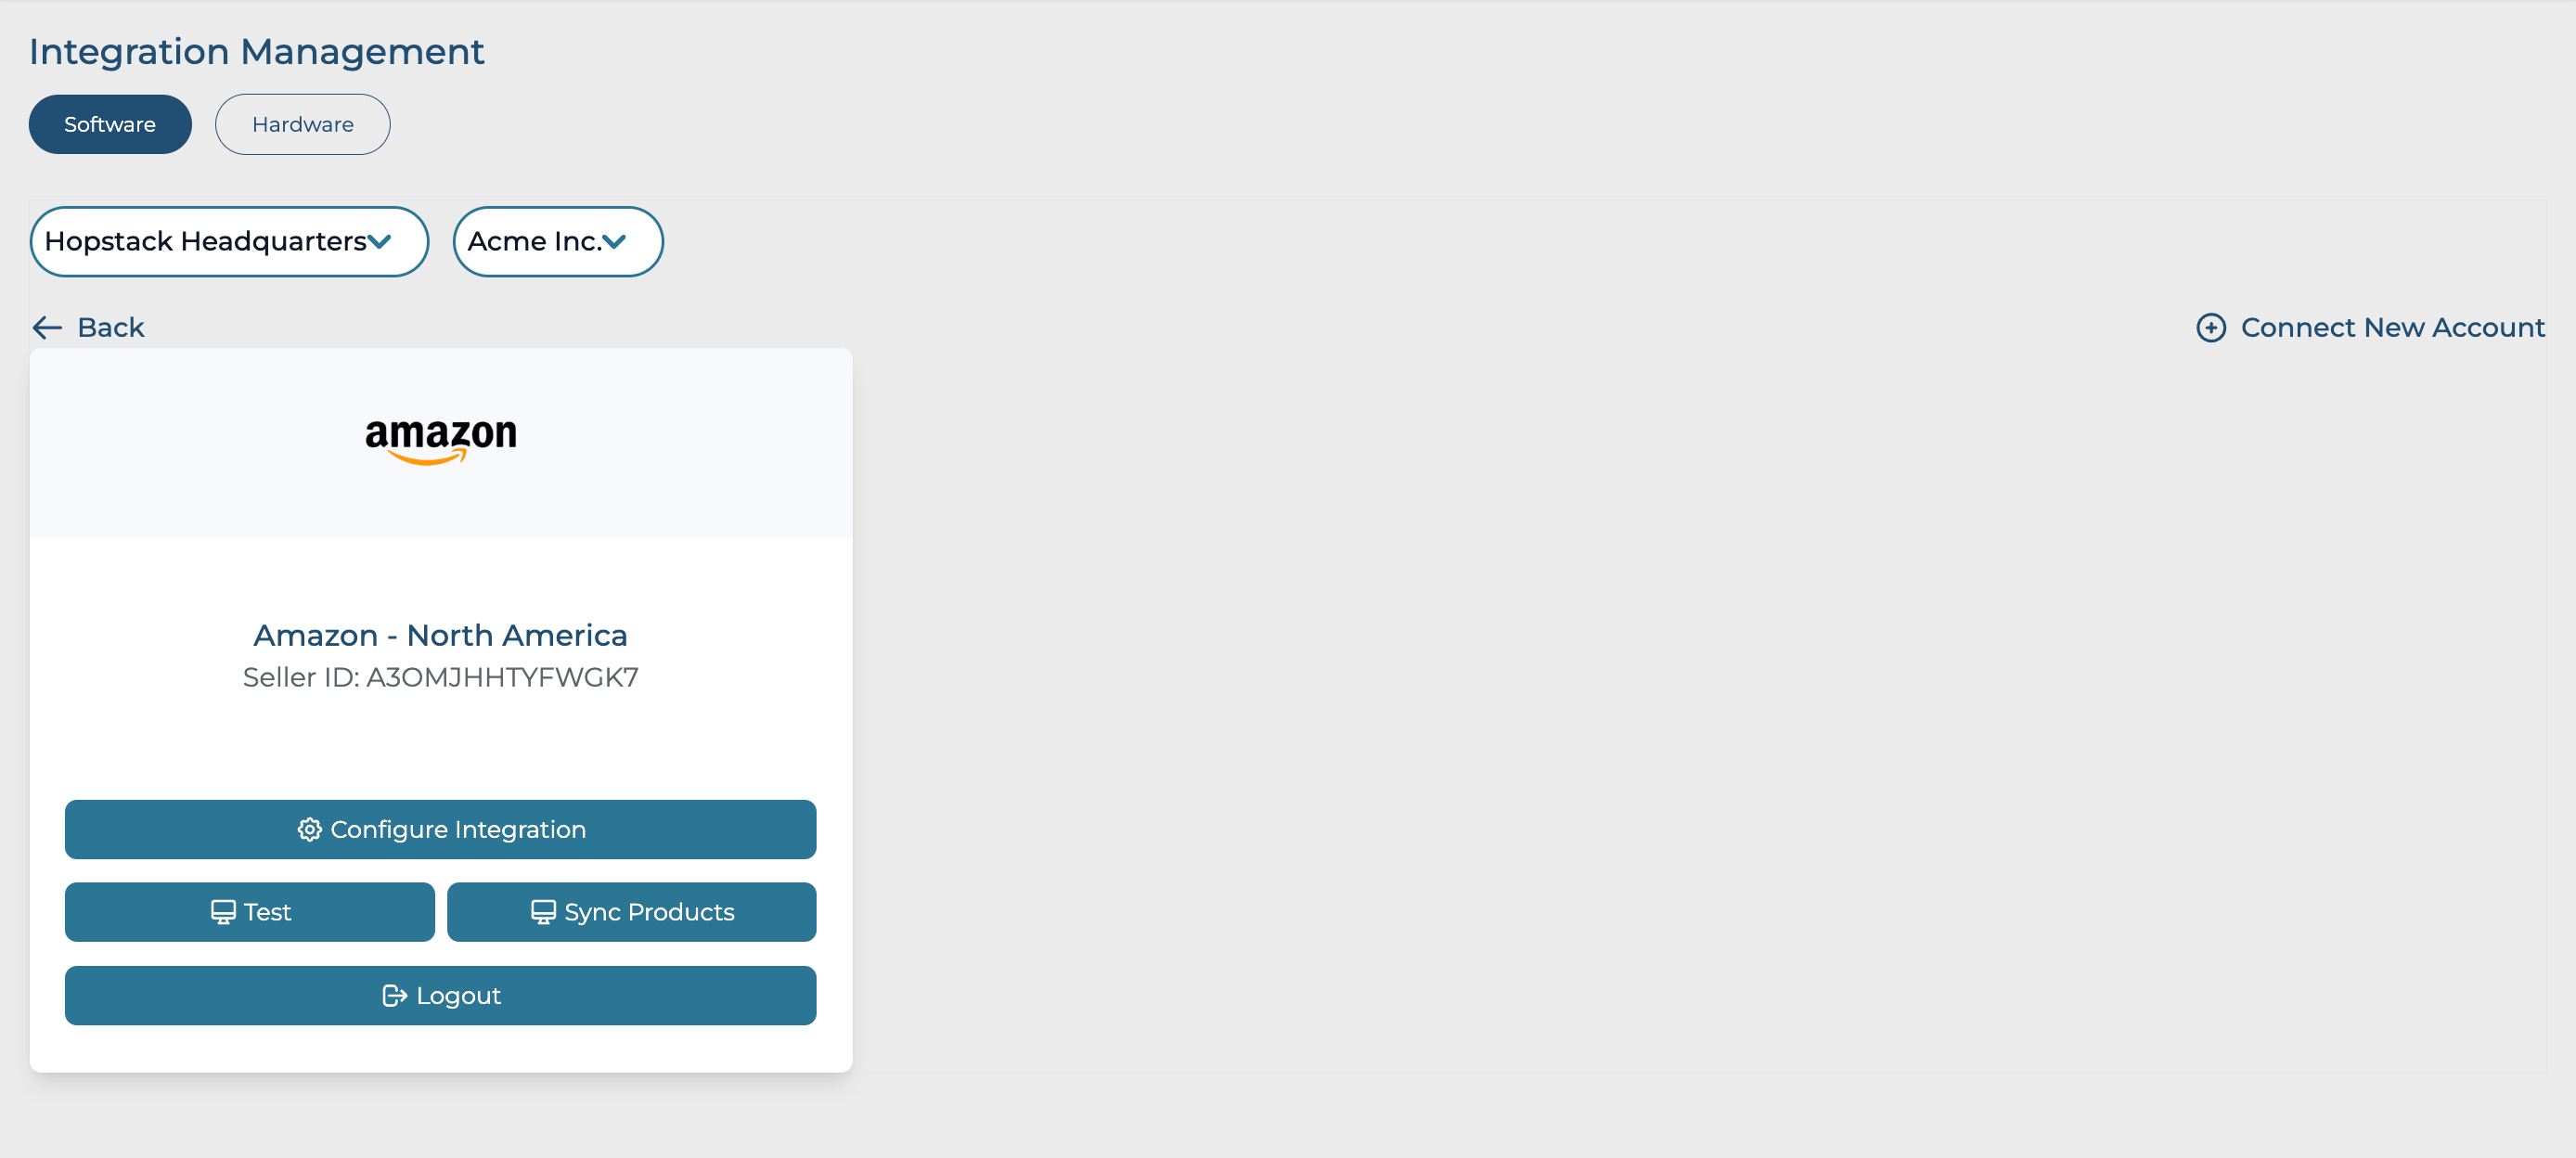
You can repeat this process as many times as needed for a single client to setup multiple Seller Central stores.
*Some stores mentioned in the Europe region do not belong to the geographical European region. This is due to the Amazon API policies. Amazon tends to collate smaller FBA regions under the European region. This does not have any impact on the services that Hopstack can provide.