
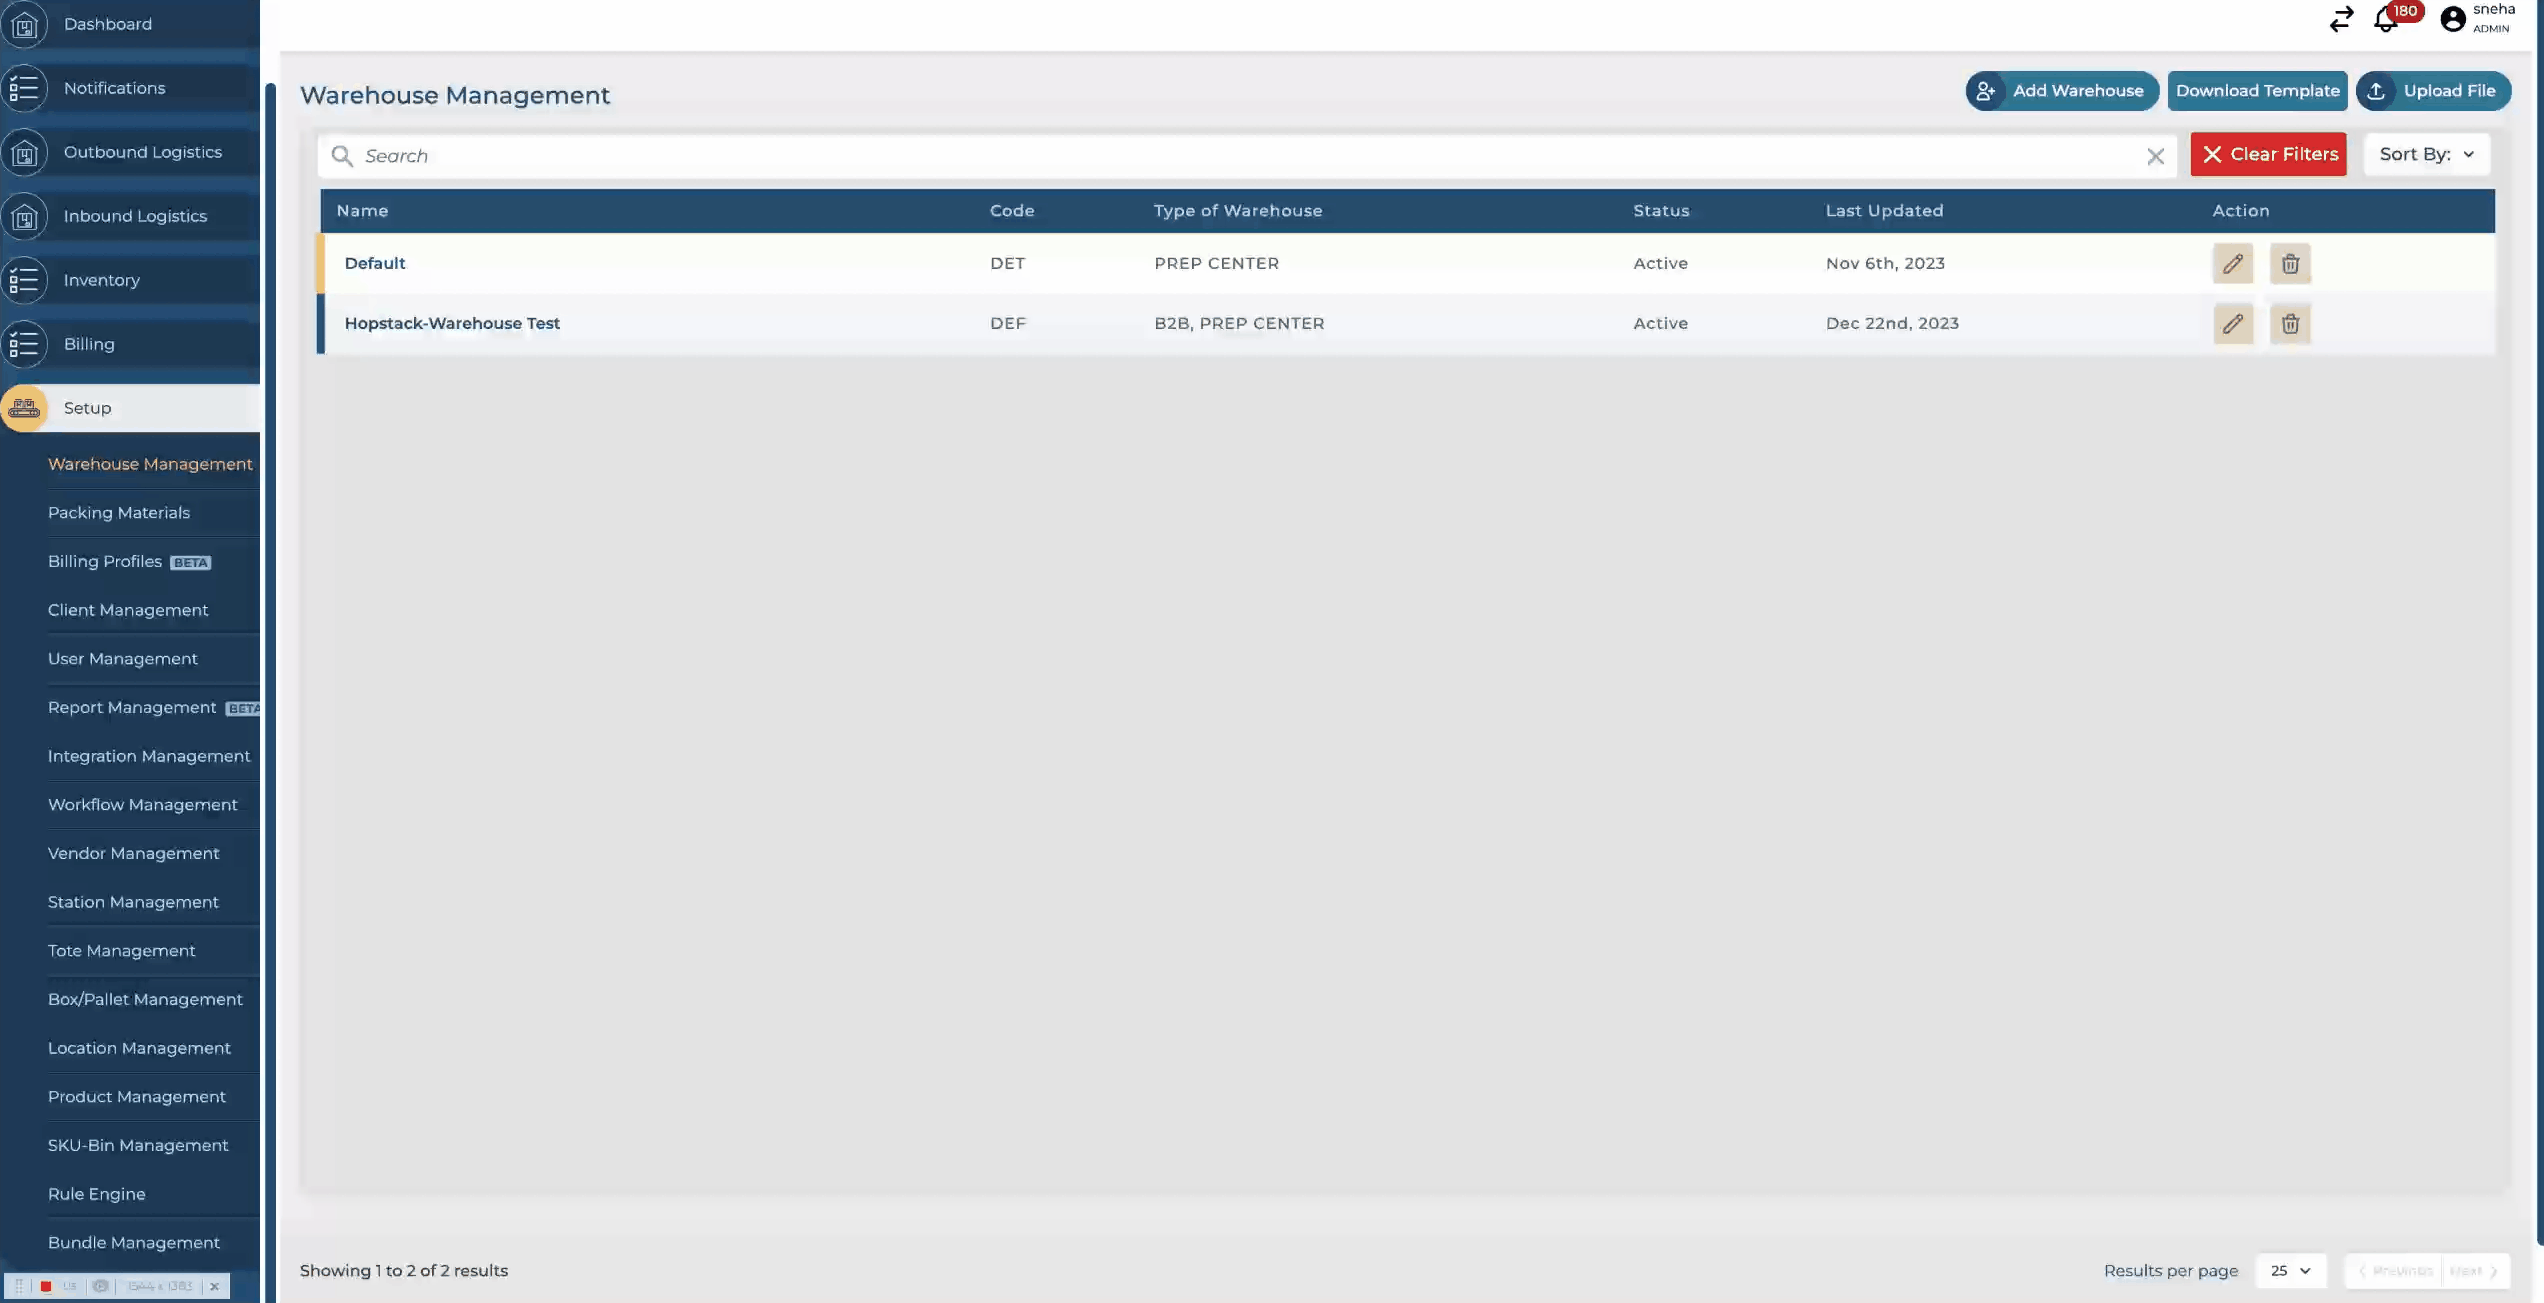
Creating Warehouse
This document provides step-by-step instructions for adding a new warehouse to your system.
Please follow these instructions carefully to ensure all necessary details are correctly entered.
Enter Warehouse Details
Fill in the basic details of the warehouse:
Name: Enter the official name of the warehouse.
Code: Provide a unique code for easy identification of the warehouse.
Provide Warehouse Contact Details
Enter the contact information for the warehouse:
Email: Input the main contact email address for the warehouse.
Phone: Enter the primary contact phone number.
Fill in Warehouse Address Details
Provide the complete address of the warehouse:
Street Address 1: Enter the primary street address.
Street Address 2: Provide additional address details if necessary.
City: Input the city where the warehouse is located.
State / Province: Select or input the state or province.
ZIP Code: Enter the postal code for the warehouse location.
Country: Select the country from the dropdown menu. Country field must be ISO 3166 cOuntry alpha-2 code ('US', 'GB', ' DE', 'FR', 'JP', 'CN', 'AU').
Select Warehouse Type
Choose the appropriate type of warehouse from the dropdown menu under "Type of Warehouse". This helps in managing and utilizing the warehouse based on its specific function or specialization.
Specify Storage Types
Select the types of storage facilities available within the warehouse, such as shelving, pallet racking, or climate-controlled spaces. This detail is crucial for assigning appropriate goods to the warehouse.
Review and Save
Review all the information you have entered to ensure accuracy.
Click the "Submit" button to add the warehouse to the system.
After saving, the new warehouse will be listed in the Warehouses section, allowing you to start managing it within your system.
Note: It's important to regularly update warehouse details as necessary to reflect any changes in contact information, capacity, or services offered.