
This feature is essential for managing Lots, Expiries, and specific LPNs in shipments, thereby enhancing the tracking and improving accuracy in order fulfillment.
Steps for Adding Lot ID/Batch ID and LPN
1. Accessing Order Management
-
Navigate to the Order Management screen on Hopstack.
2. Creating or Editing an Order
-
To create a new order, select the option to Create Order.
-
To edit an existing order, select the order from the list and choose the Edit option.
3. Adding Products with Lot ID/Batch ID
-
While adding products to the order, you will see a dropdown menu. This menu lists all eligible Lot IDs/Batch IDs for the selected product.
-
Choose the appropriate Lot ID/Batch ID for each product.
4. Selecting and Editing License Plate Numbers (LPNs)
-
For each product line item, select the desired LPN from a dropdown menu.
-
You can add, remove, or modify LPNs in the order.
-
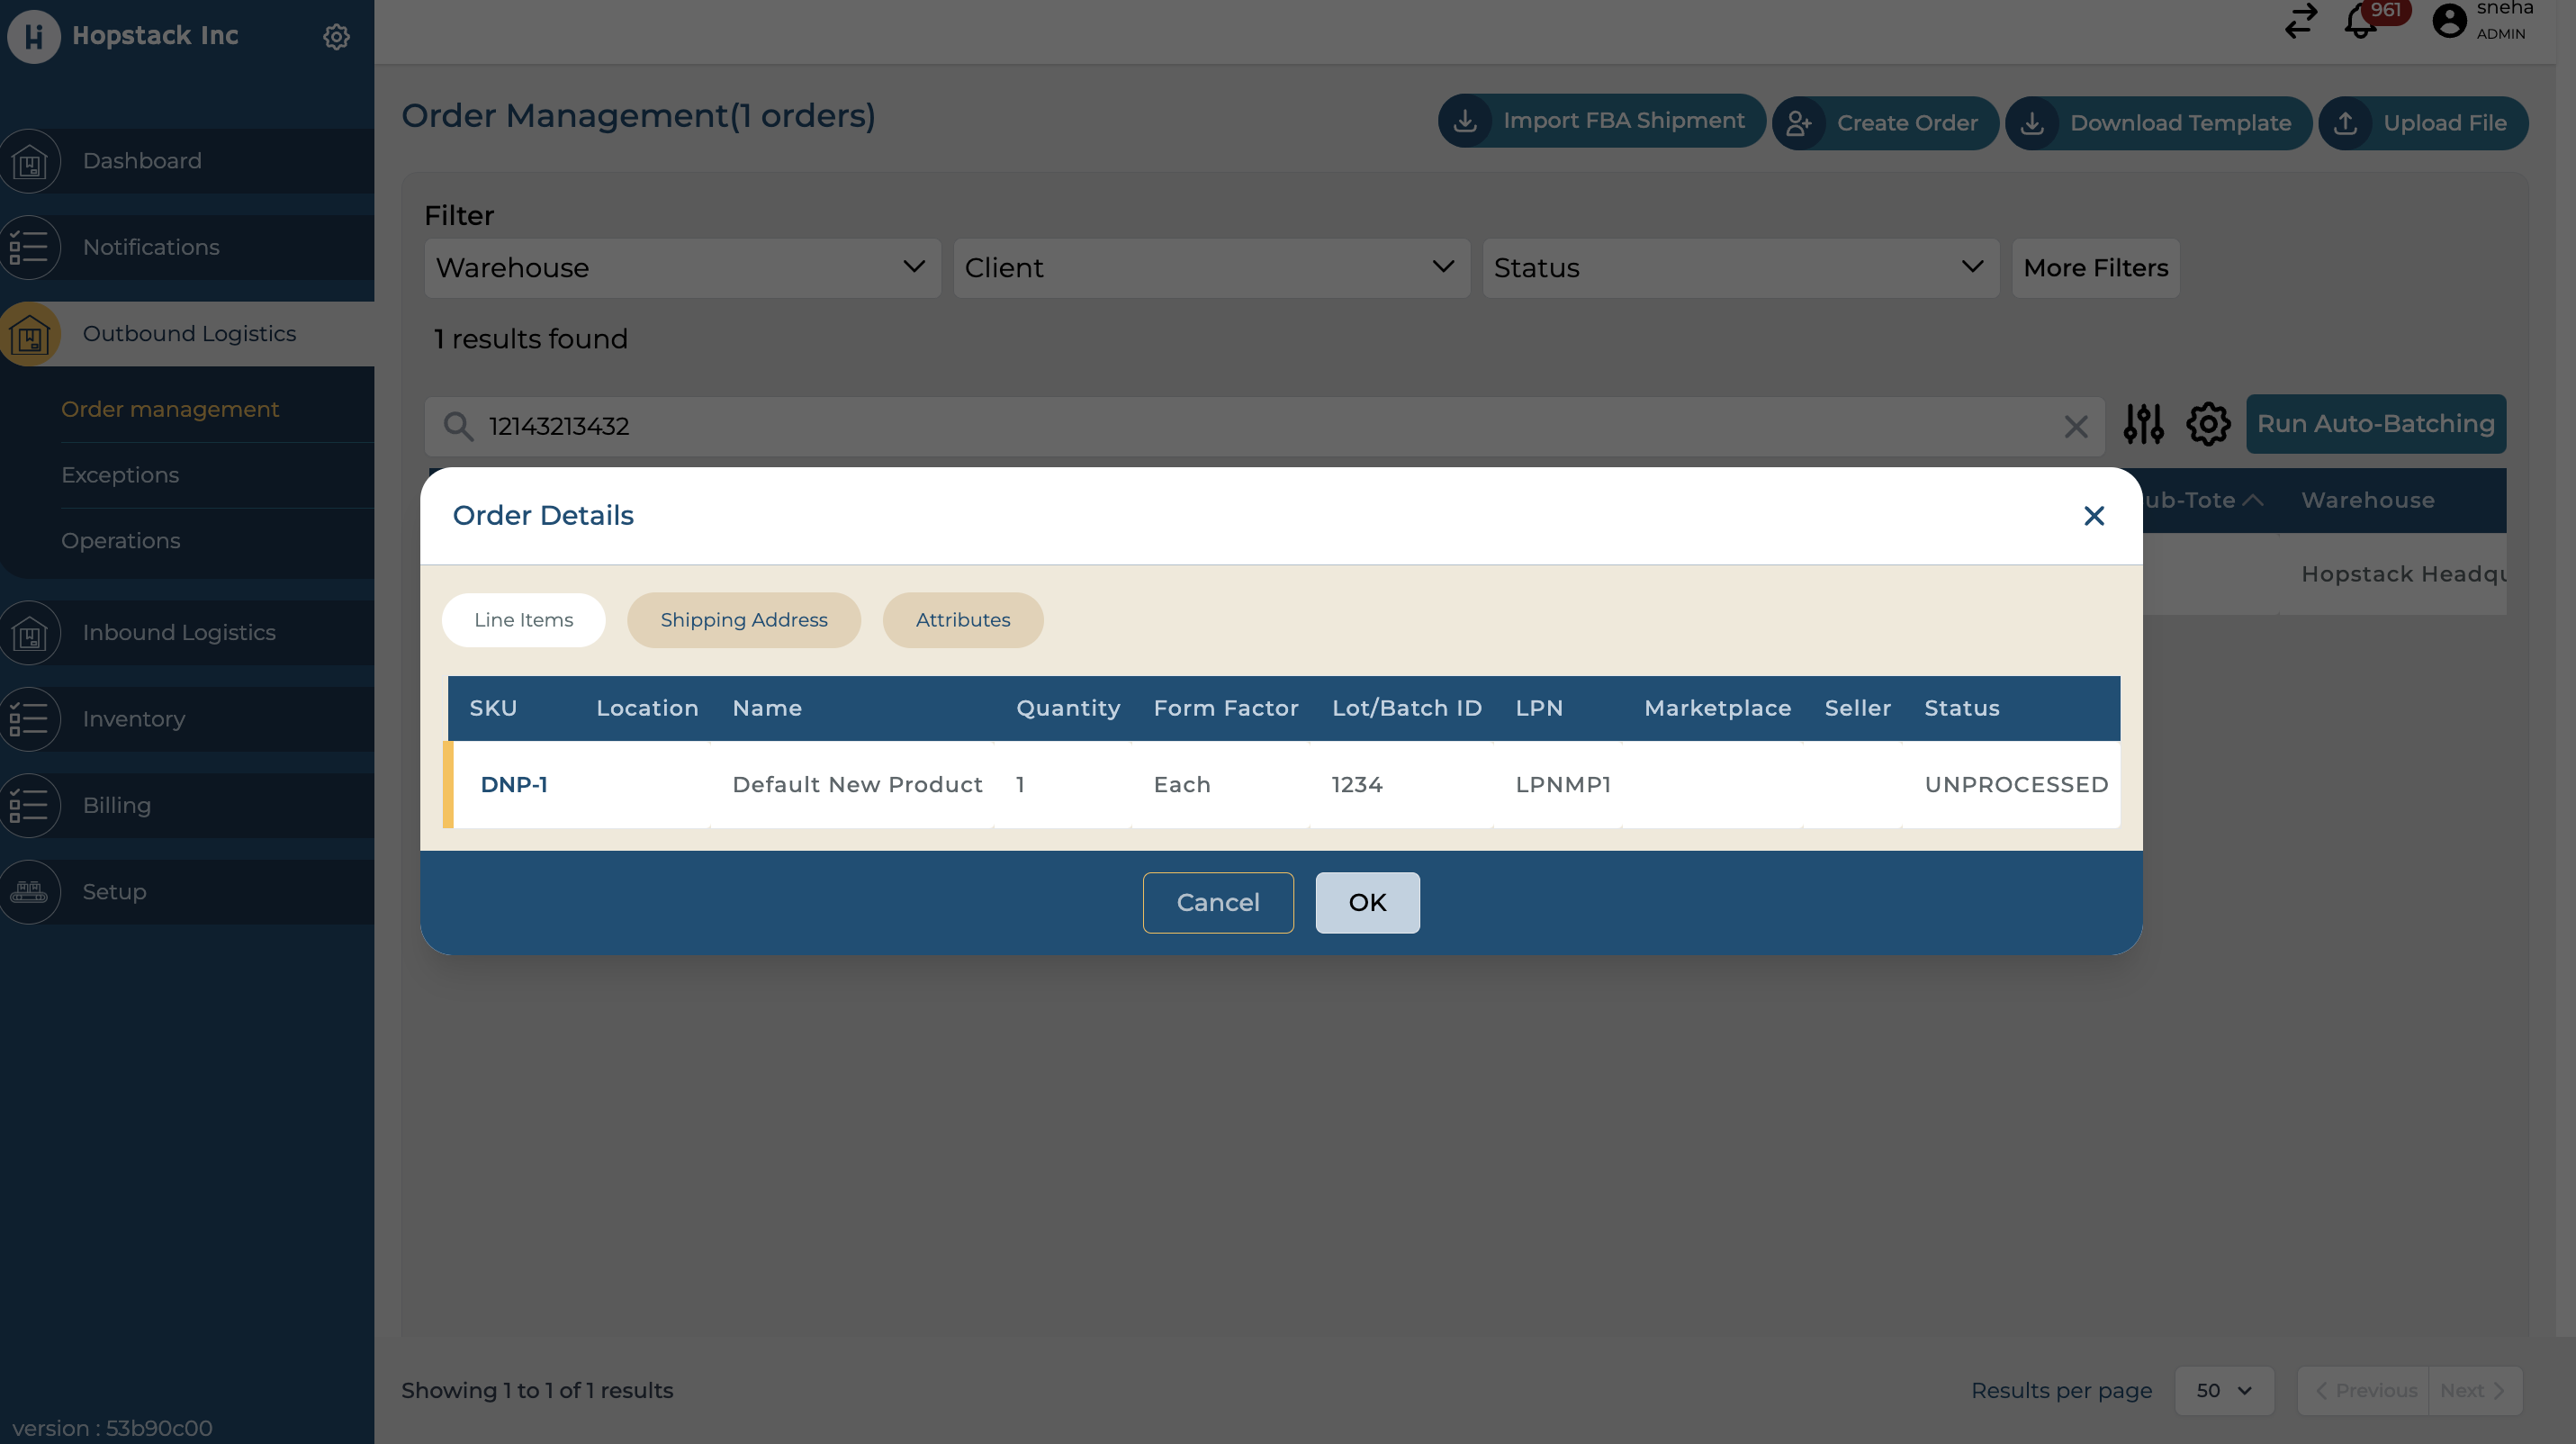
The system will show the chosen LPN and its associated quantities in the order details.
Important Notes
-
Quantity Validation: The system does not validate the quantities of the lot at the time of order creation or editing. Quantity validation occurs during order fulfillment.
-
LPN/Lot ID Selection Process: The steps for choosing and using LPNs are identical to the Lot ID selection process.
Additional Notes for Lot IDs and LPNs
-
LPN Selection During Order Creation: You should be able to select specific LPNs for each product when creating a new order.
-
LPN Editing in Existing Orders: You will have the capability to change LPNs in an existing order, which includes adding, removing, or modifying LPNs for order products.
-
Display of LPN and Quantities: The selected LPN and its quantities should be visible when an order is expanded.
By following these steps, you can efficiently manage Lot IDs/Batch IDs and LPNs in your Hopstack orders, ensuring precise tracking and fulfillment of products.